Onion and Cider Soup (Plus EXTRAS!)
I save recipes in my Google Docs. Like a dragon that hoards treasure, I find a neat looking recipe in a cookbook, or on a random website, or in one of my friends’ personal repertoire, and I steal them away into my online repository. Many of these recipes have never been made, probably at this point nearly half, and there are delights such as Whiskey Lucky Charms Ice Cream, Pumpkin Spice Truffles, Honeyed Duck Breasts, and Scallion Herb Chickpea Salad. This Onion and Cider Soup has languished untouched in my collection of recipes for over two years, and I decided that this sad streak would end today.
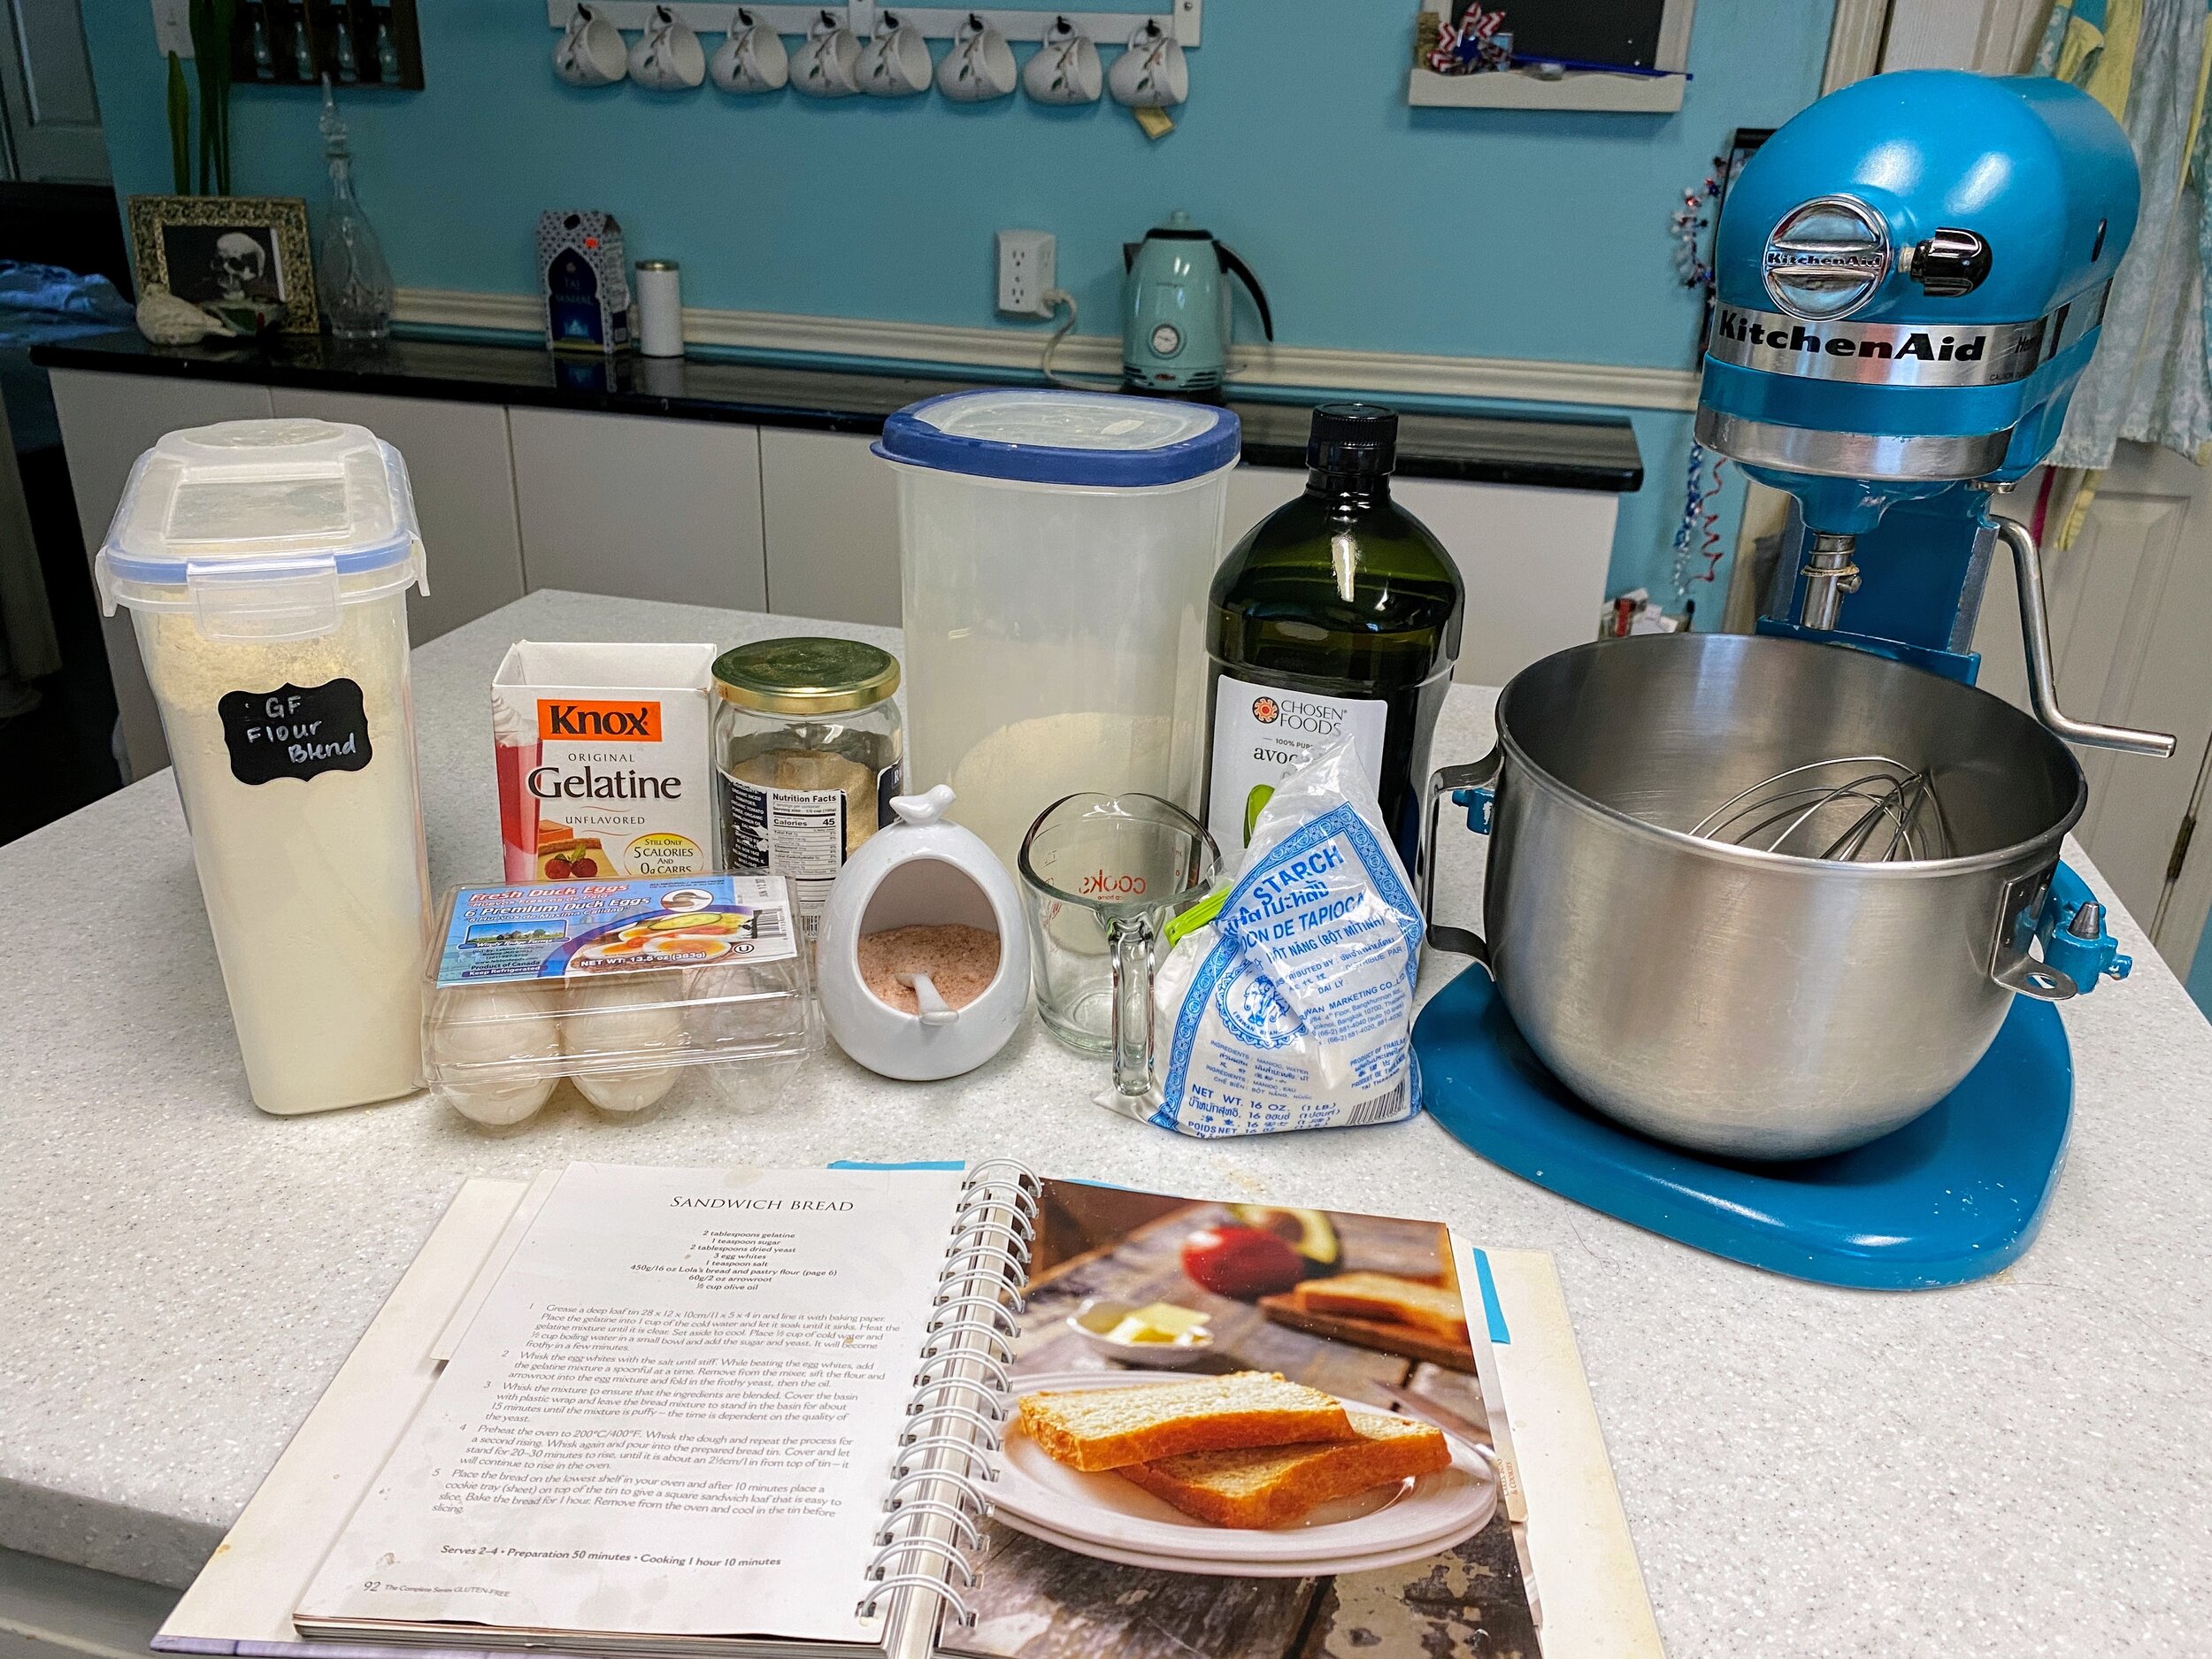
You will be delighted to discover that this is actually three recipes in one; the original O&CS includes toast so it was necessary to make bread. To make bread, I needed to put together a Gluten Free flour blend to boot. So….. three recipes! The basis for our bread recipe came from a lovely book called “Gluten-Free: The Complete Series;” we have modified it fairly heavily to fit into my allergies, but it still turns out really well.
Let’s get into it :D
Ingredients:
Gluten Free Flour Blend:
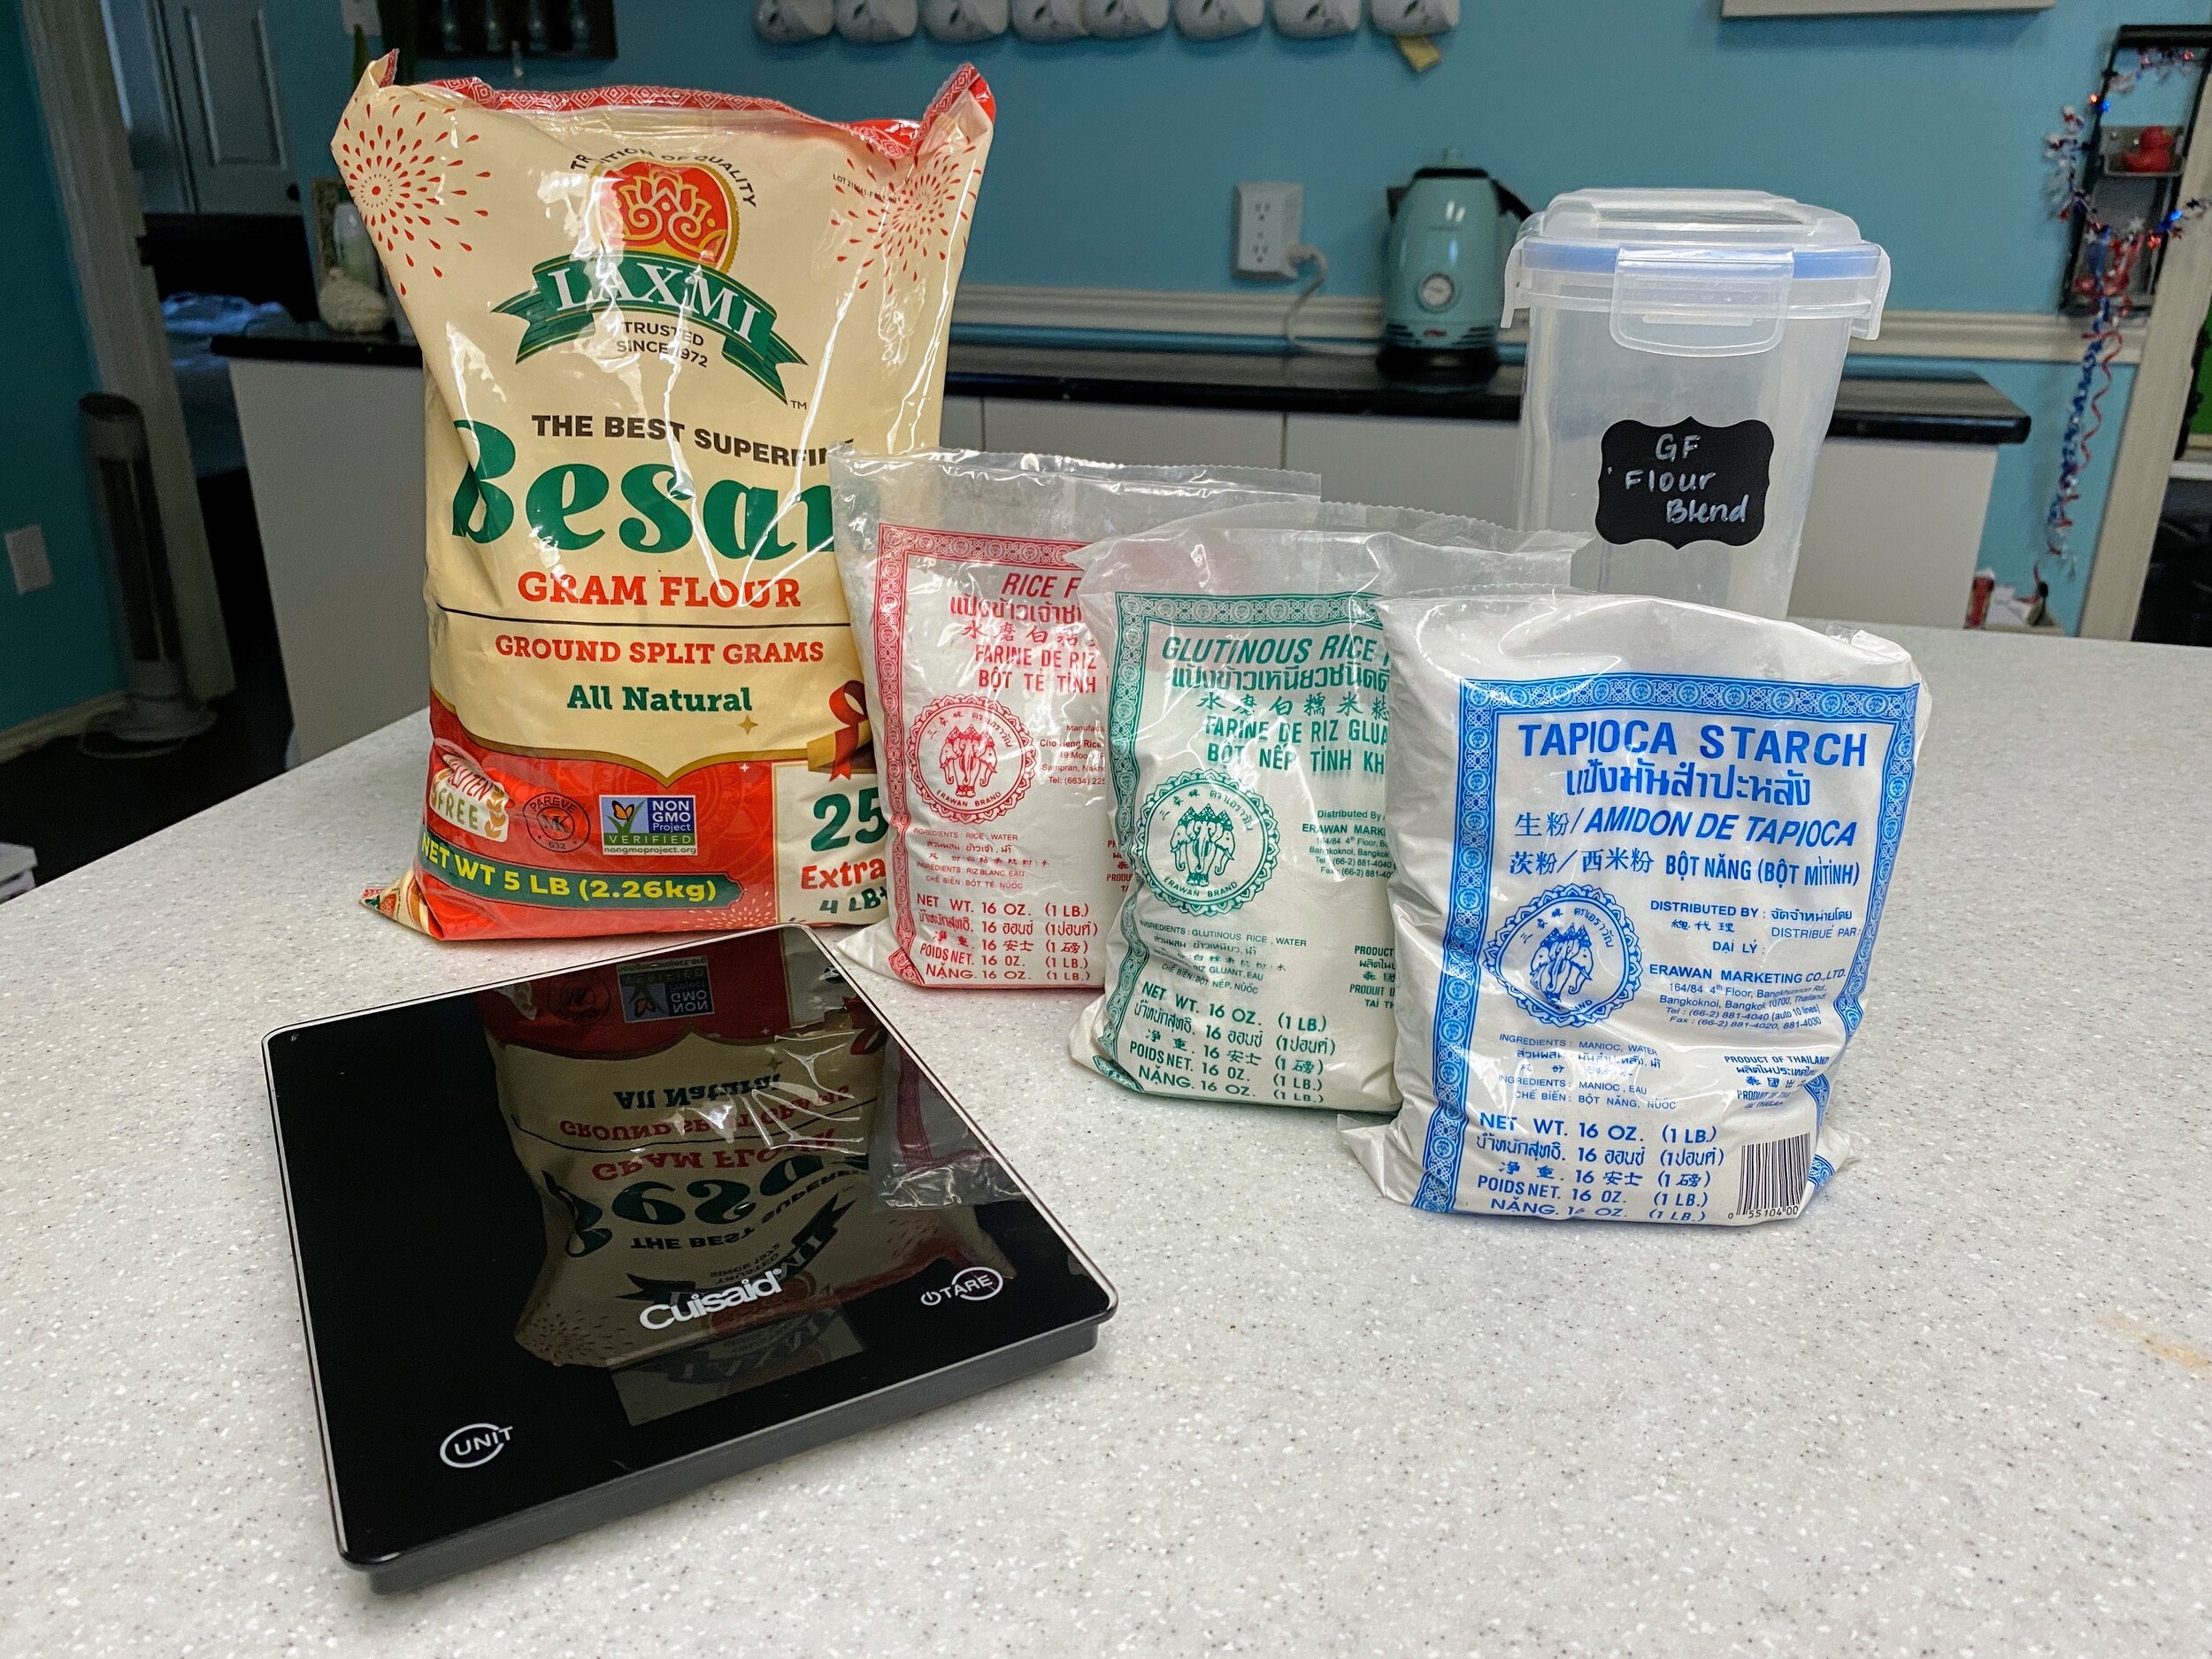
400g Superfine besan
400g Rice flour
200g Glutinous rice flour
200g Tapioca starch
Bread:
2 Tbsp Gelatin
1 Tbsp White sugar
2 Tbsp Dried yeast
1 Whole duck egg
2 Duck egg whites
1 tsp Salt
450g Gluten free flour blend
60g Tapioca starch
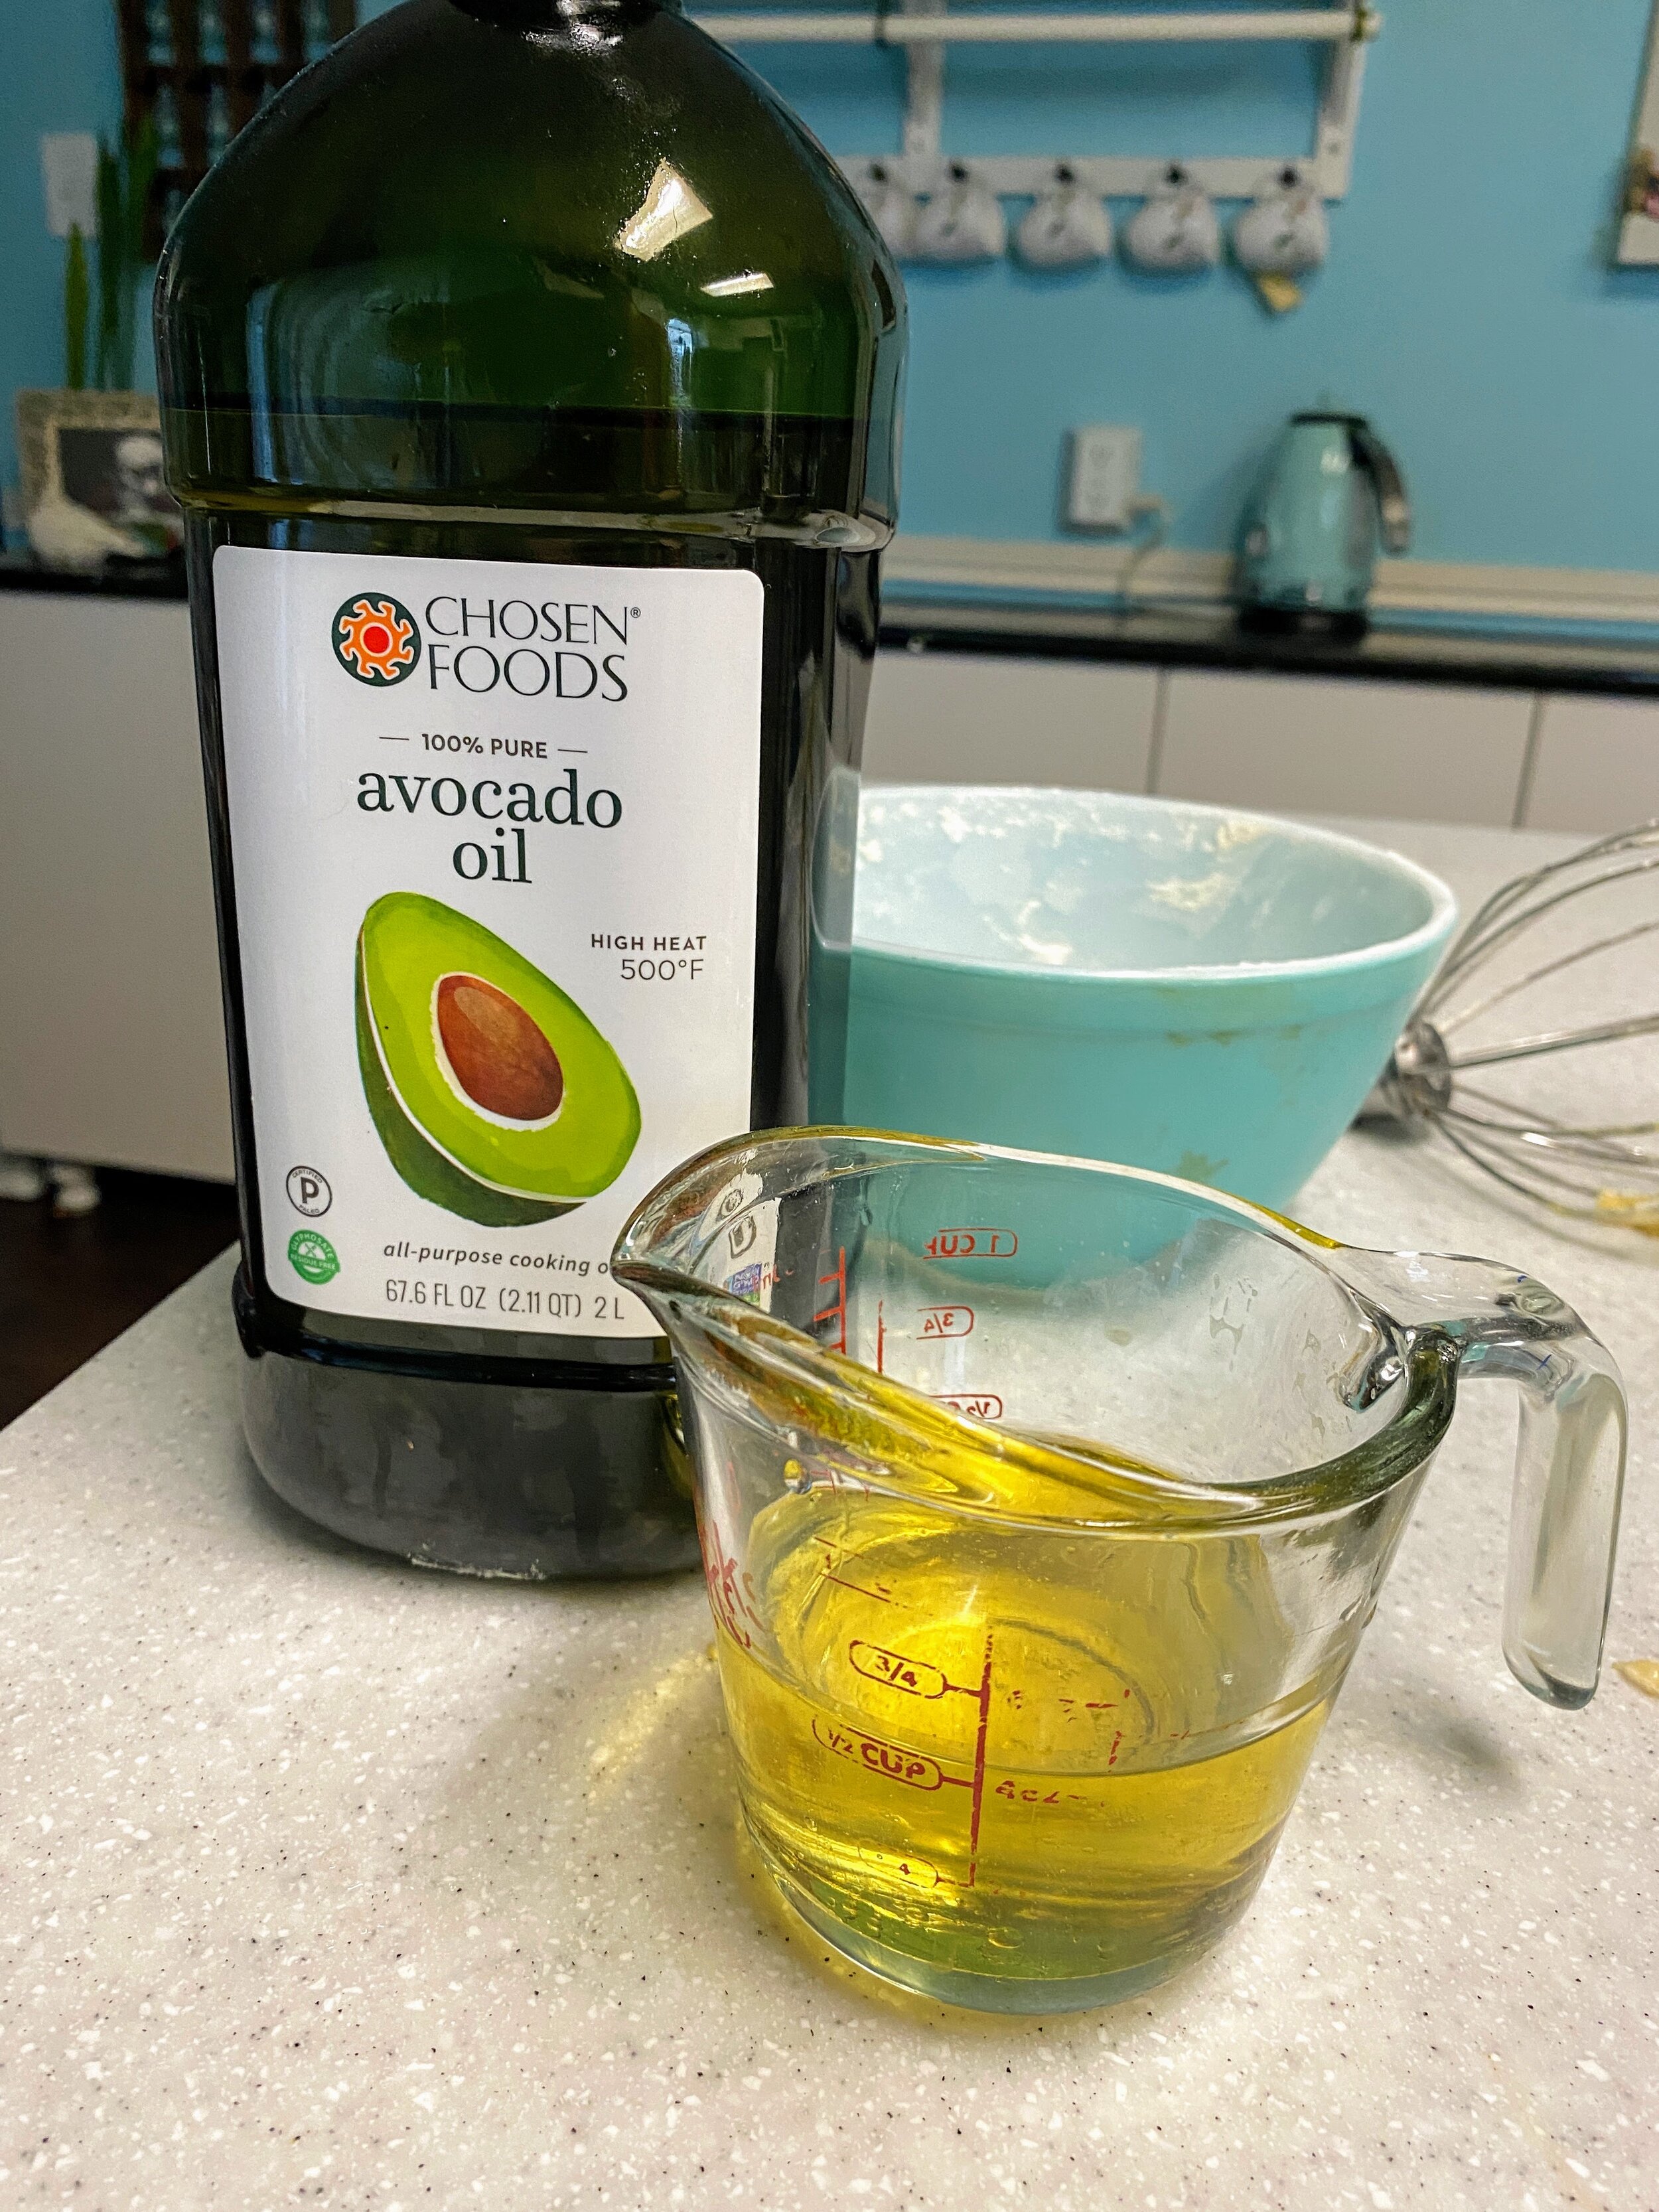
½ cup Avocado oil
Onion and Cider Soup:
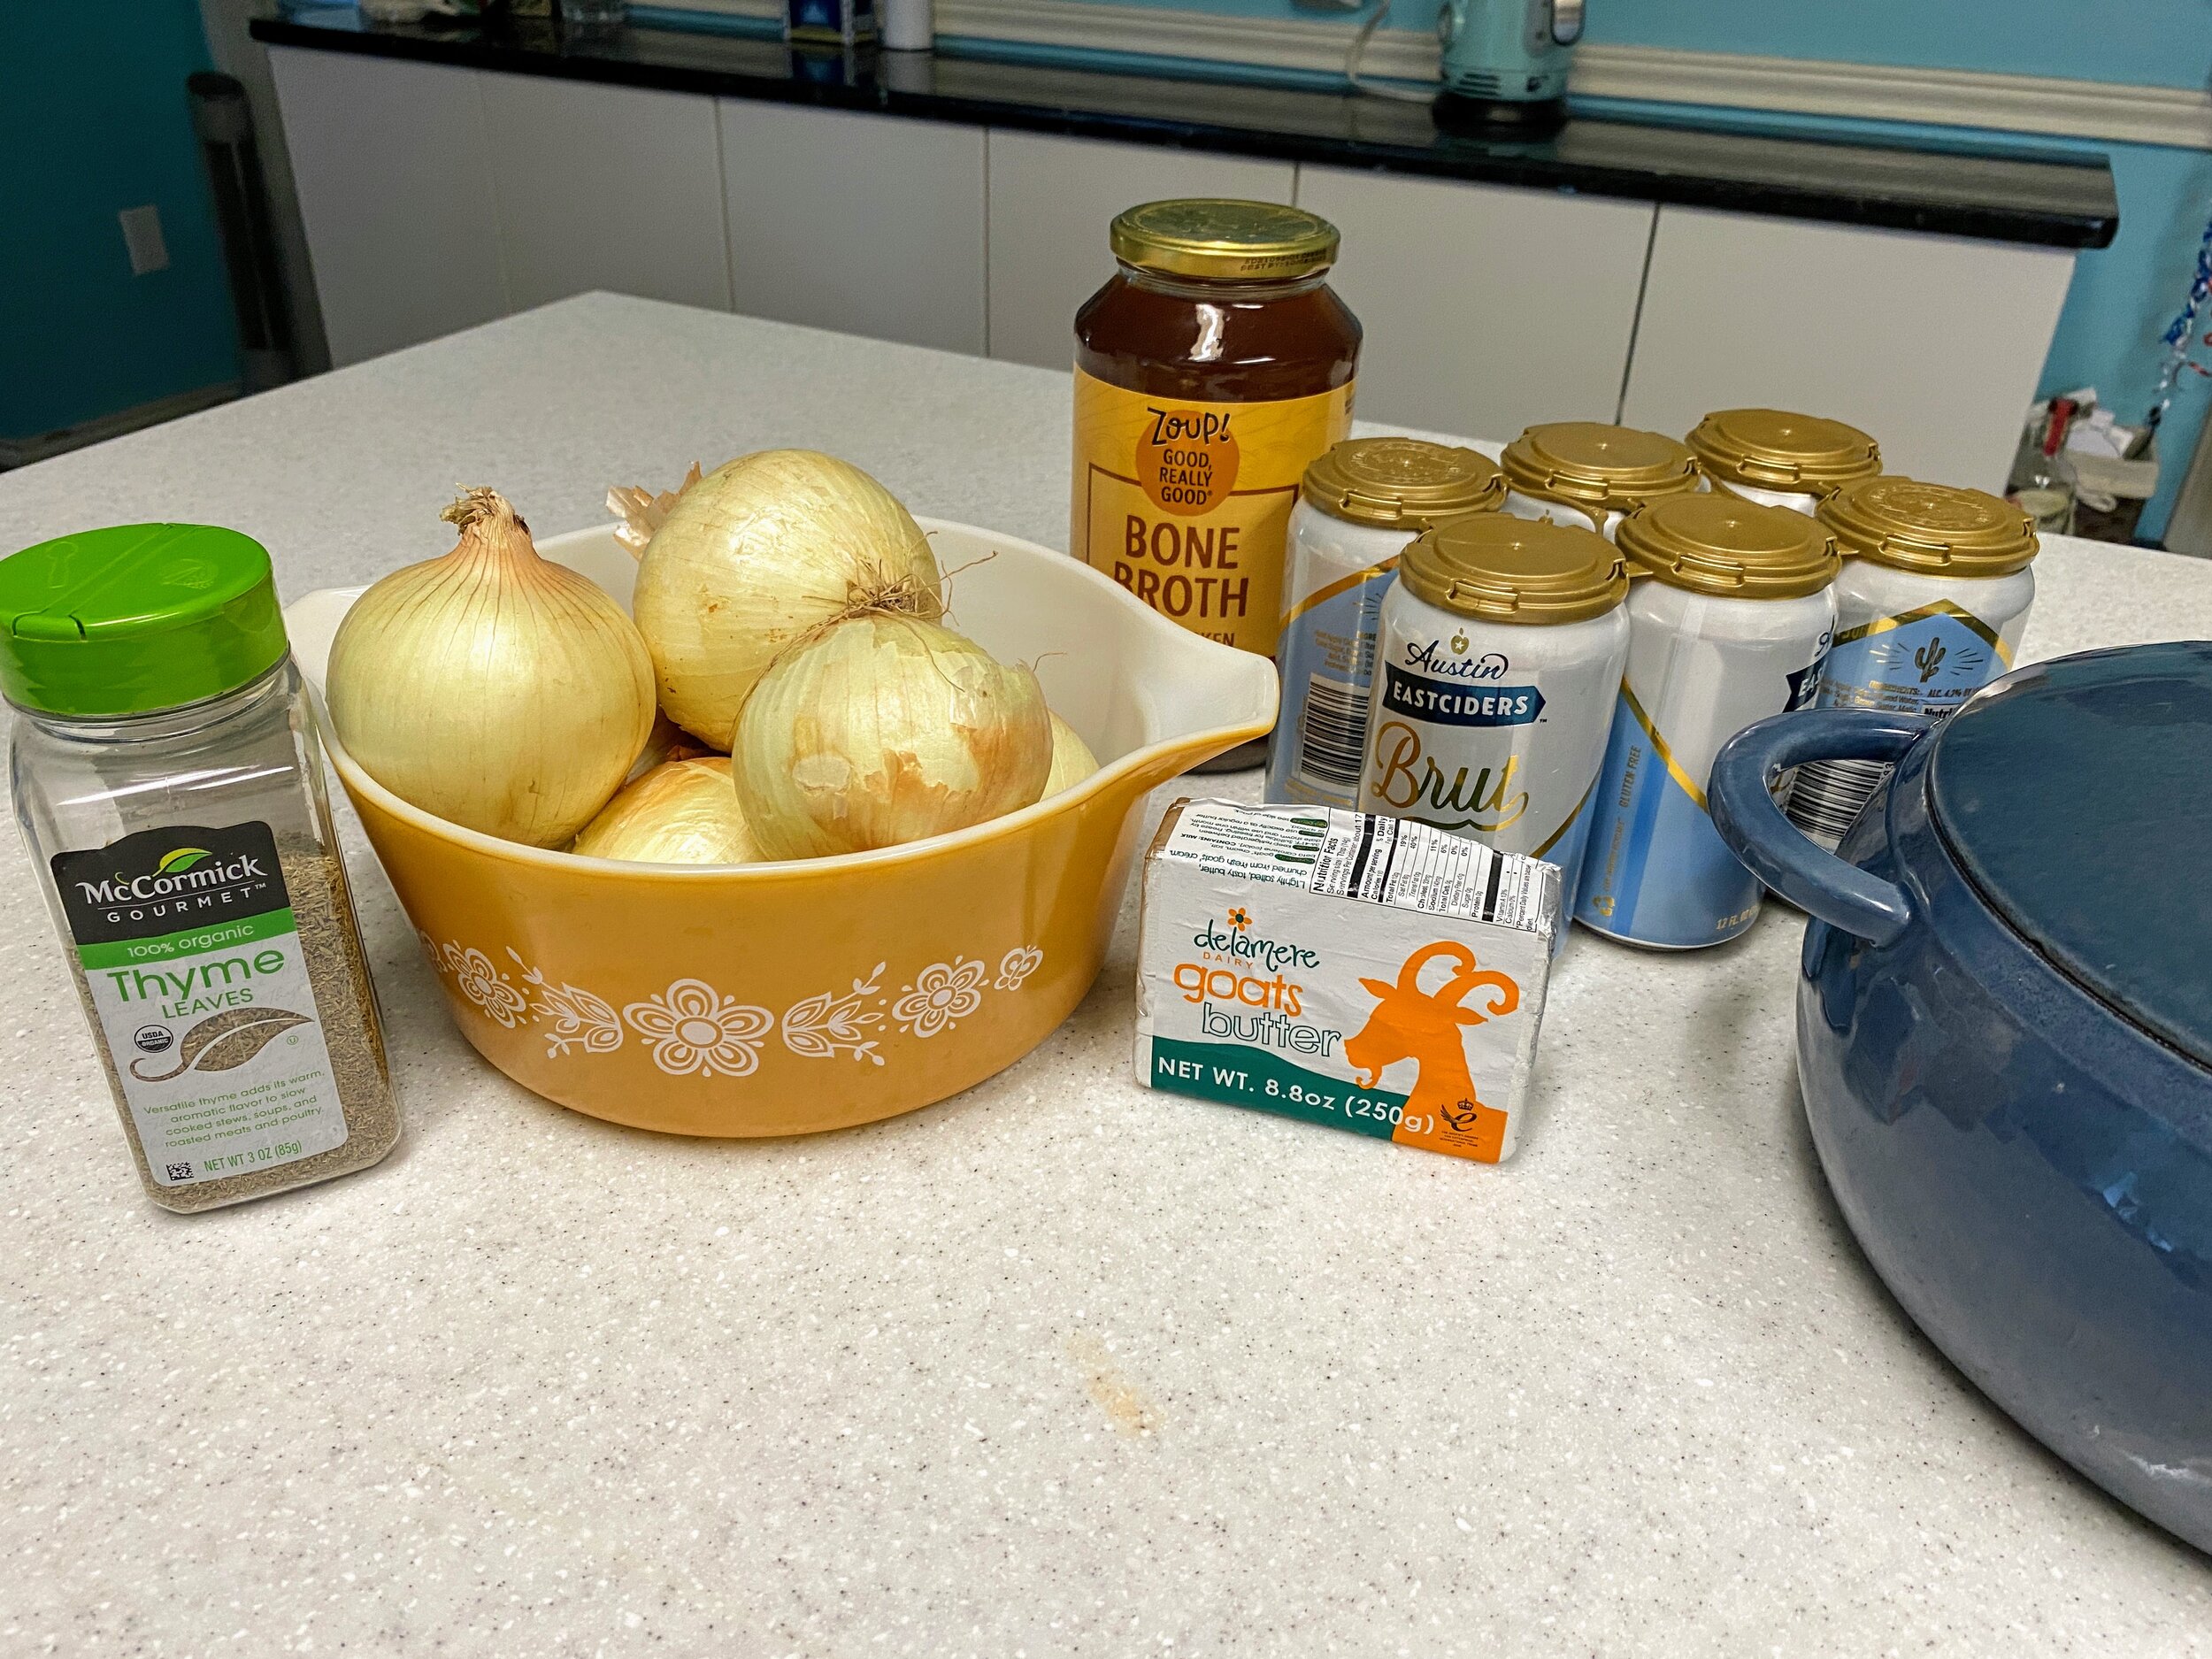
115g Salted butter
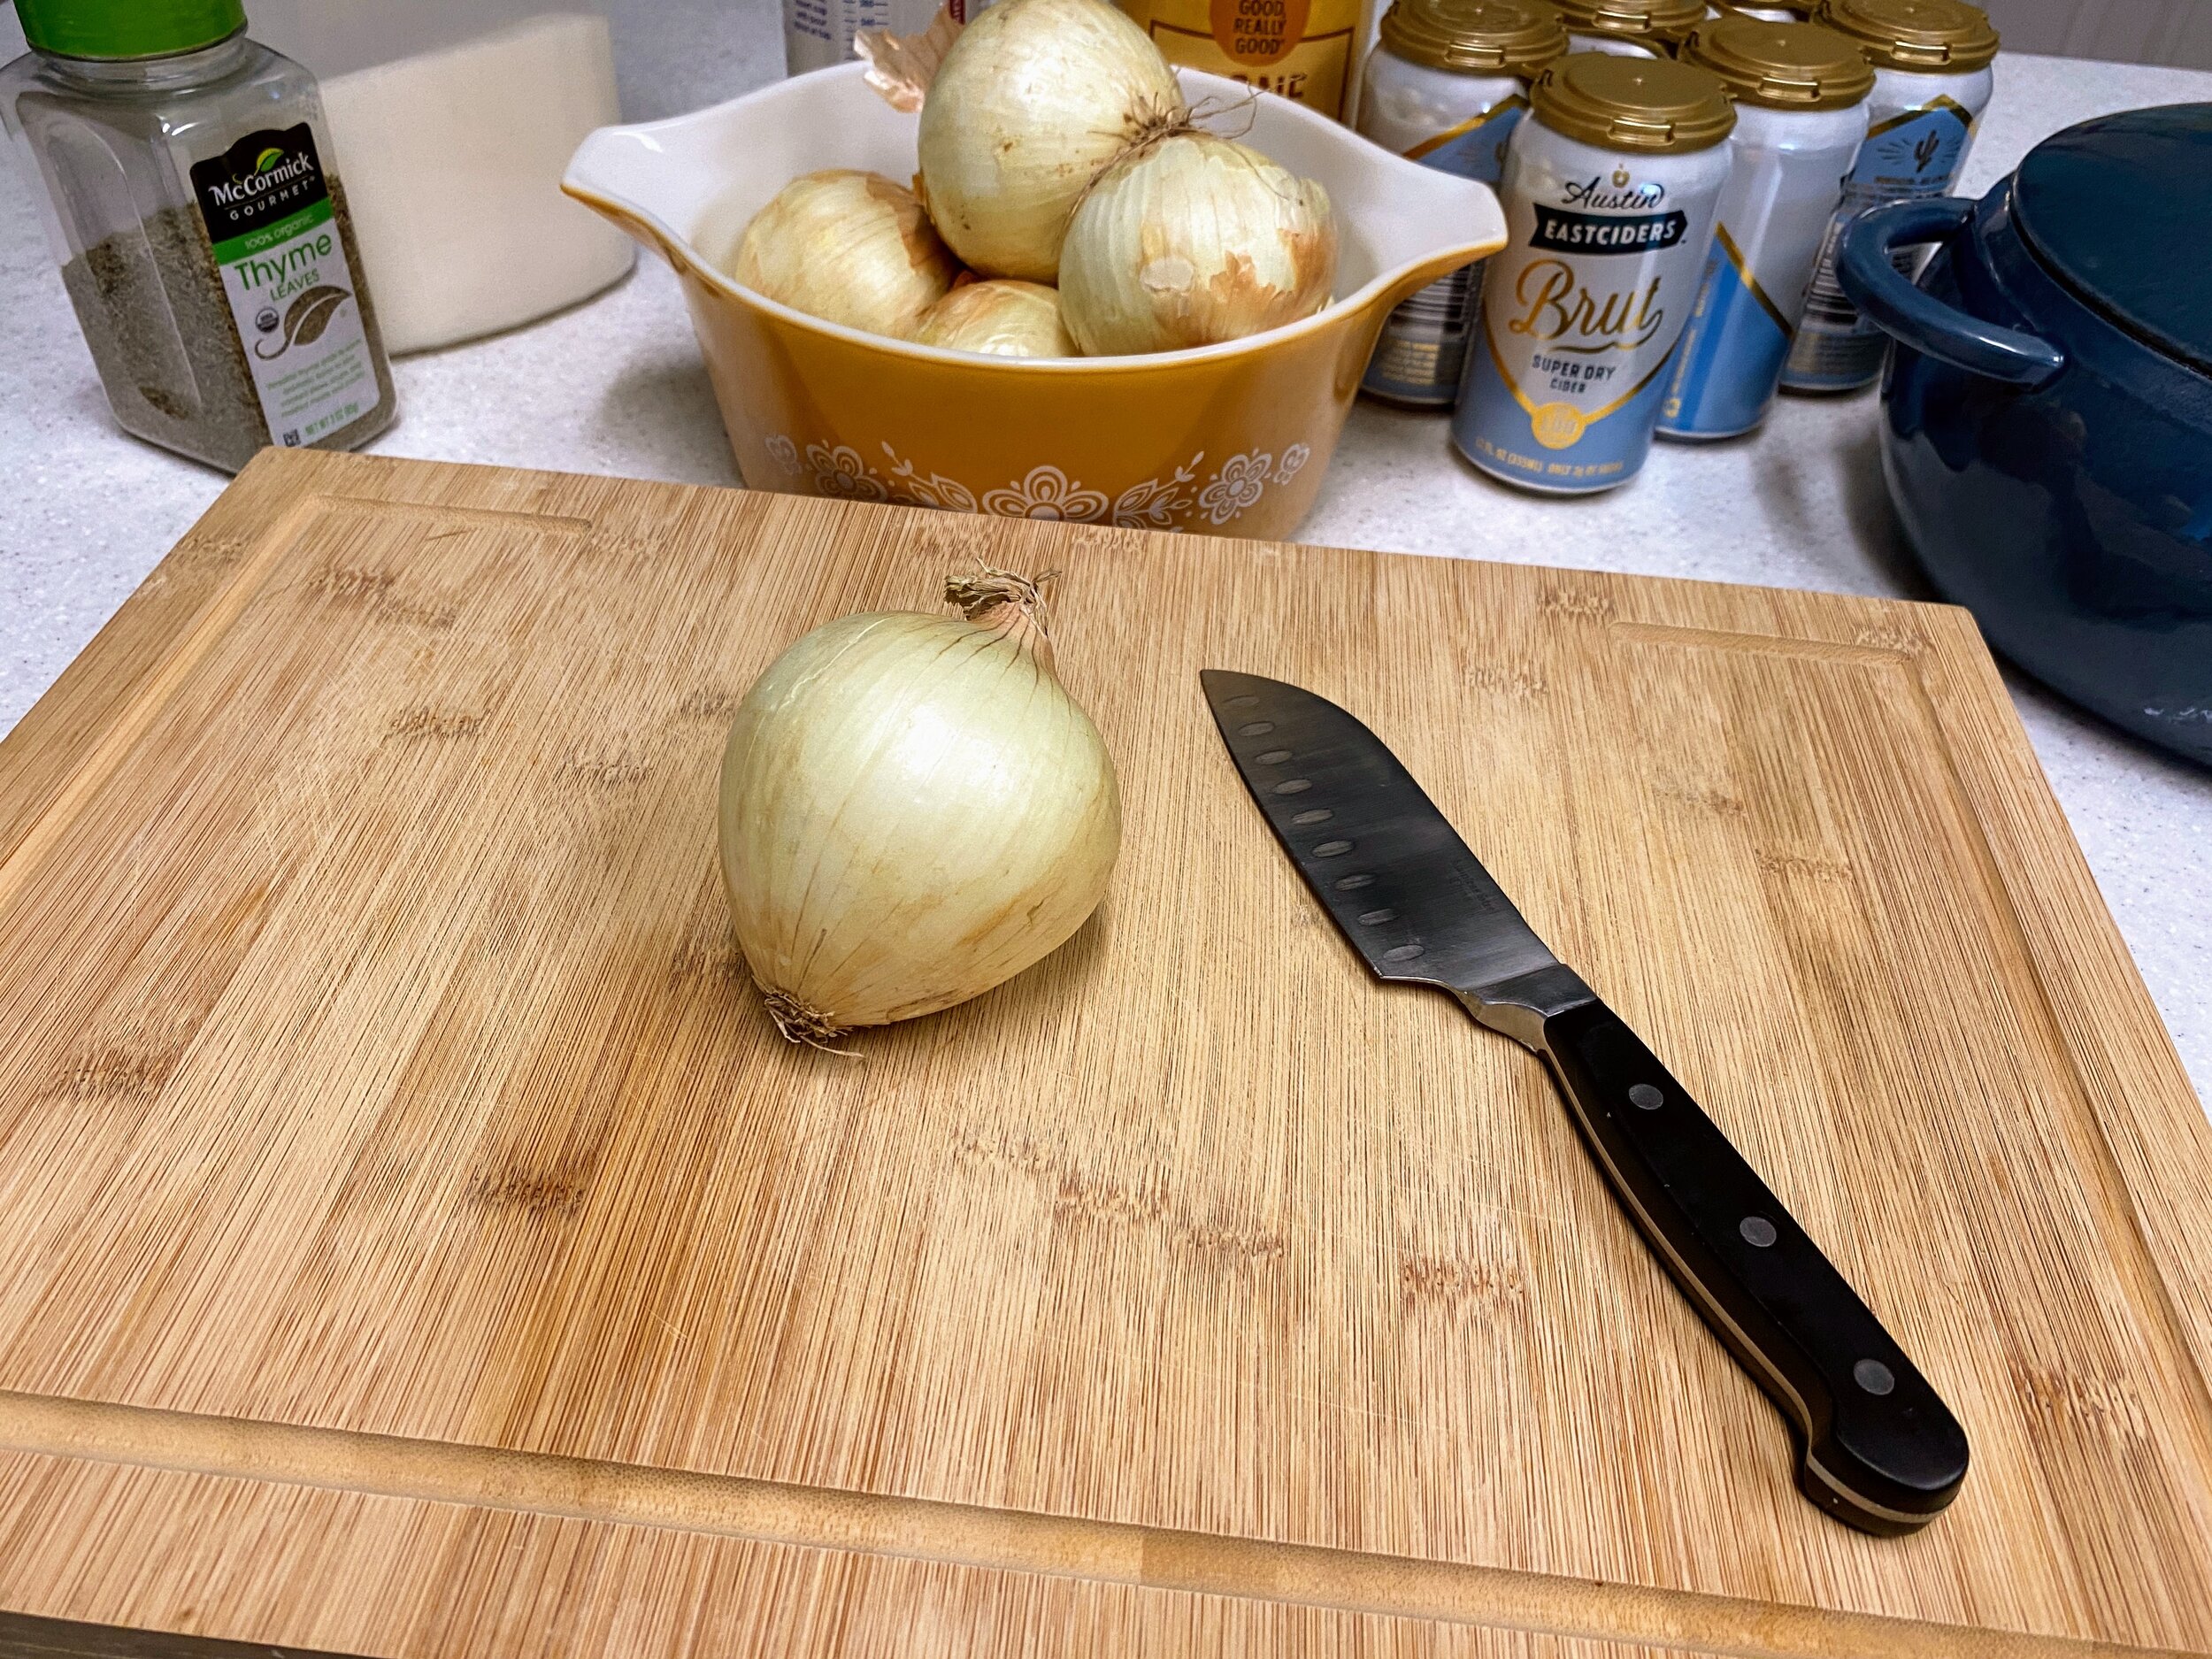
3lb 5oz Onions, finely sliced
1 Tbsp Sugar (optional)
250ml Dry cider
2 Pints Chicken bone broth
3 Sprigs Fresh thyme leaves
2 Slices Toasted bread
1 Goat Brie
15g Melted butter
Instructions for Flour Blend:
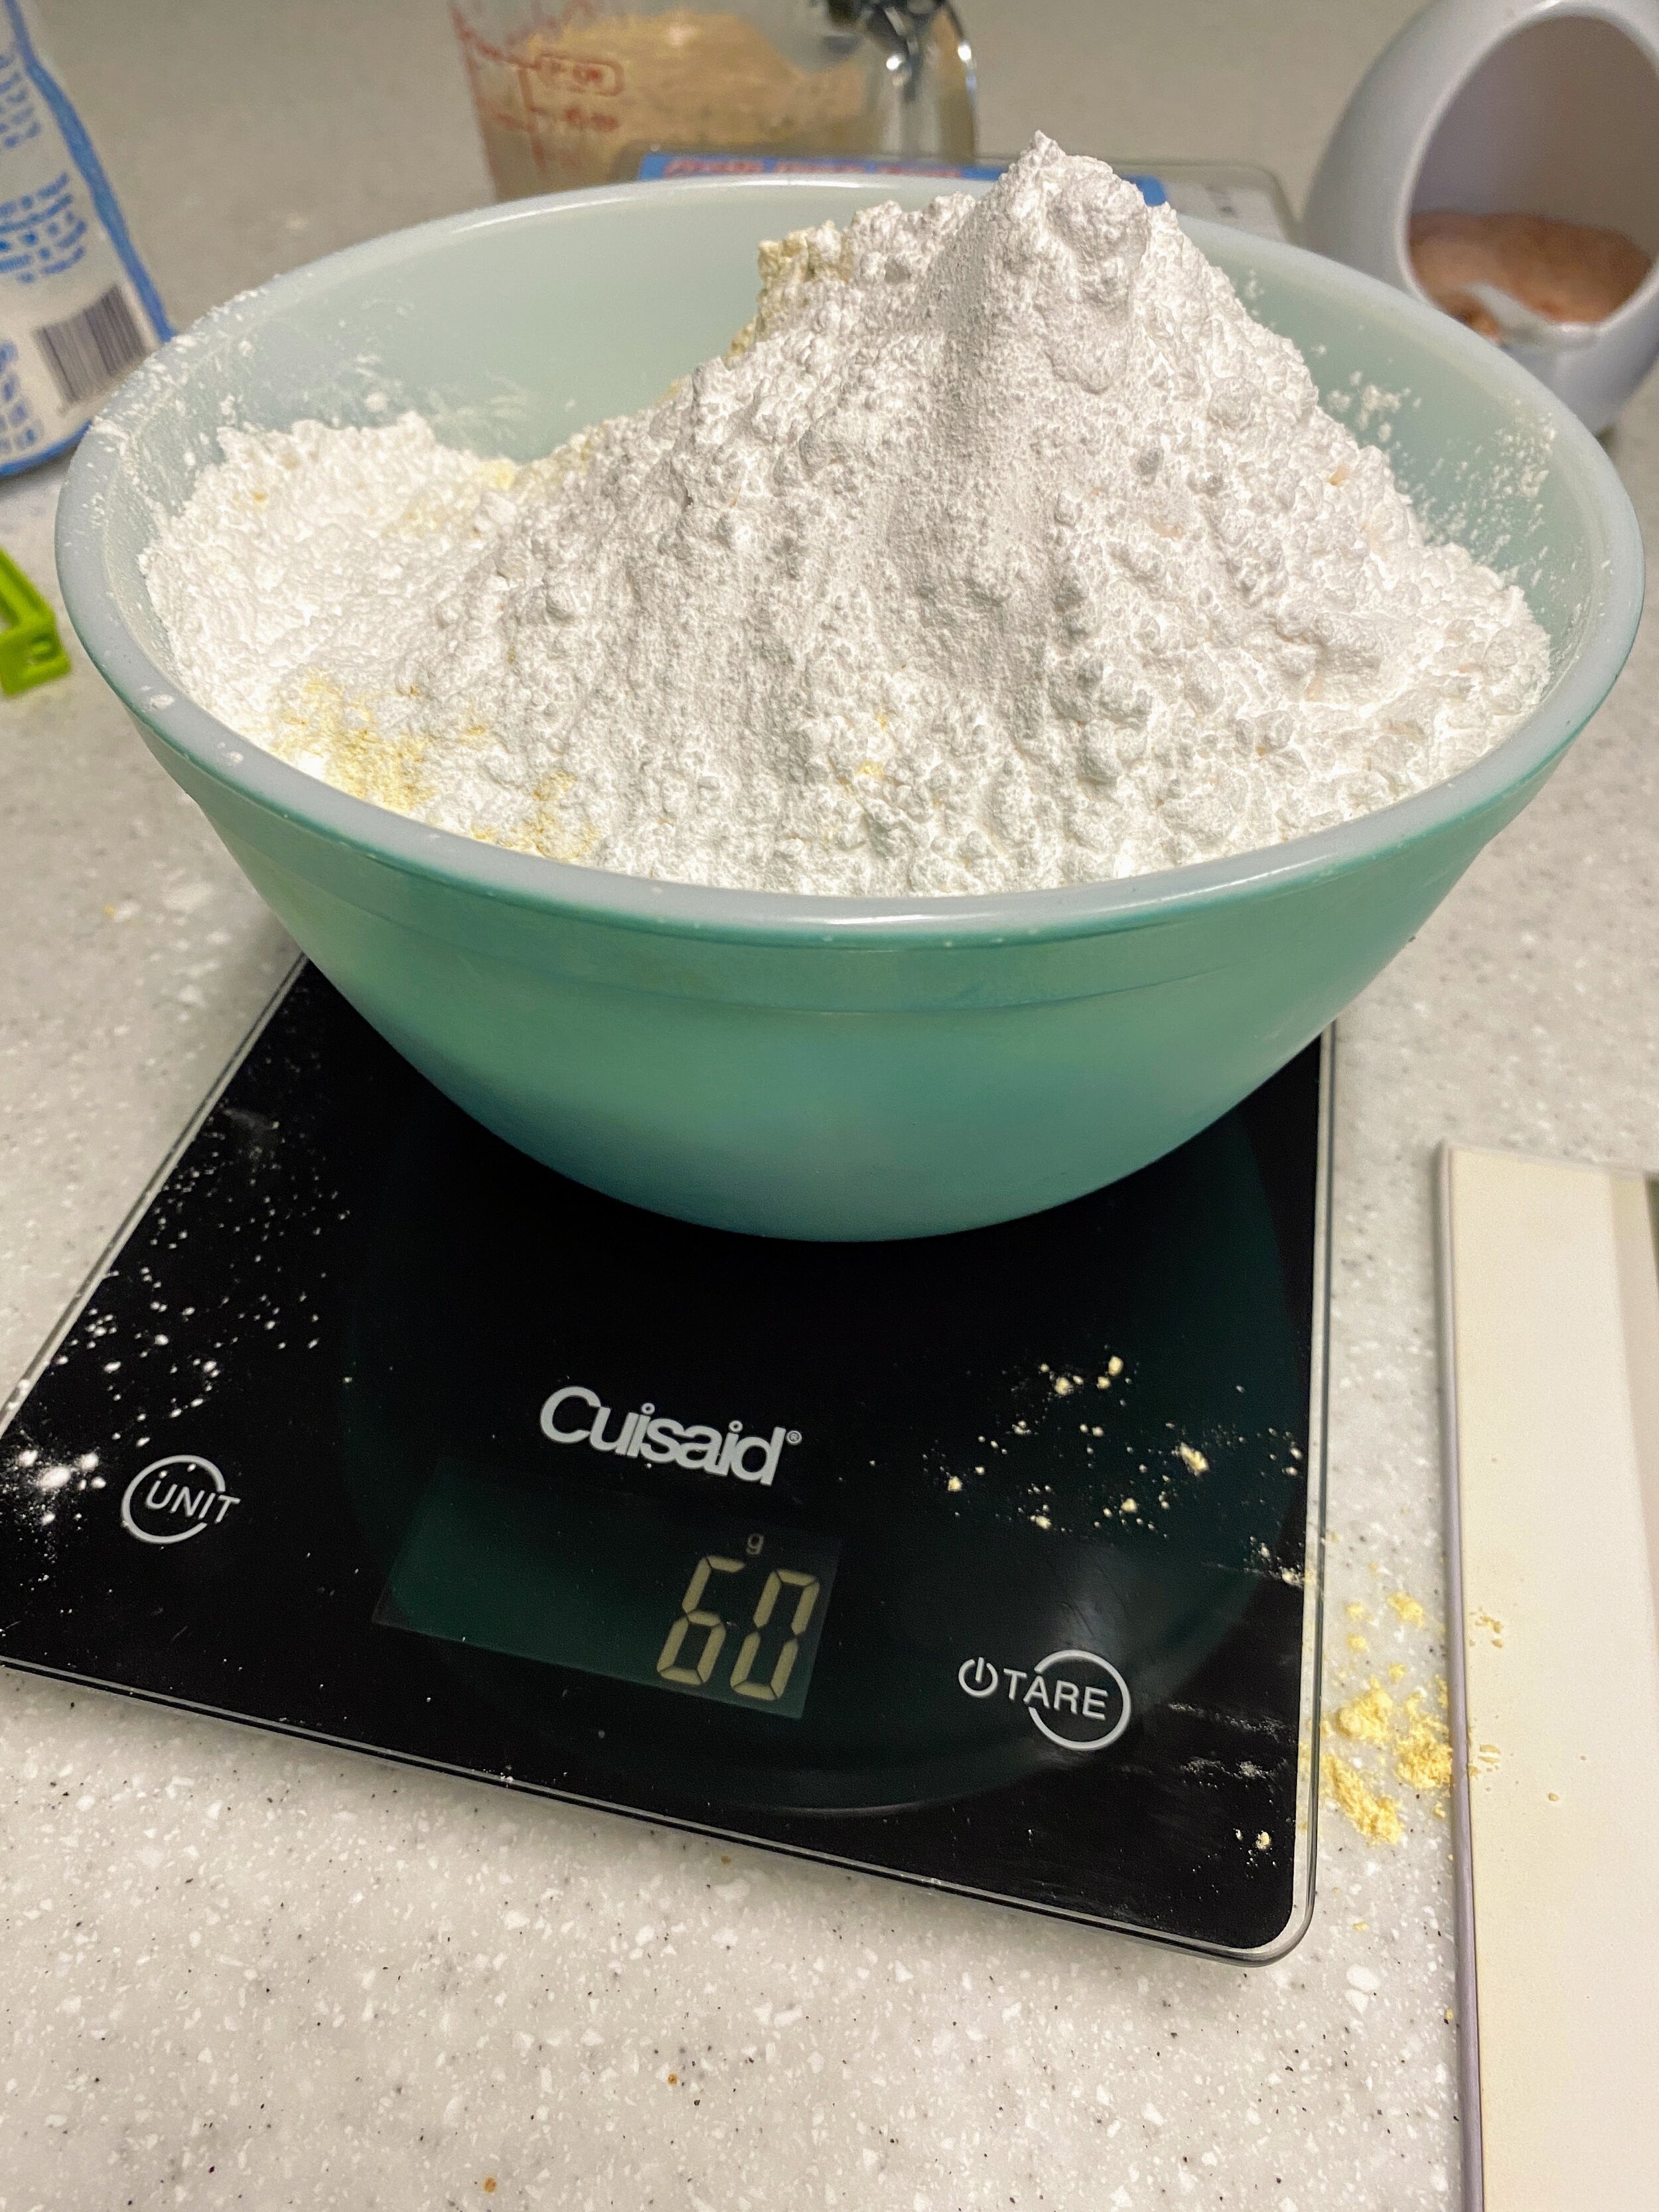
Measure out the denominations of ingredients and mix together thoroughly.
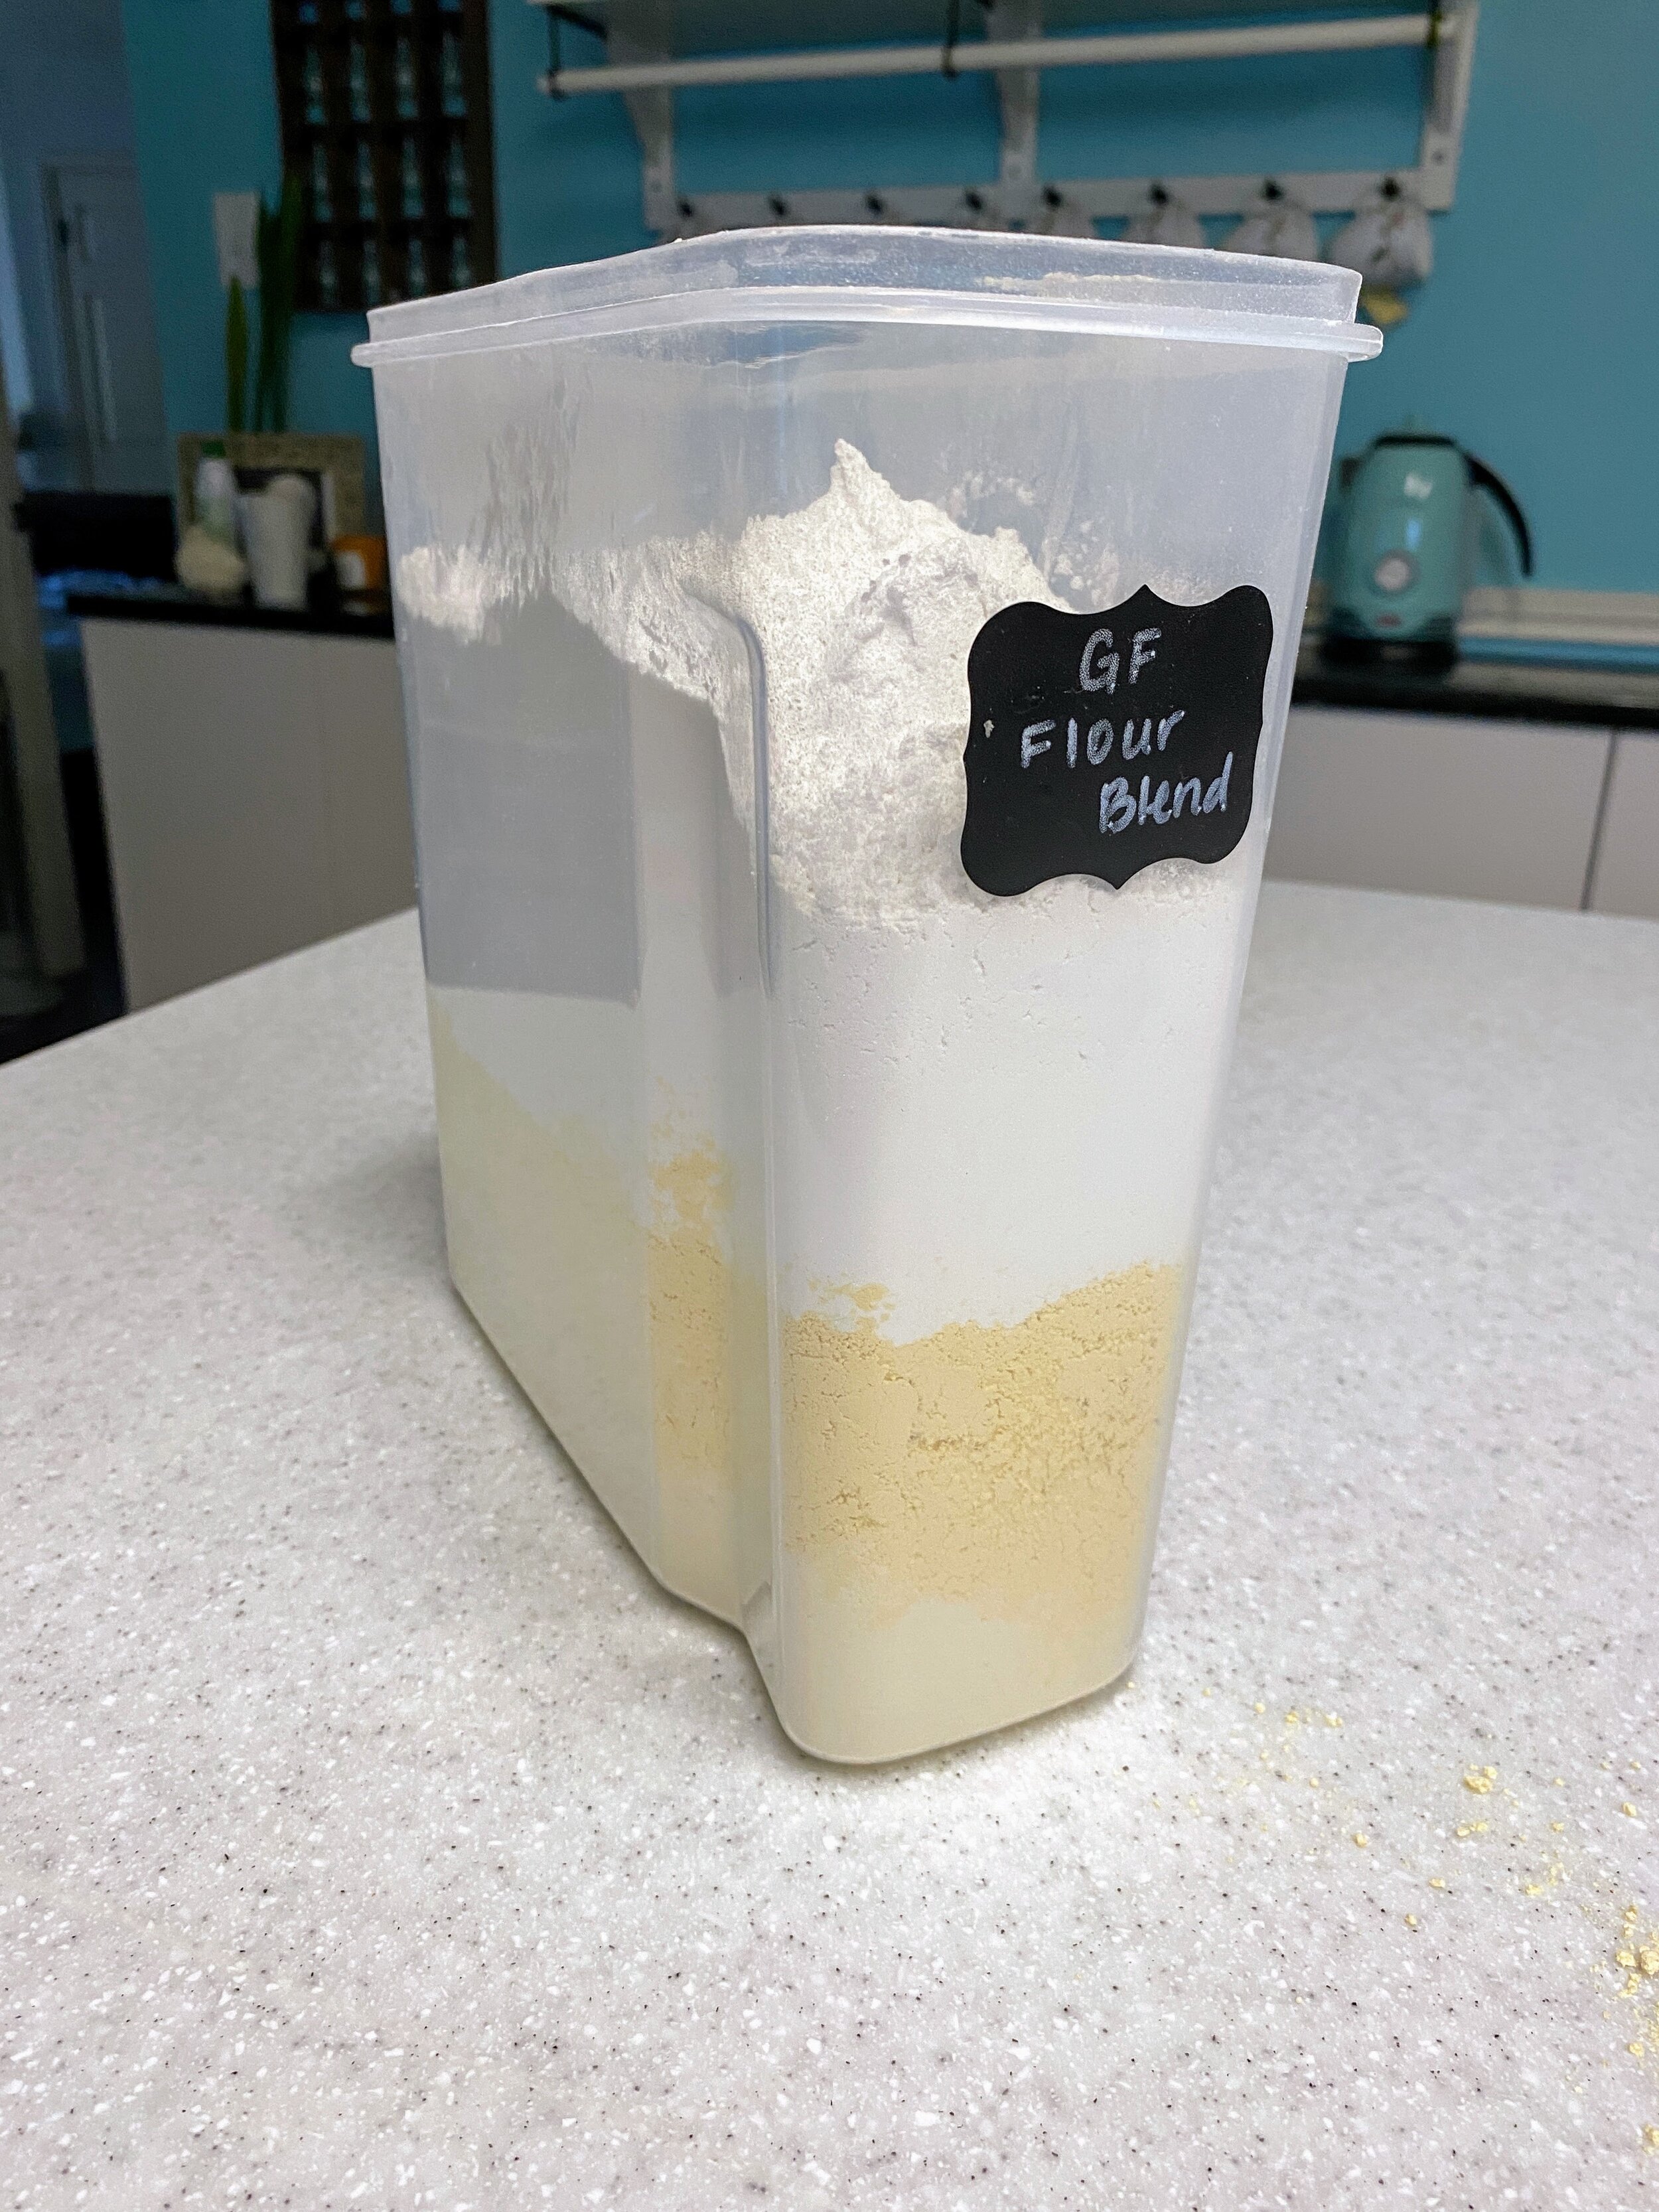
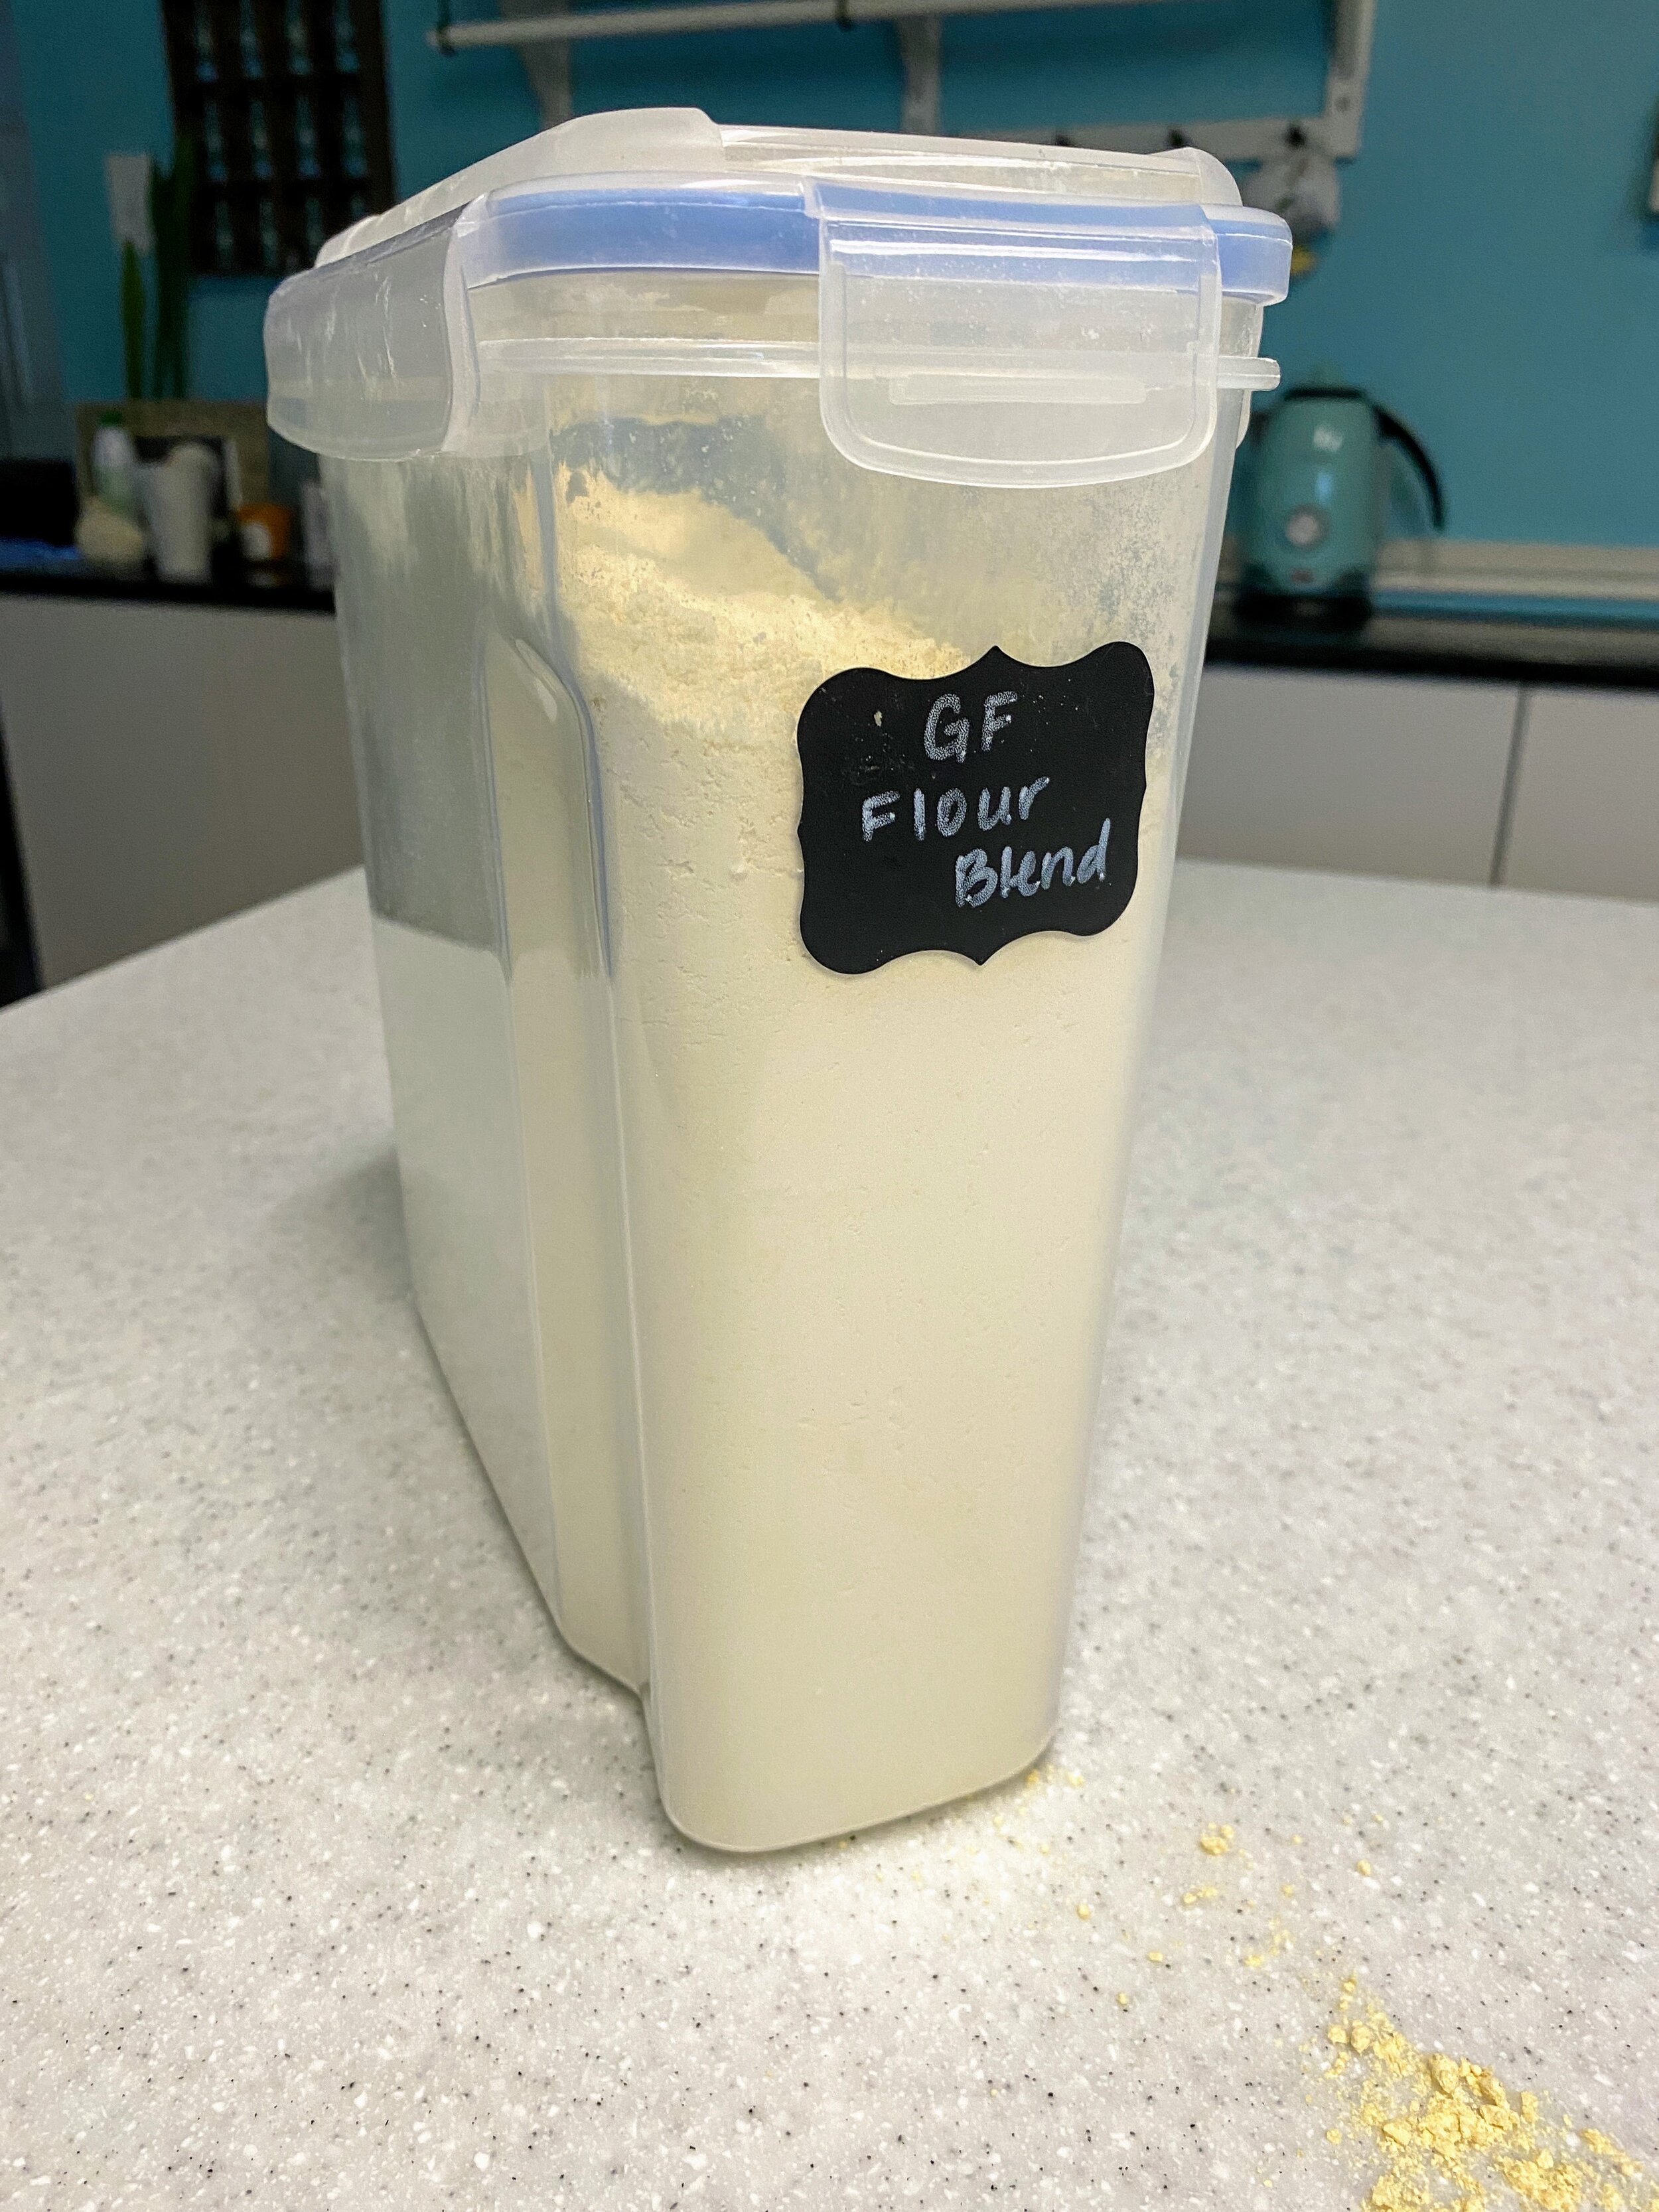
We have this delightful plastic tub with a strong seal that we use for the gluten free flour. Once the flours have all been put in, we seal up the container and shake it until everything is uniform. It’s easier than using a spoon or a whisk which can be really messy.
Instructions for Gluten Free Bread:
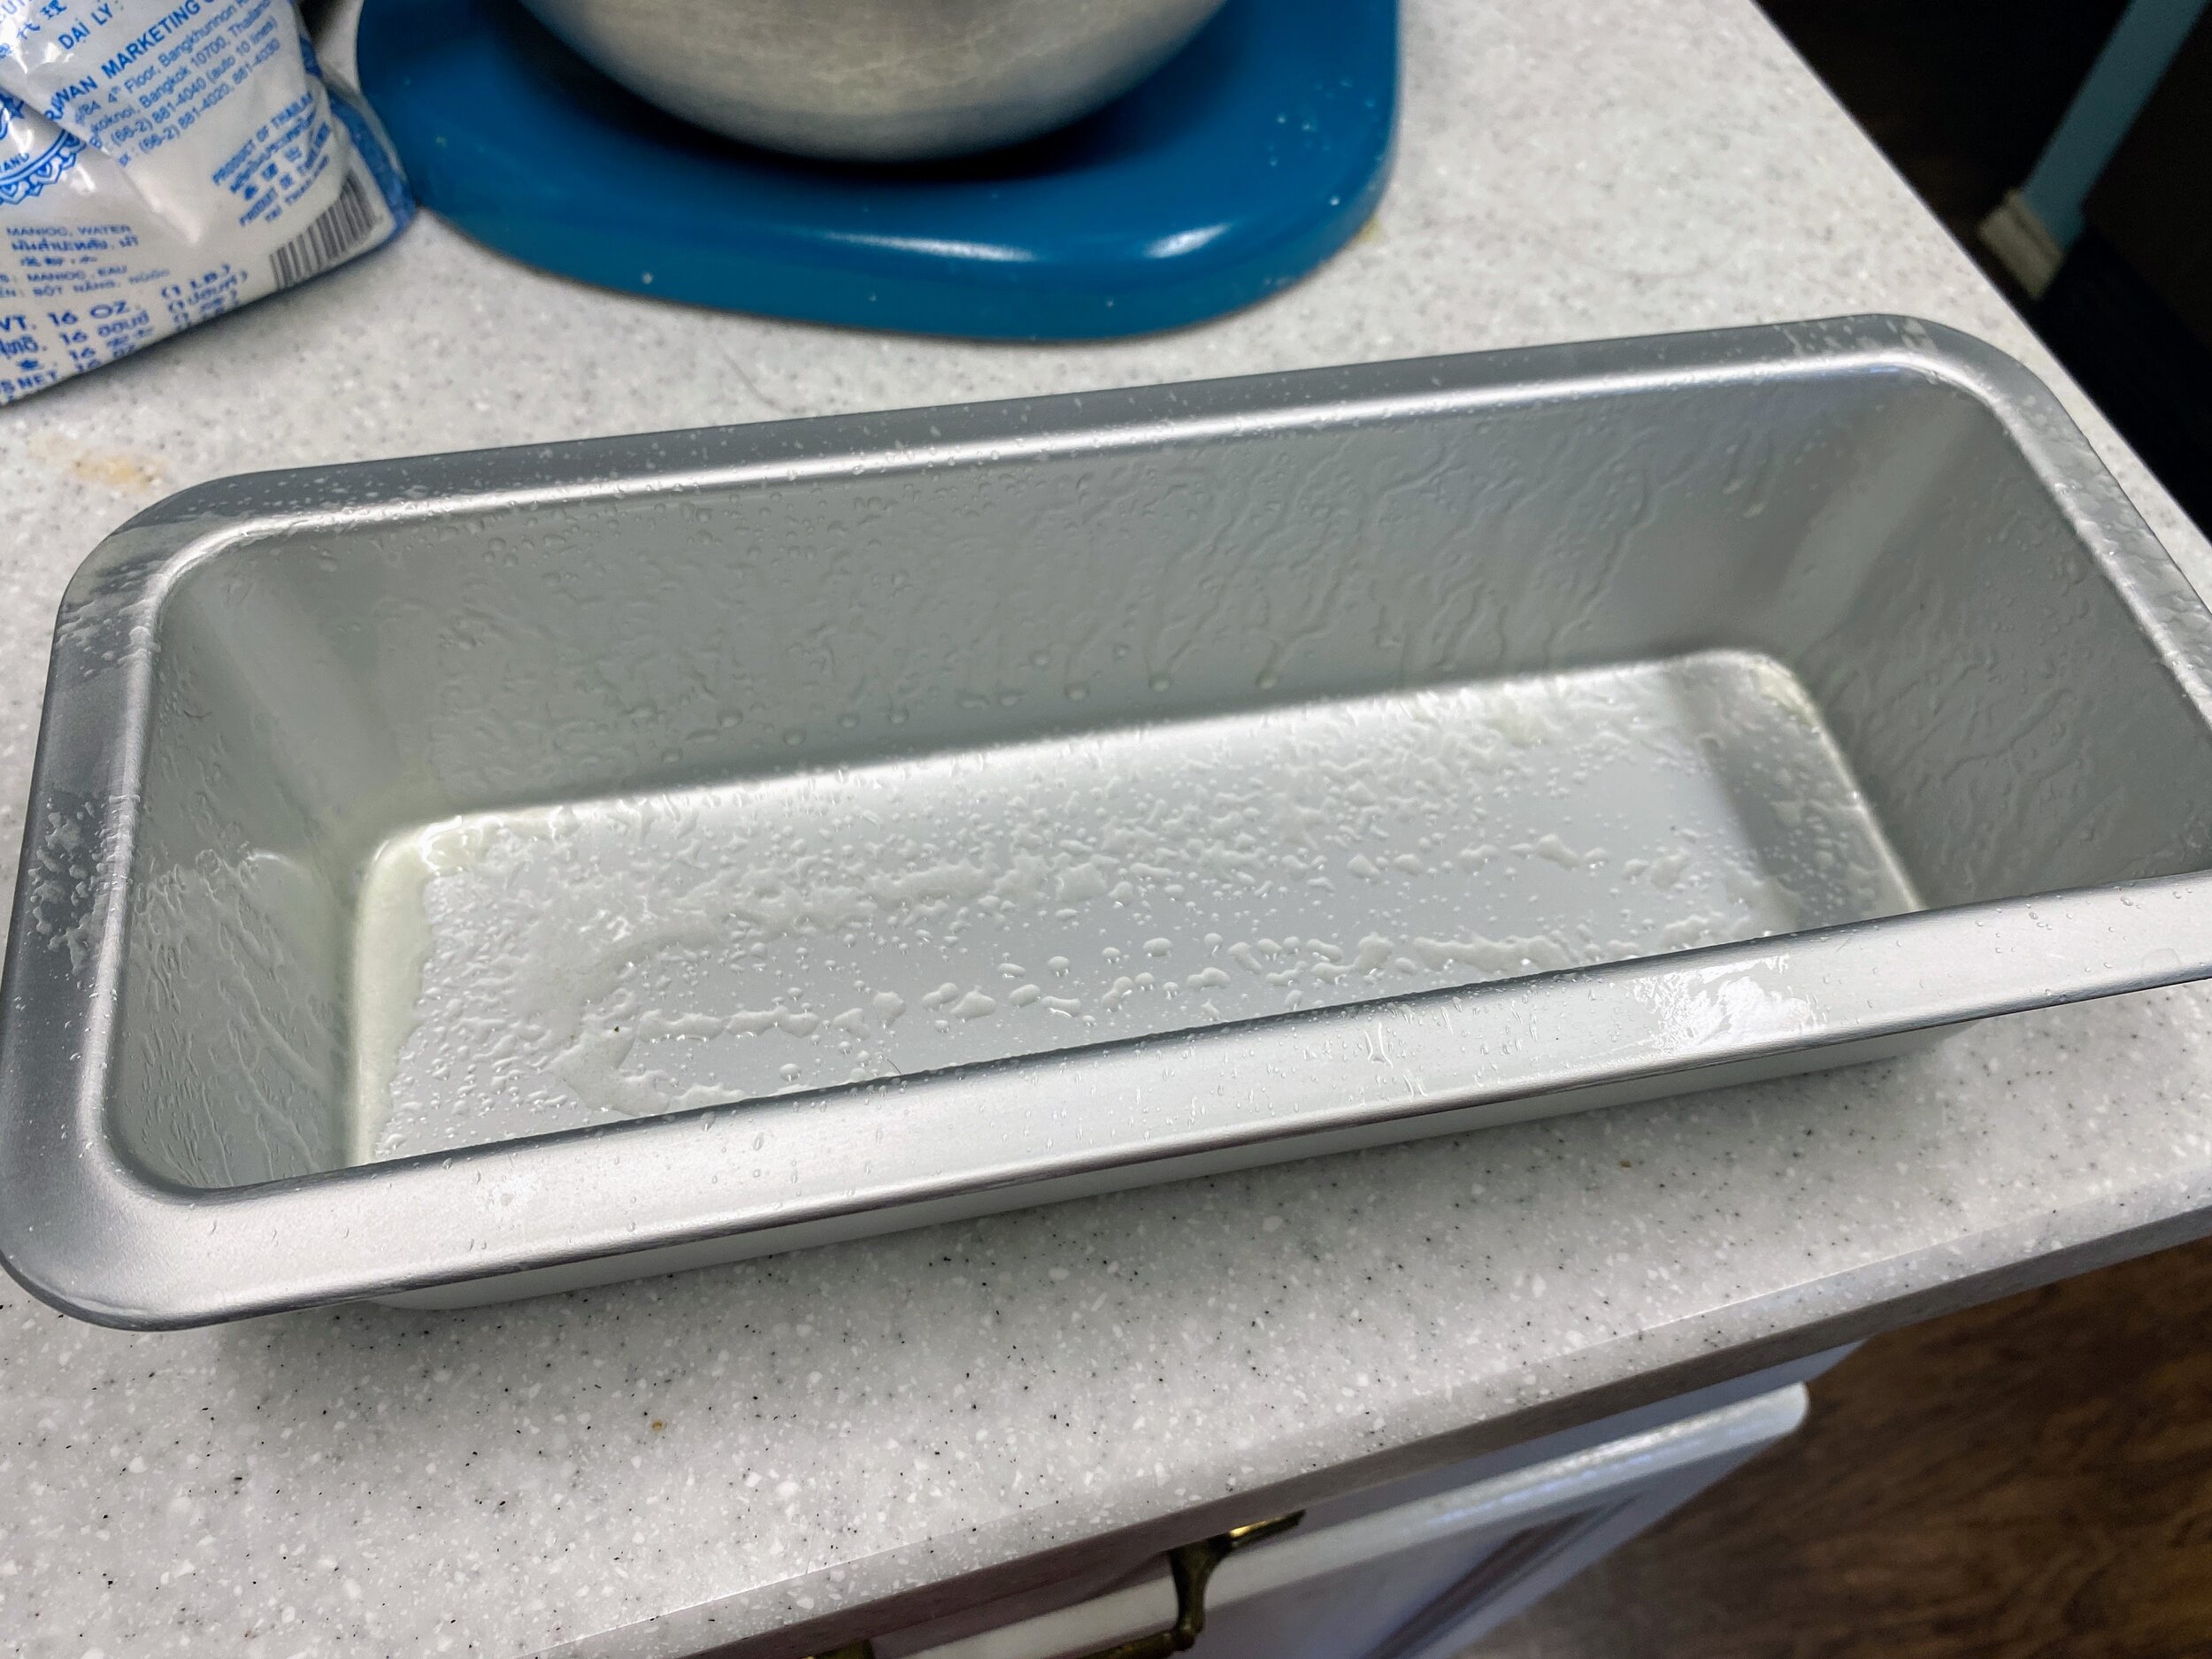
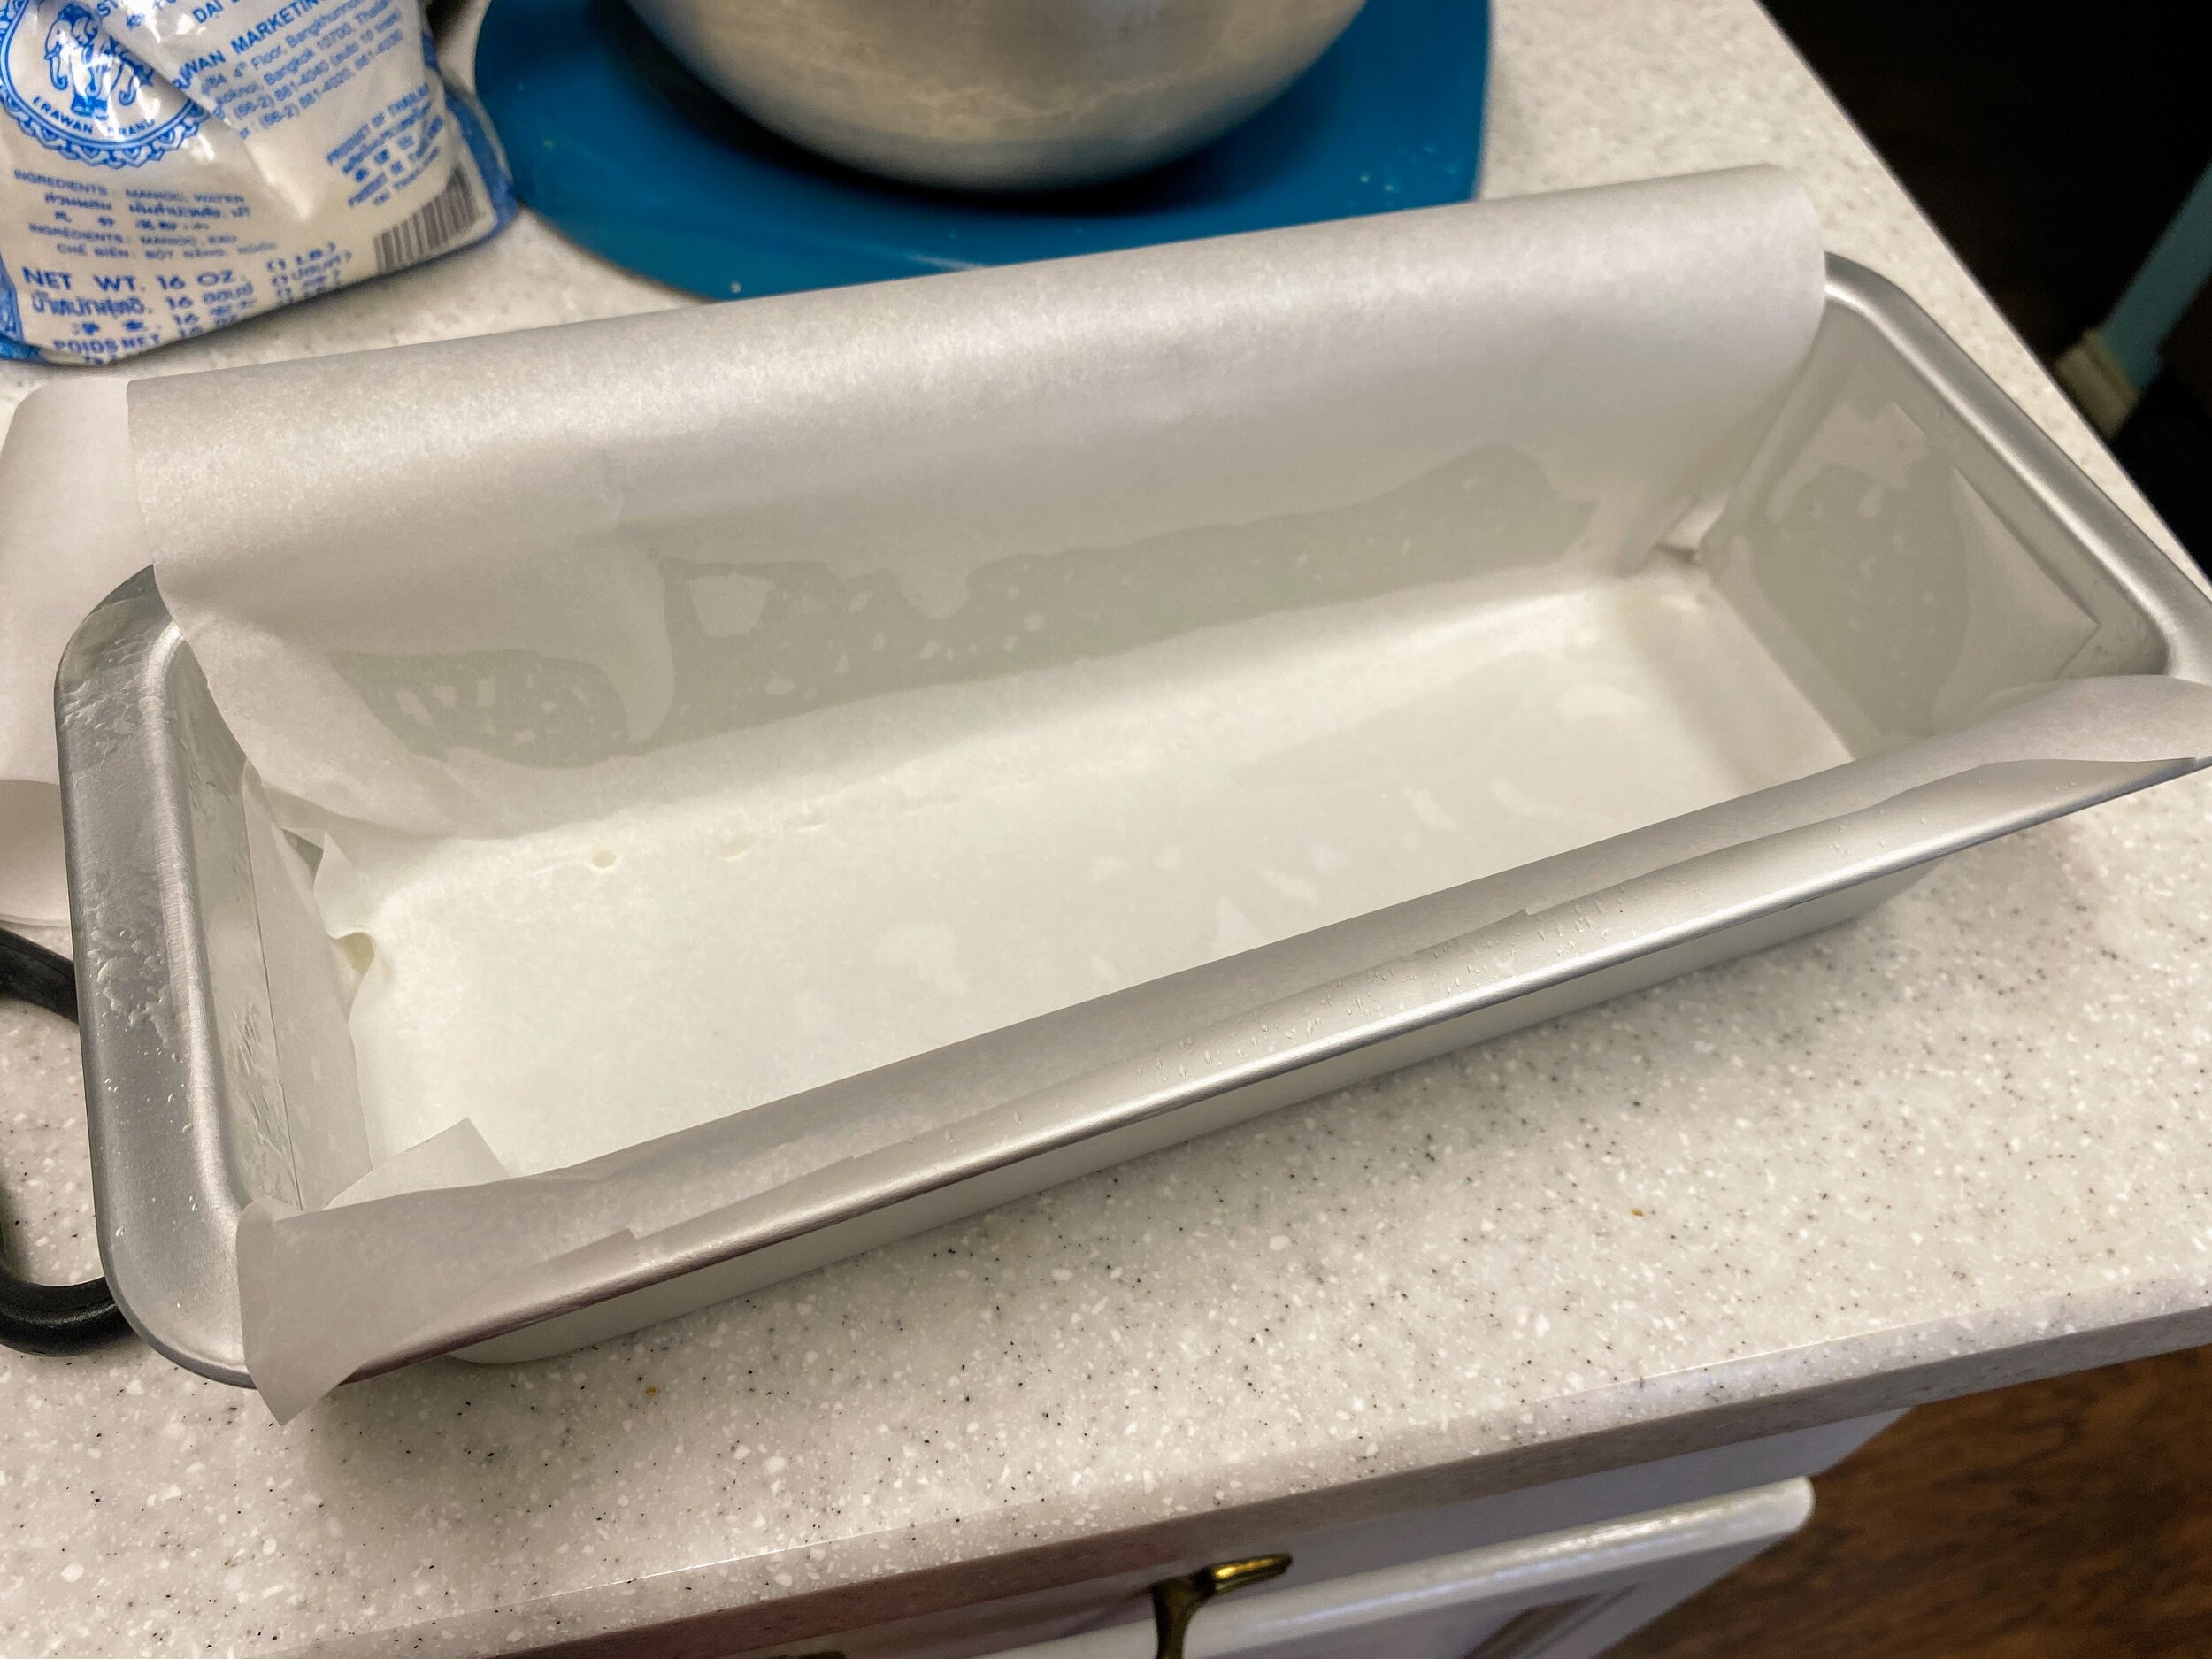
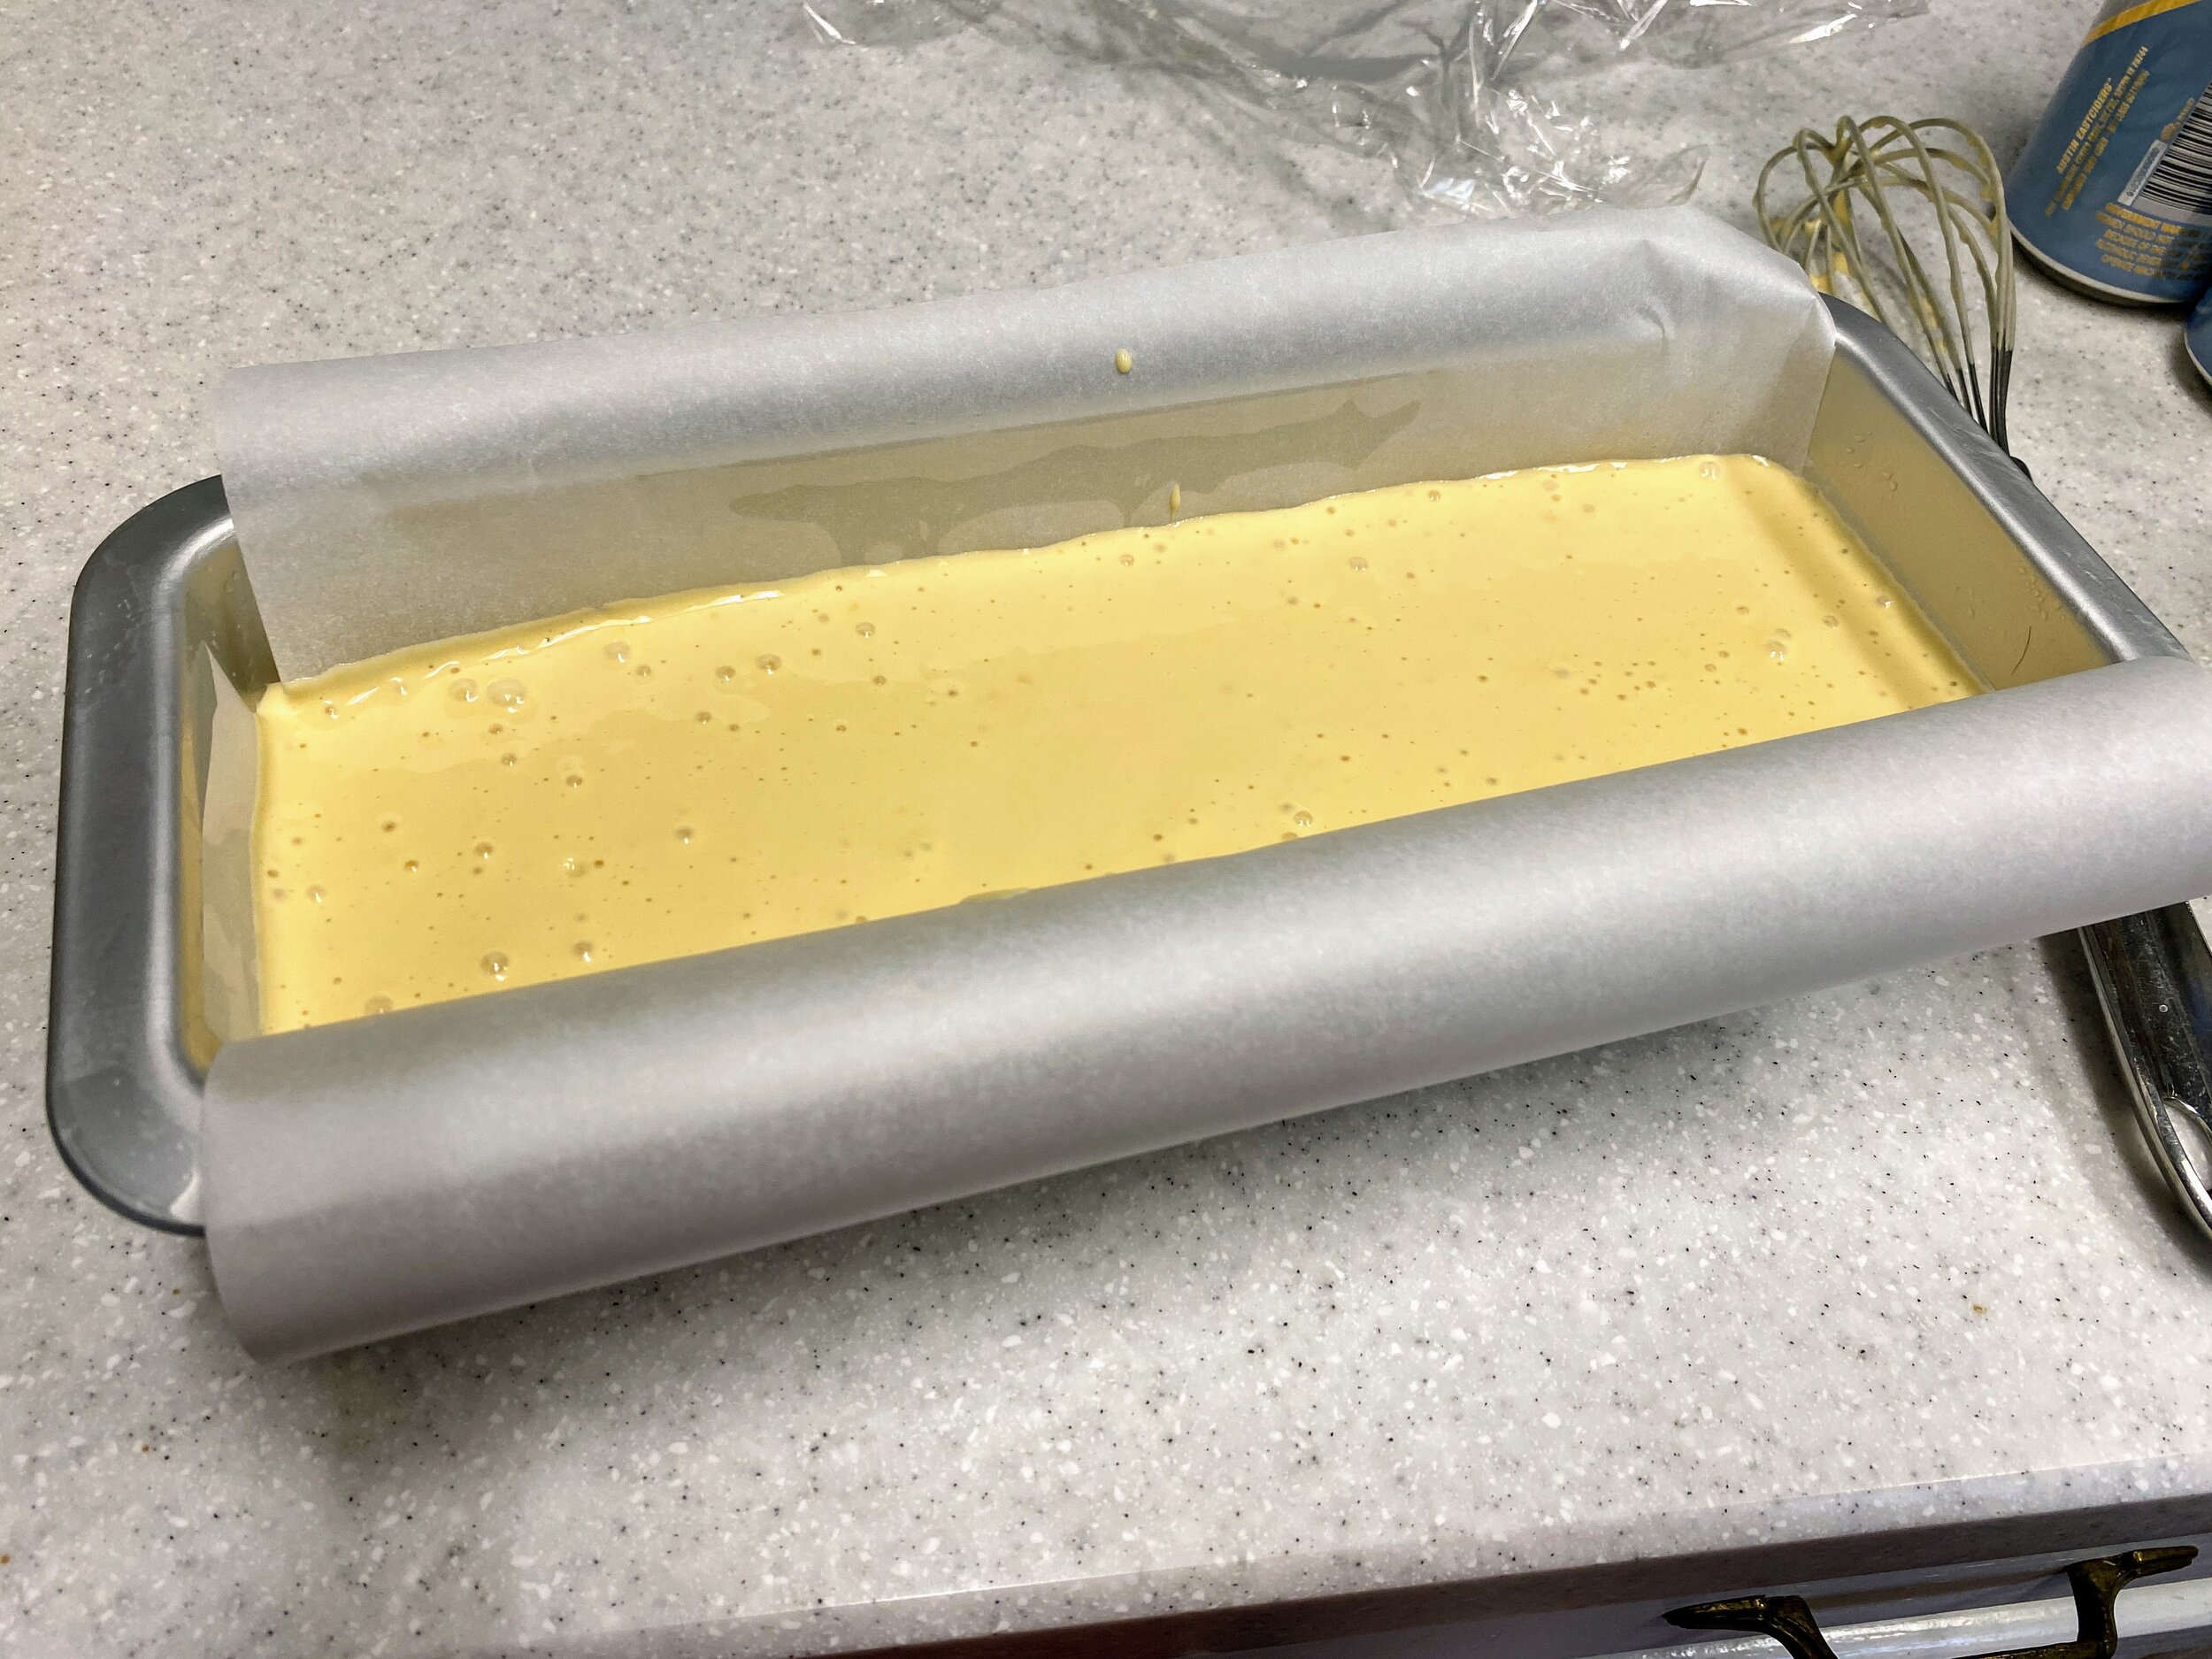
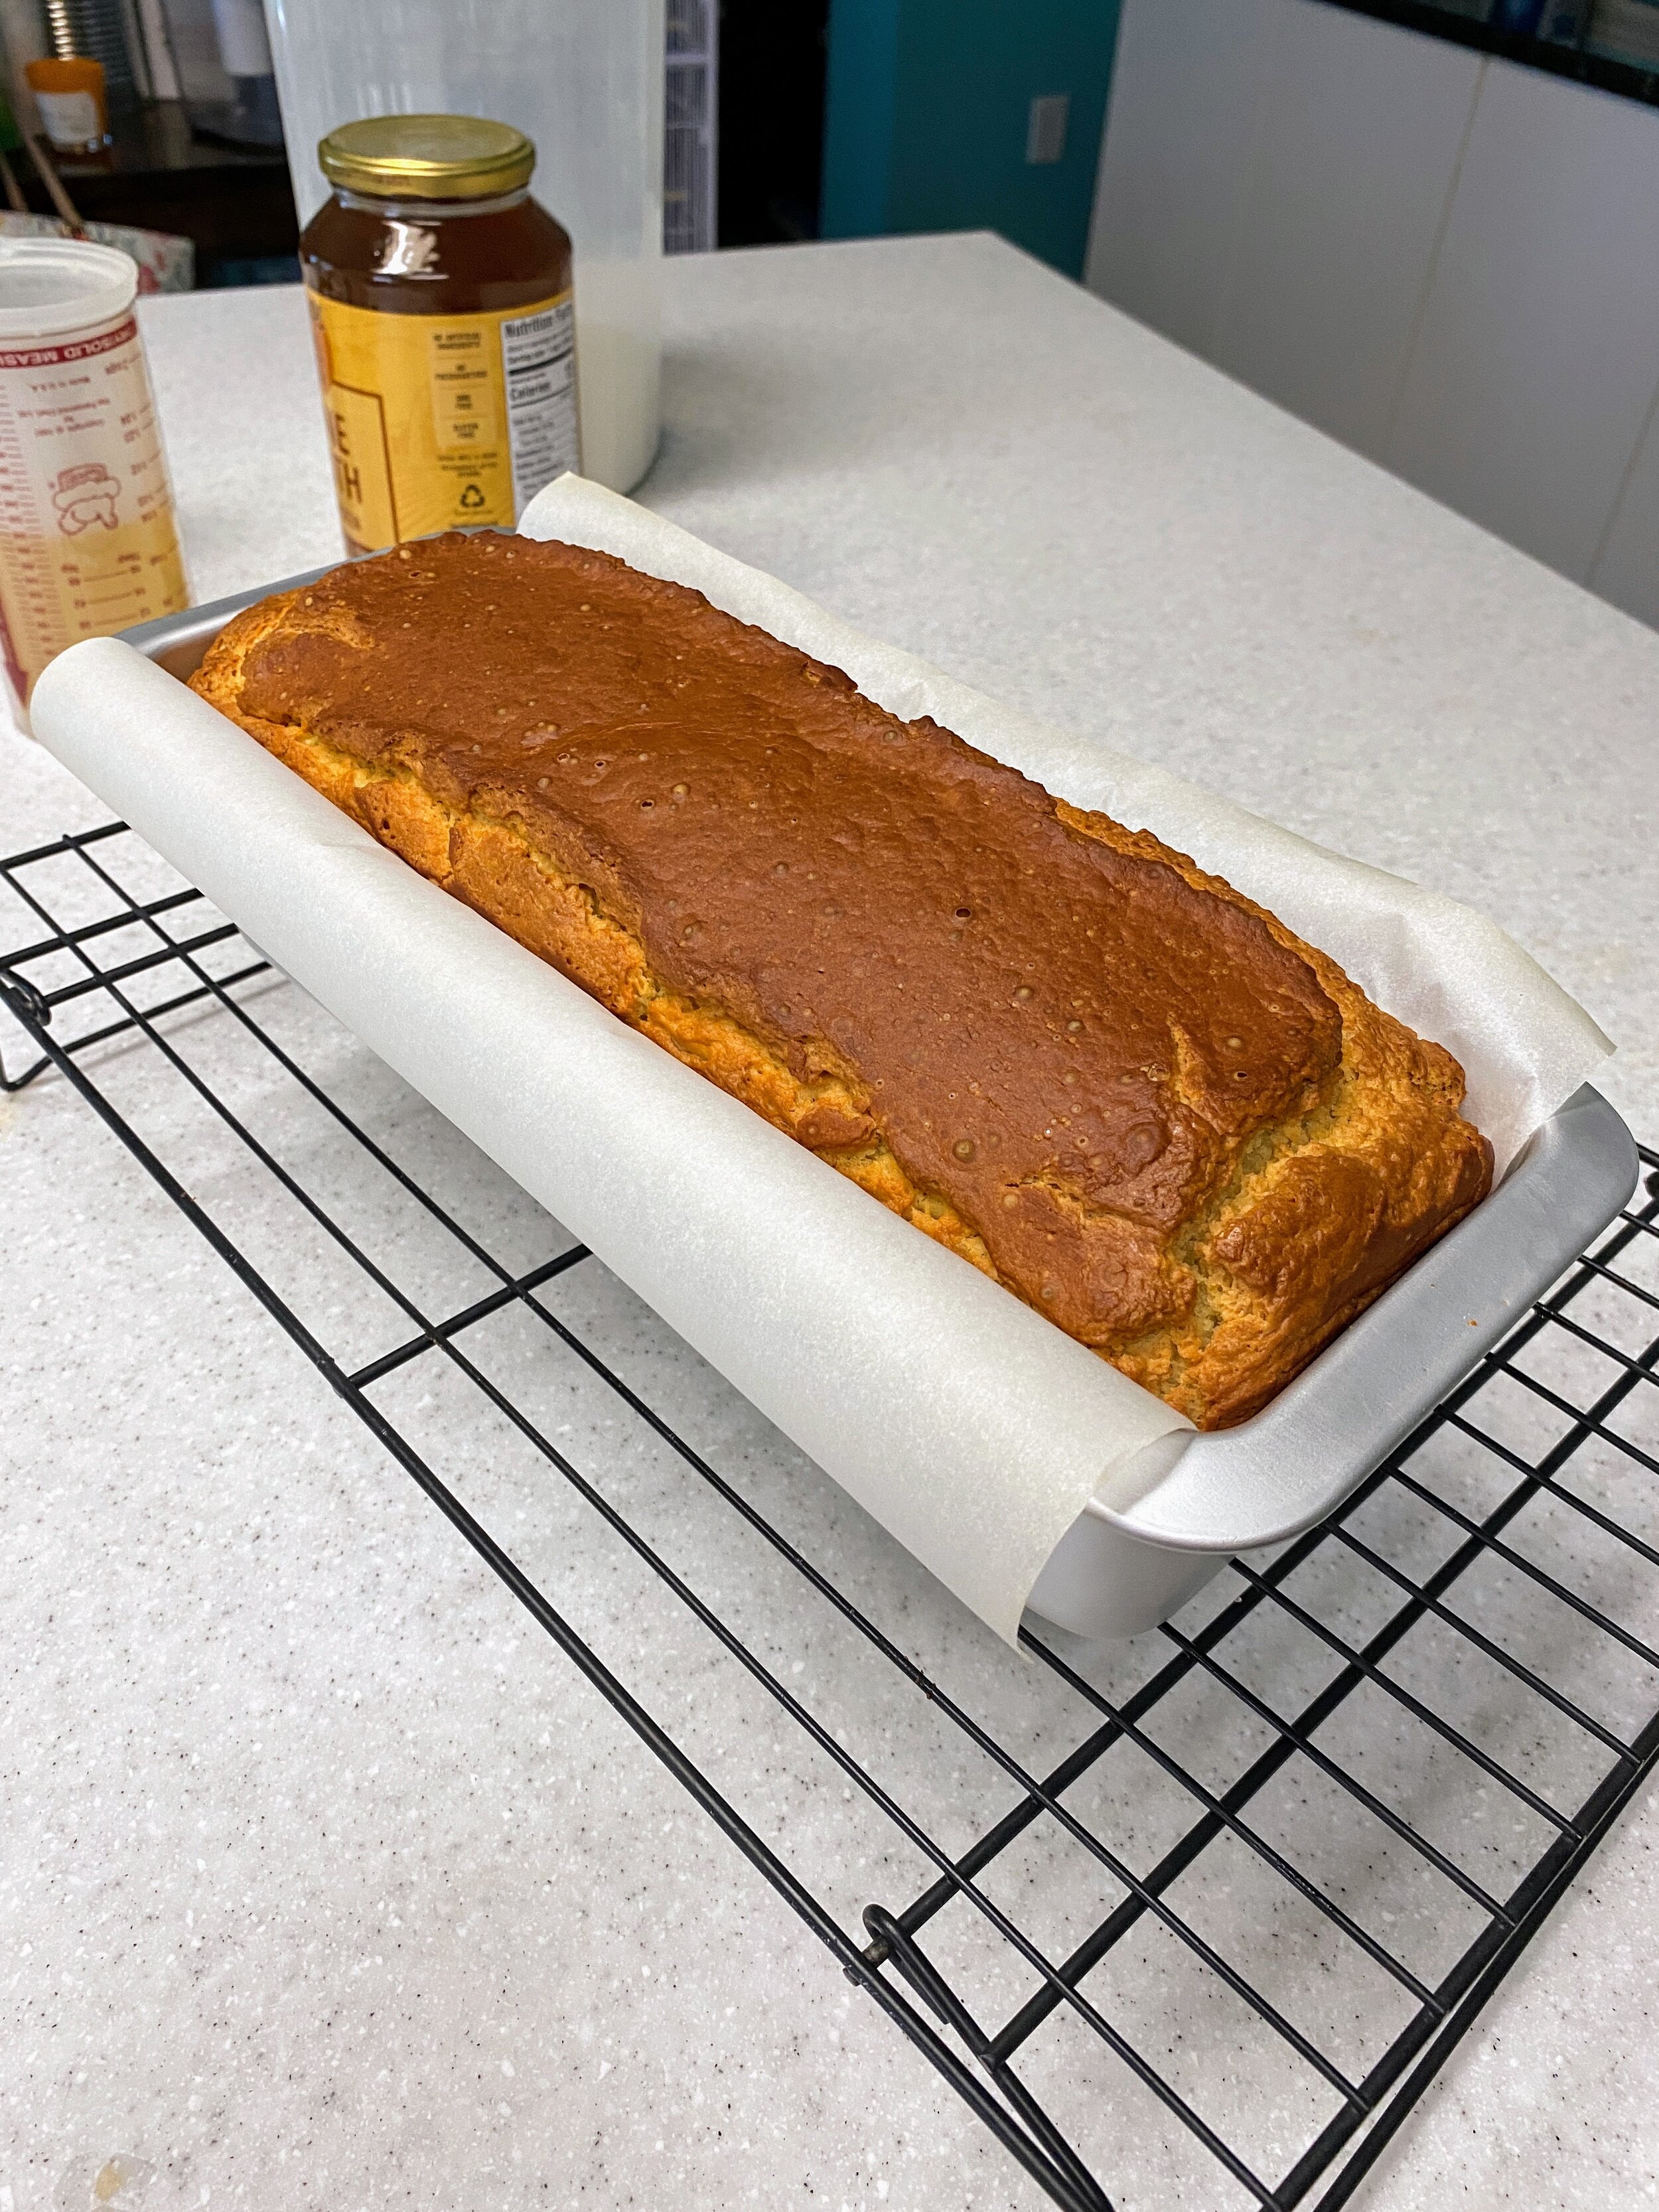
Grease a loaf tin (11in L x 4in W x 3in D) and line with parchment paper.
We chose a different shape of loaf tin on purpose for this recipe. I’ve found that a lot of gluten free breads that we’ve made don’t rise very well in the middle if the batter is too deep/thick. This tin is longer and more shallow which gives it a much better rise.
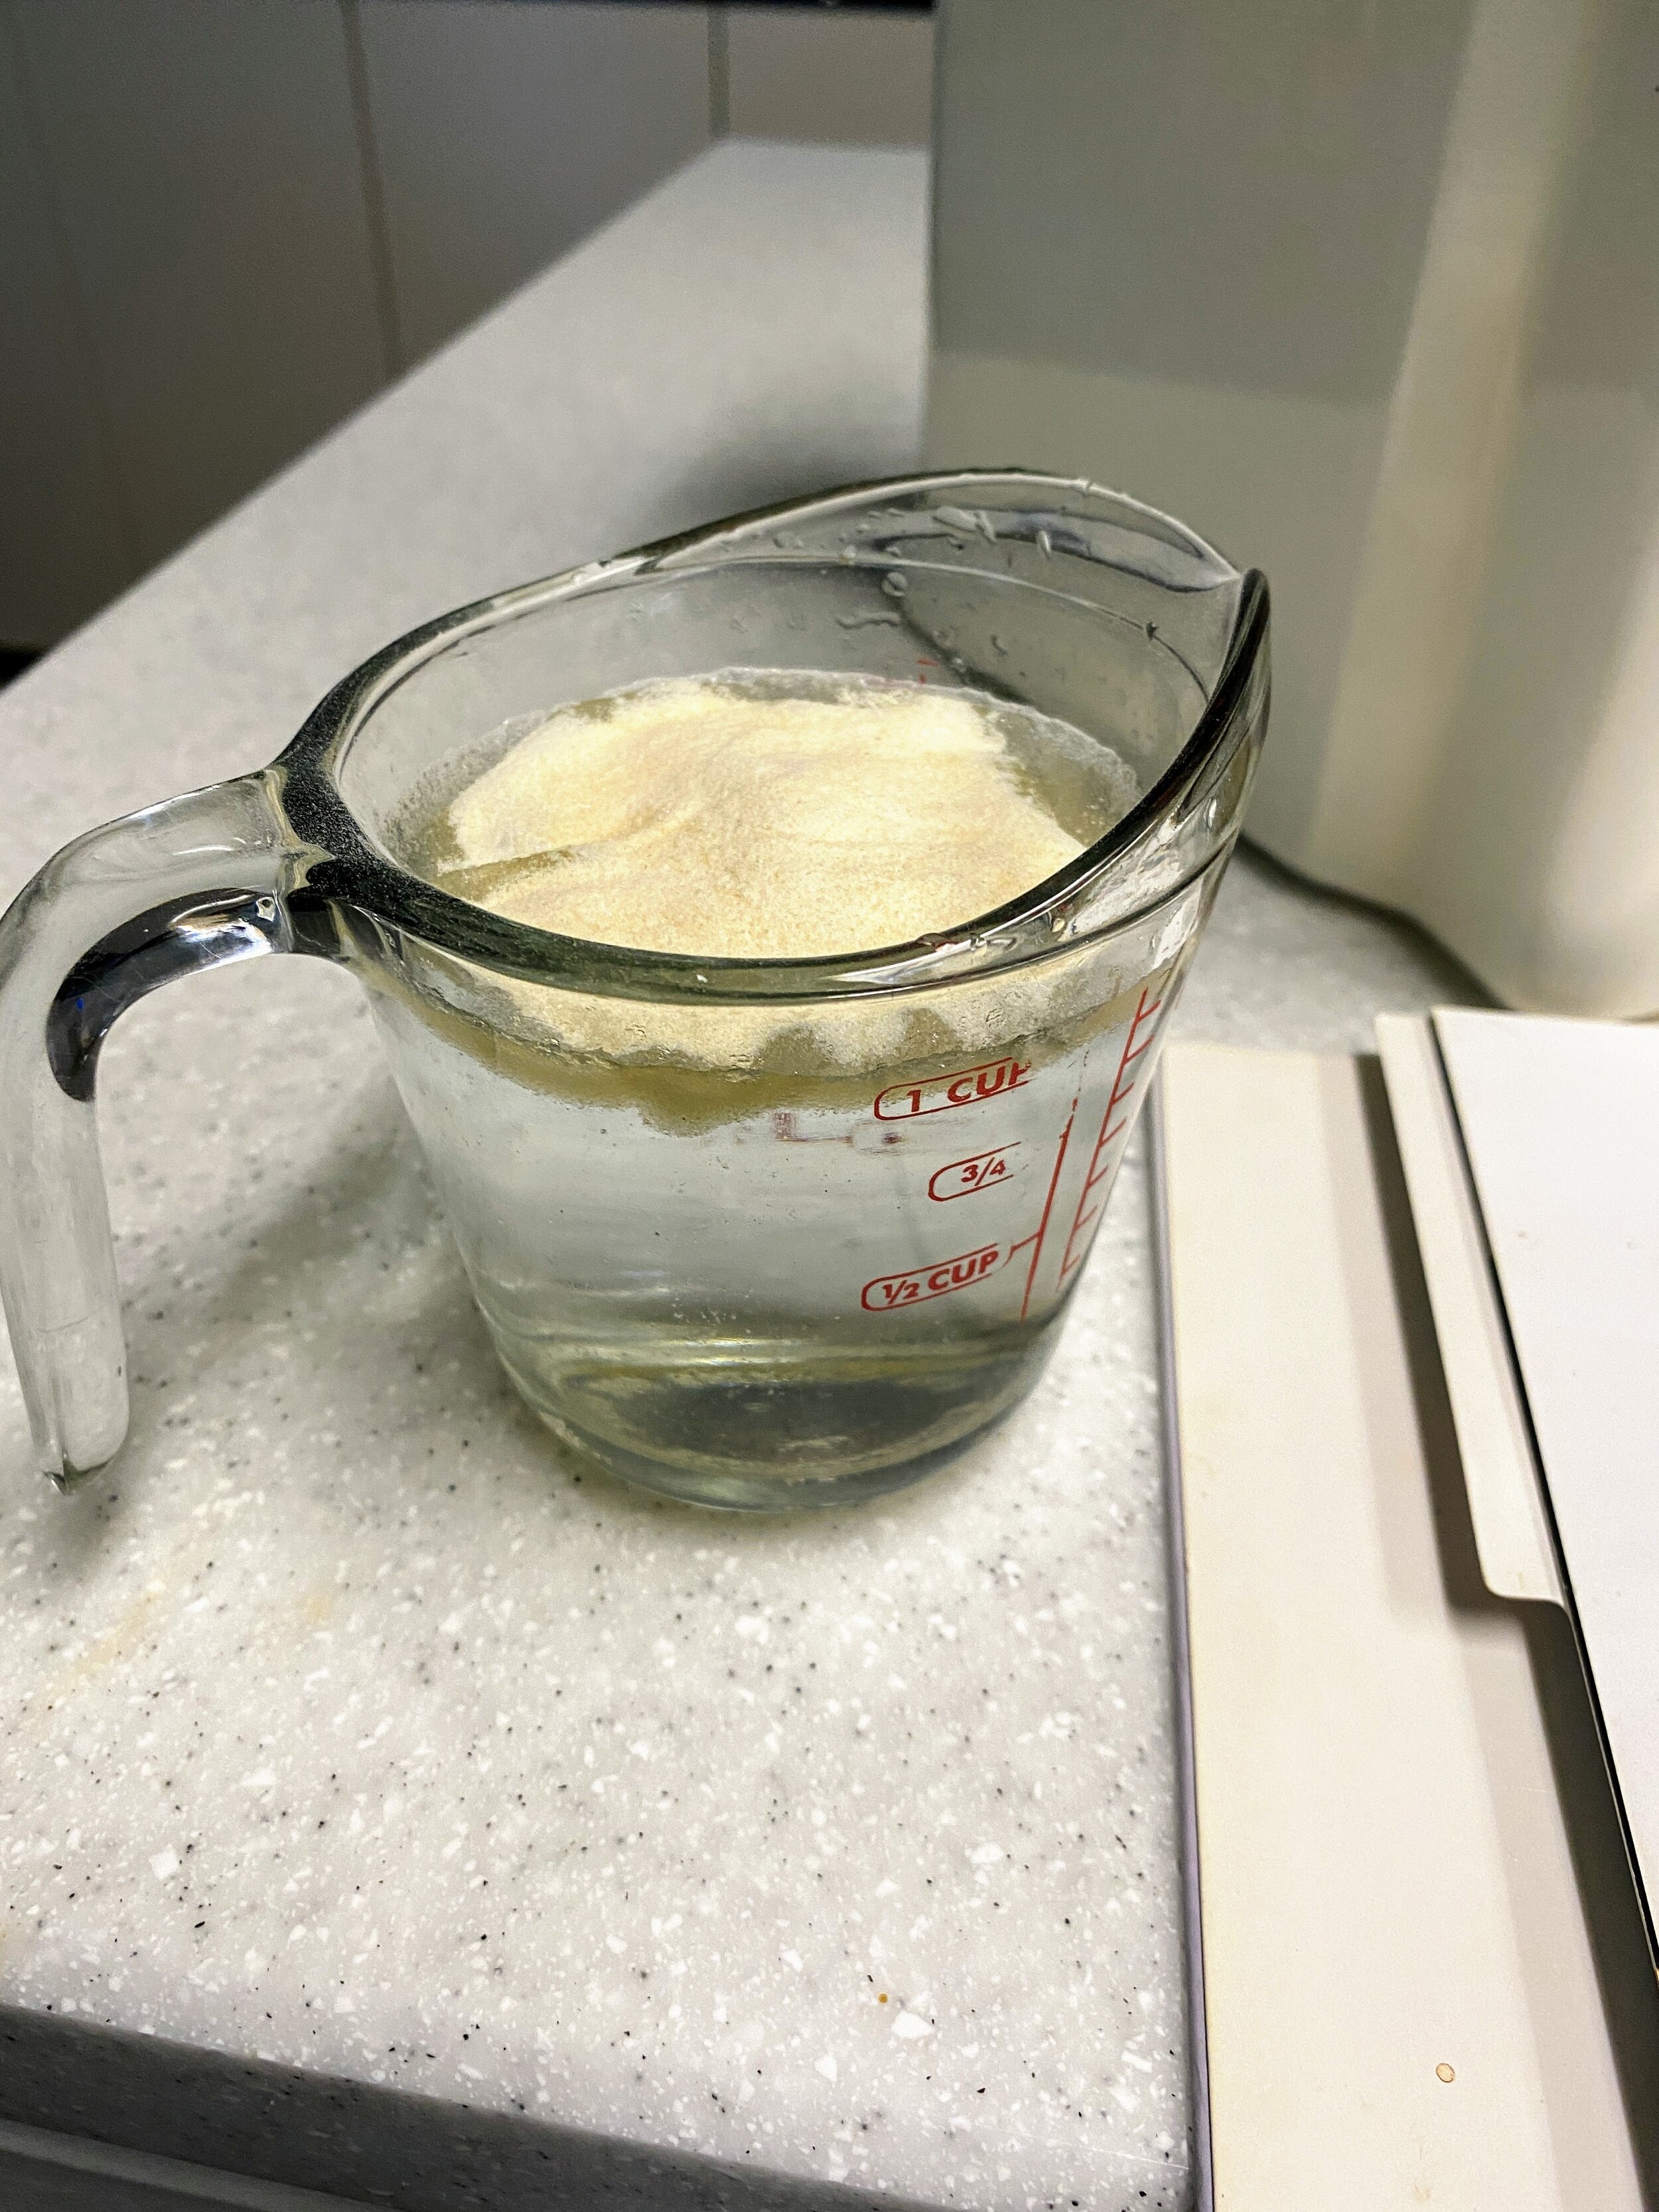
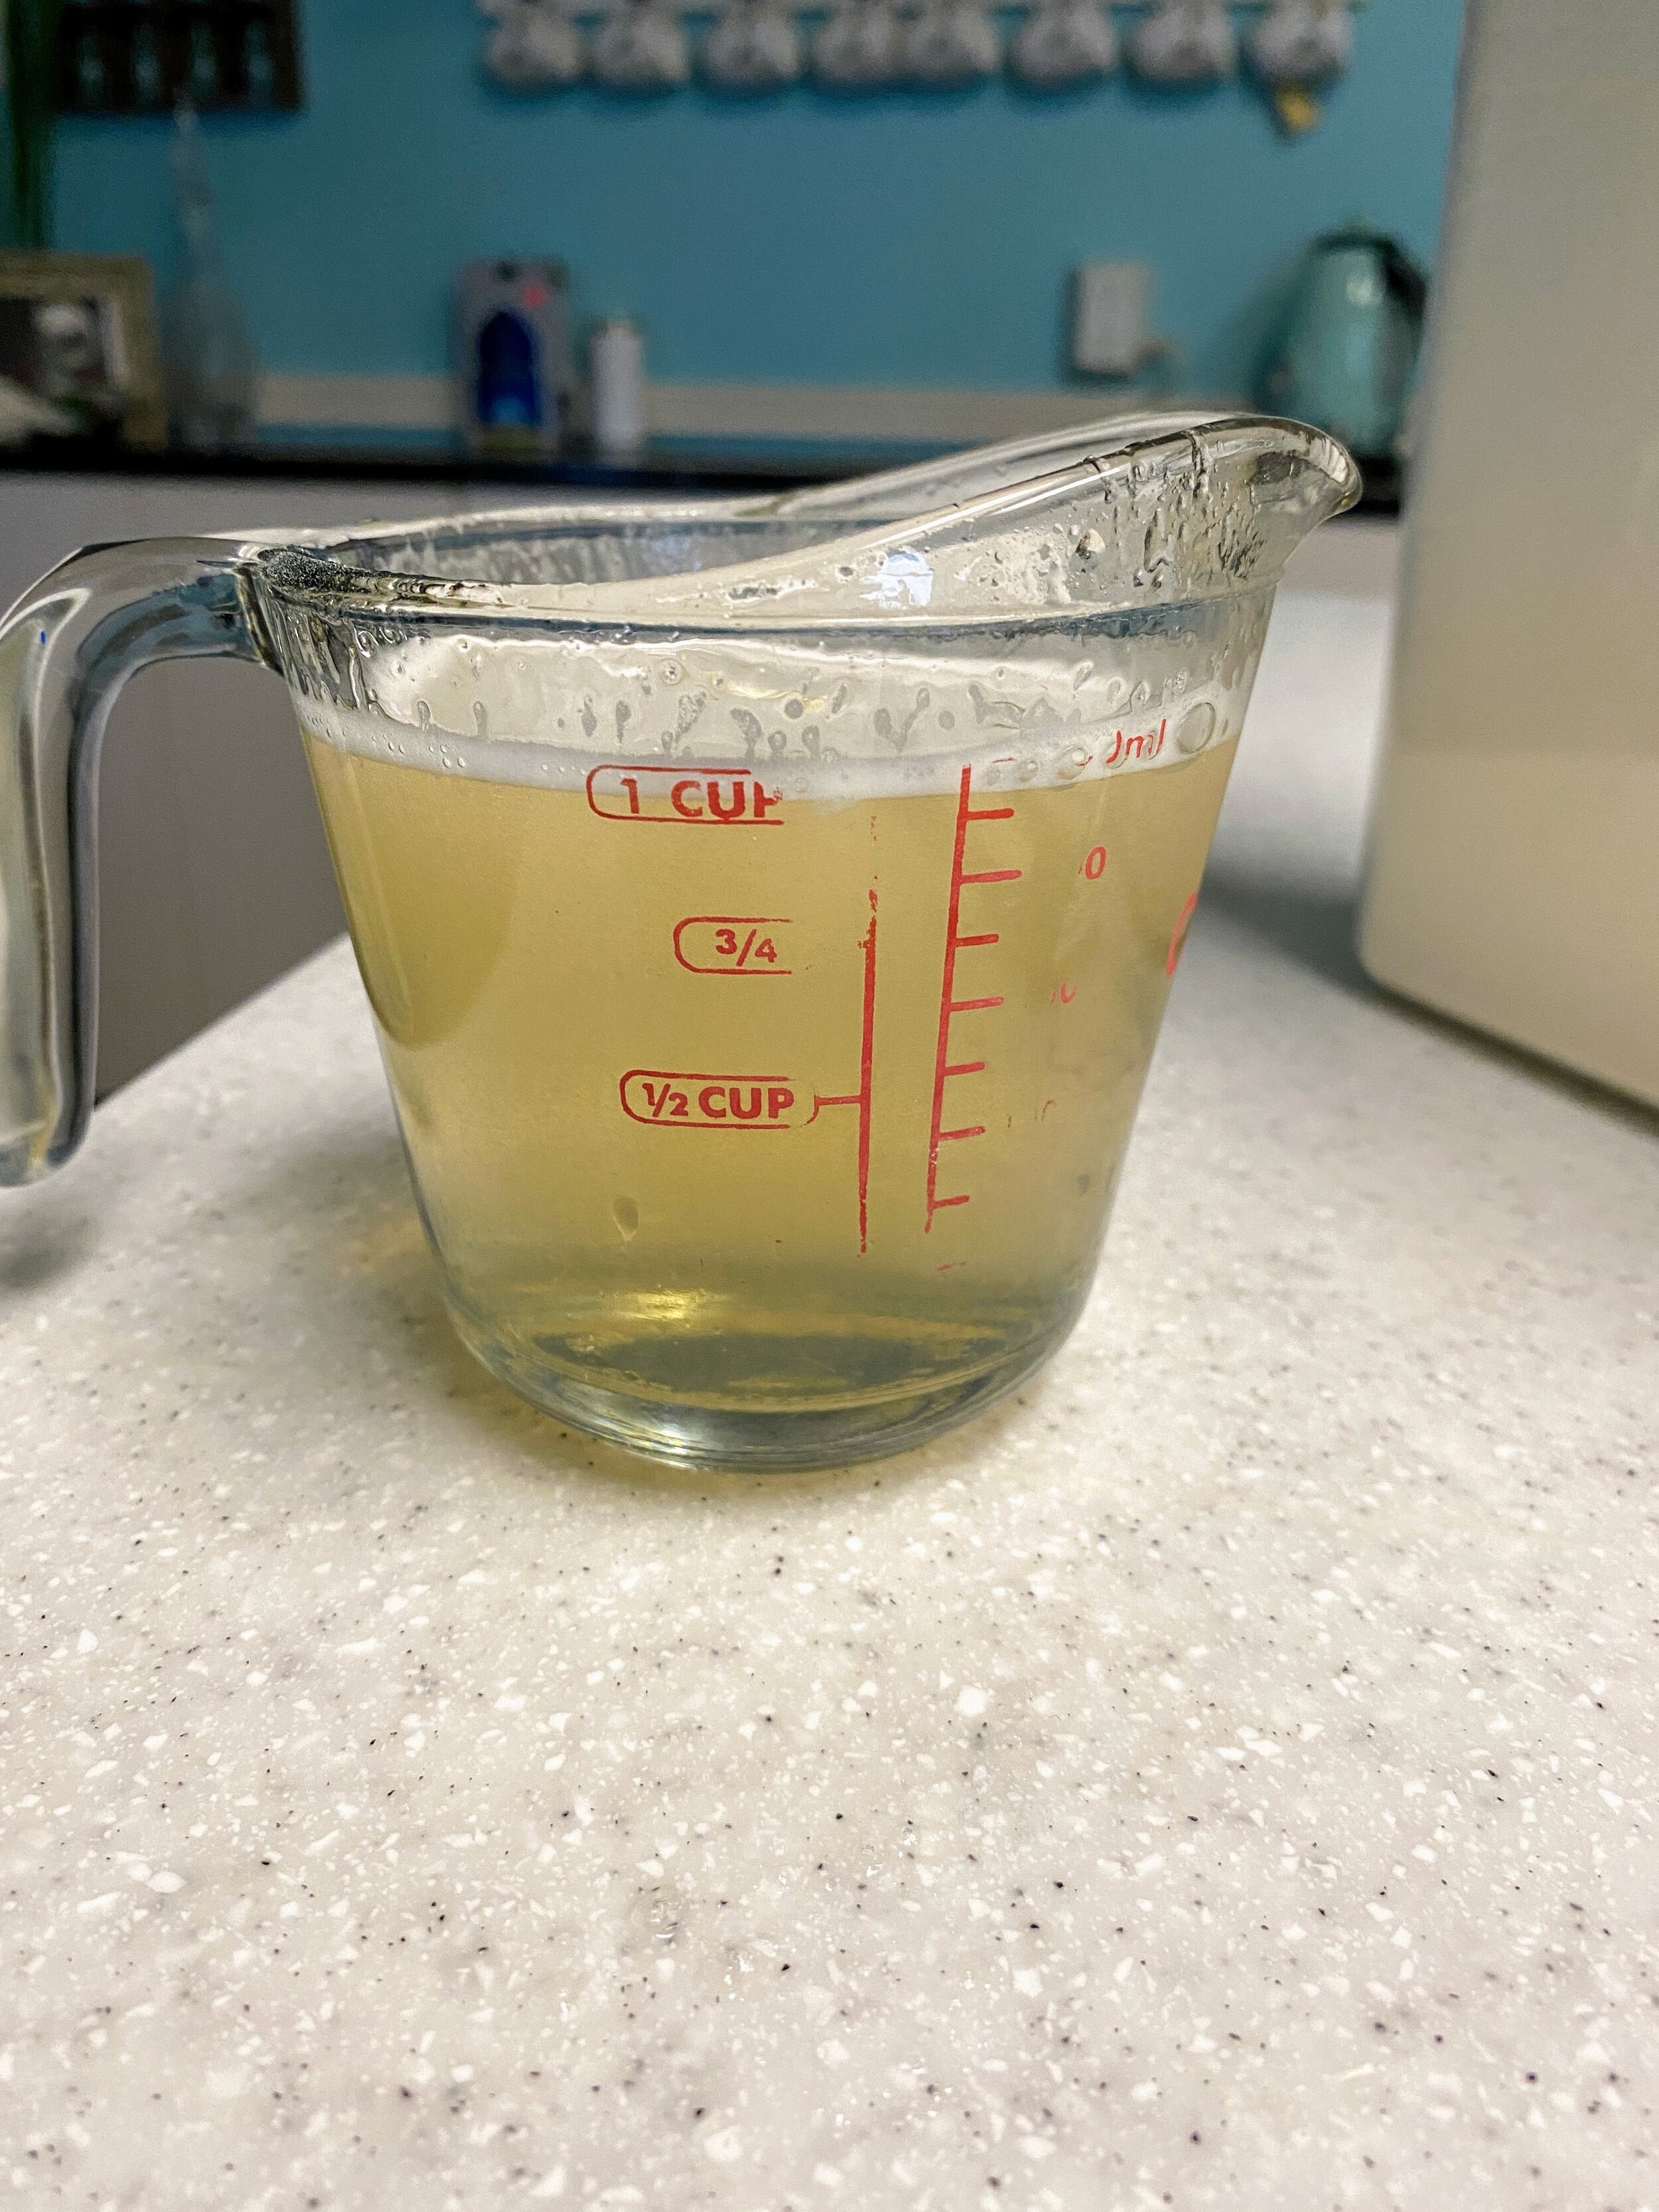
Place the gelatin into 1 cup of cold water and let it soak until it sinks. Heat the gelatin mixture until it is clear. Set aside to cool.
I recommend doing this first (hence its location in the recipe!) as the gelatin mixture has the ability to scramble the eggs used later if it’s too hot when combined.
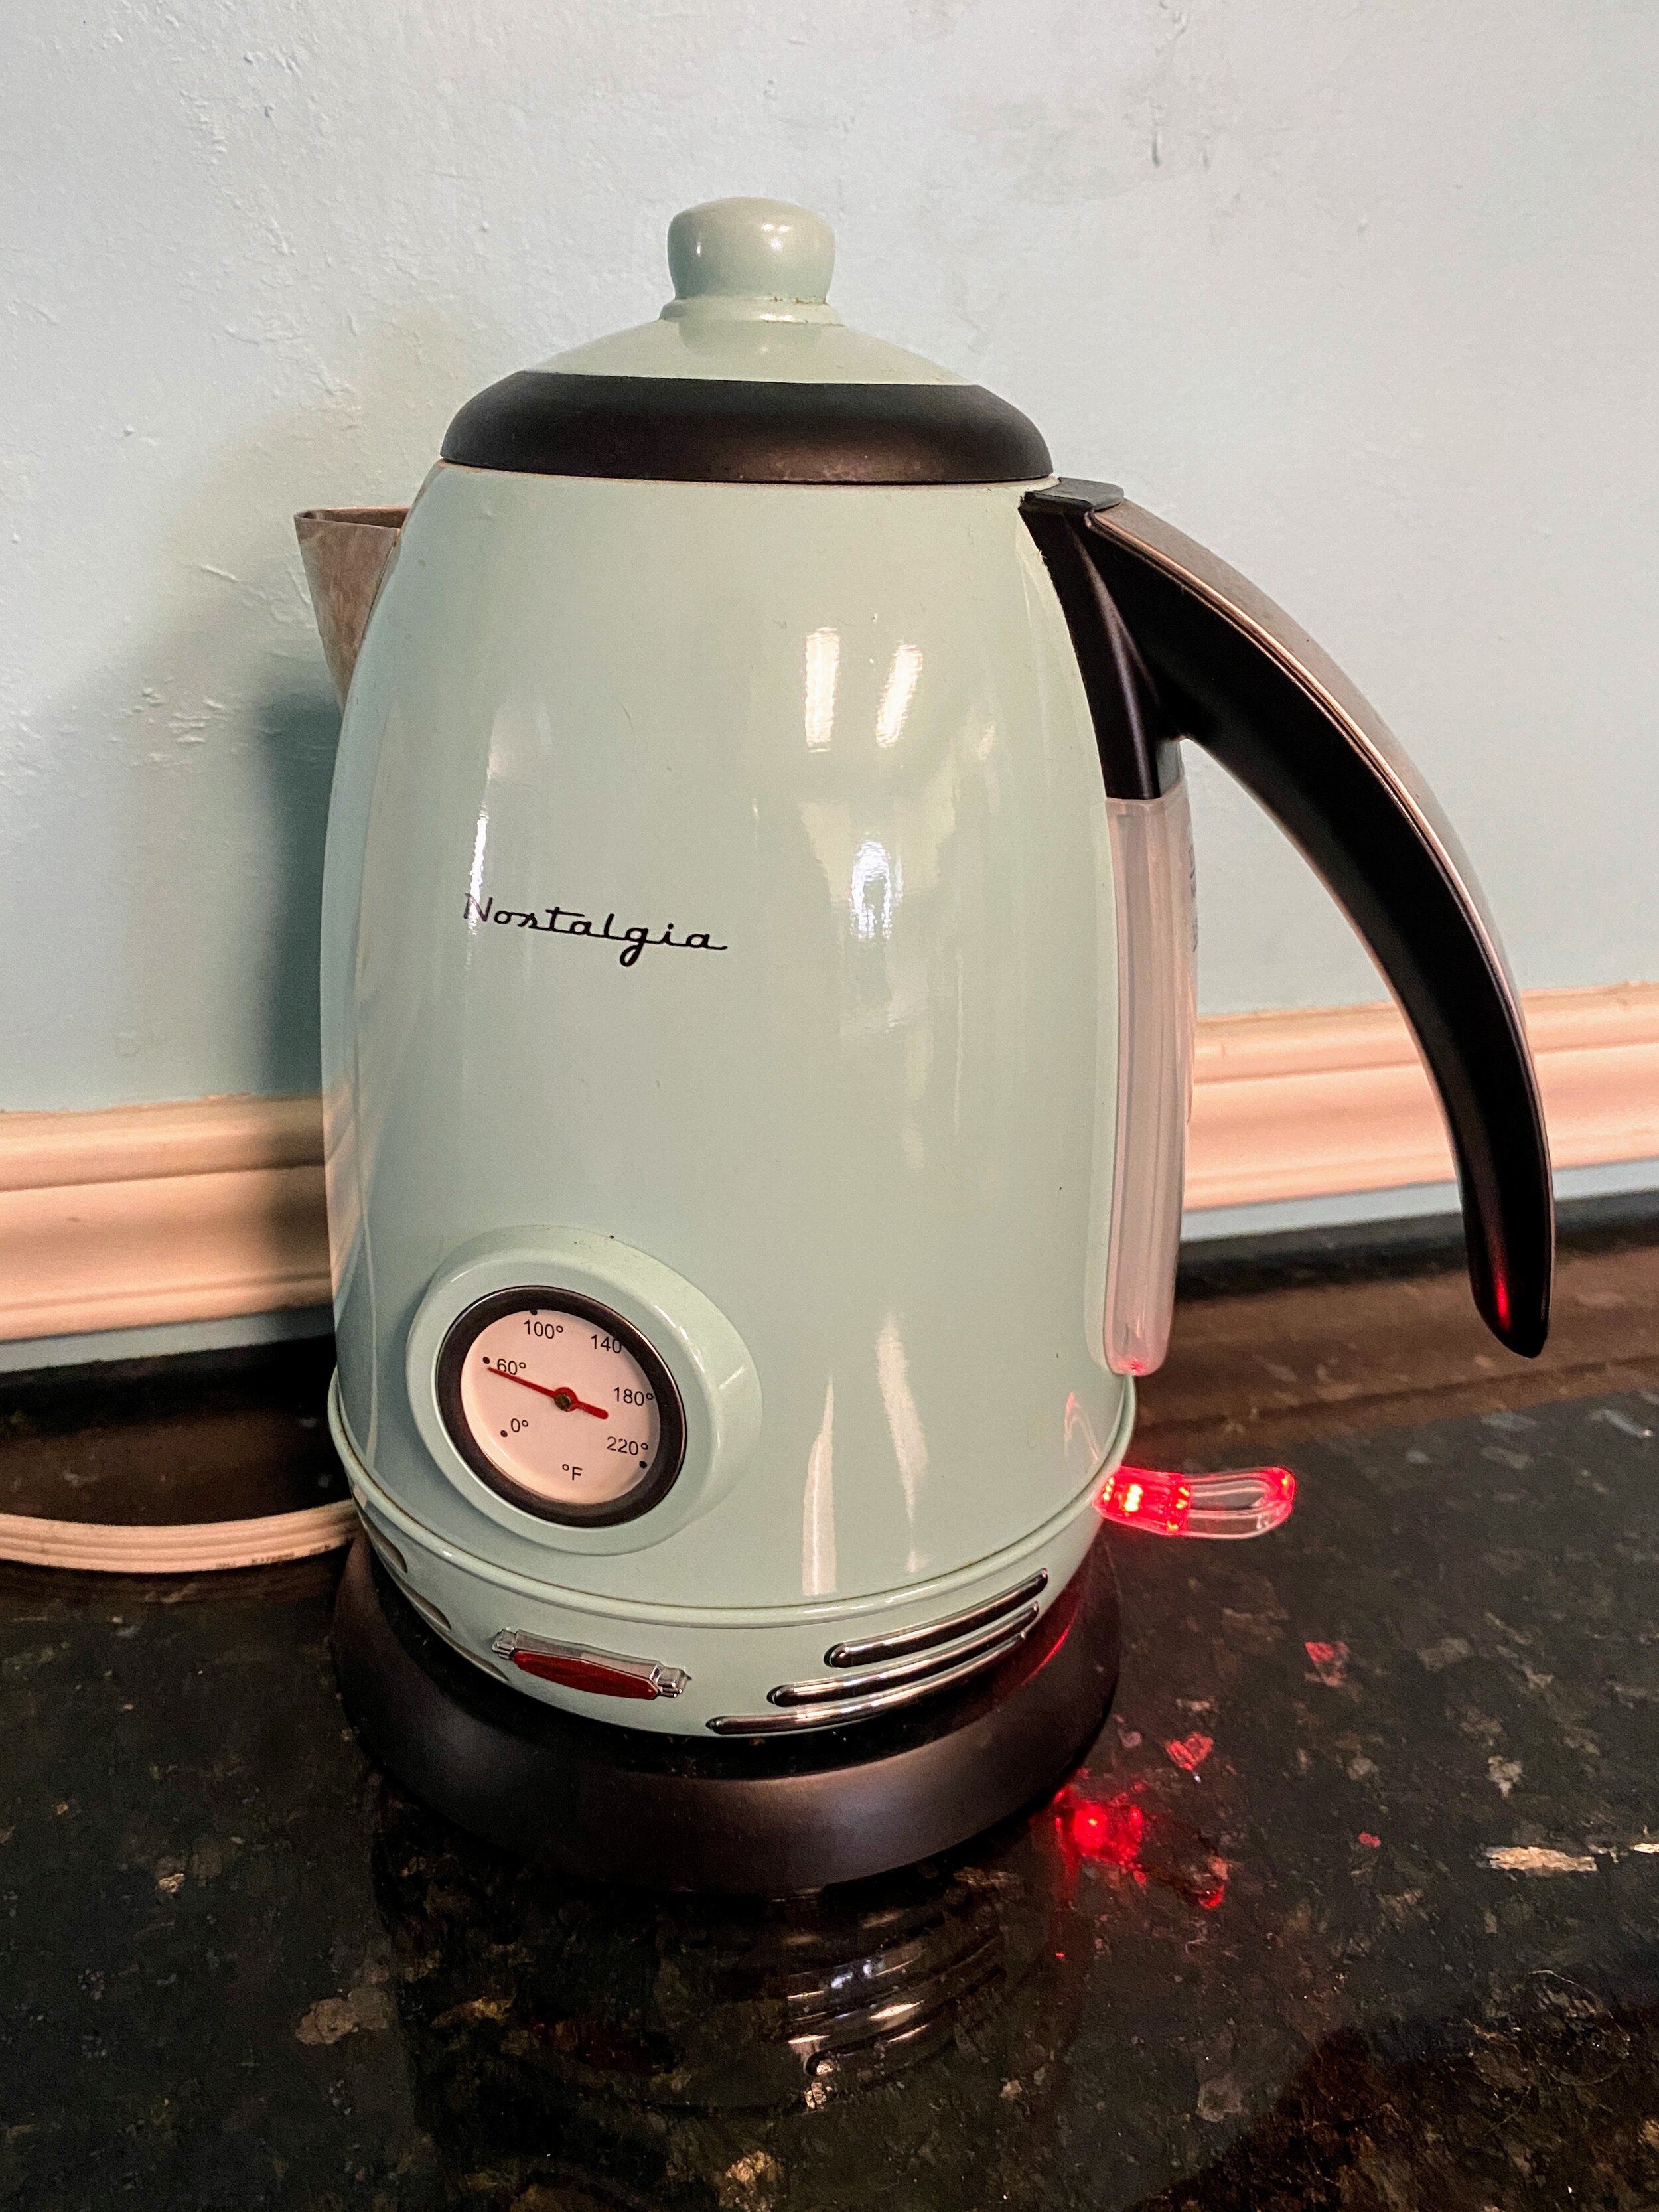
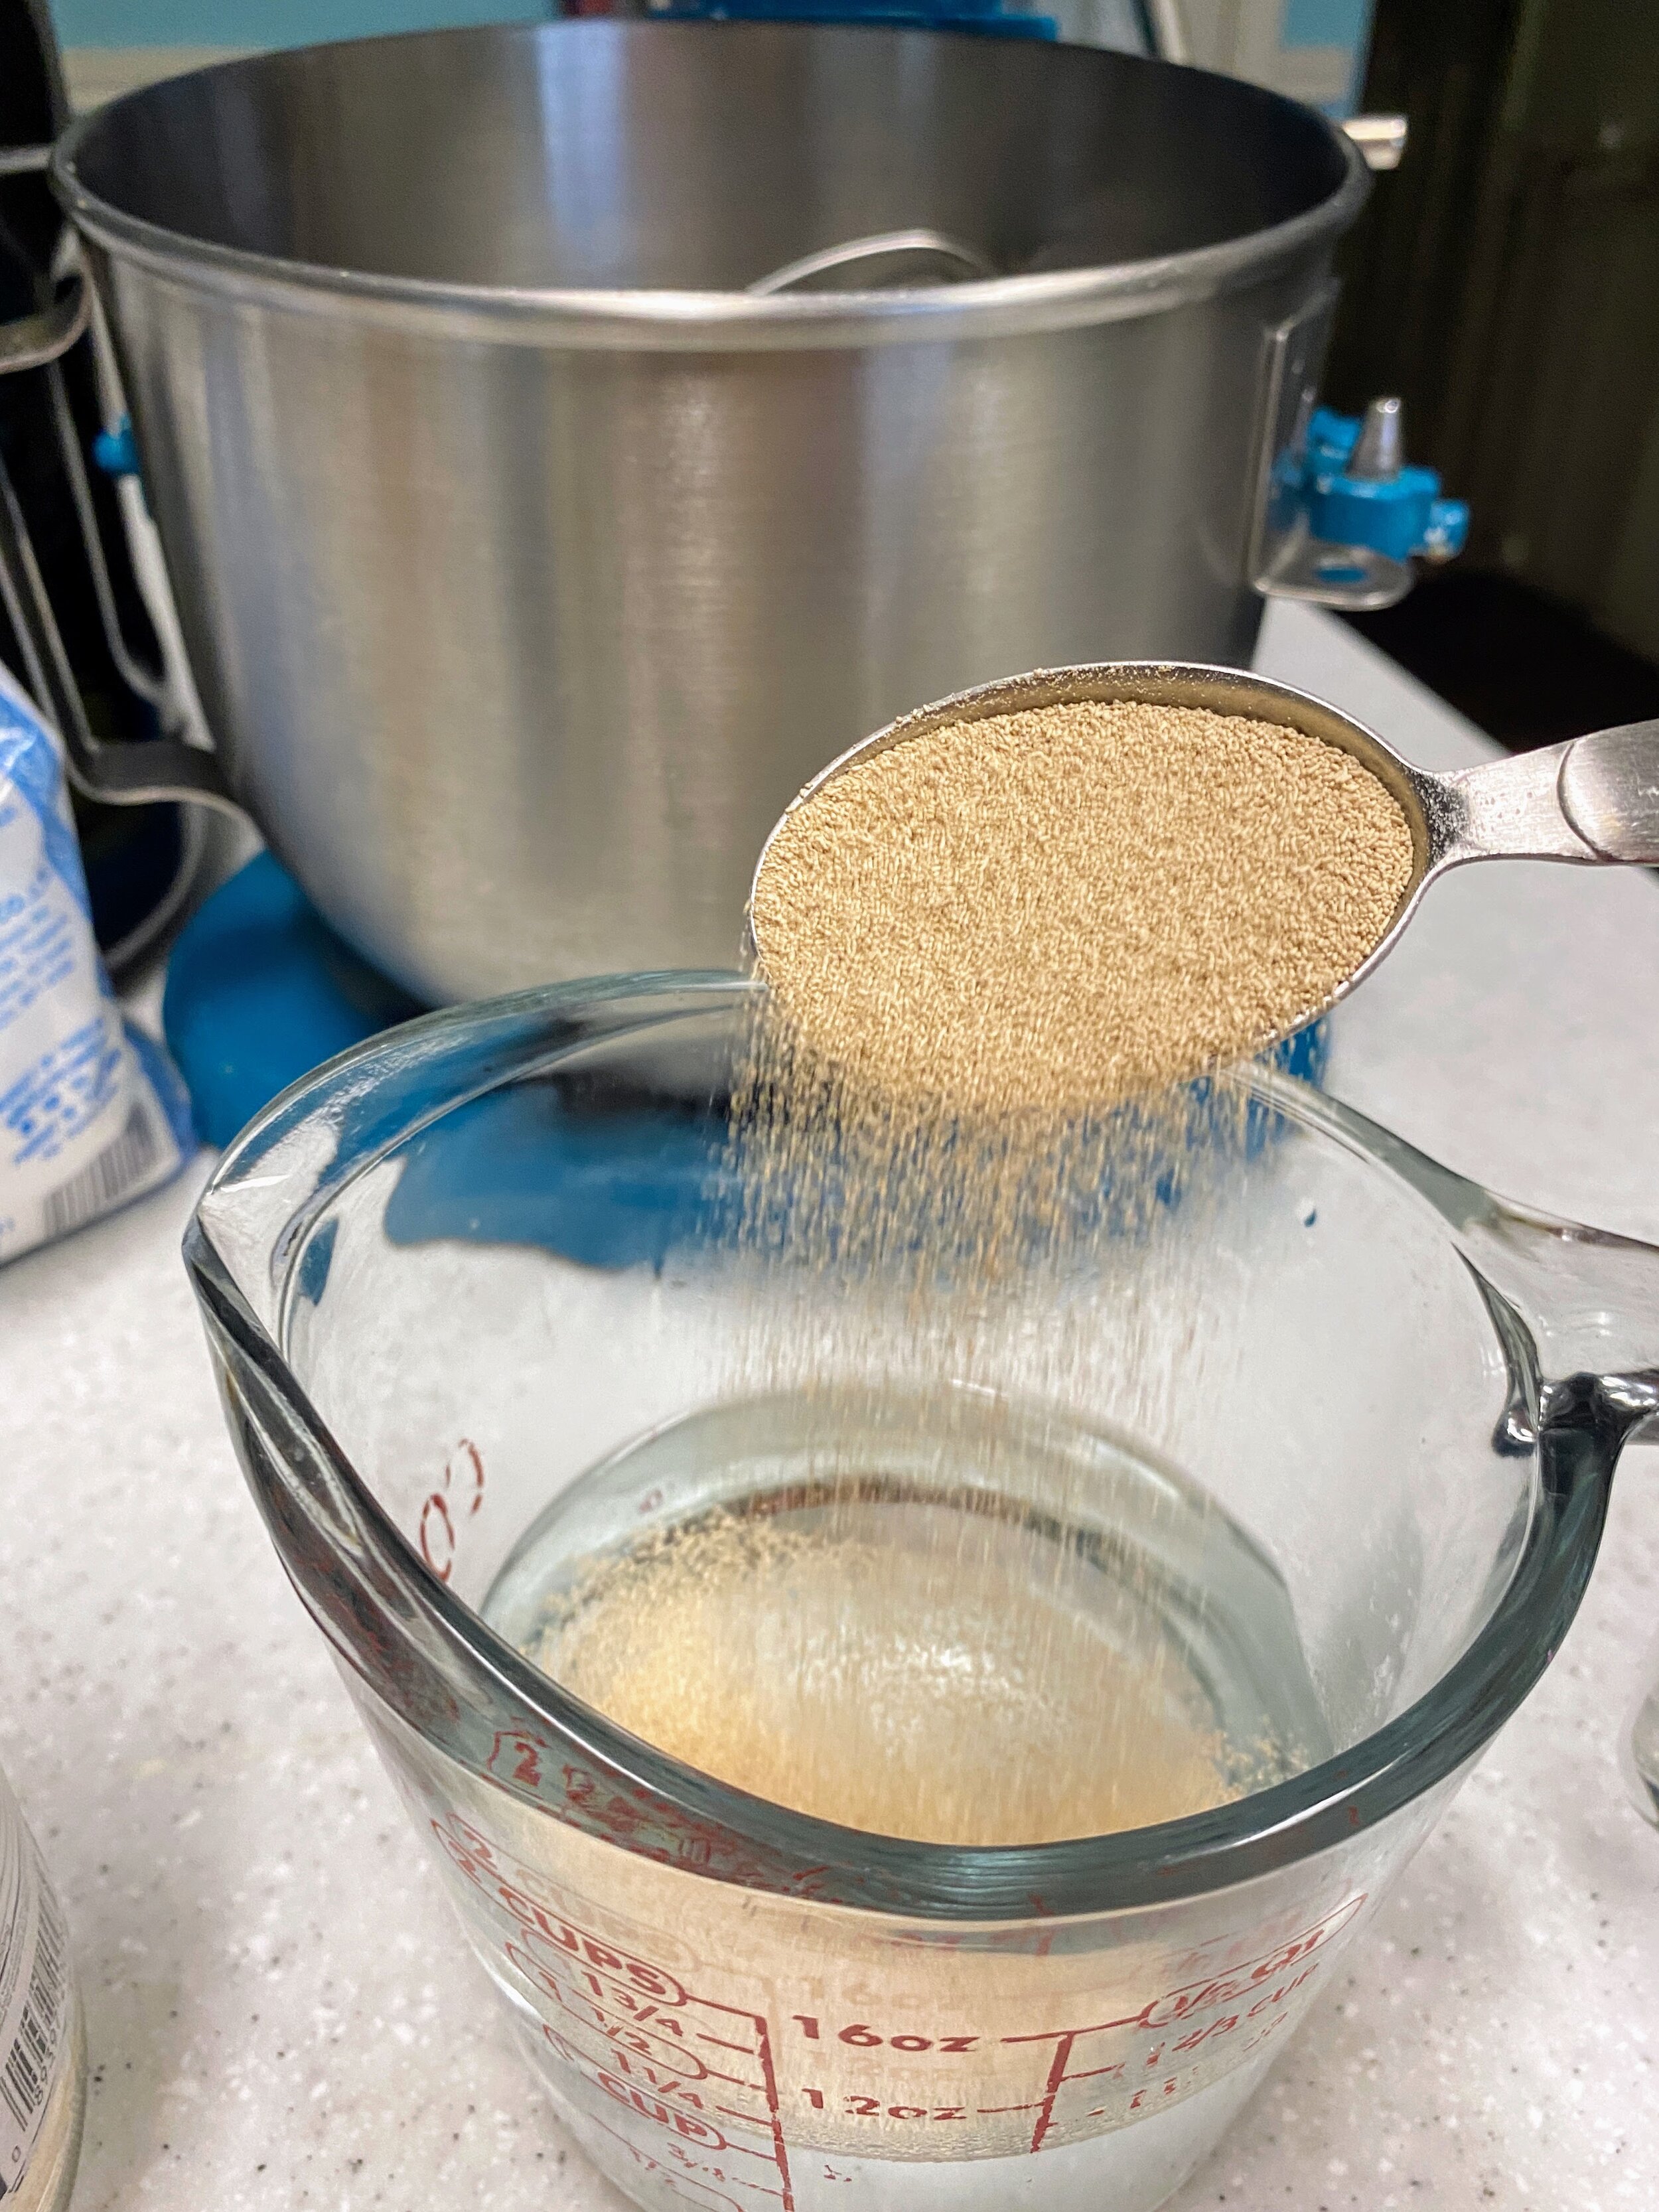
Place ½ cup of cold water and ½ cup boiling water in a small bowl and add the sugar and yeast. It will become frothy in a few minutes.
With this step make sure that the water isn’t super hot. You should be able to comfortably put a finger into the water; if it’s too hot this will kill the yeasty boys and you won’t get any rise in the bread.
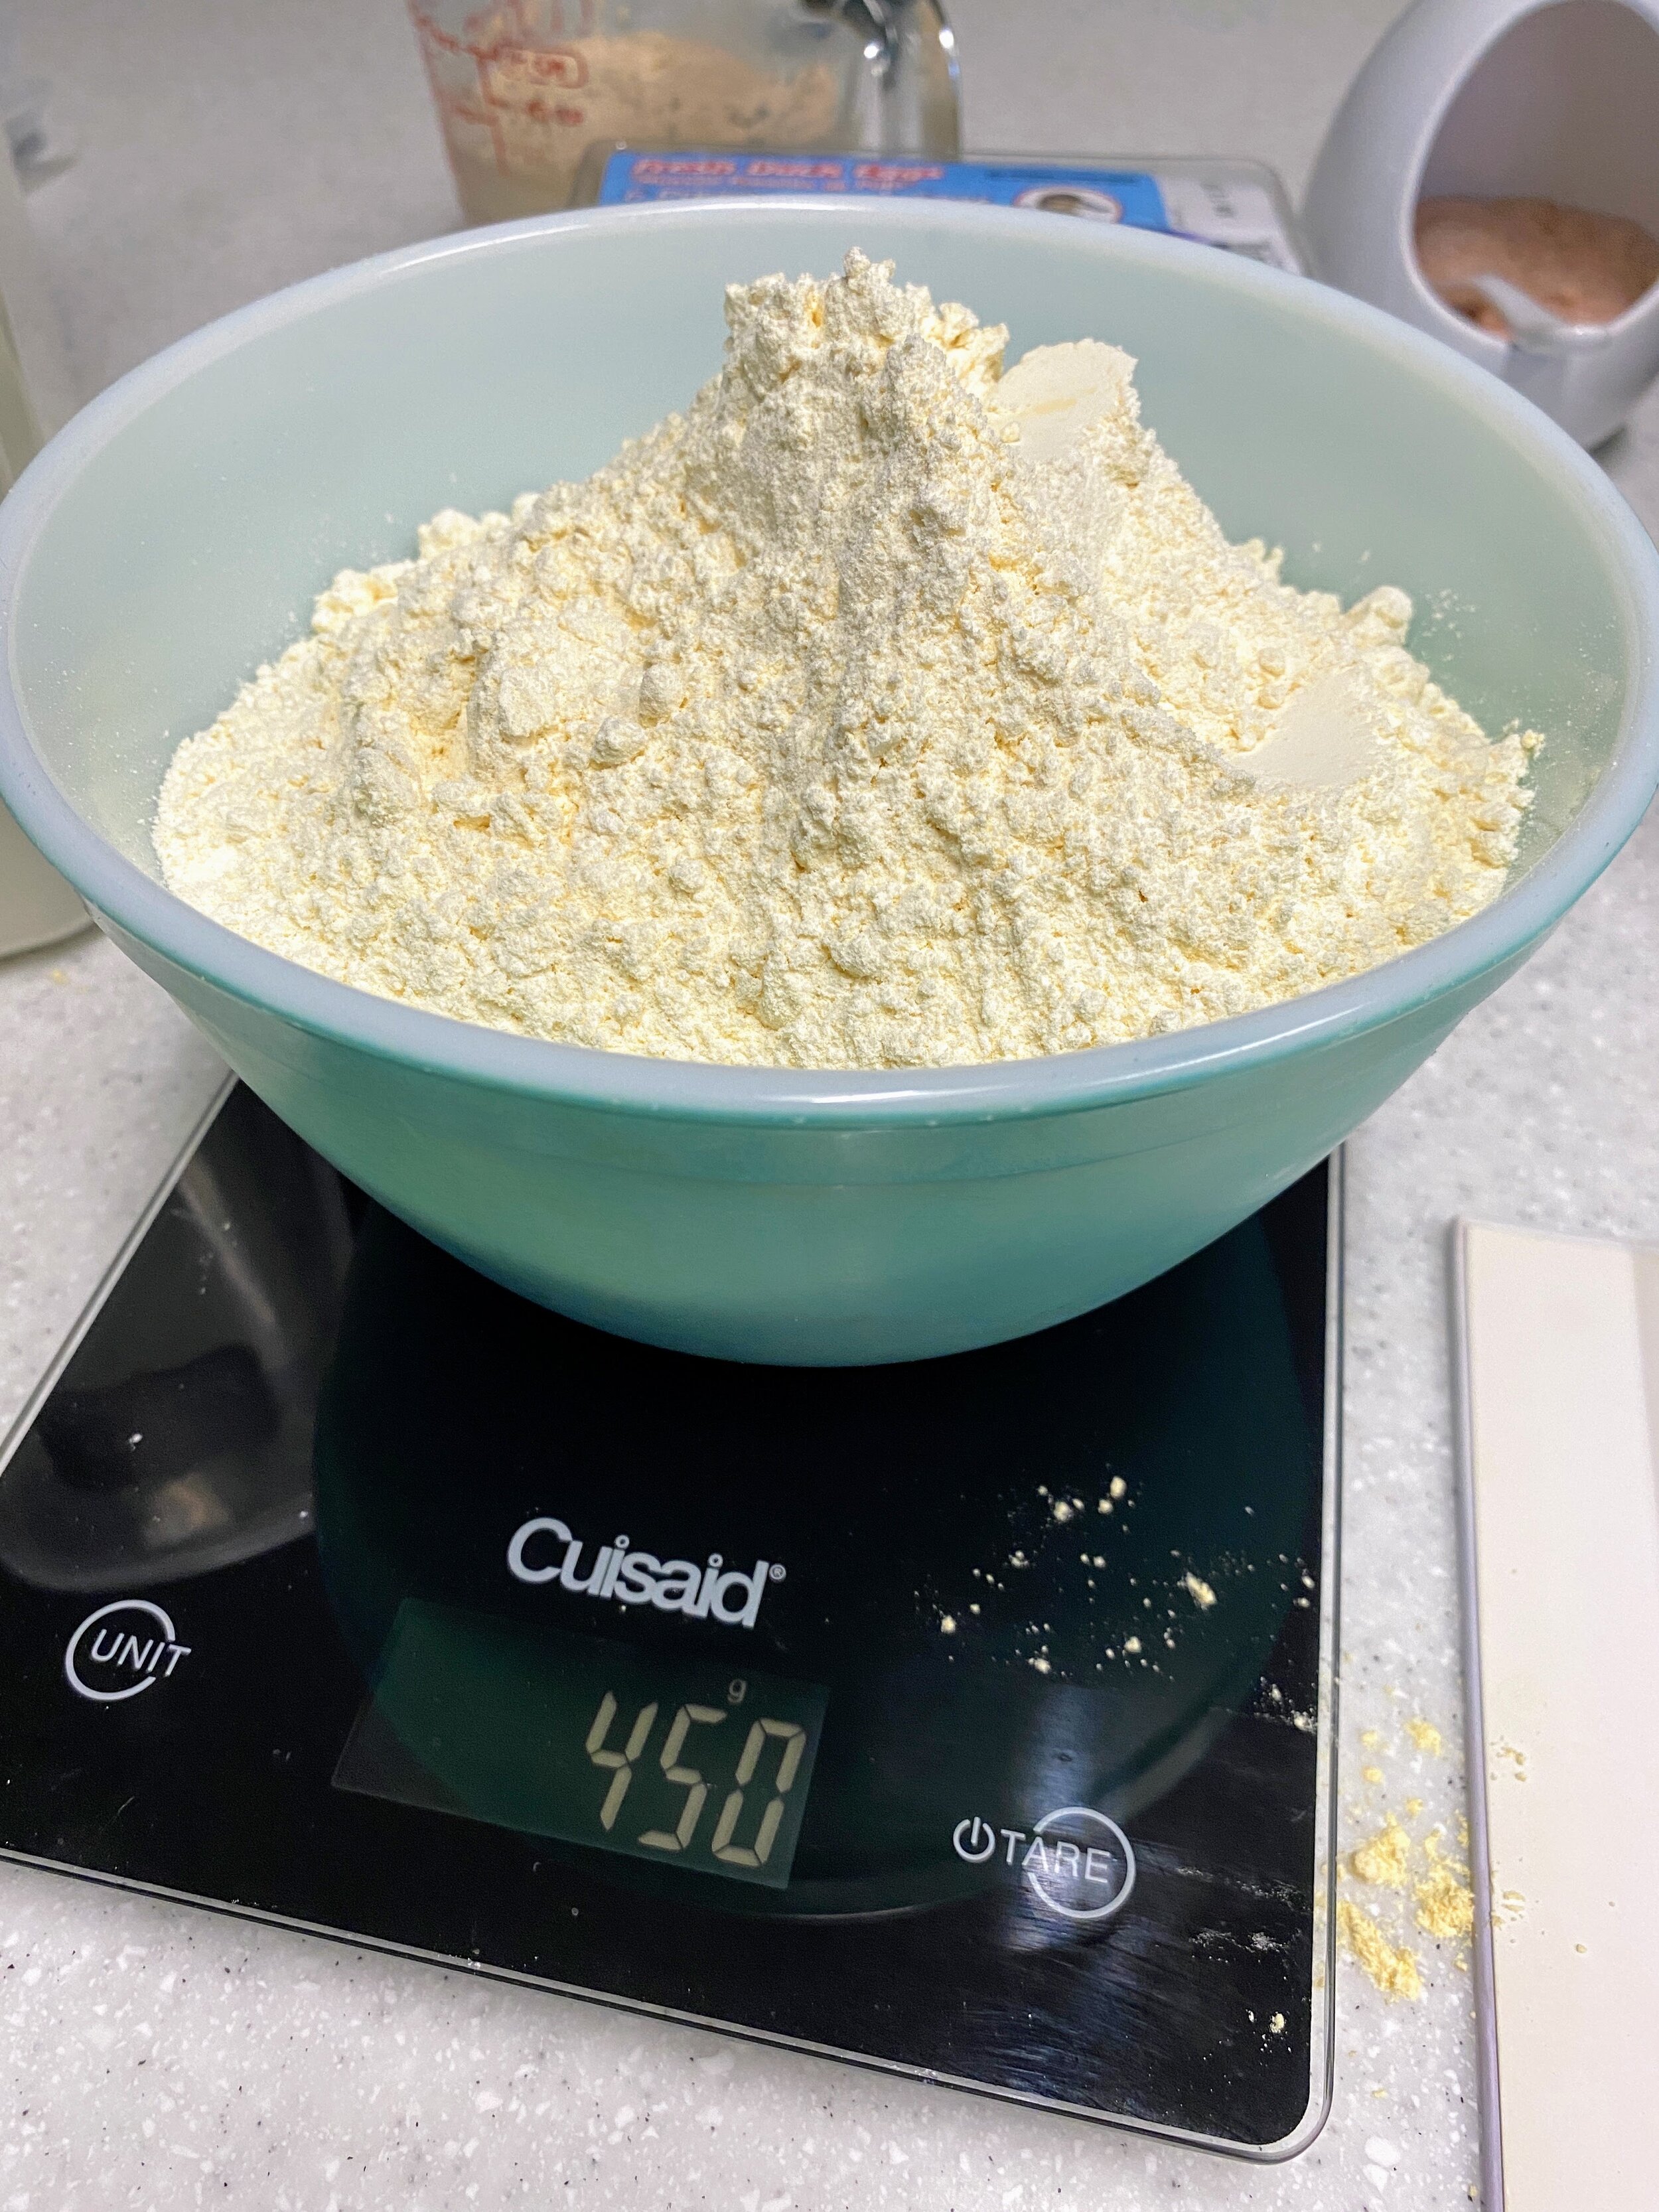
Combine the gluten free flour and tapioca starch in a bowl. Whisk together until the tapioca starch has blended.
Definitely combine these two dry ingredients before adding them to the wet so the tapioca starch ends up evenly distributed.
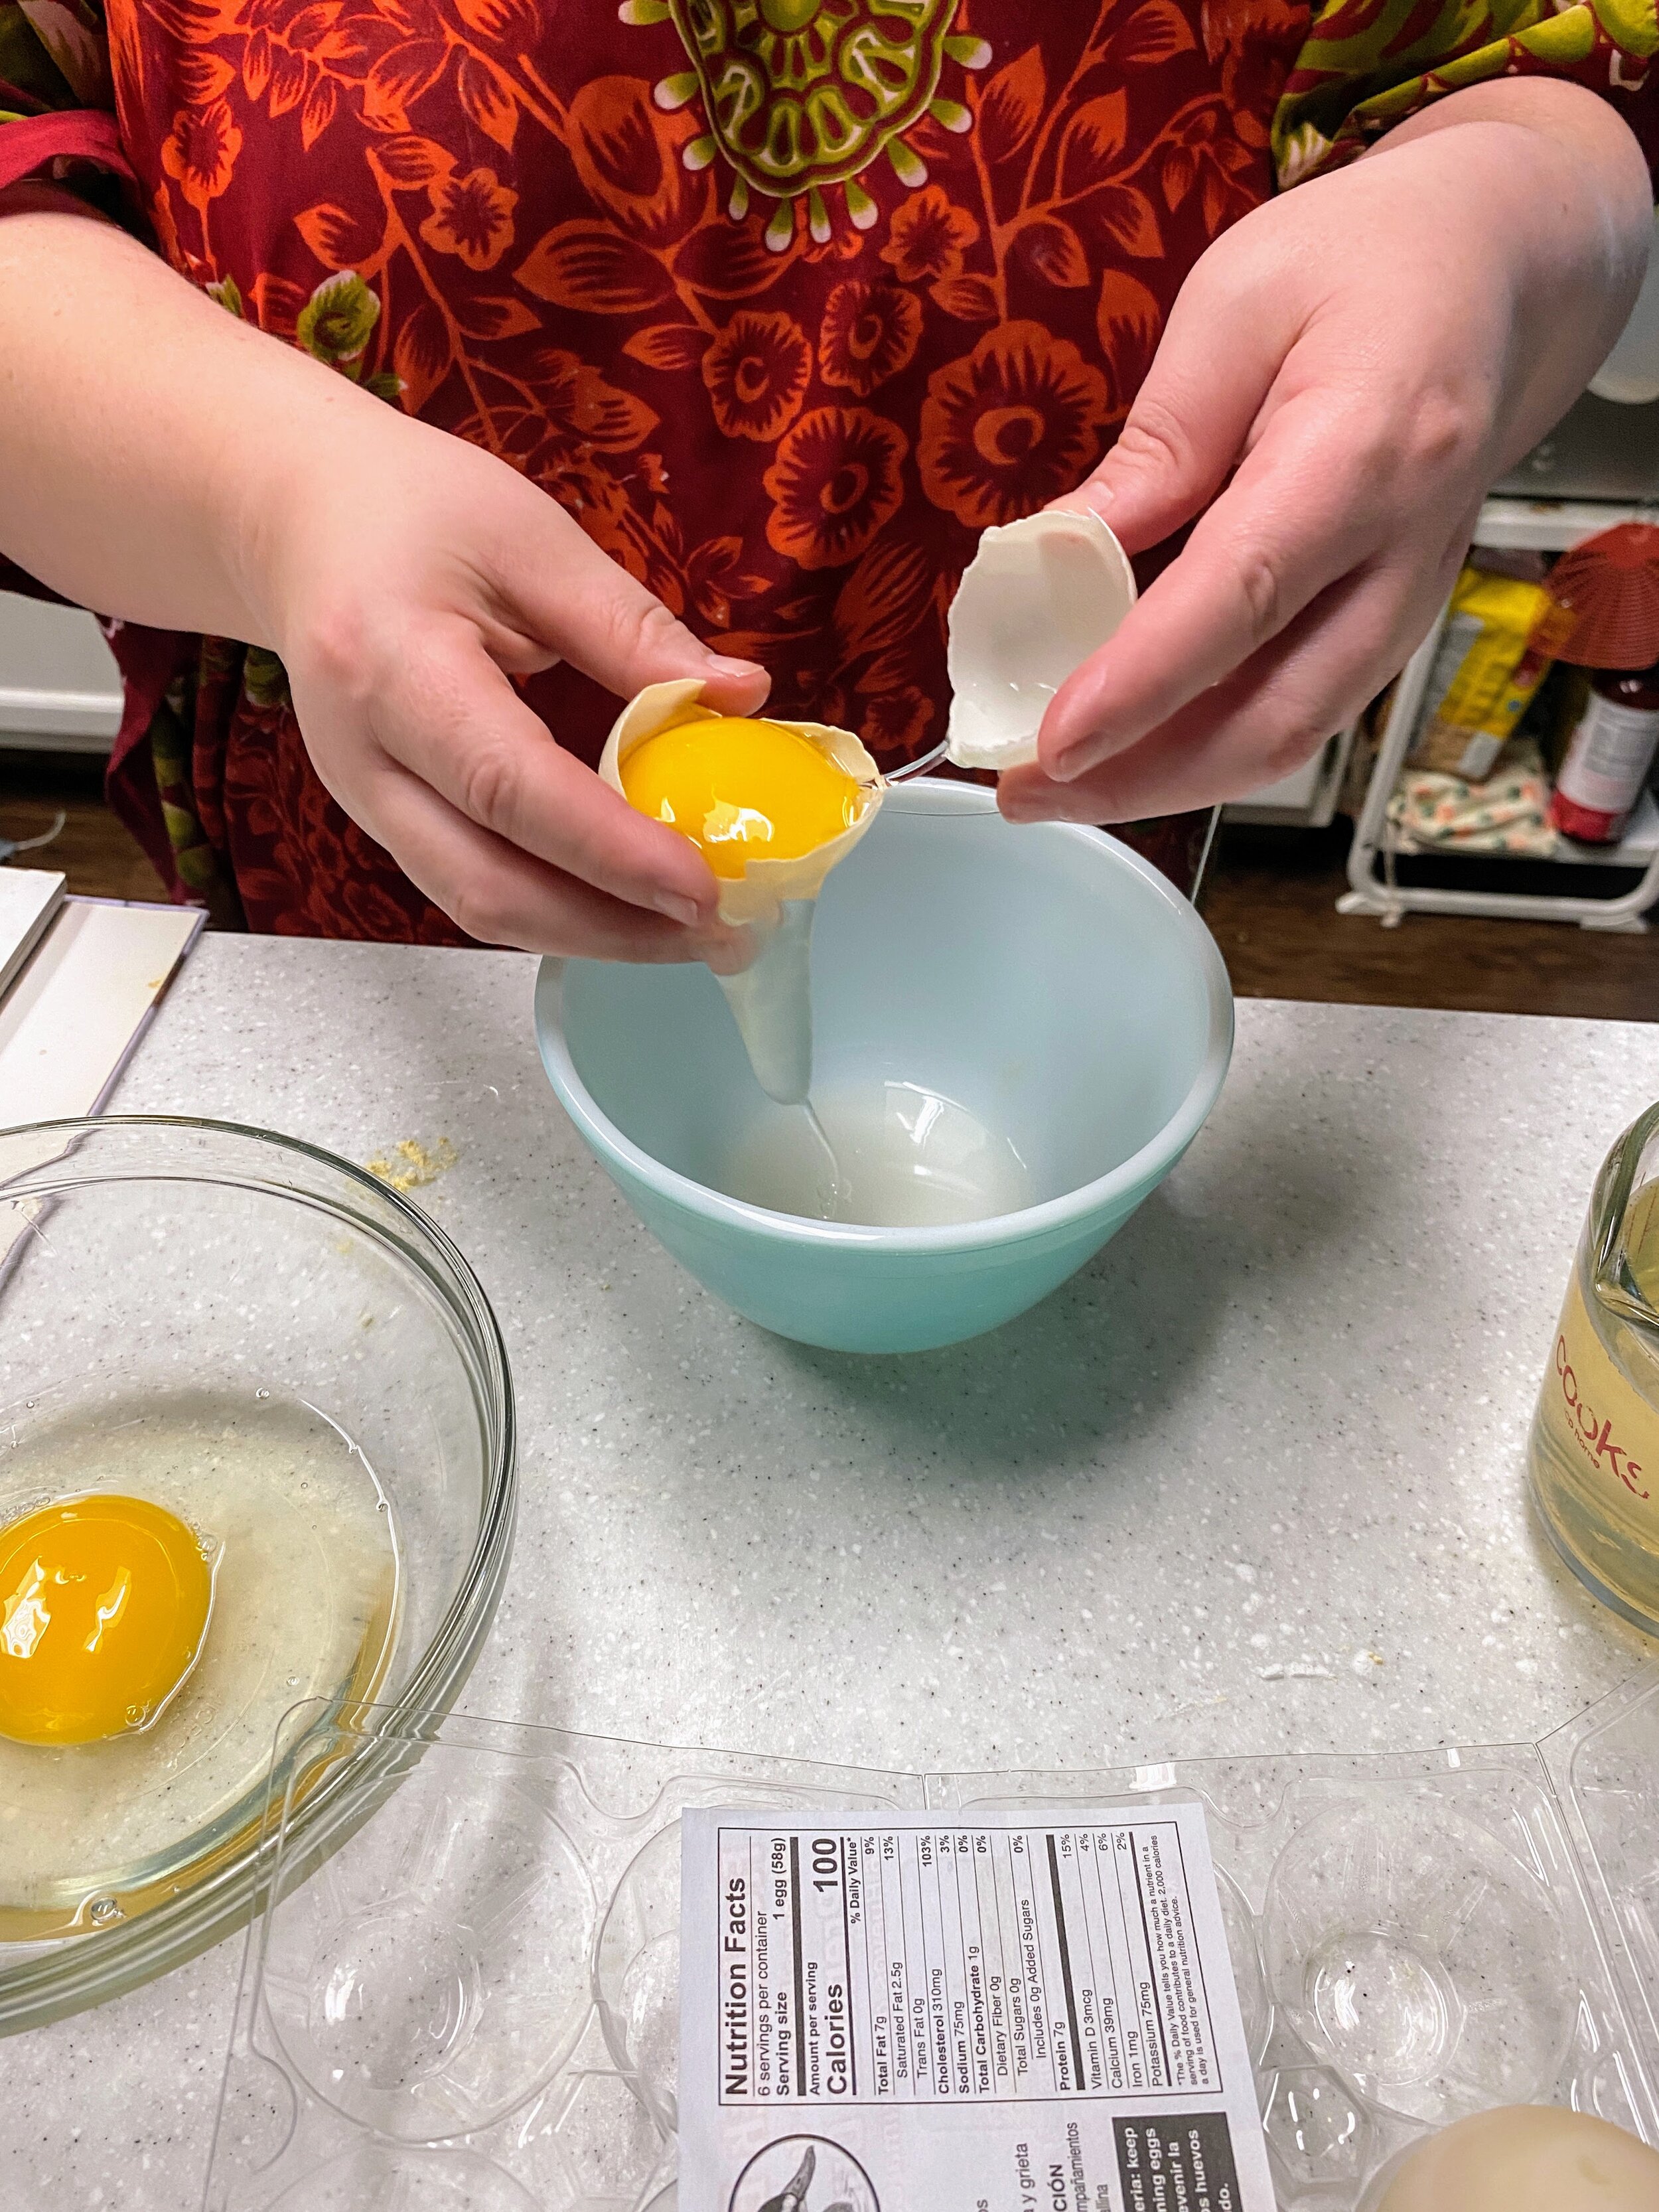
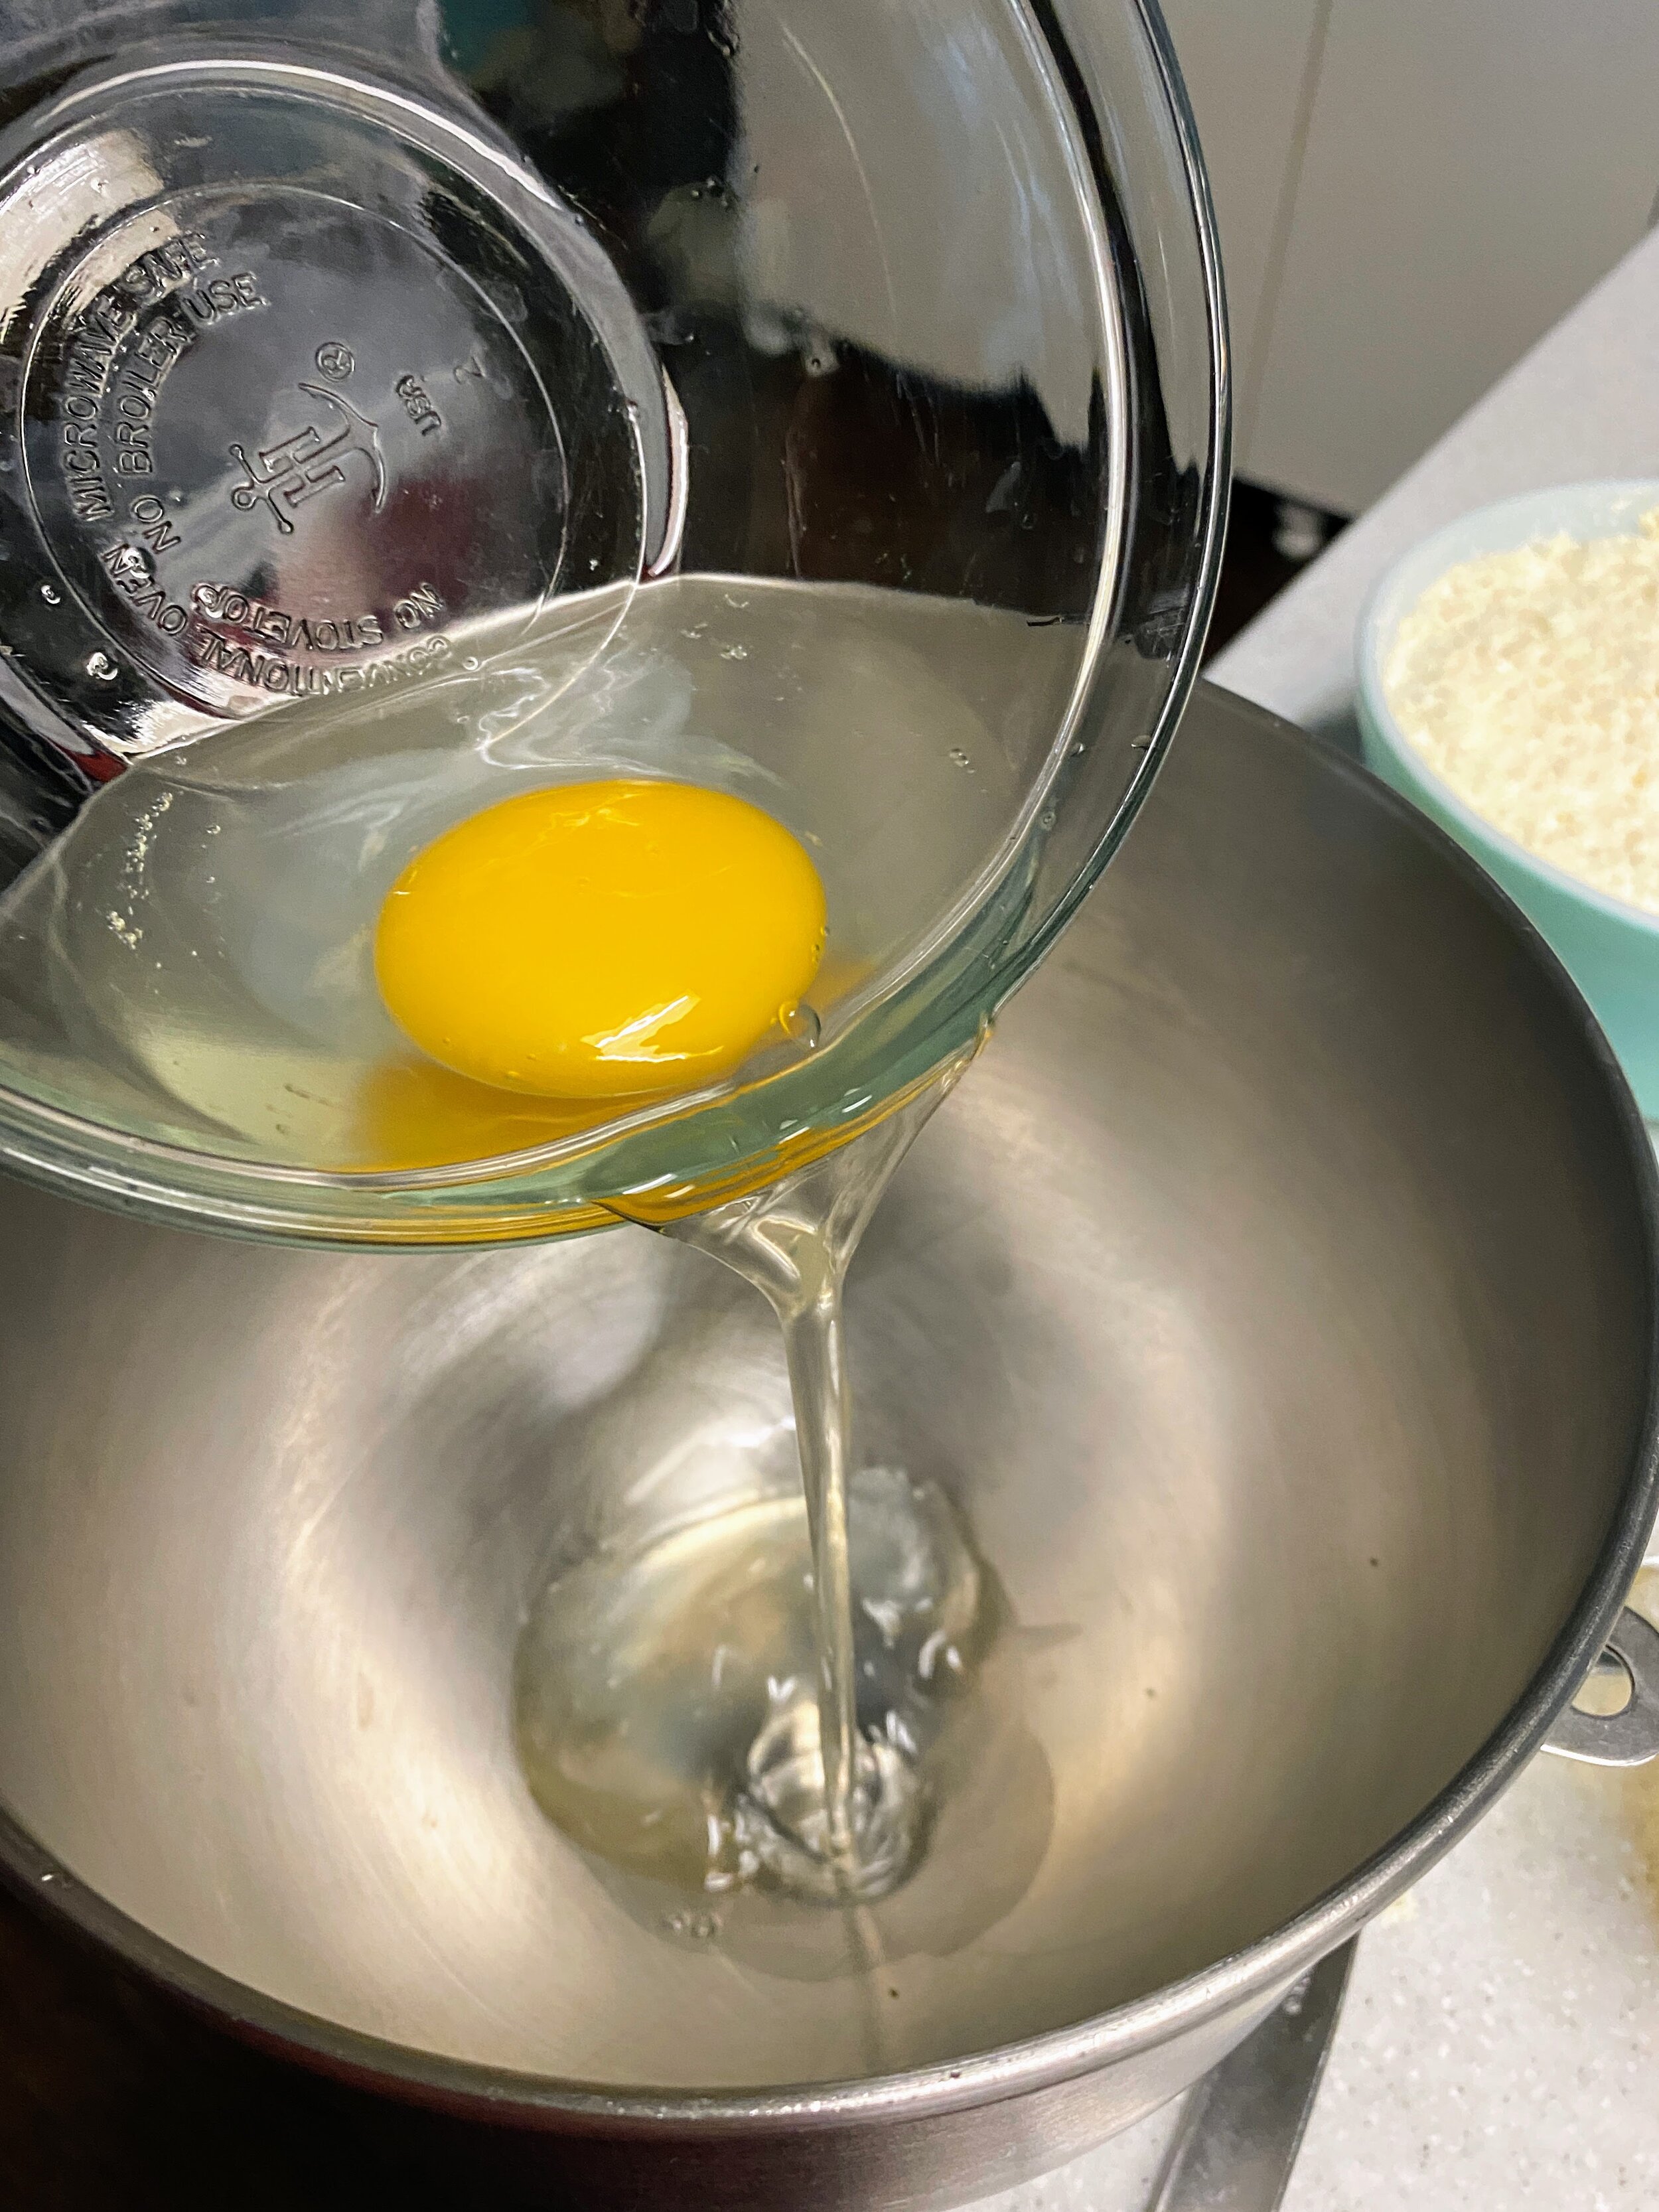
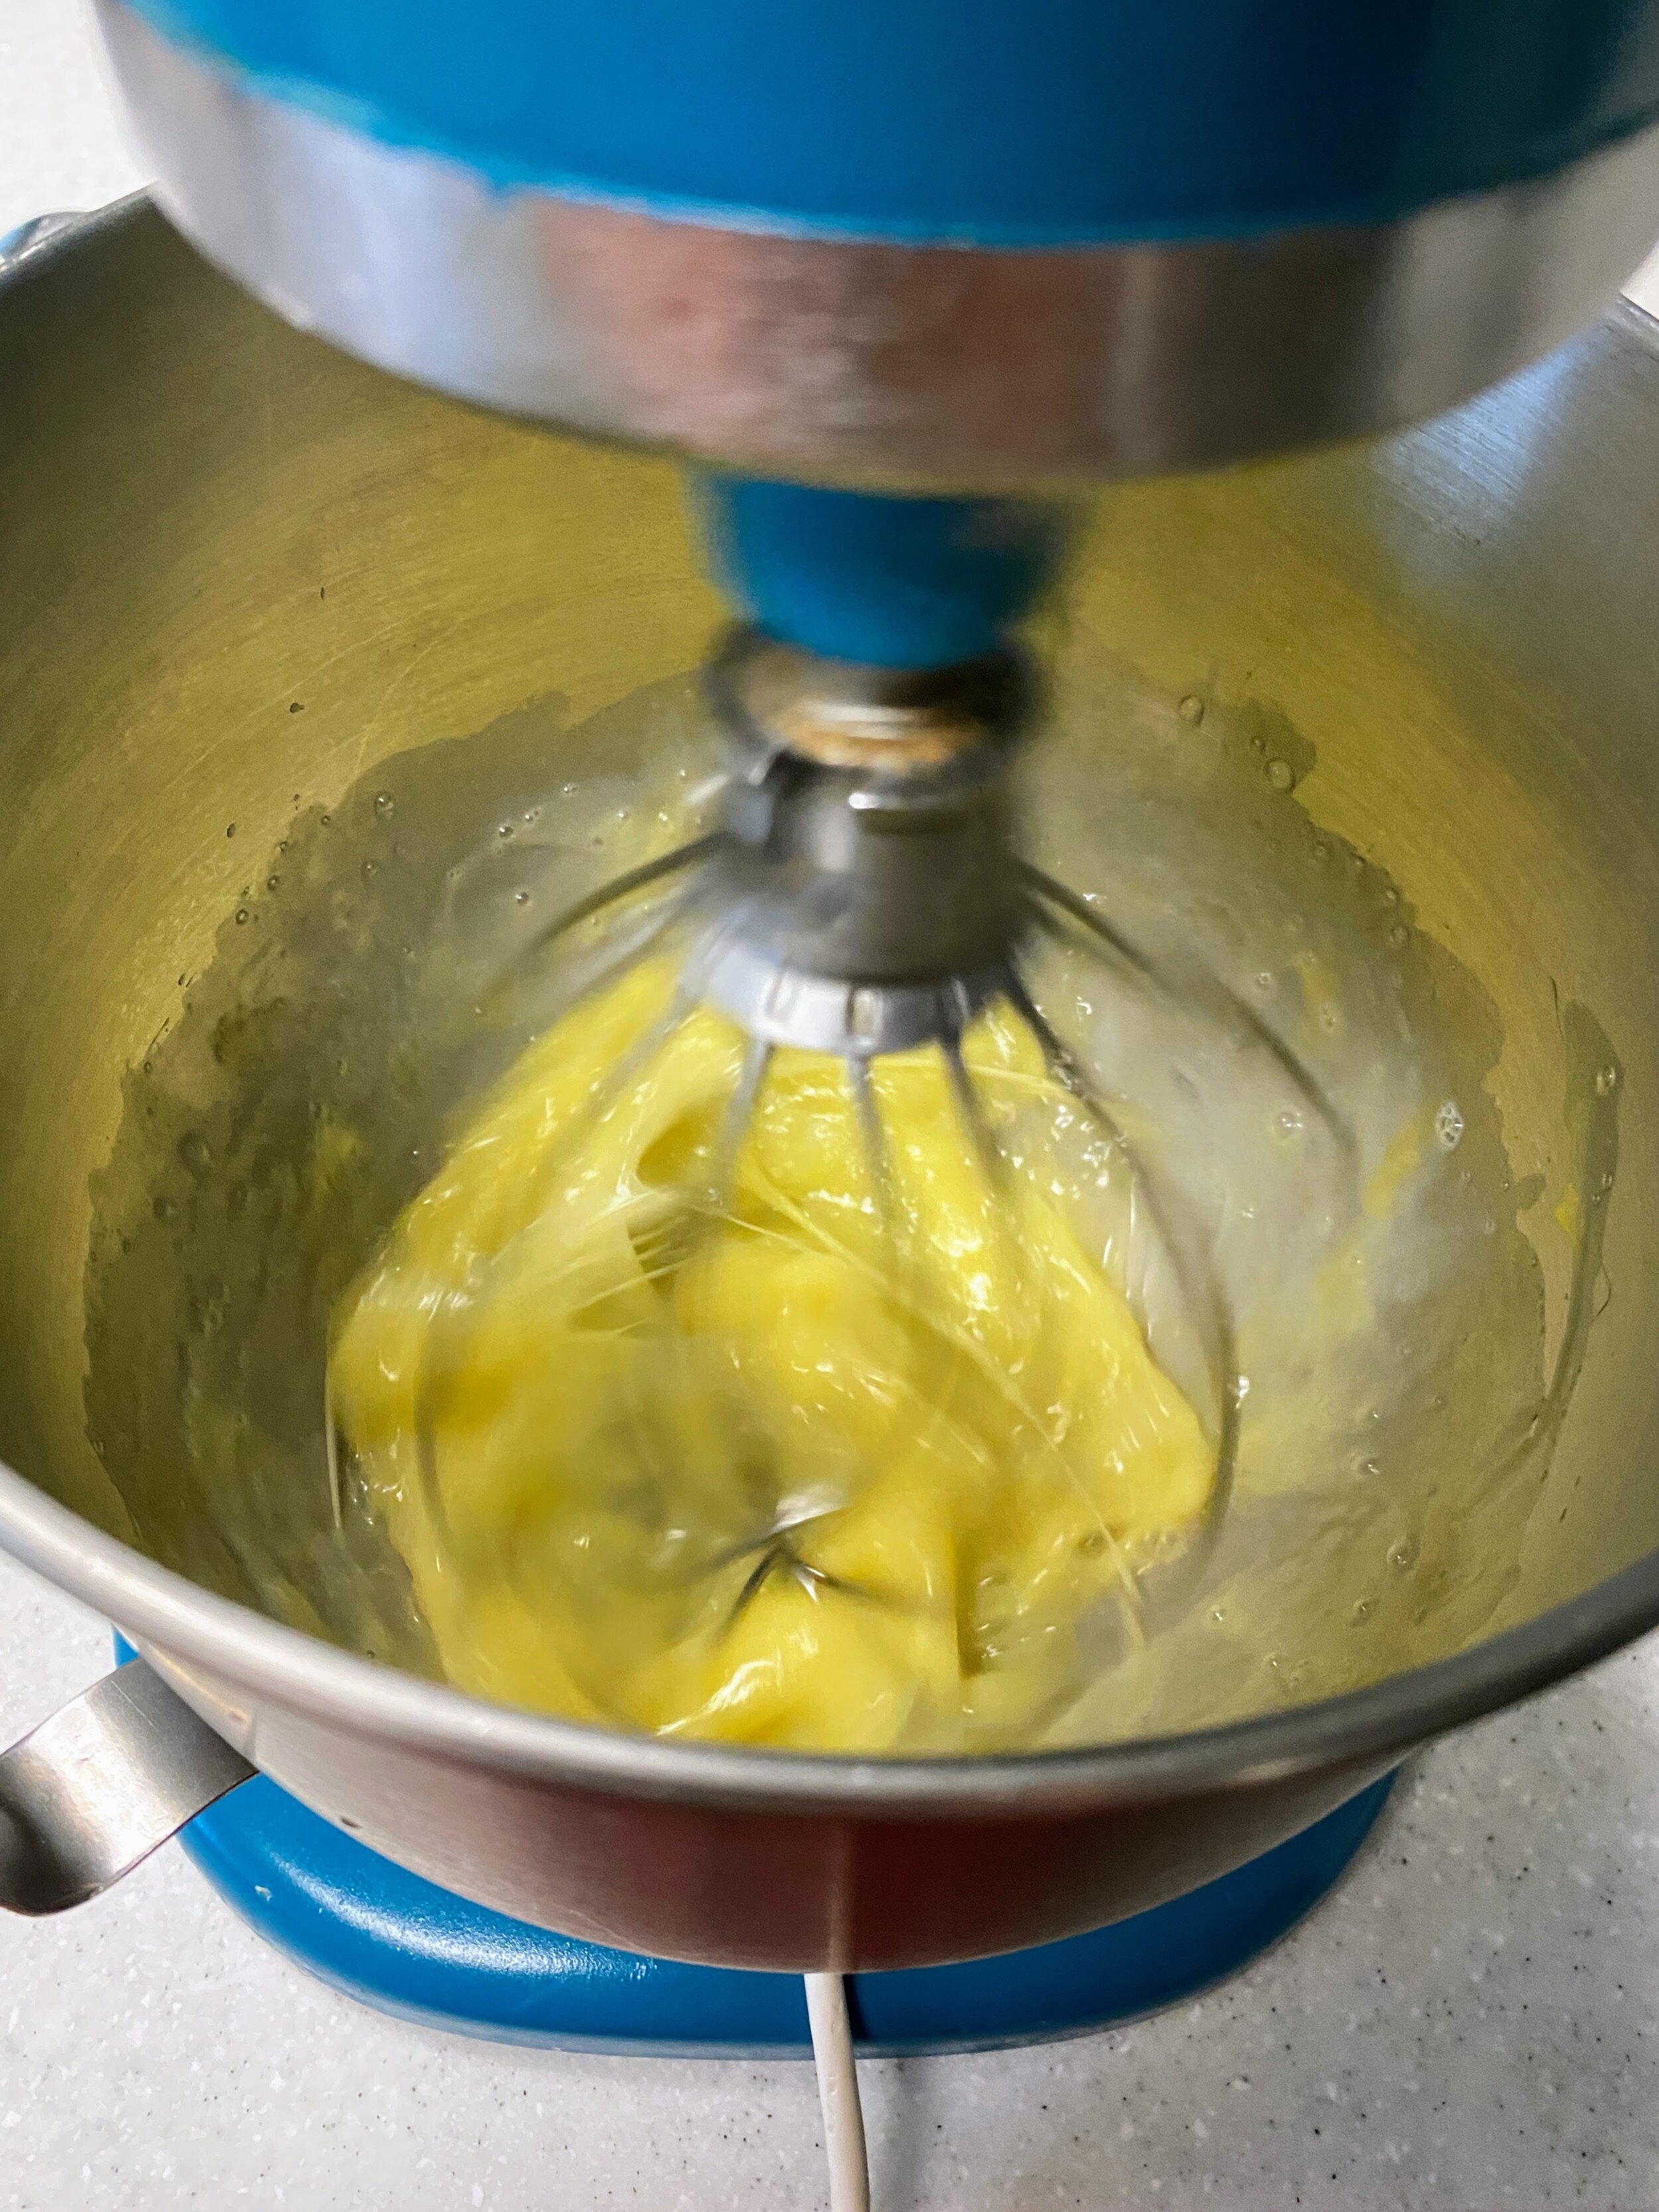
Whisk the egg and whites with the salt. While beating the egg, add the gelatin mixture a spoonful at a time.
The actual recipe used in the book calls for three egg whites, rather than one whole egg and two whites, and suggests whisking until stiff. With the addition of the yolk you will not be able to get the eggs to be stiff however you’ll be able to achieve a very strong froth. This is a-ok. Also, adding the gelatin a spoonful at a time is VERY important since the gelatin mixture is not going to cool particularly quickly. You don’t want to end up with scrambled jello eggs.
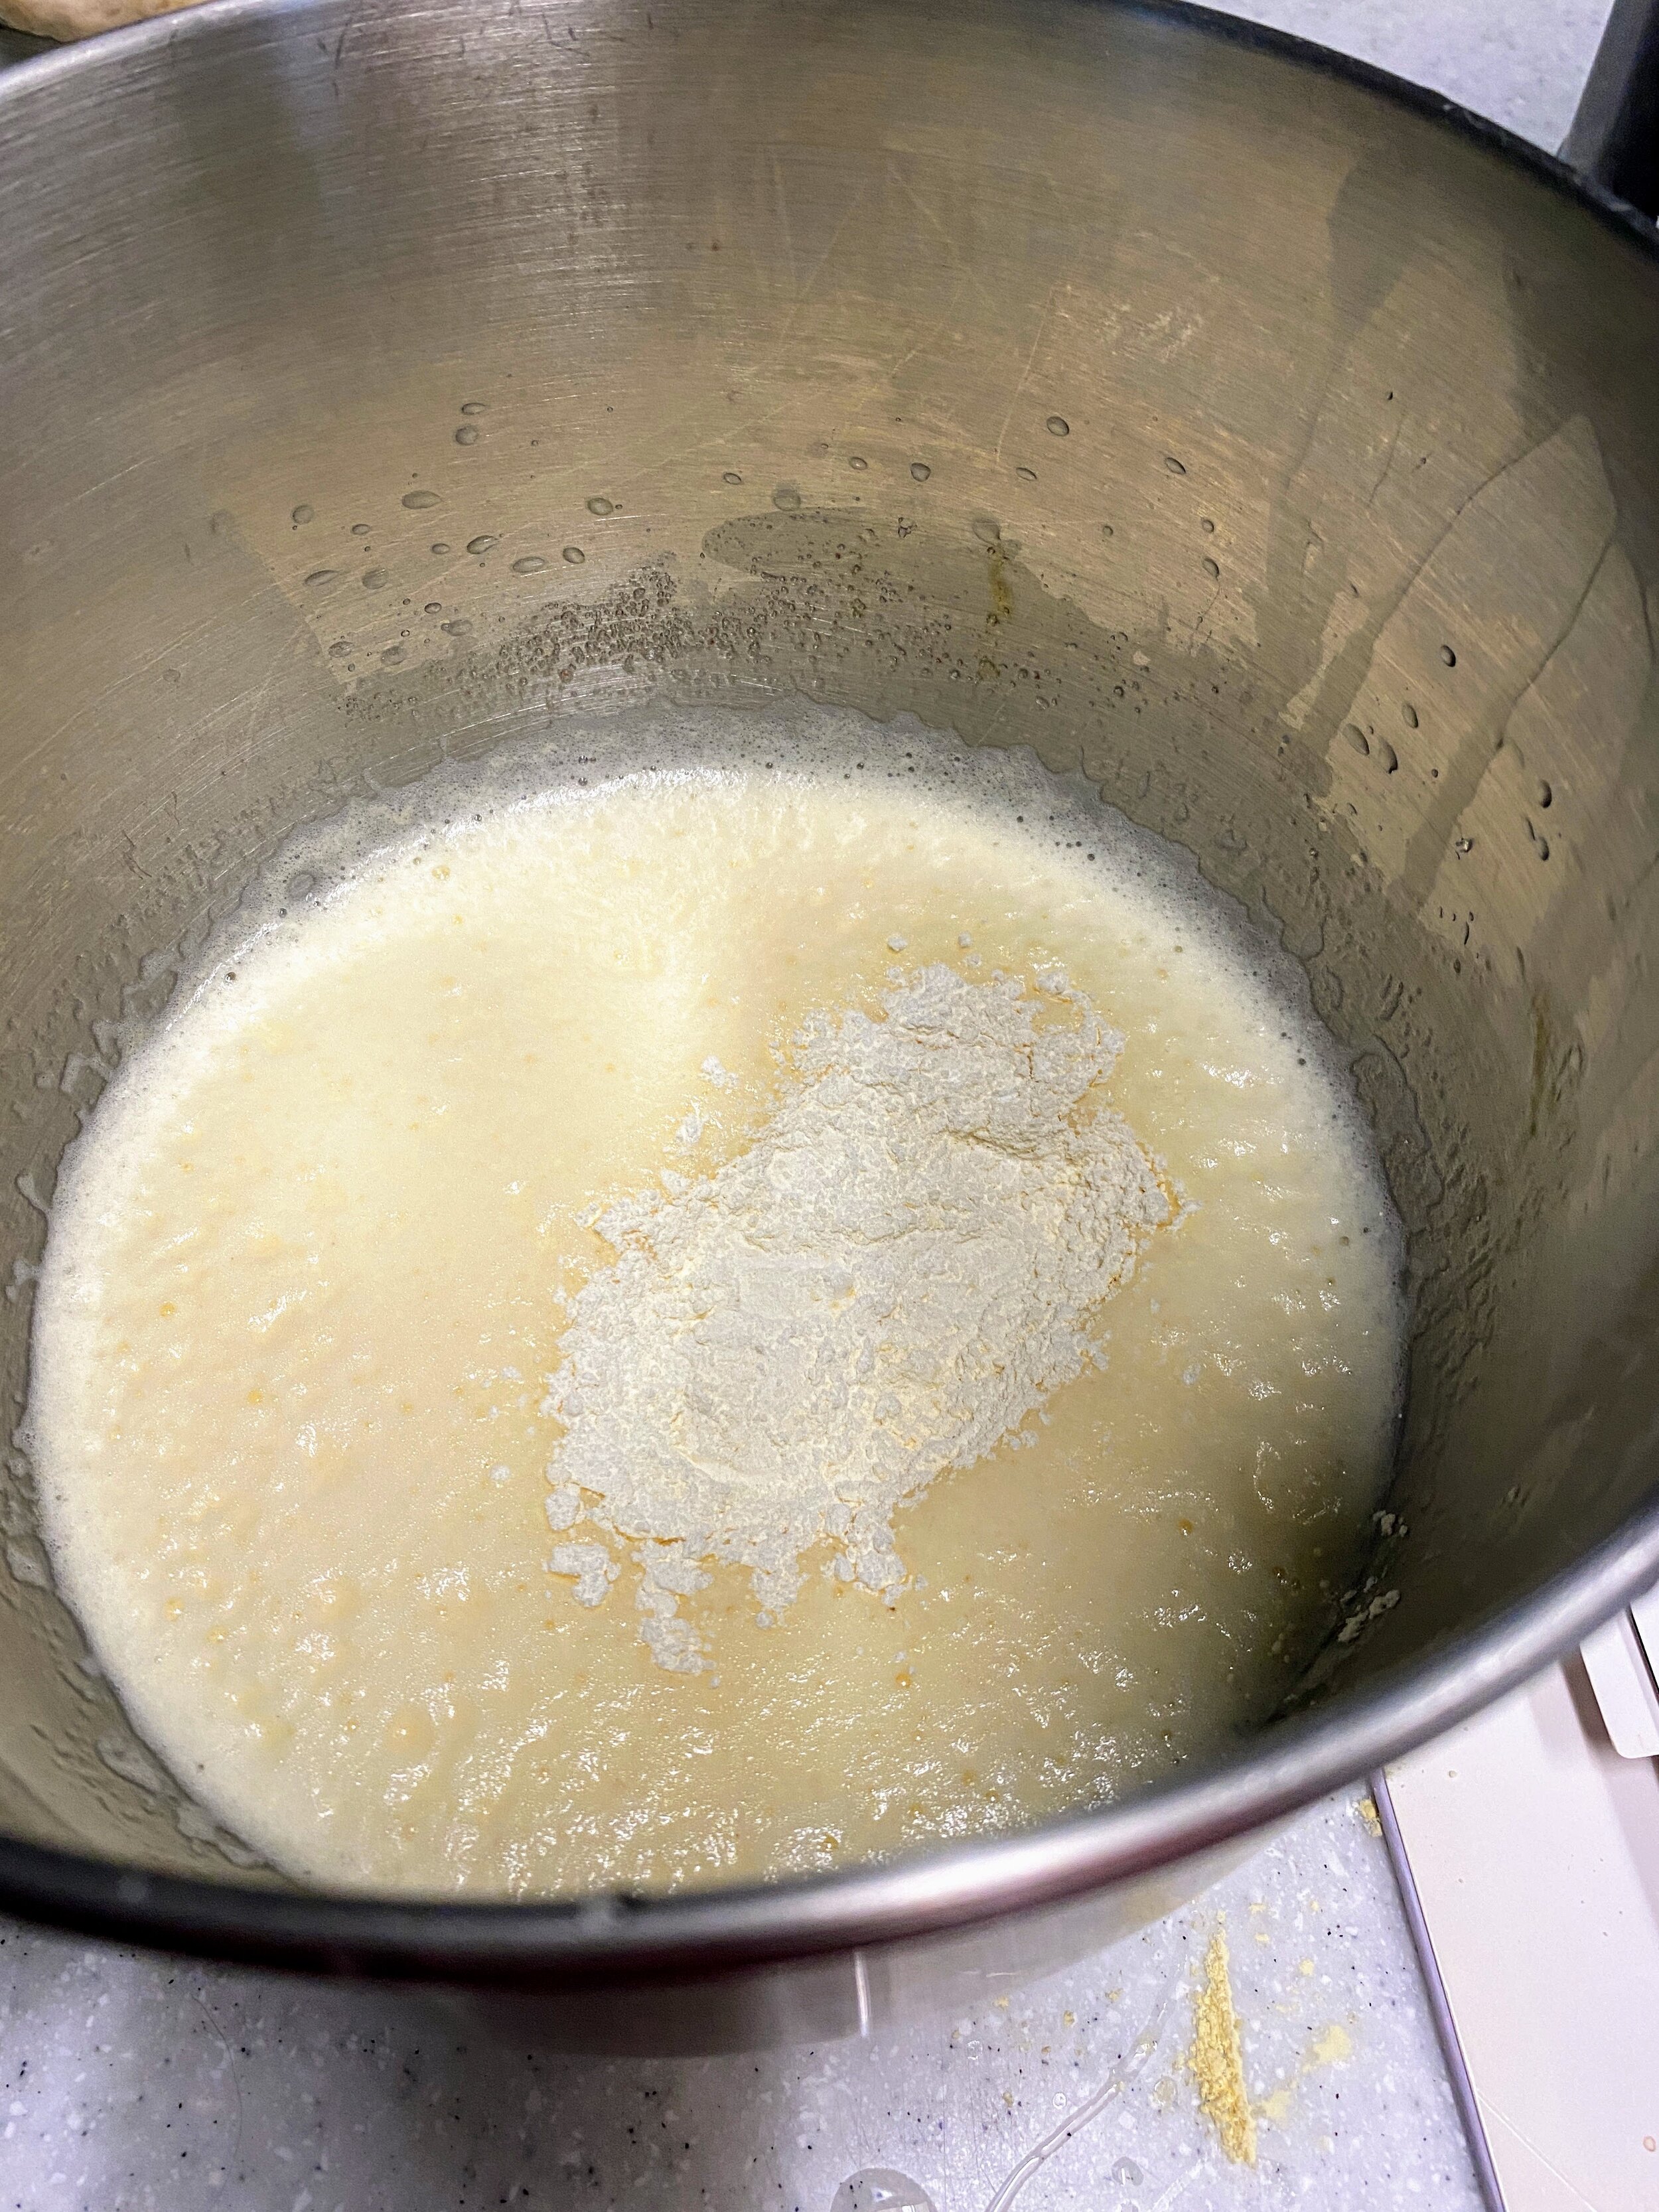
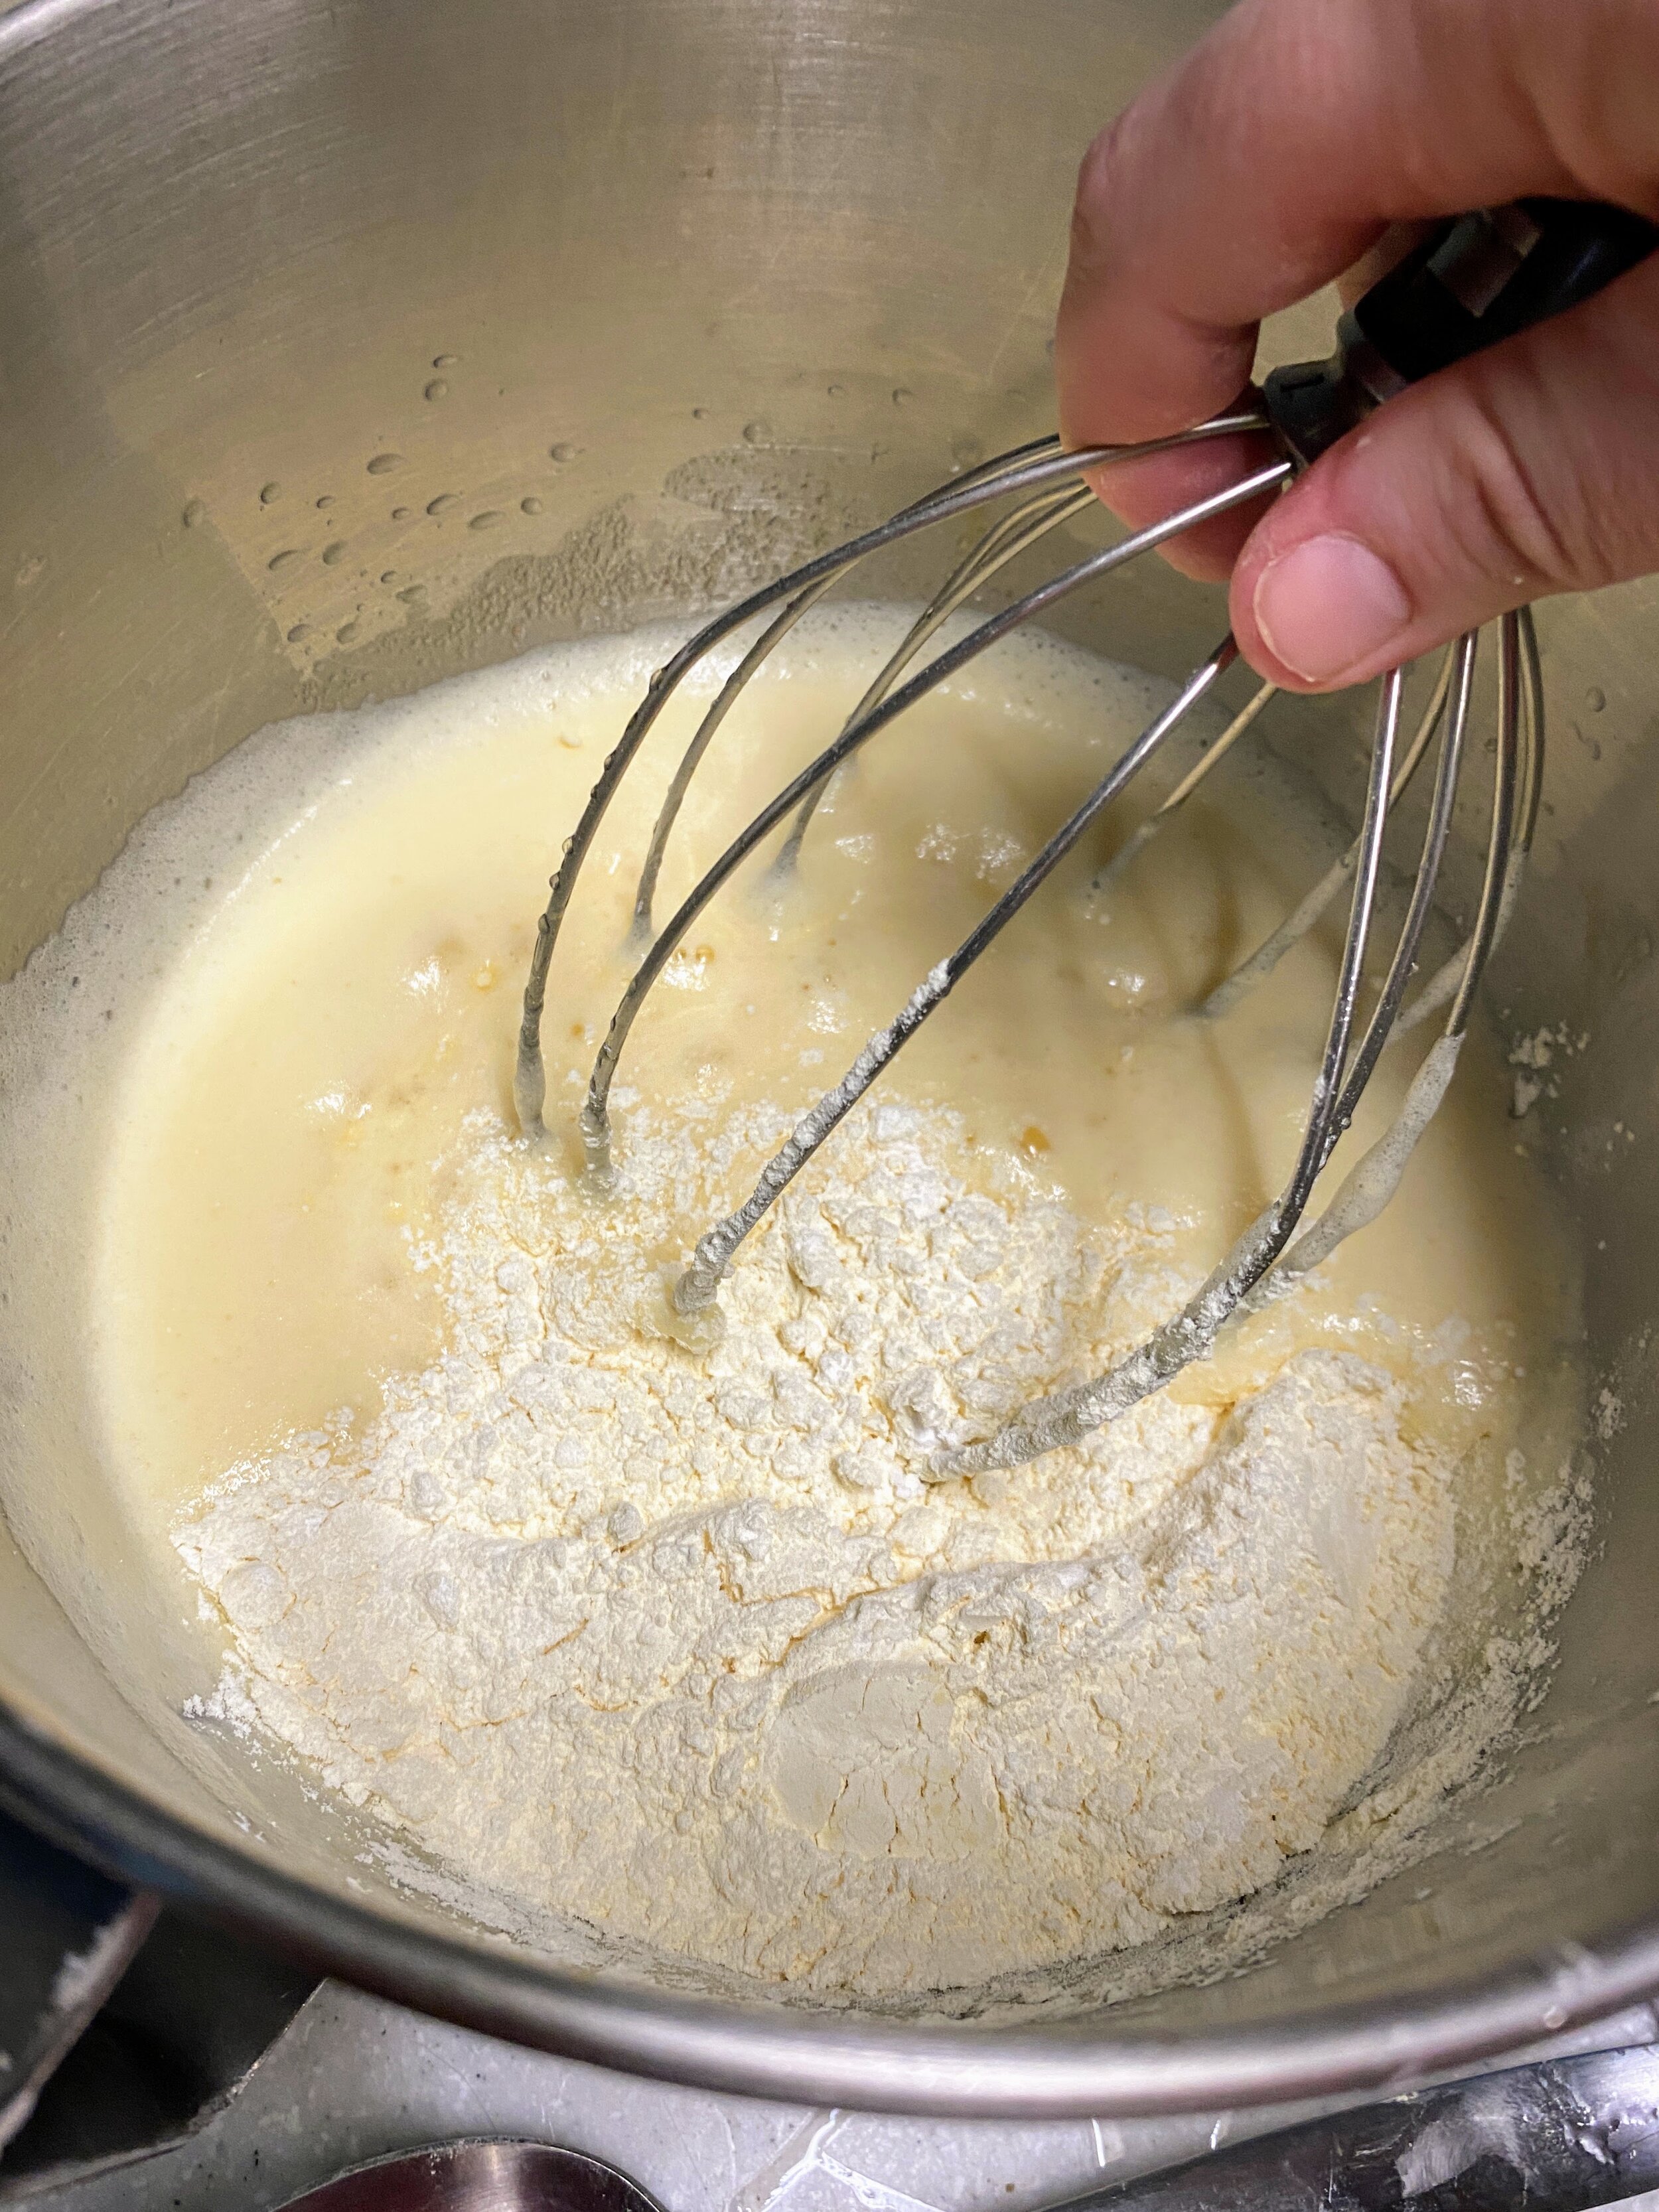
Remove bowl from the mixer. Slowly add the flour and tapioca starch mixture to the egg mixture, whisking each fourth of the flour.
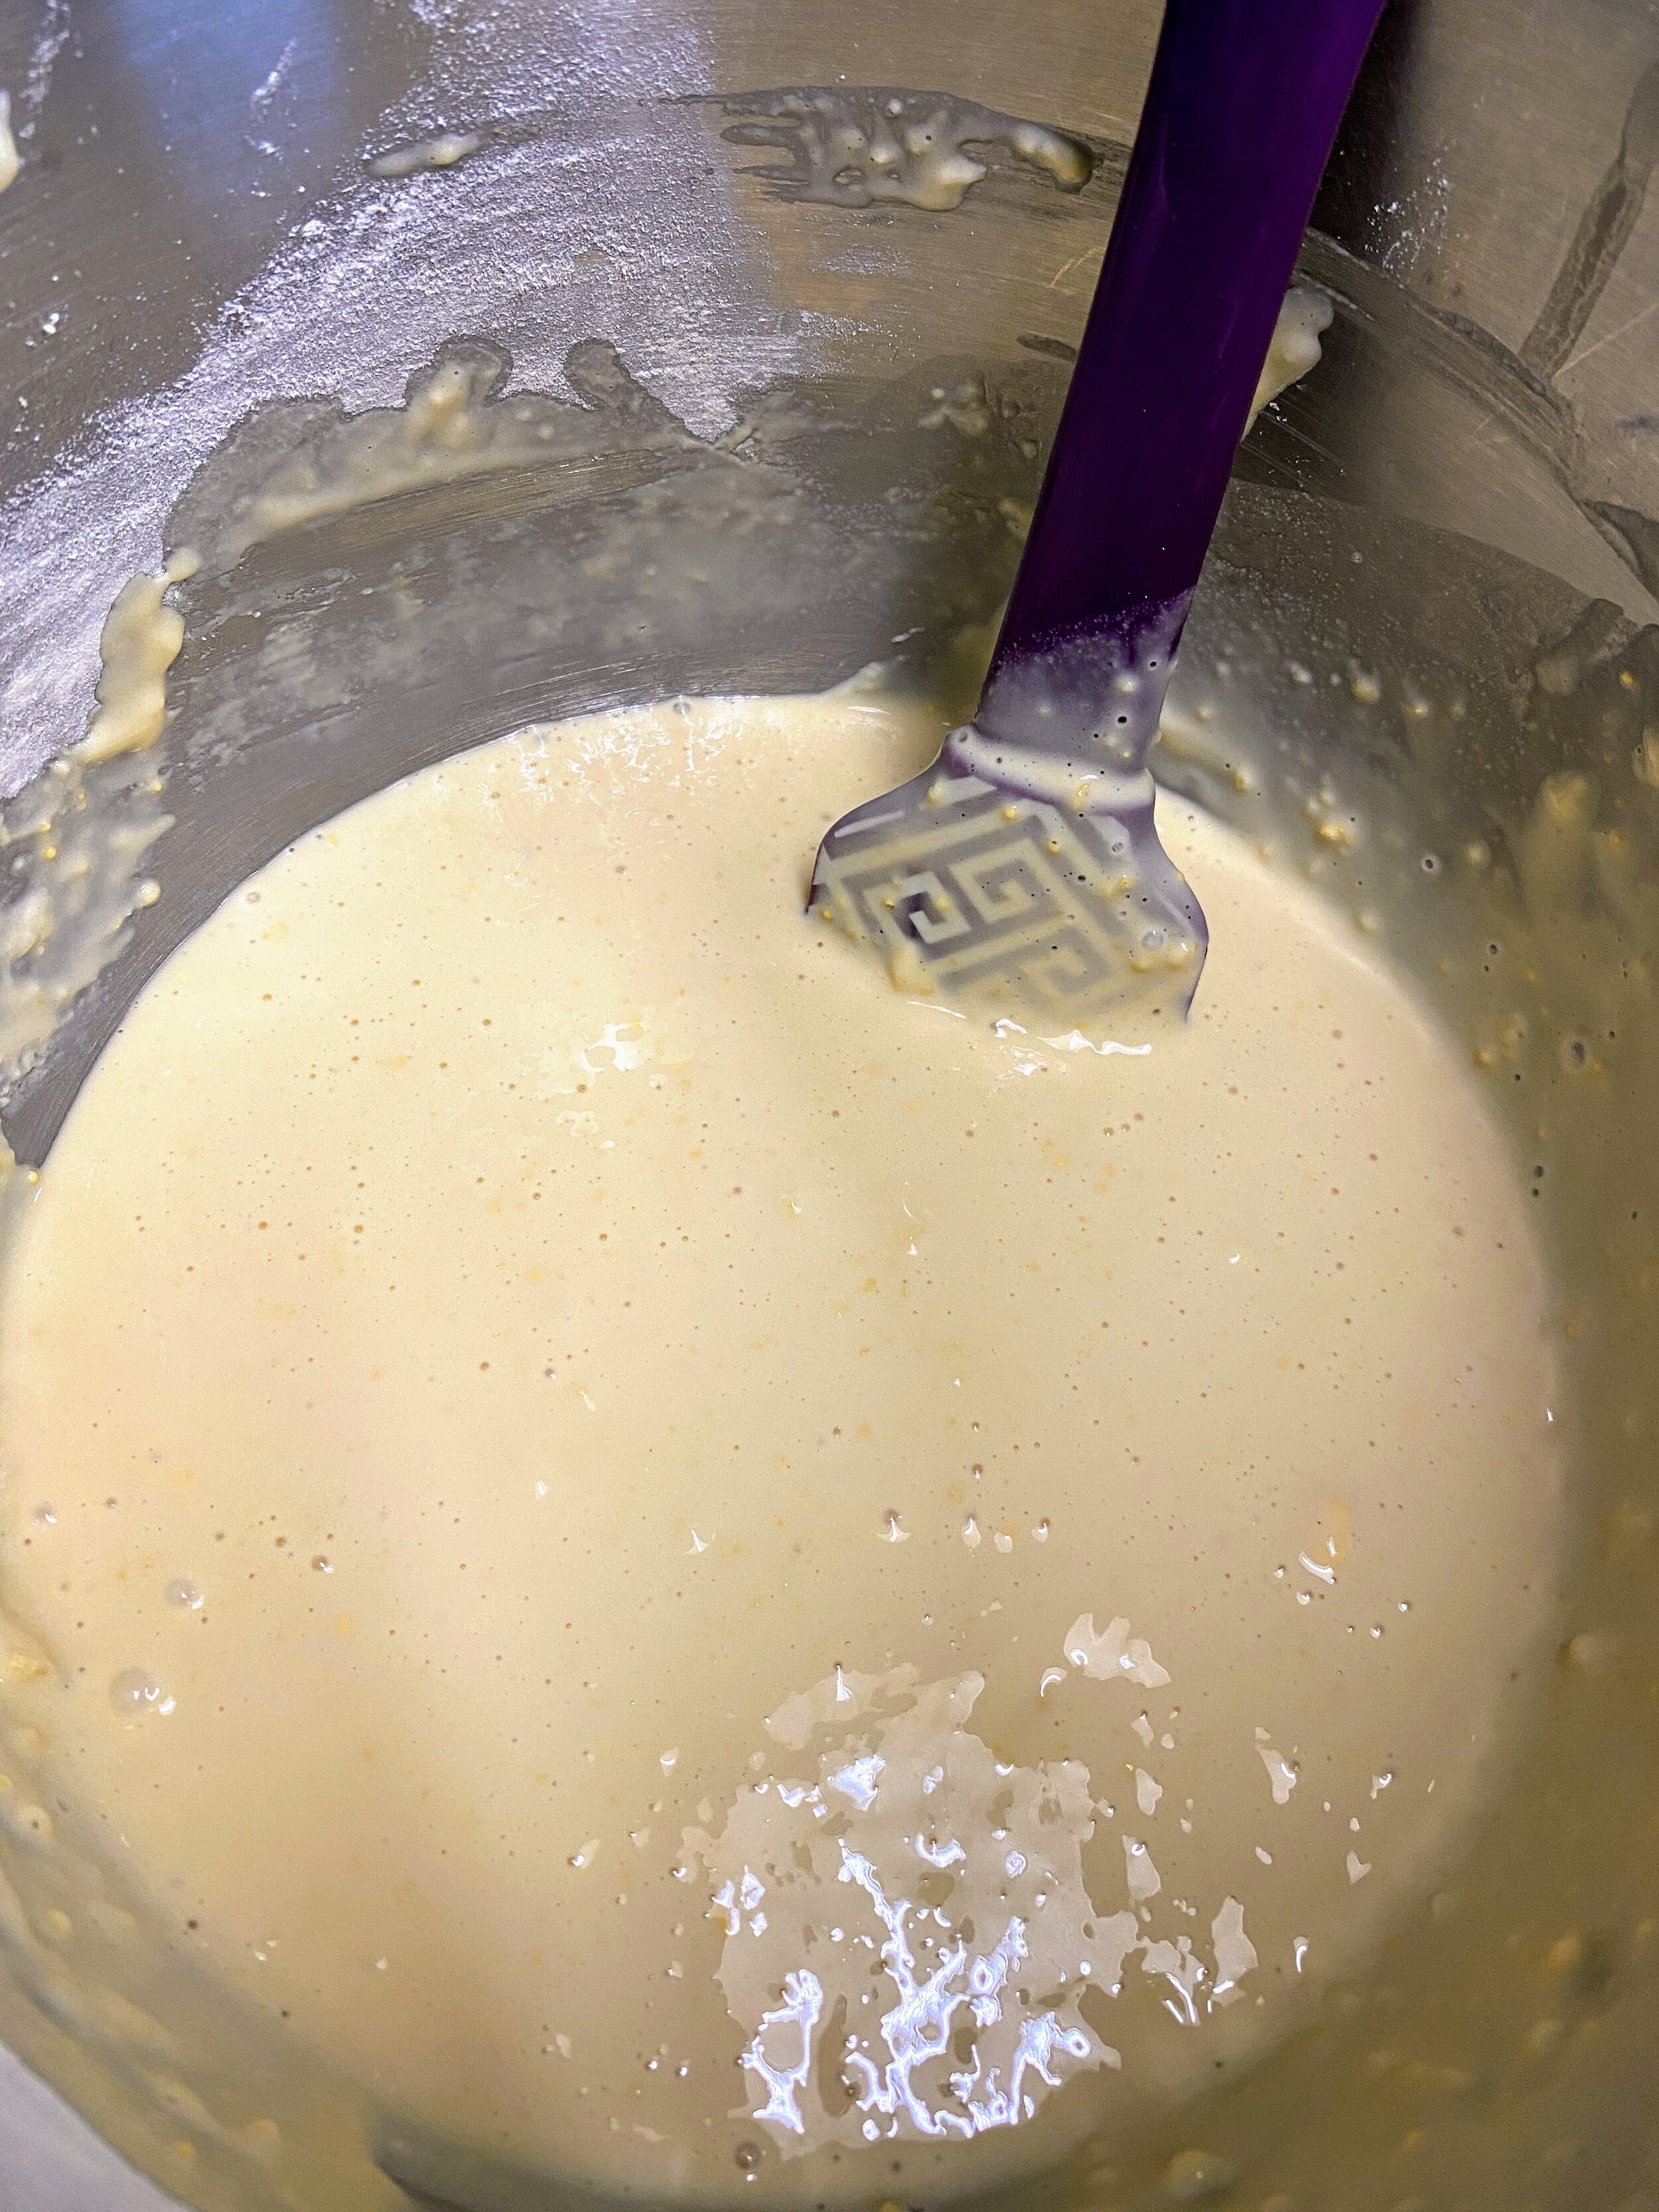
This will get very thick as you mix; the next step will loosen everything up completely.
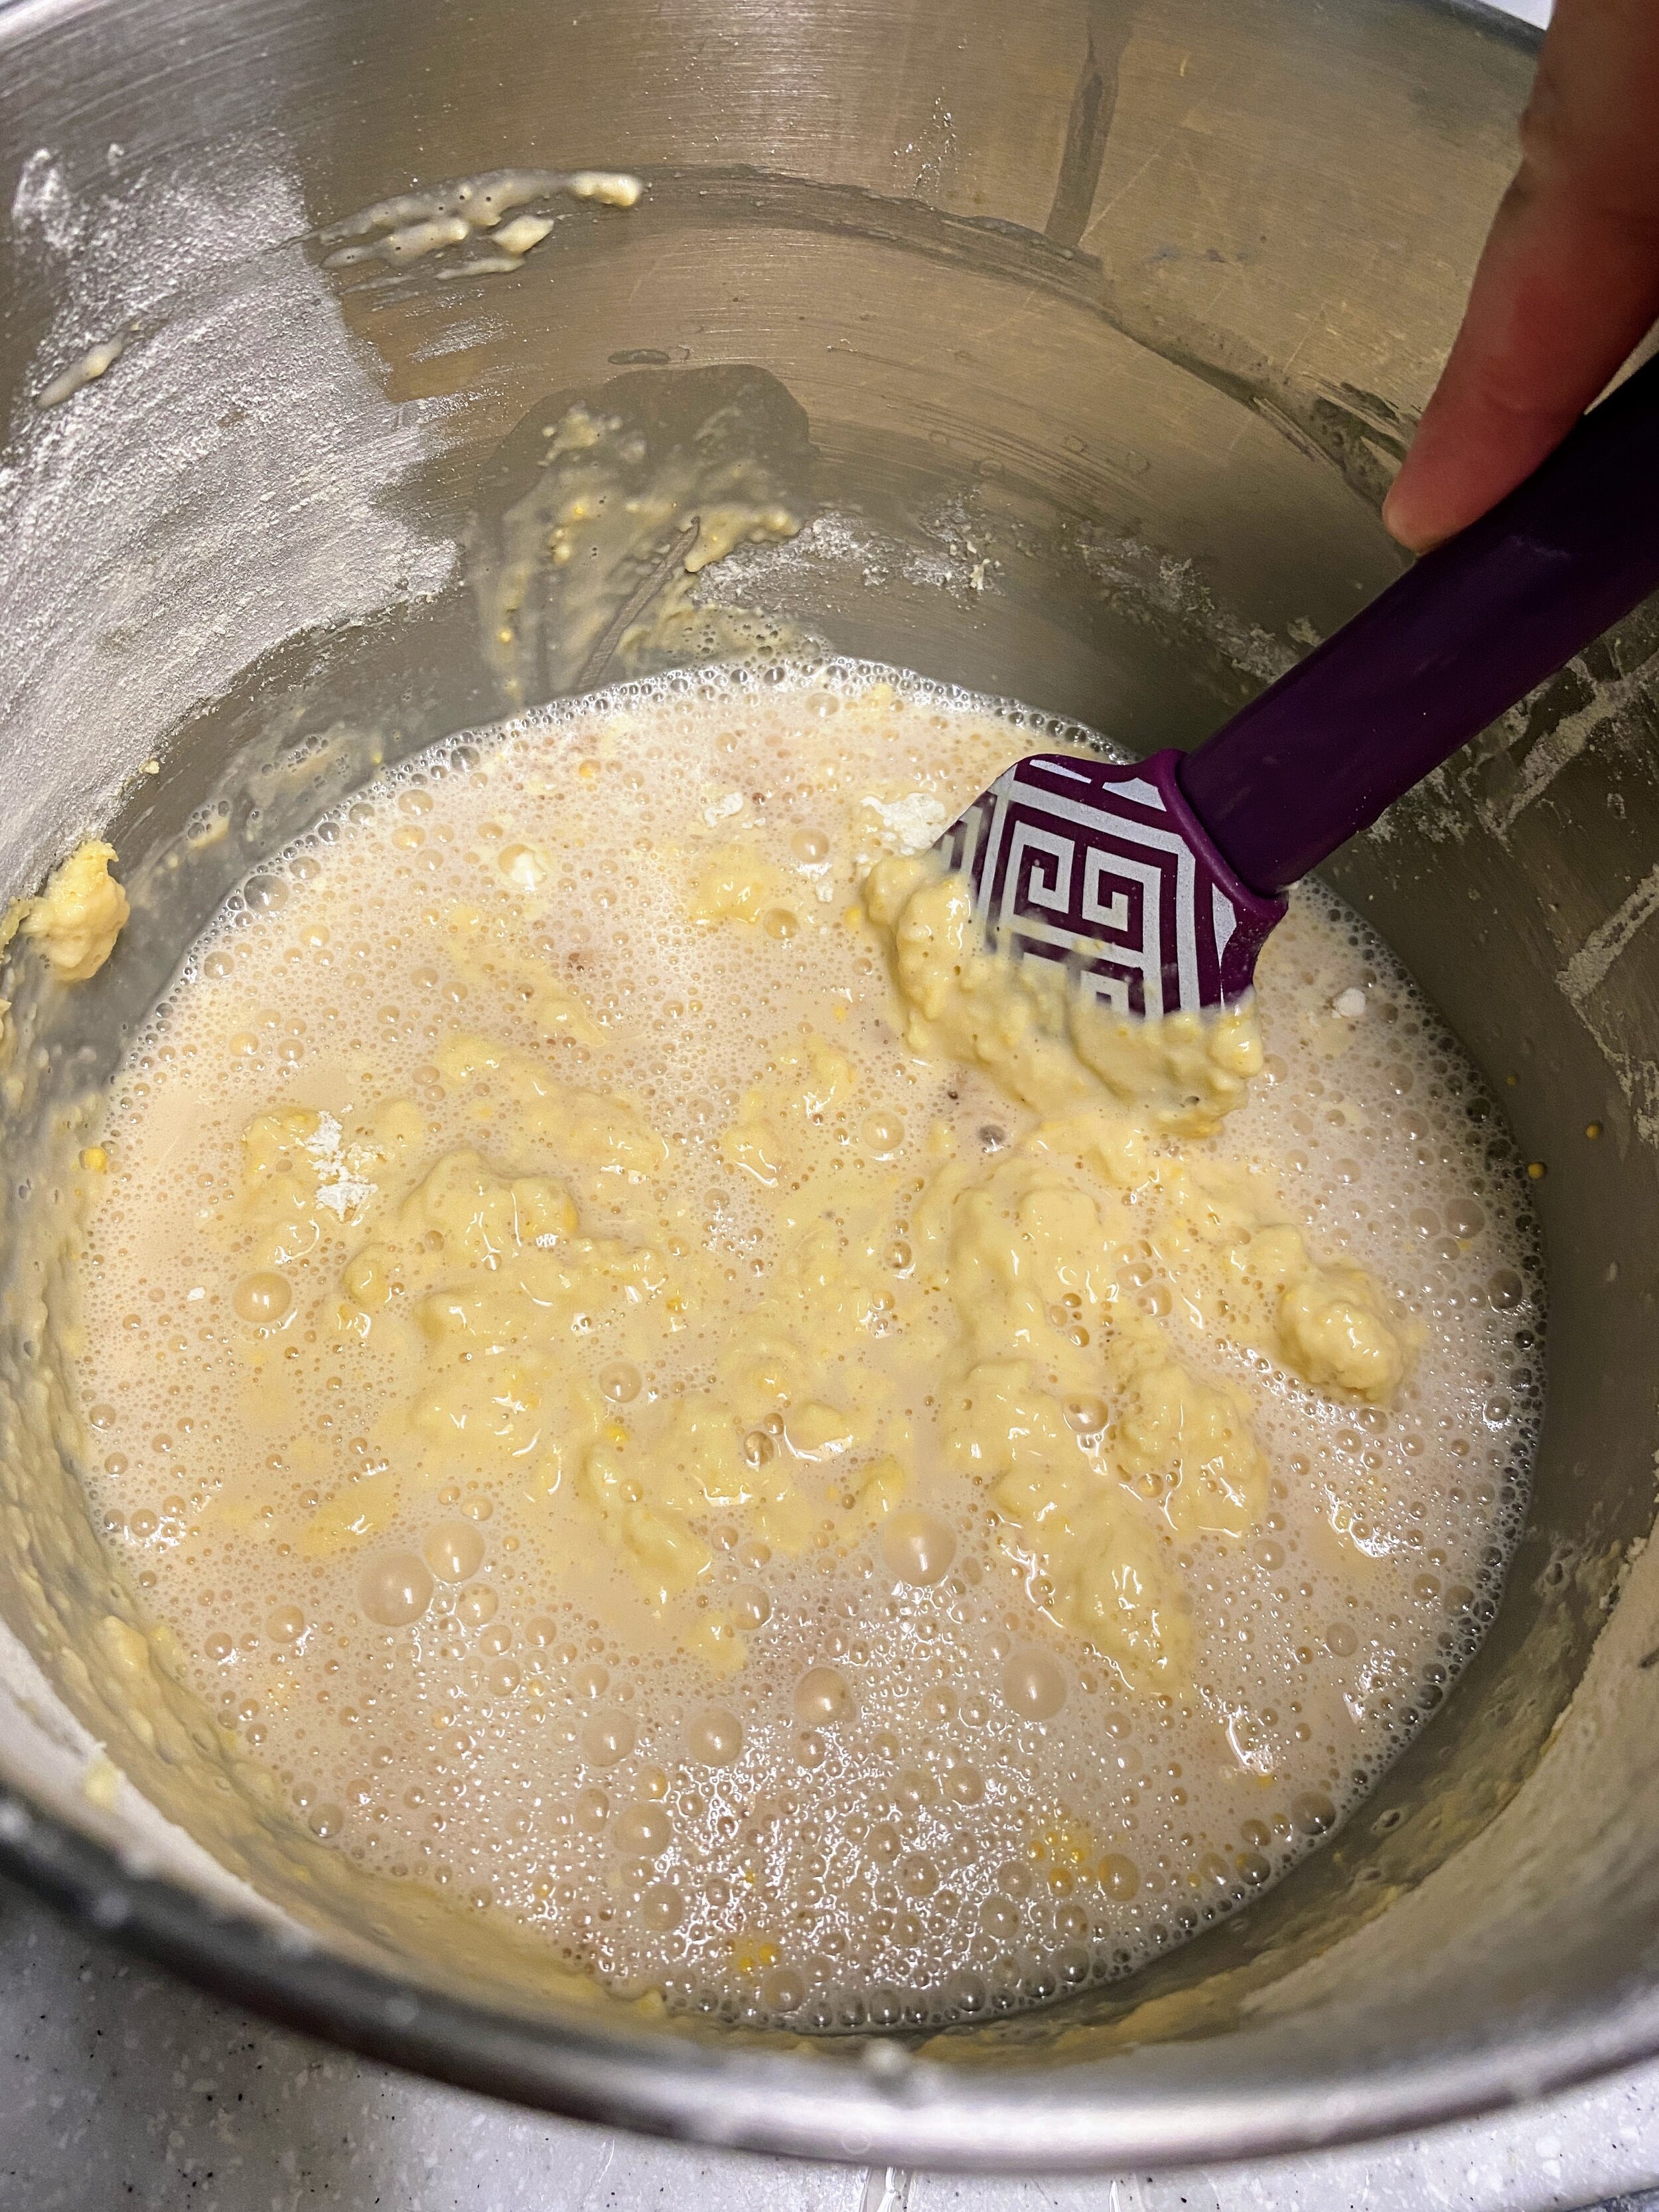
Fold in the frothy yeasty boys, then the oil.
The mixture will be hella lumpy at first but don’t panic. Use a gentle folding motion again and again until the oil and yeast are fully incorporated.
Once fully incorporated, whisk the mixture to ensure that the ingredients are blended and preheat the oven to 400 degrees Fahrenheit.
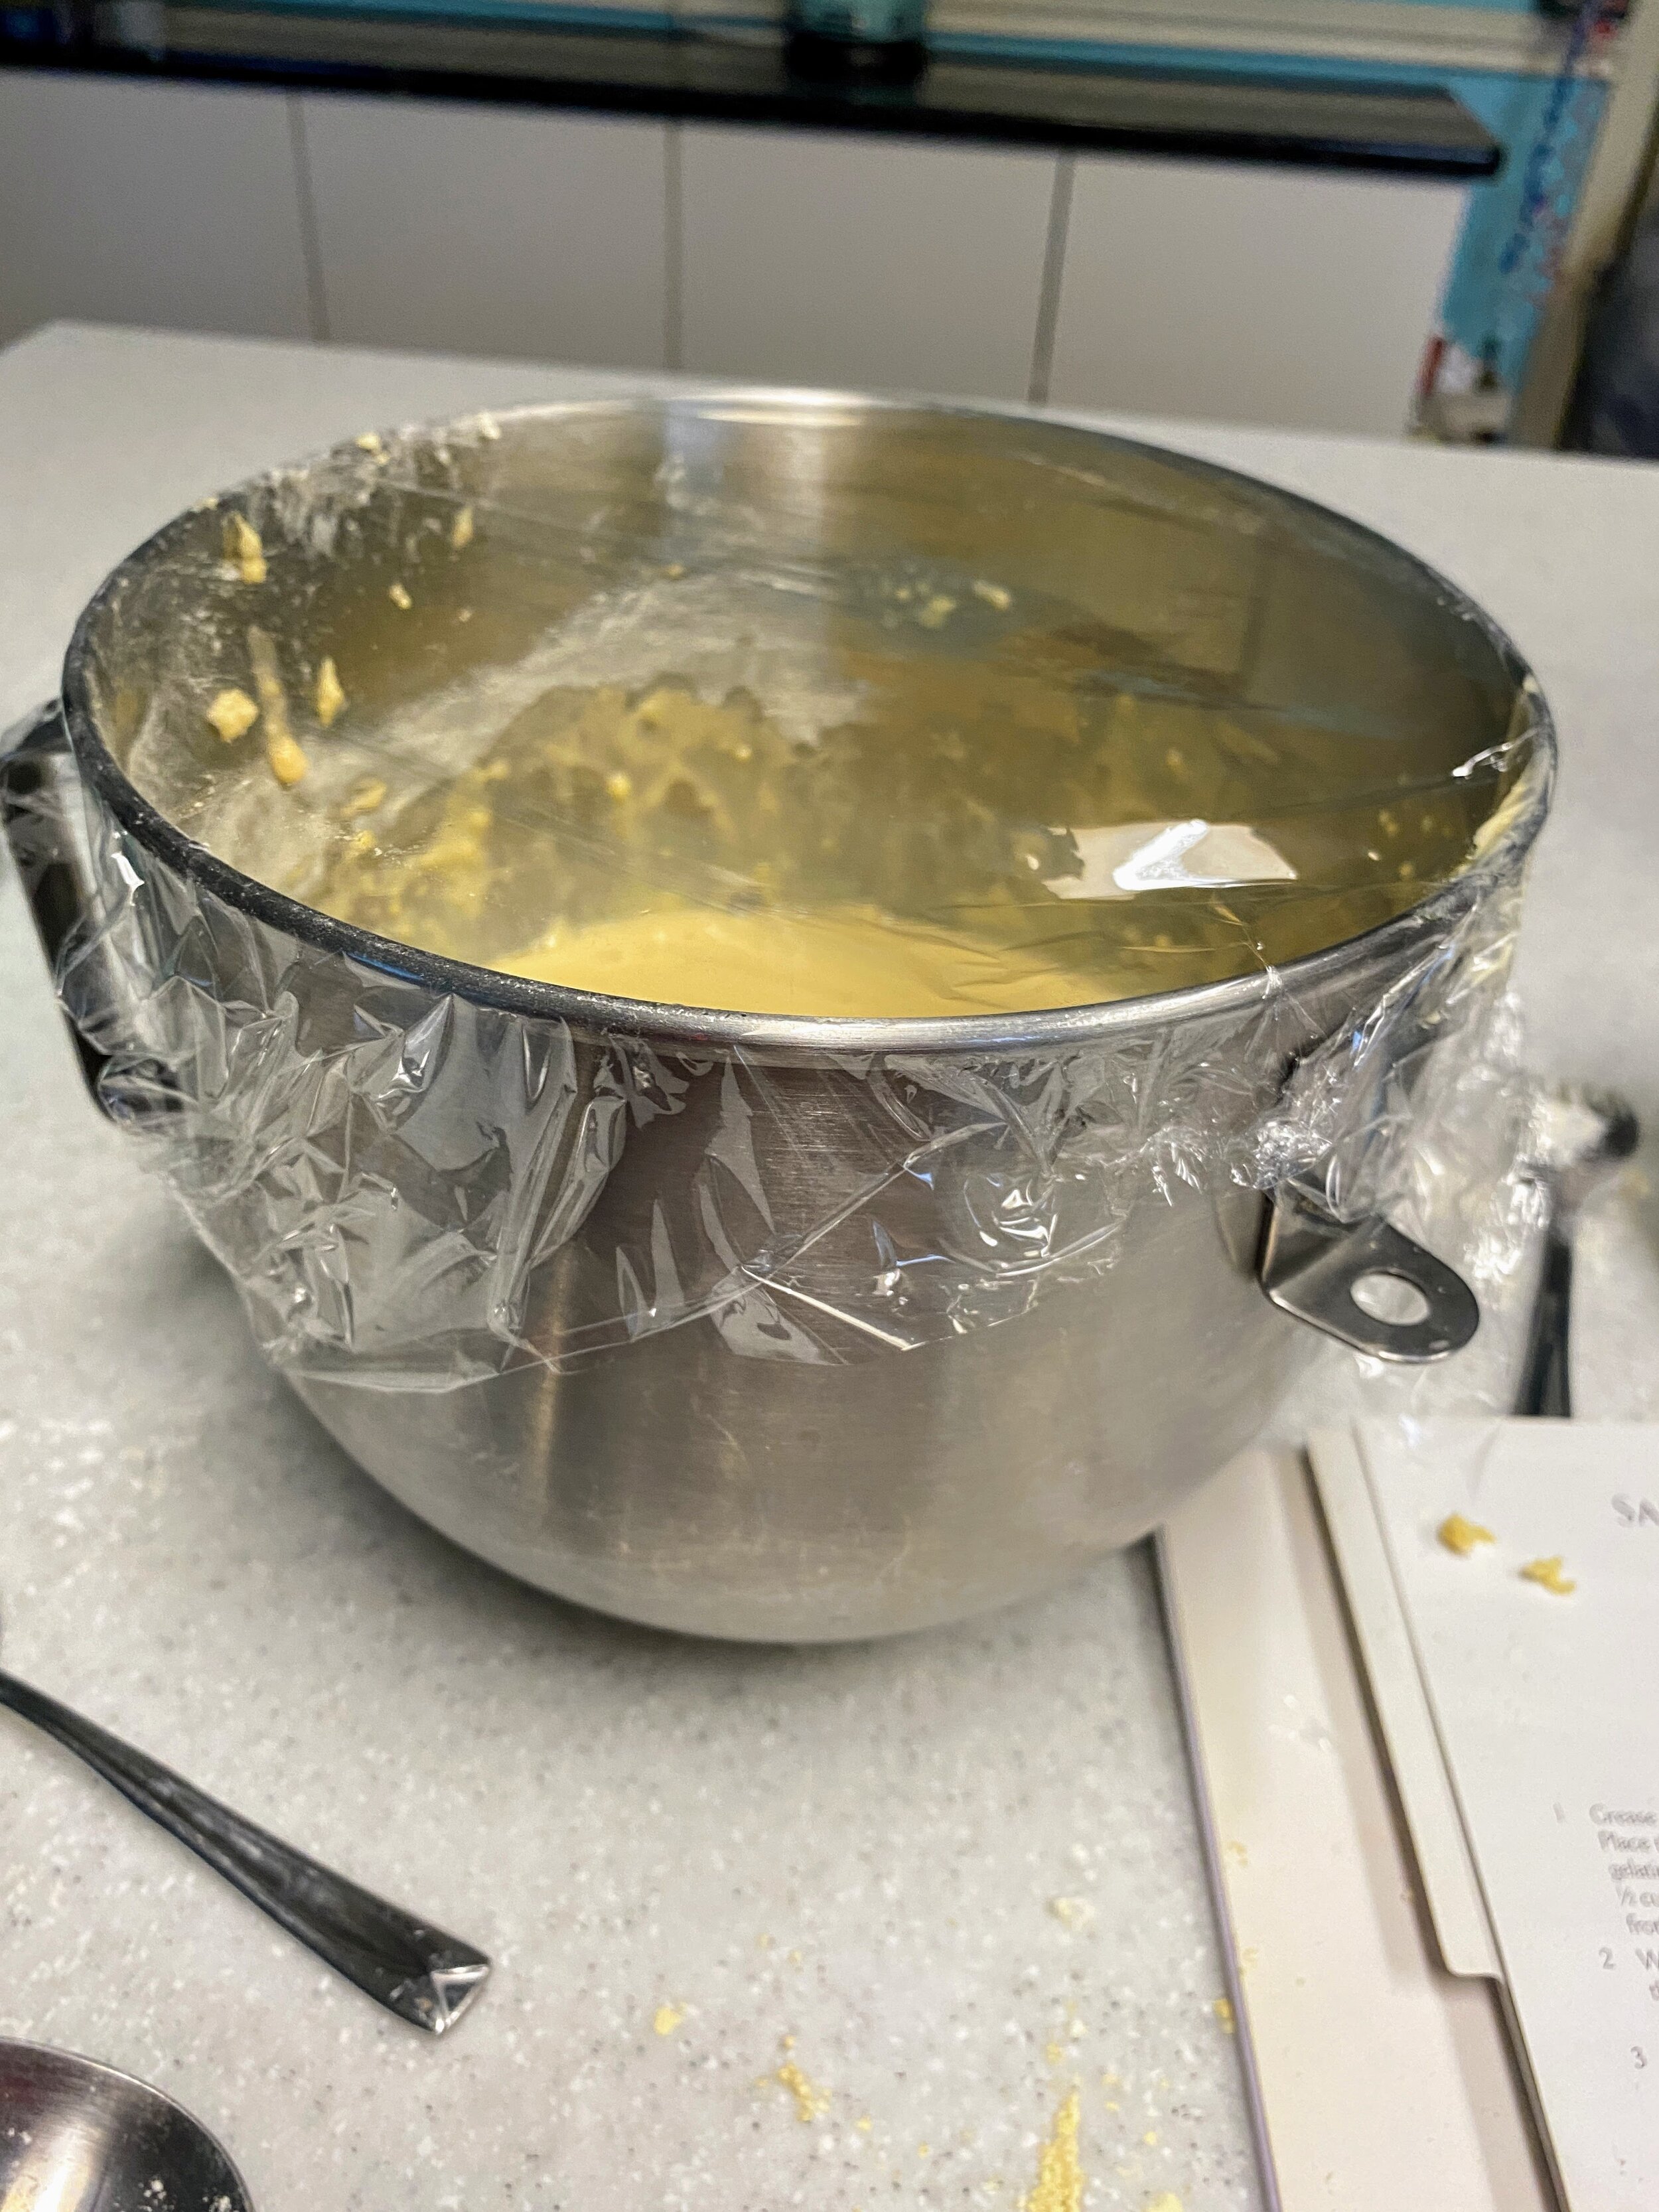
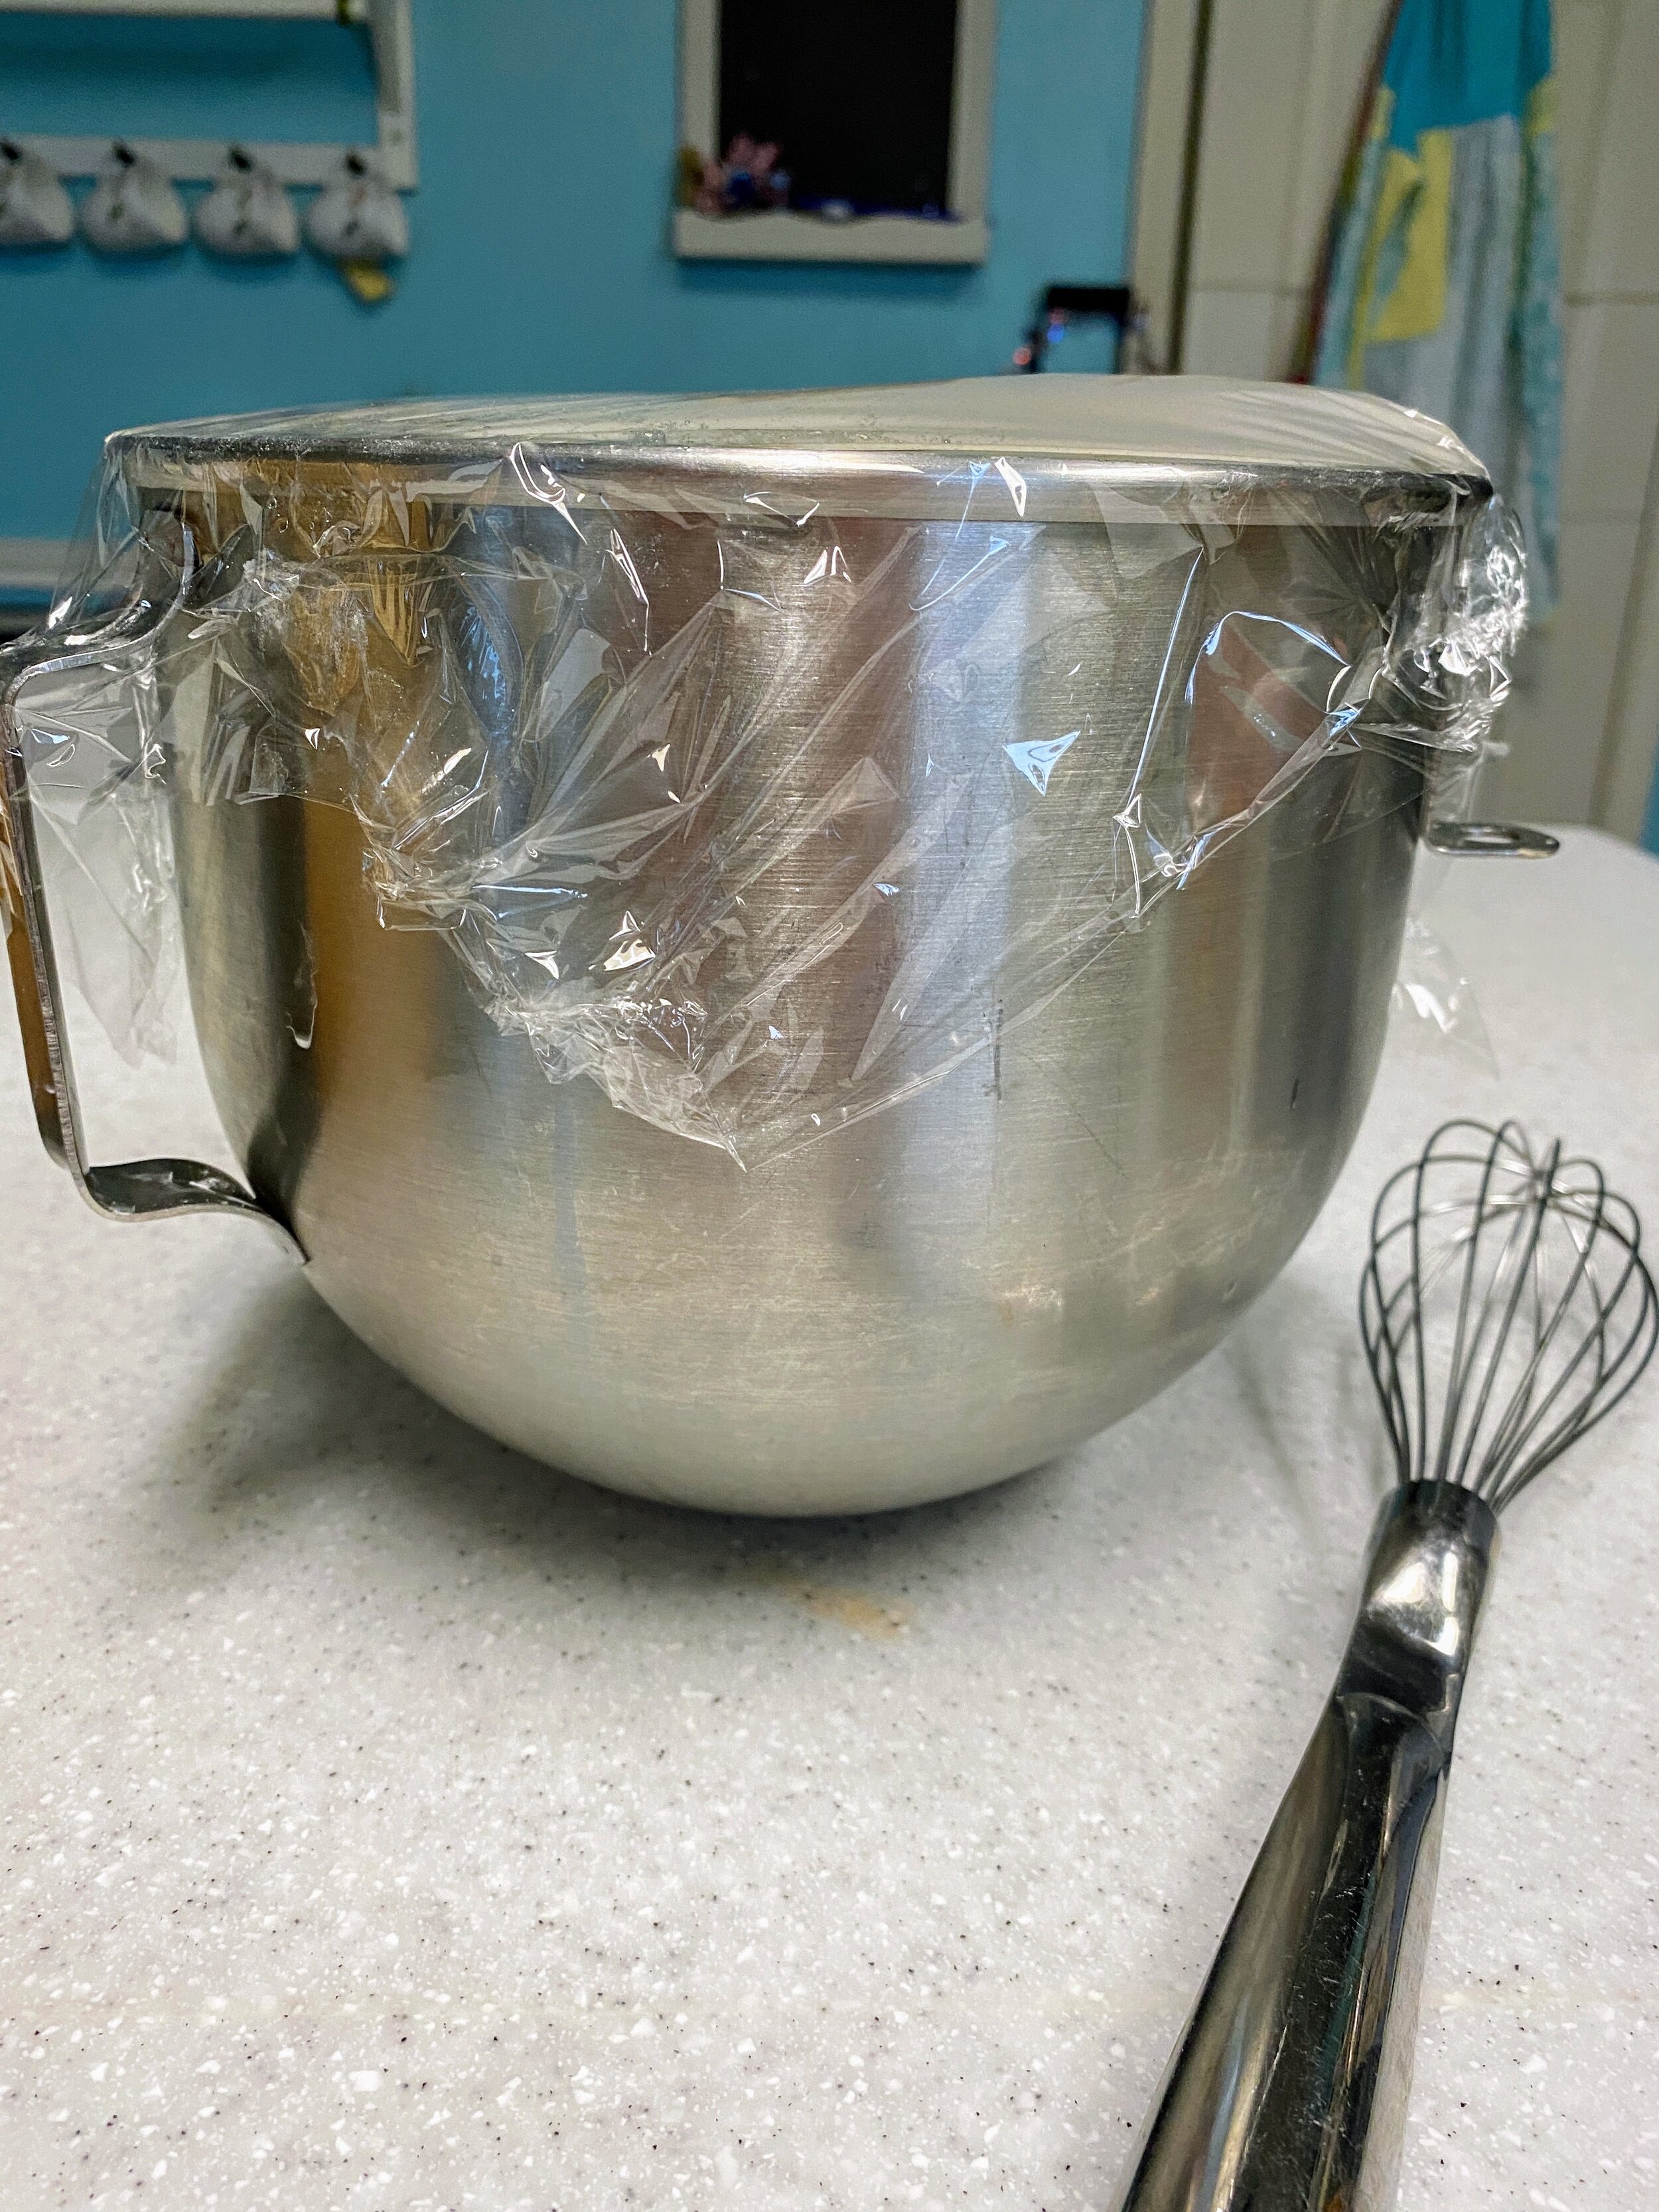
Cover the bowl with plastic wrap and leave the bread mixture to stand for about 15 minutes. Don’t be surprised if there isn’t a notable change in size. Resting the batter is important though. It gives the yeast time to work.
There won’t be as much rise as you’d think. The oil retards the rising but especially with the residual heat from the gelatin mixture you’ll absolutely have some puffiness happen.
Whisk the mixture once more and pour into the prepared bread tin. Place the bread on a lower shelf in the oven and bake for 50 minutes.
You’ll know the bread has finished baking when you tap on the top of the loaf, and it sounds hollow all the way across. You can use a wooden spoon to do the tapping; it’s very satisfying.
Remove from oven and cool in the tin before slicing.







Instructions for Onion and Cider Soup:
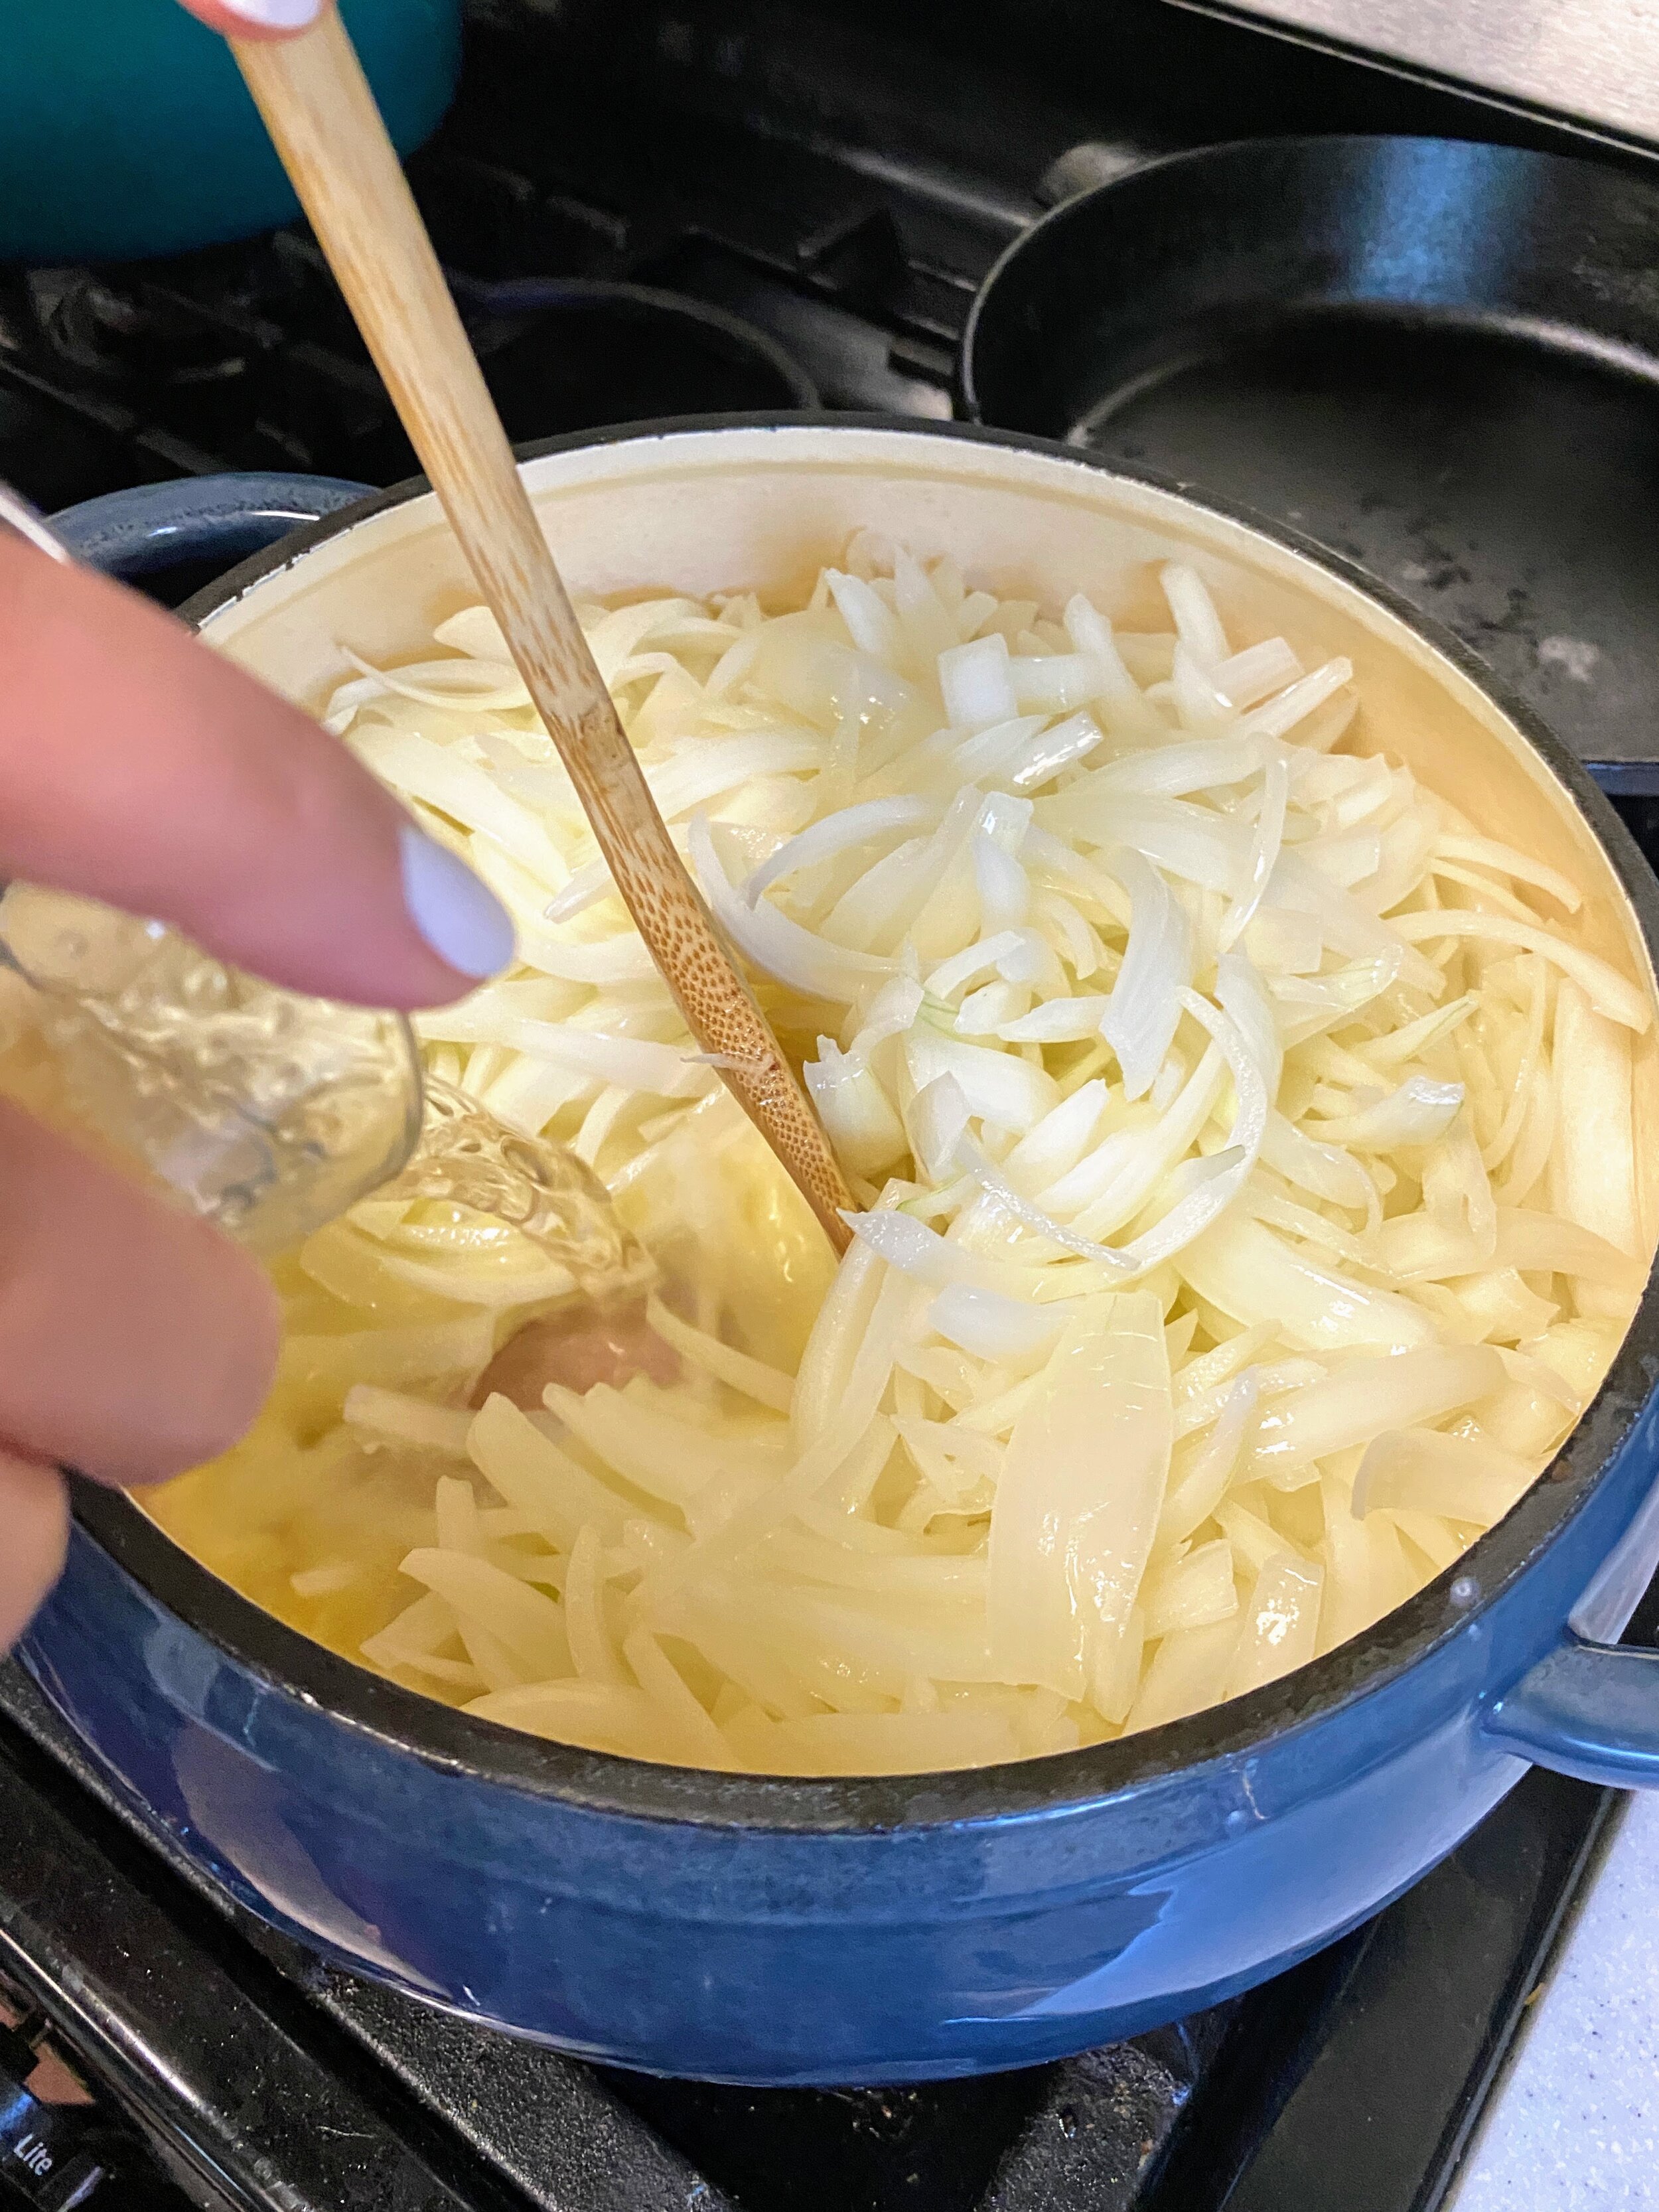
Melt the butter in a heavy bottomed saucepan and add the onions. Sauté them gently, turning them round in the butter, until they start to soften.
This was my very first experience with caramelizing onions so this was a bit of a mystery. I will say, the combo of butter and onions together is a god-tier smell.
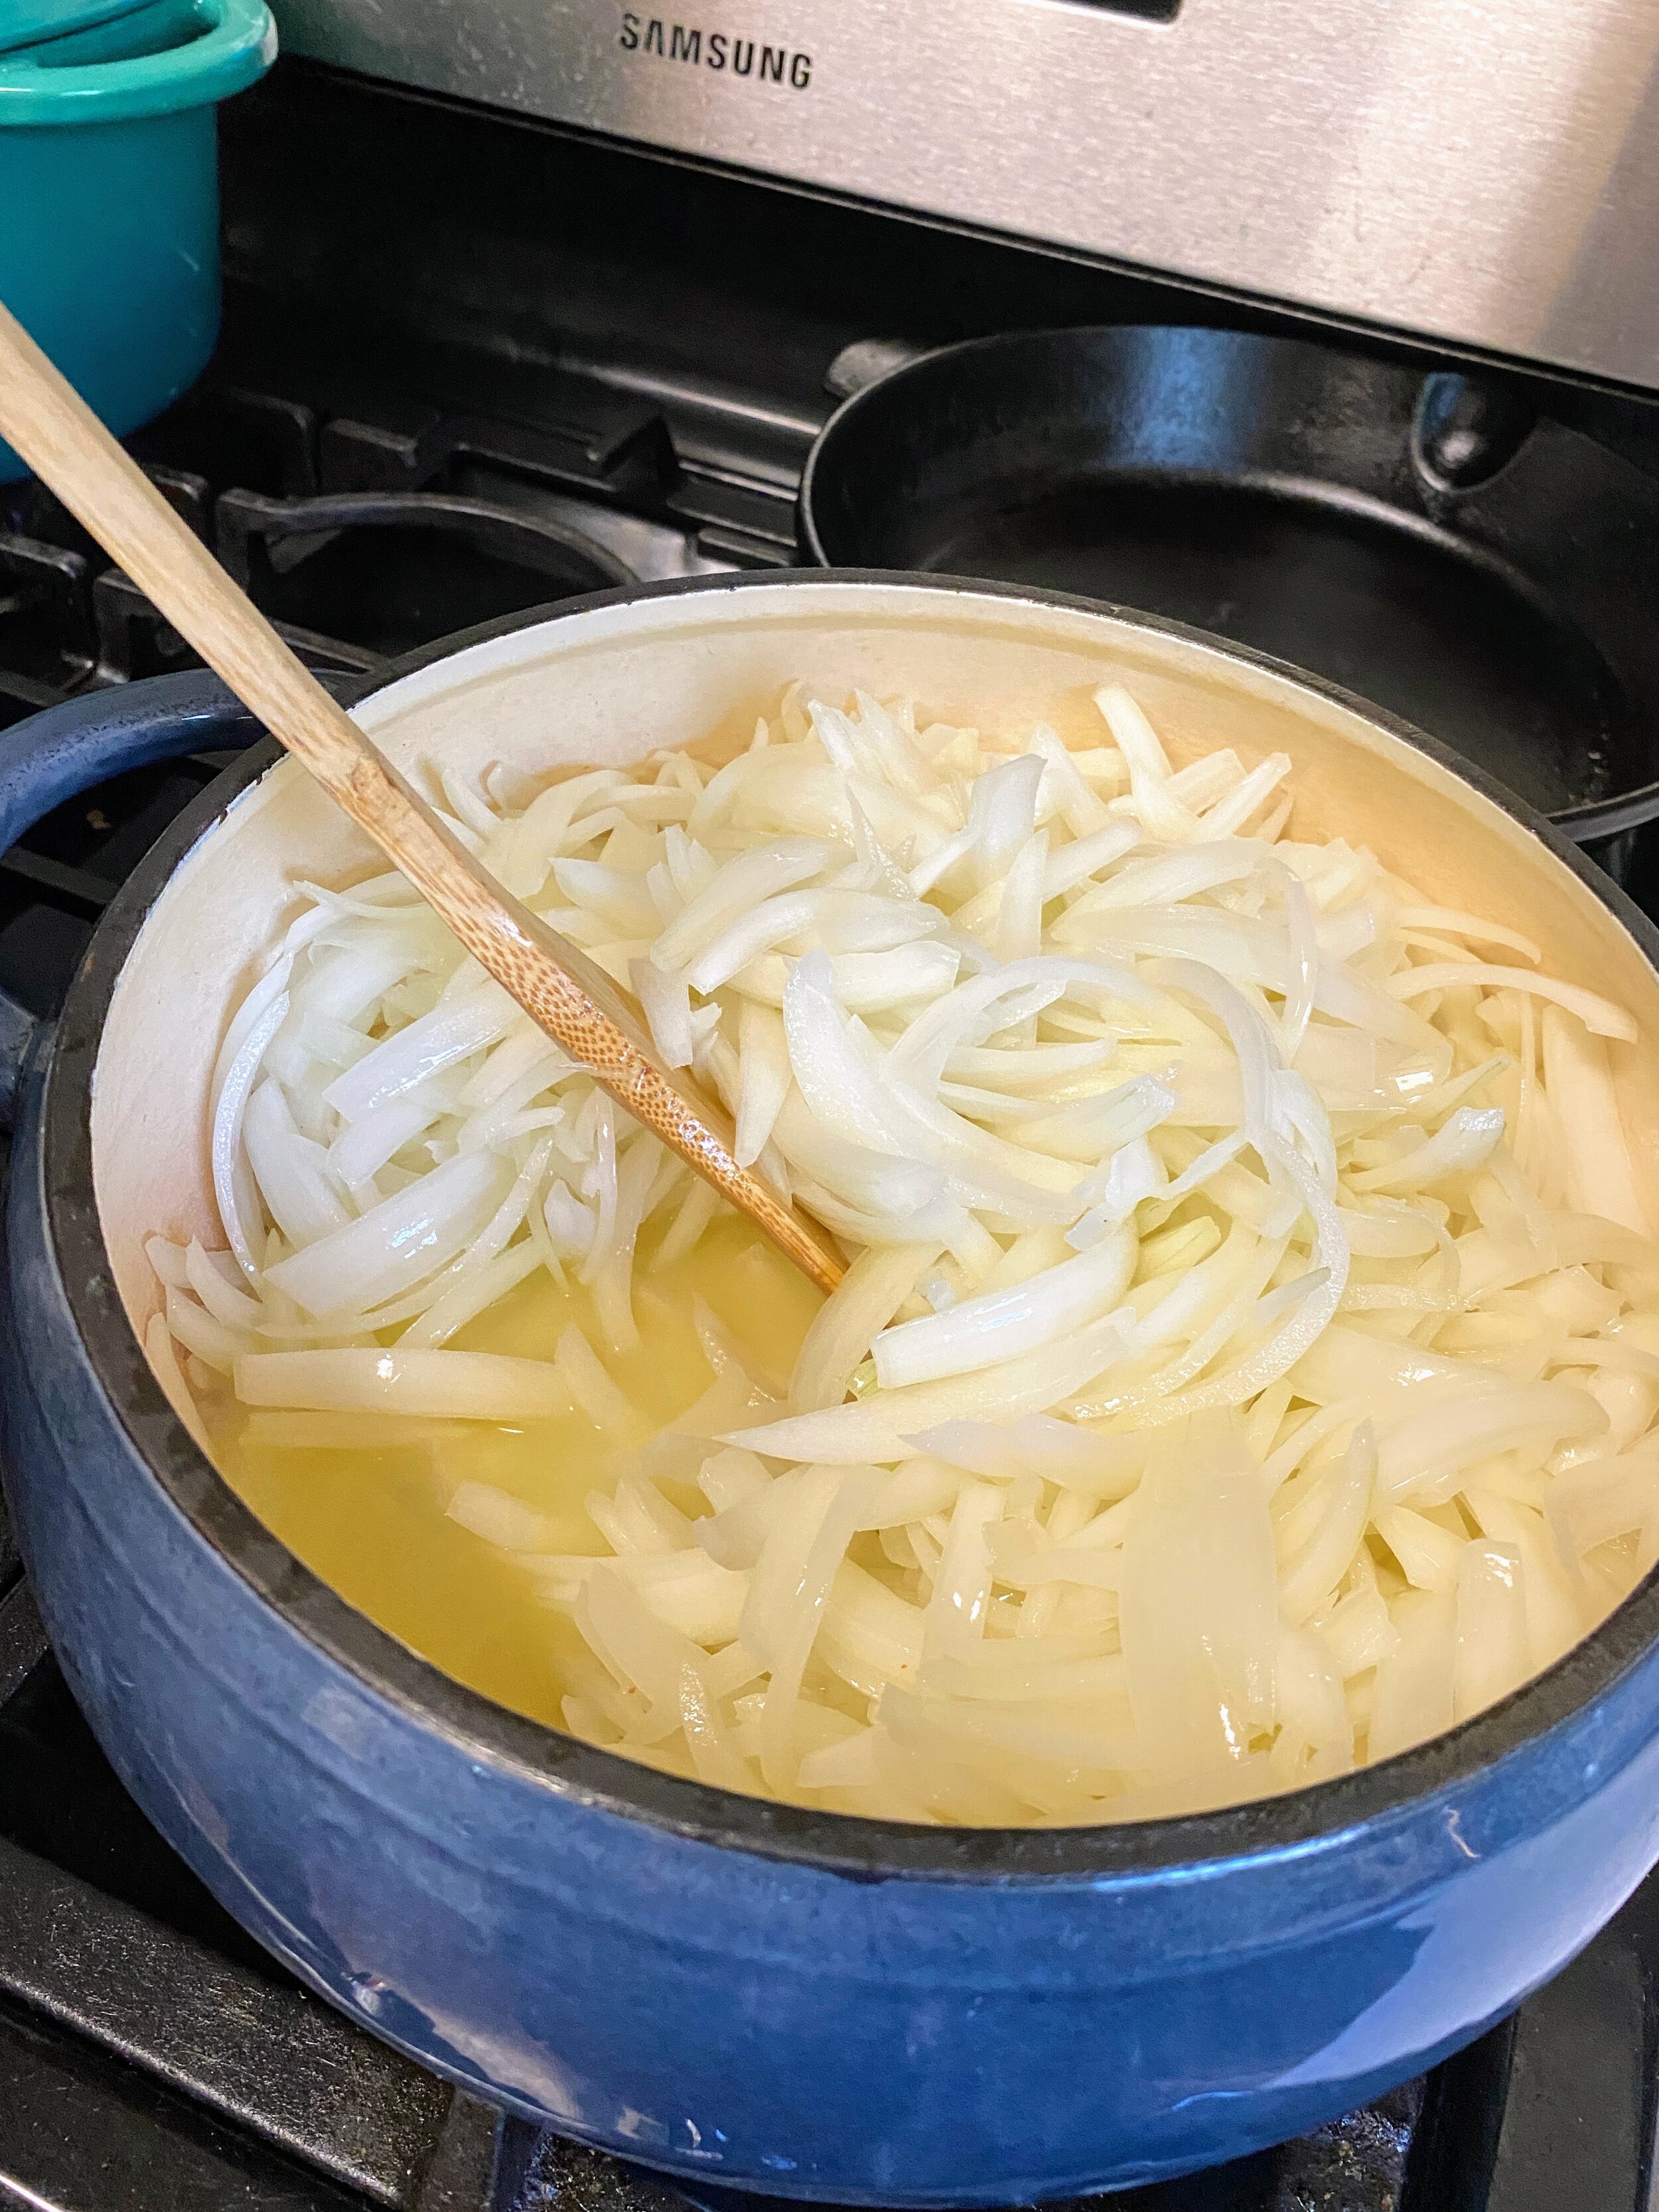
Add a splash of water, cover with a lid, and sweat the onions until they are very soft and start to caramelize. This can take up to 50 minutes.
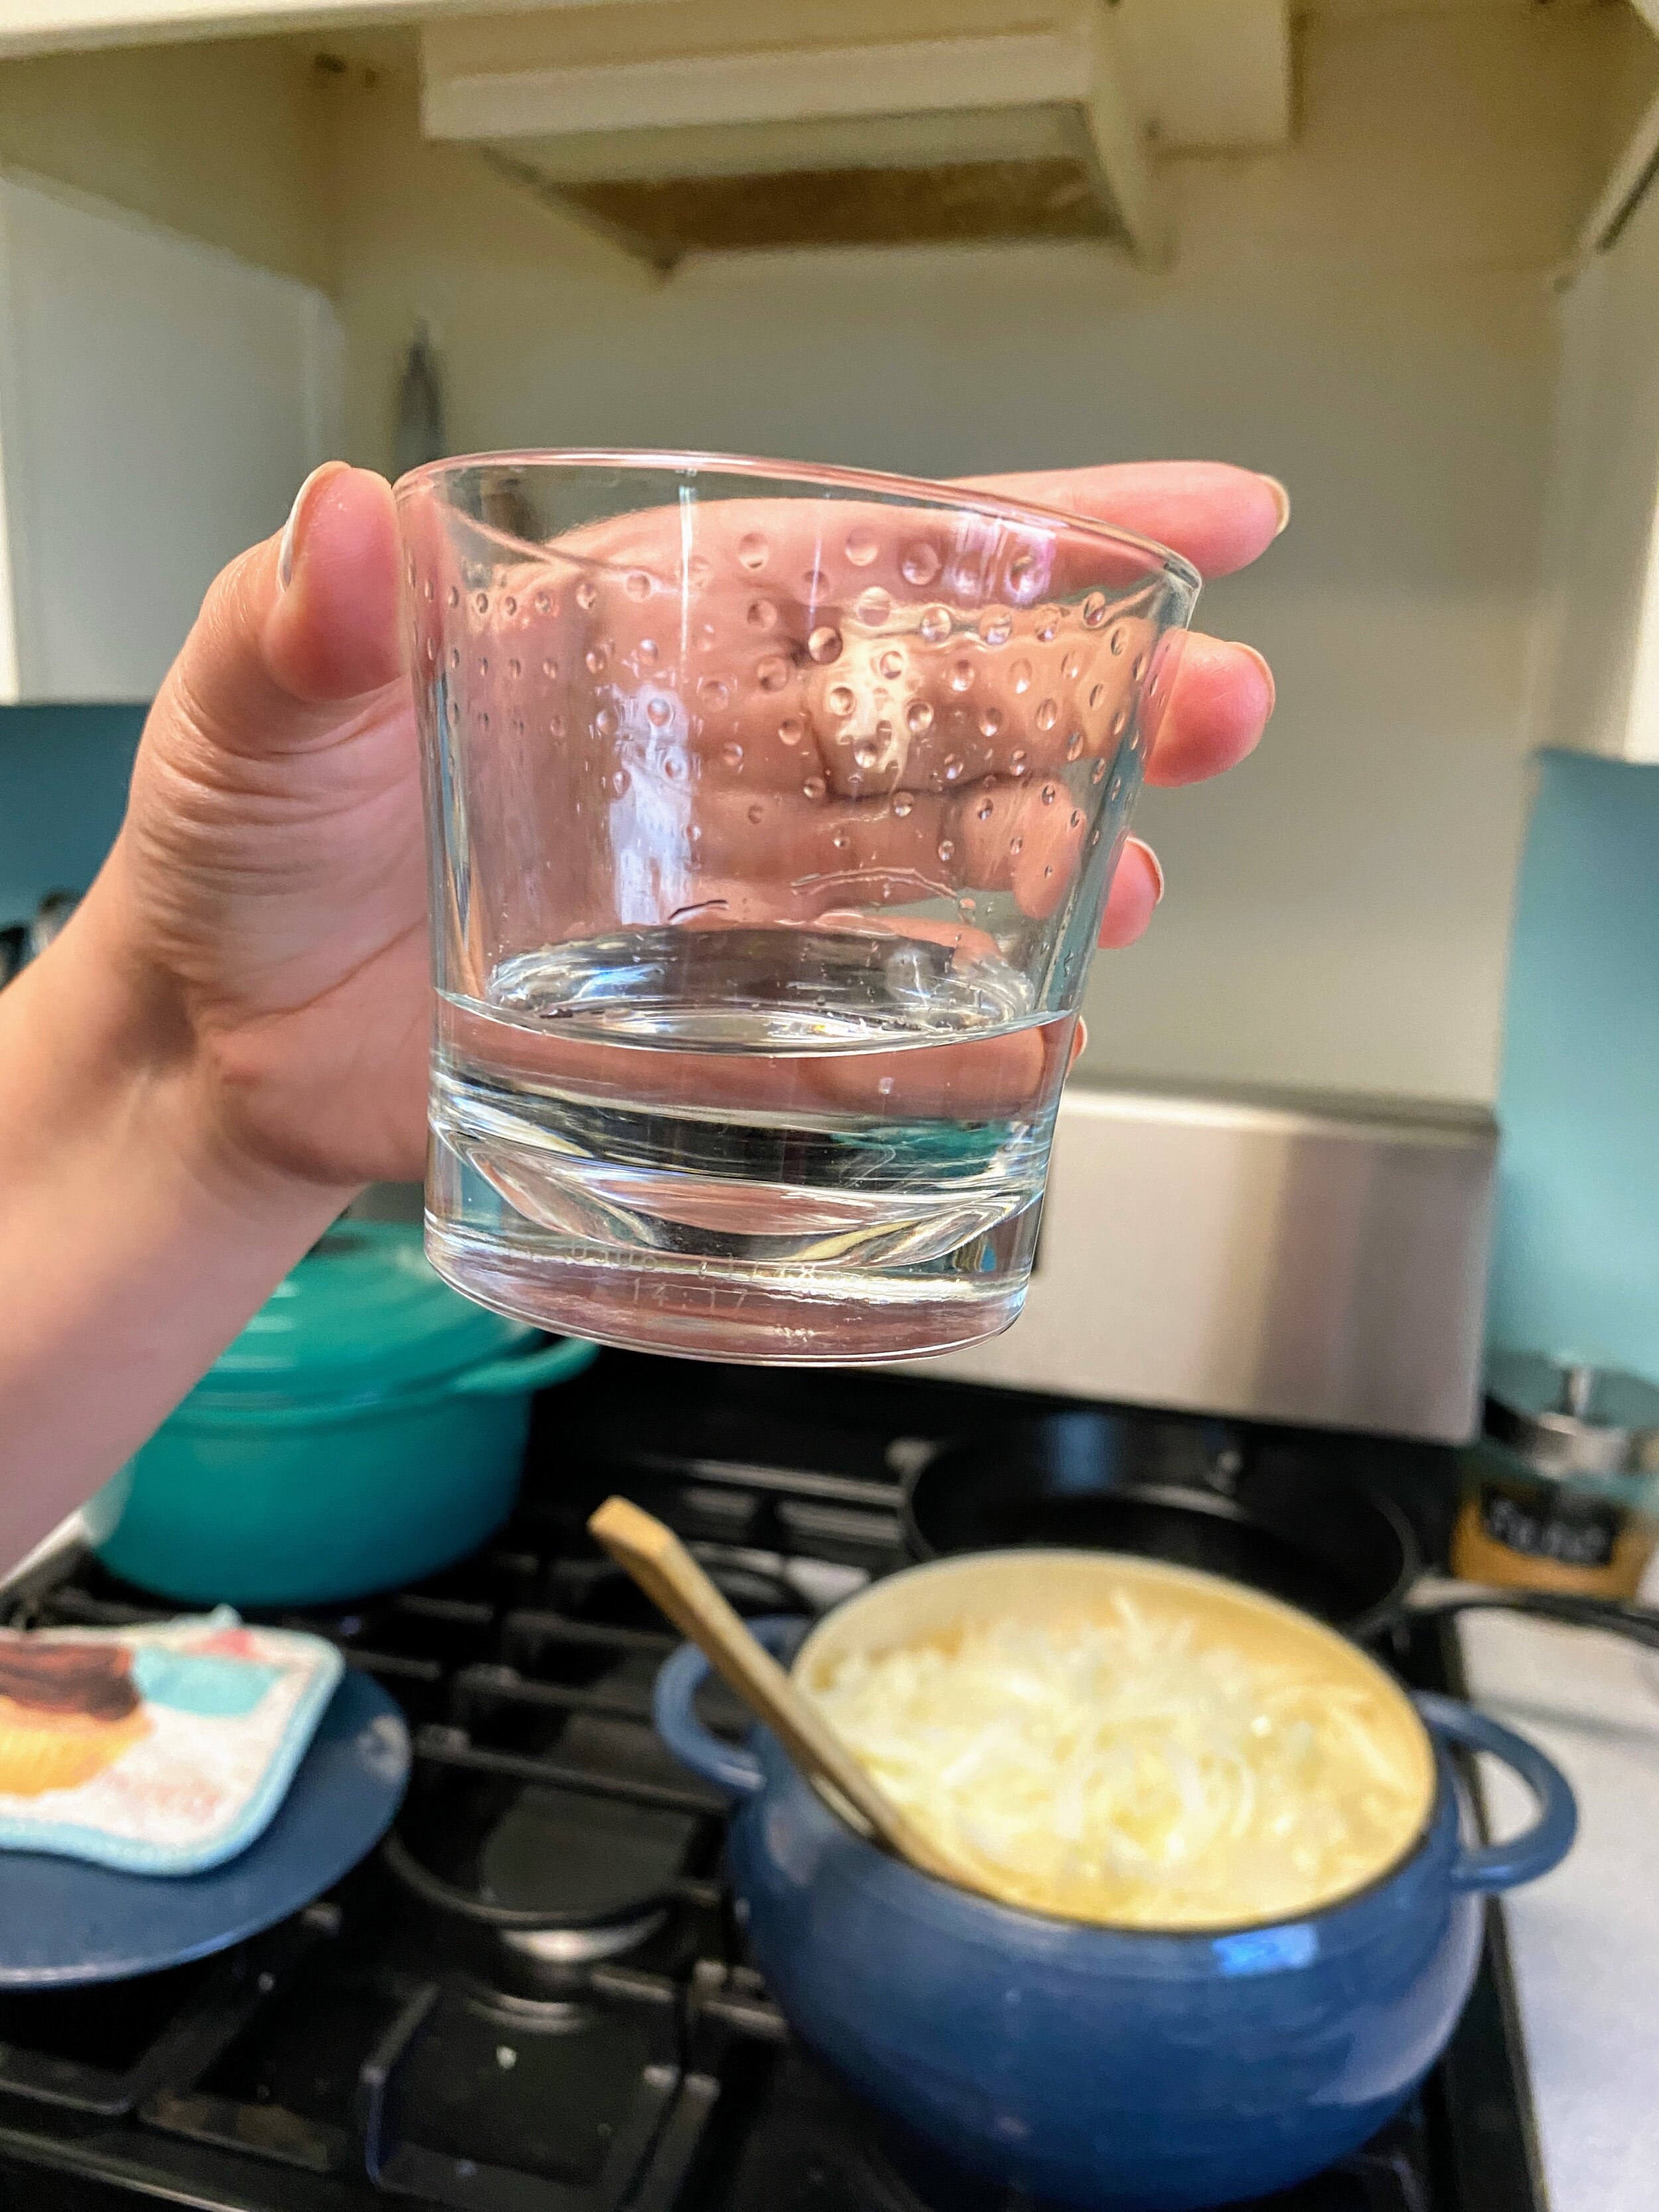
You will need to add a splash of water every so often and turn the onions over in the buttery juices. I don’t recommend adding as much water as I did during this time. When the recipe says a “splash” of water, we’re talking about an ounce or so at a time. Especially if you have weepy onions like me, you’re not going to need a lot of water. If you add too much water the sweating process will take significantly longer. The recipe says 50 minutes but I ended up sweating these for an hour and 20.
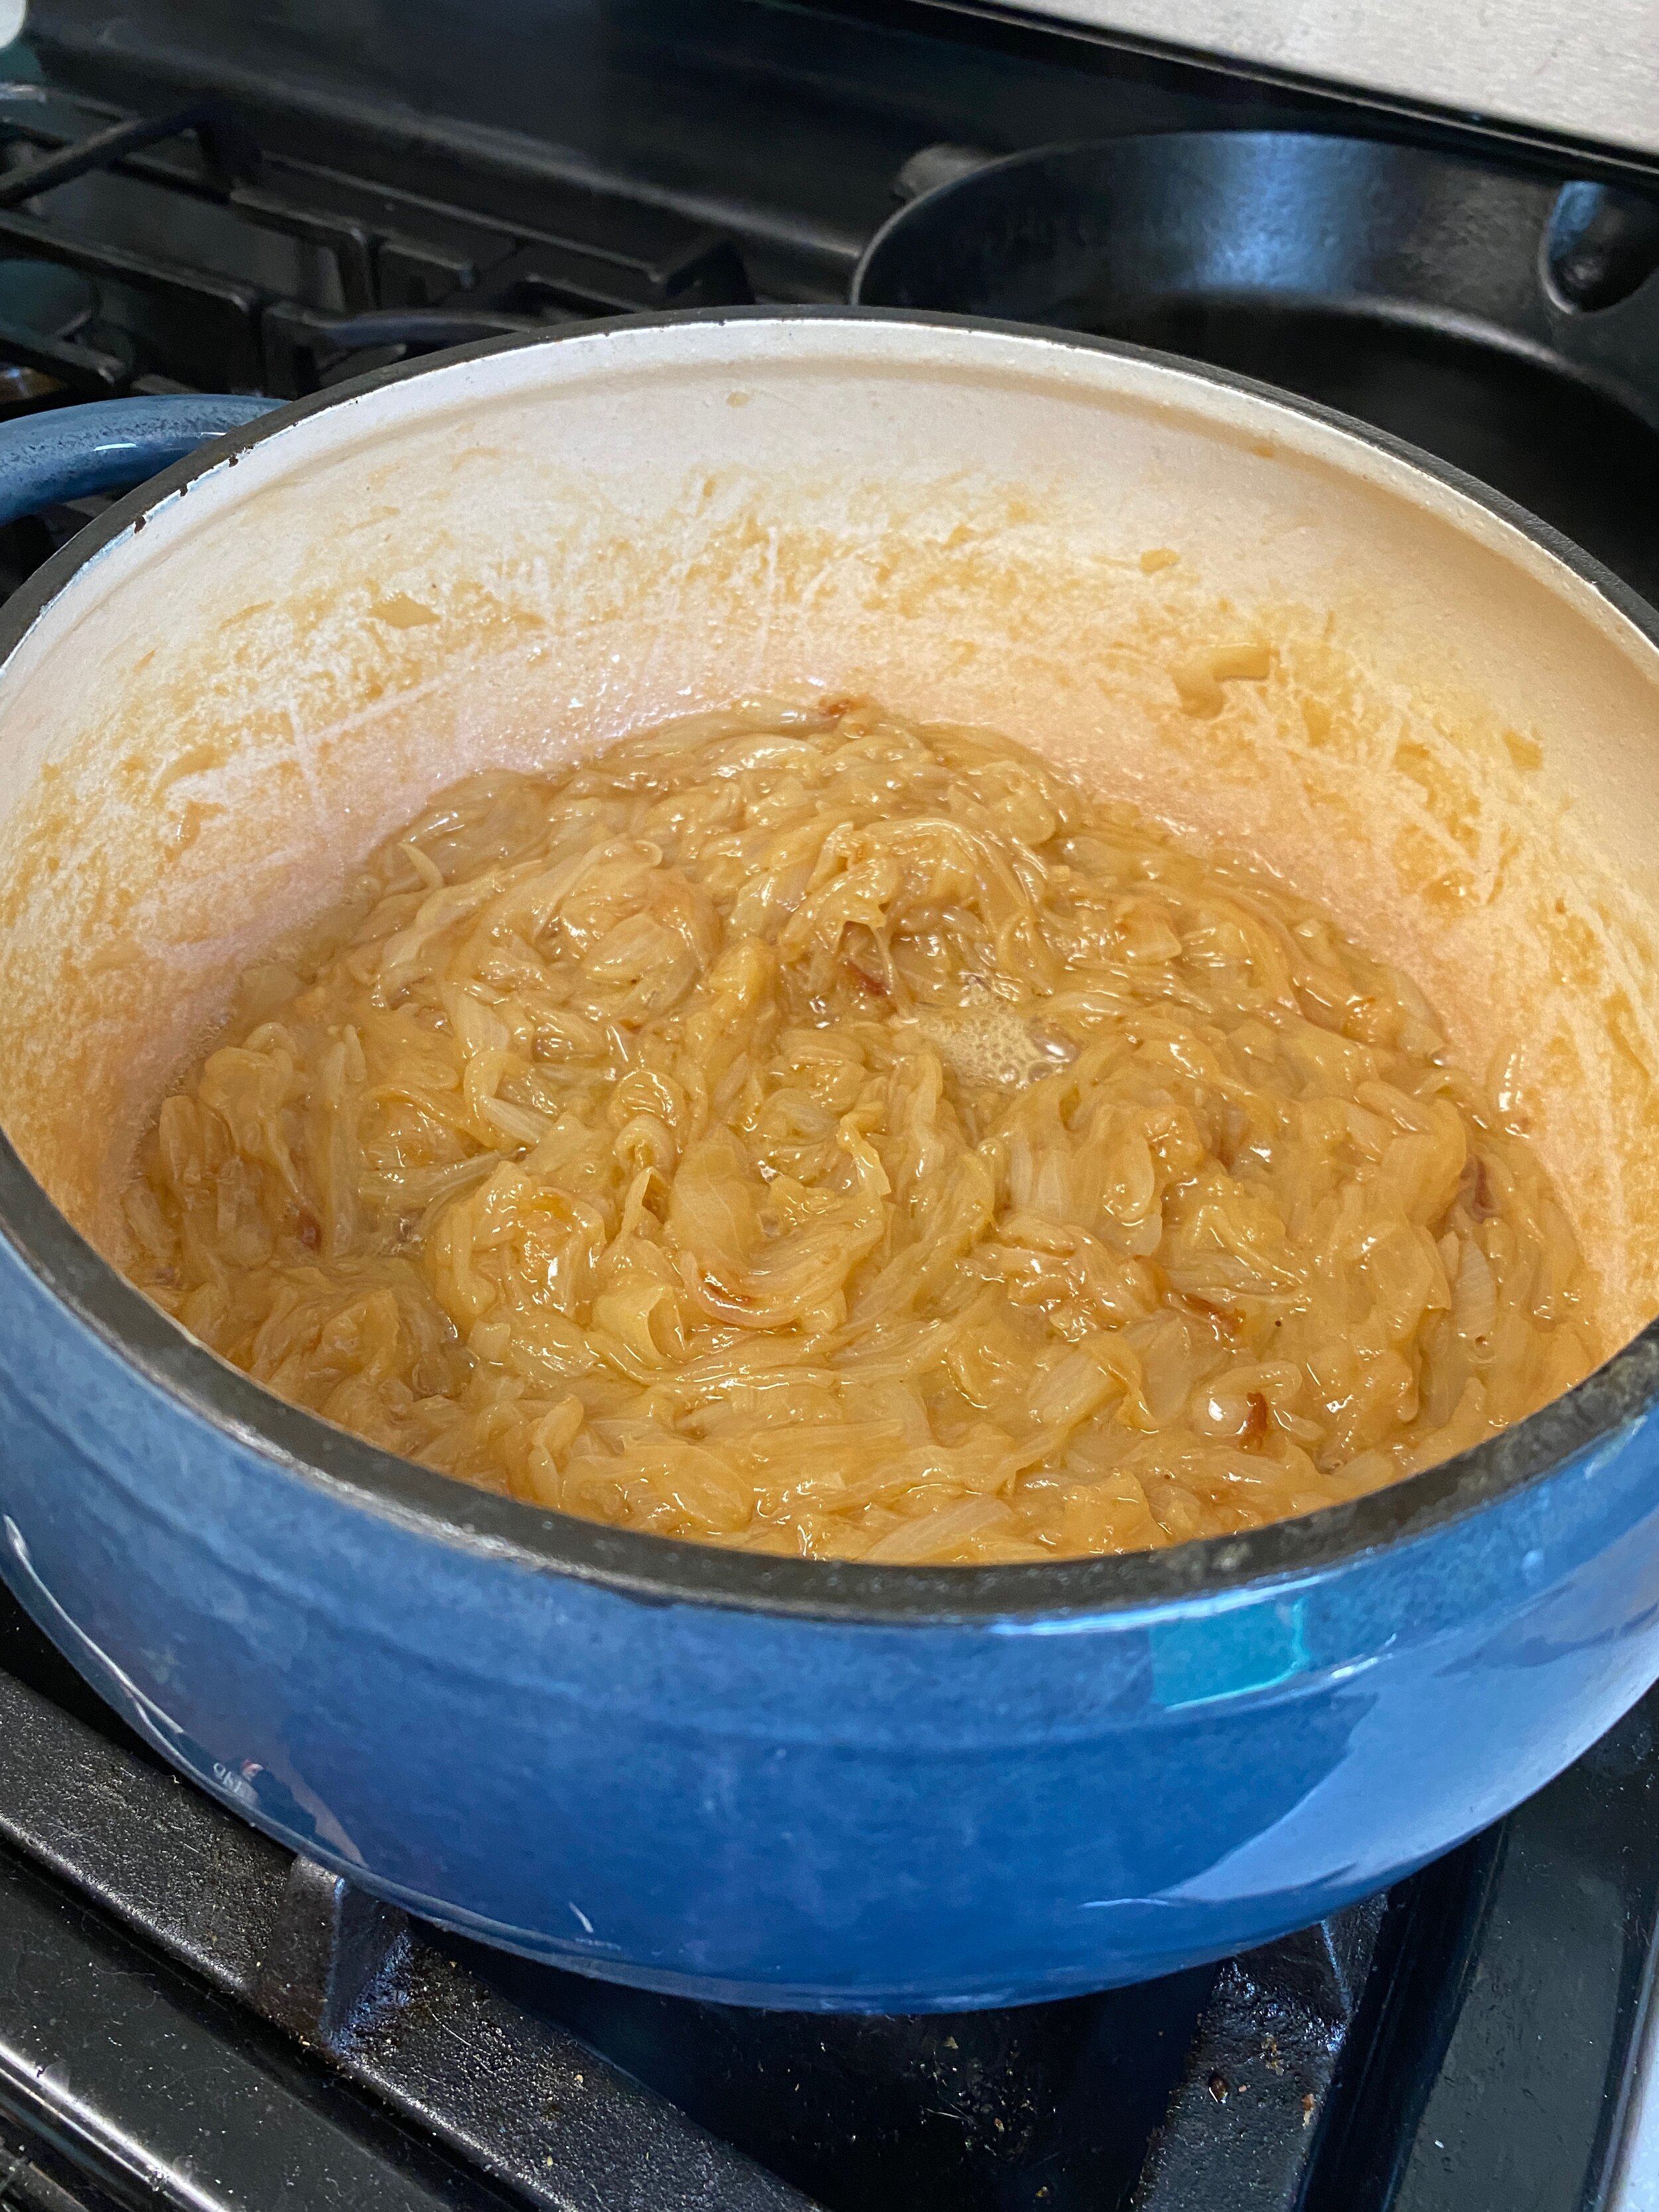
Take the lid off and turn the heat up to medium so that the juices can evaporate and the onions caramelize.
If the onions are not caramelizing well you can add the optional sugar, but before you do so, let it go by itself. You’re looking to have the vast majority of the water gone. Once this is uncovered you’ll need to monitor it much closer. It will burn in a split second when you’re not looking.
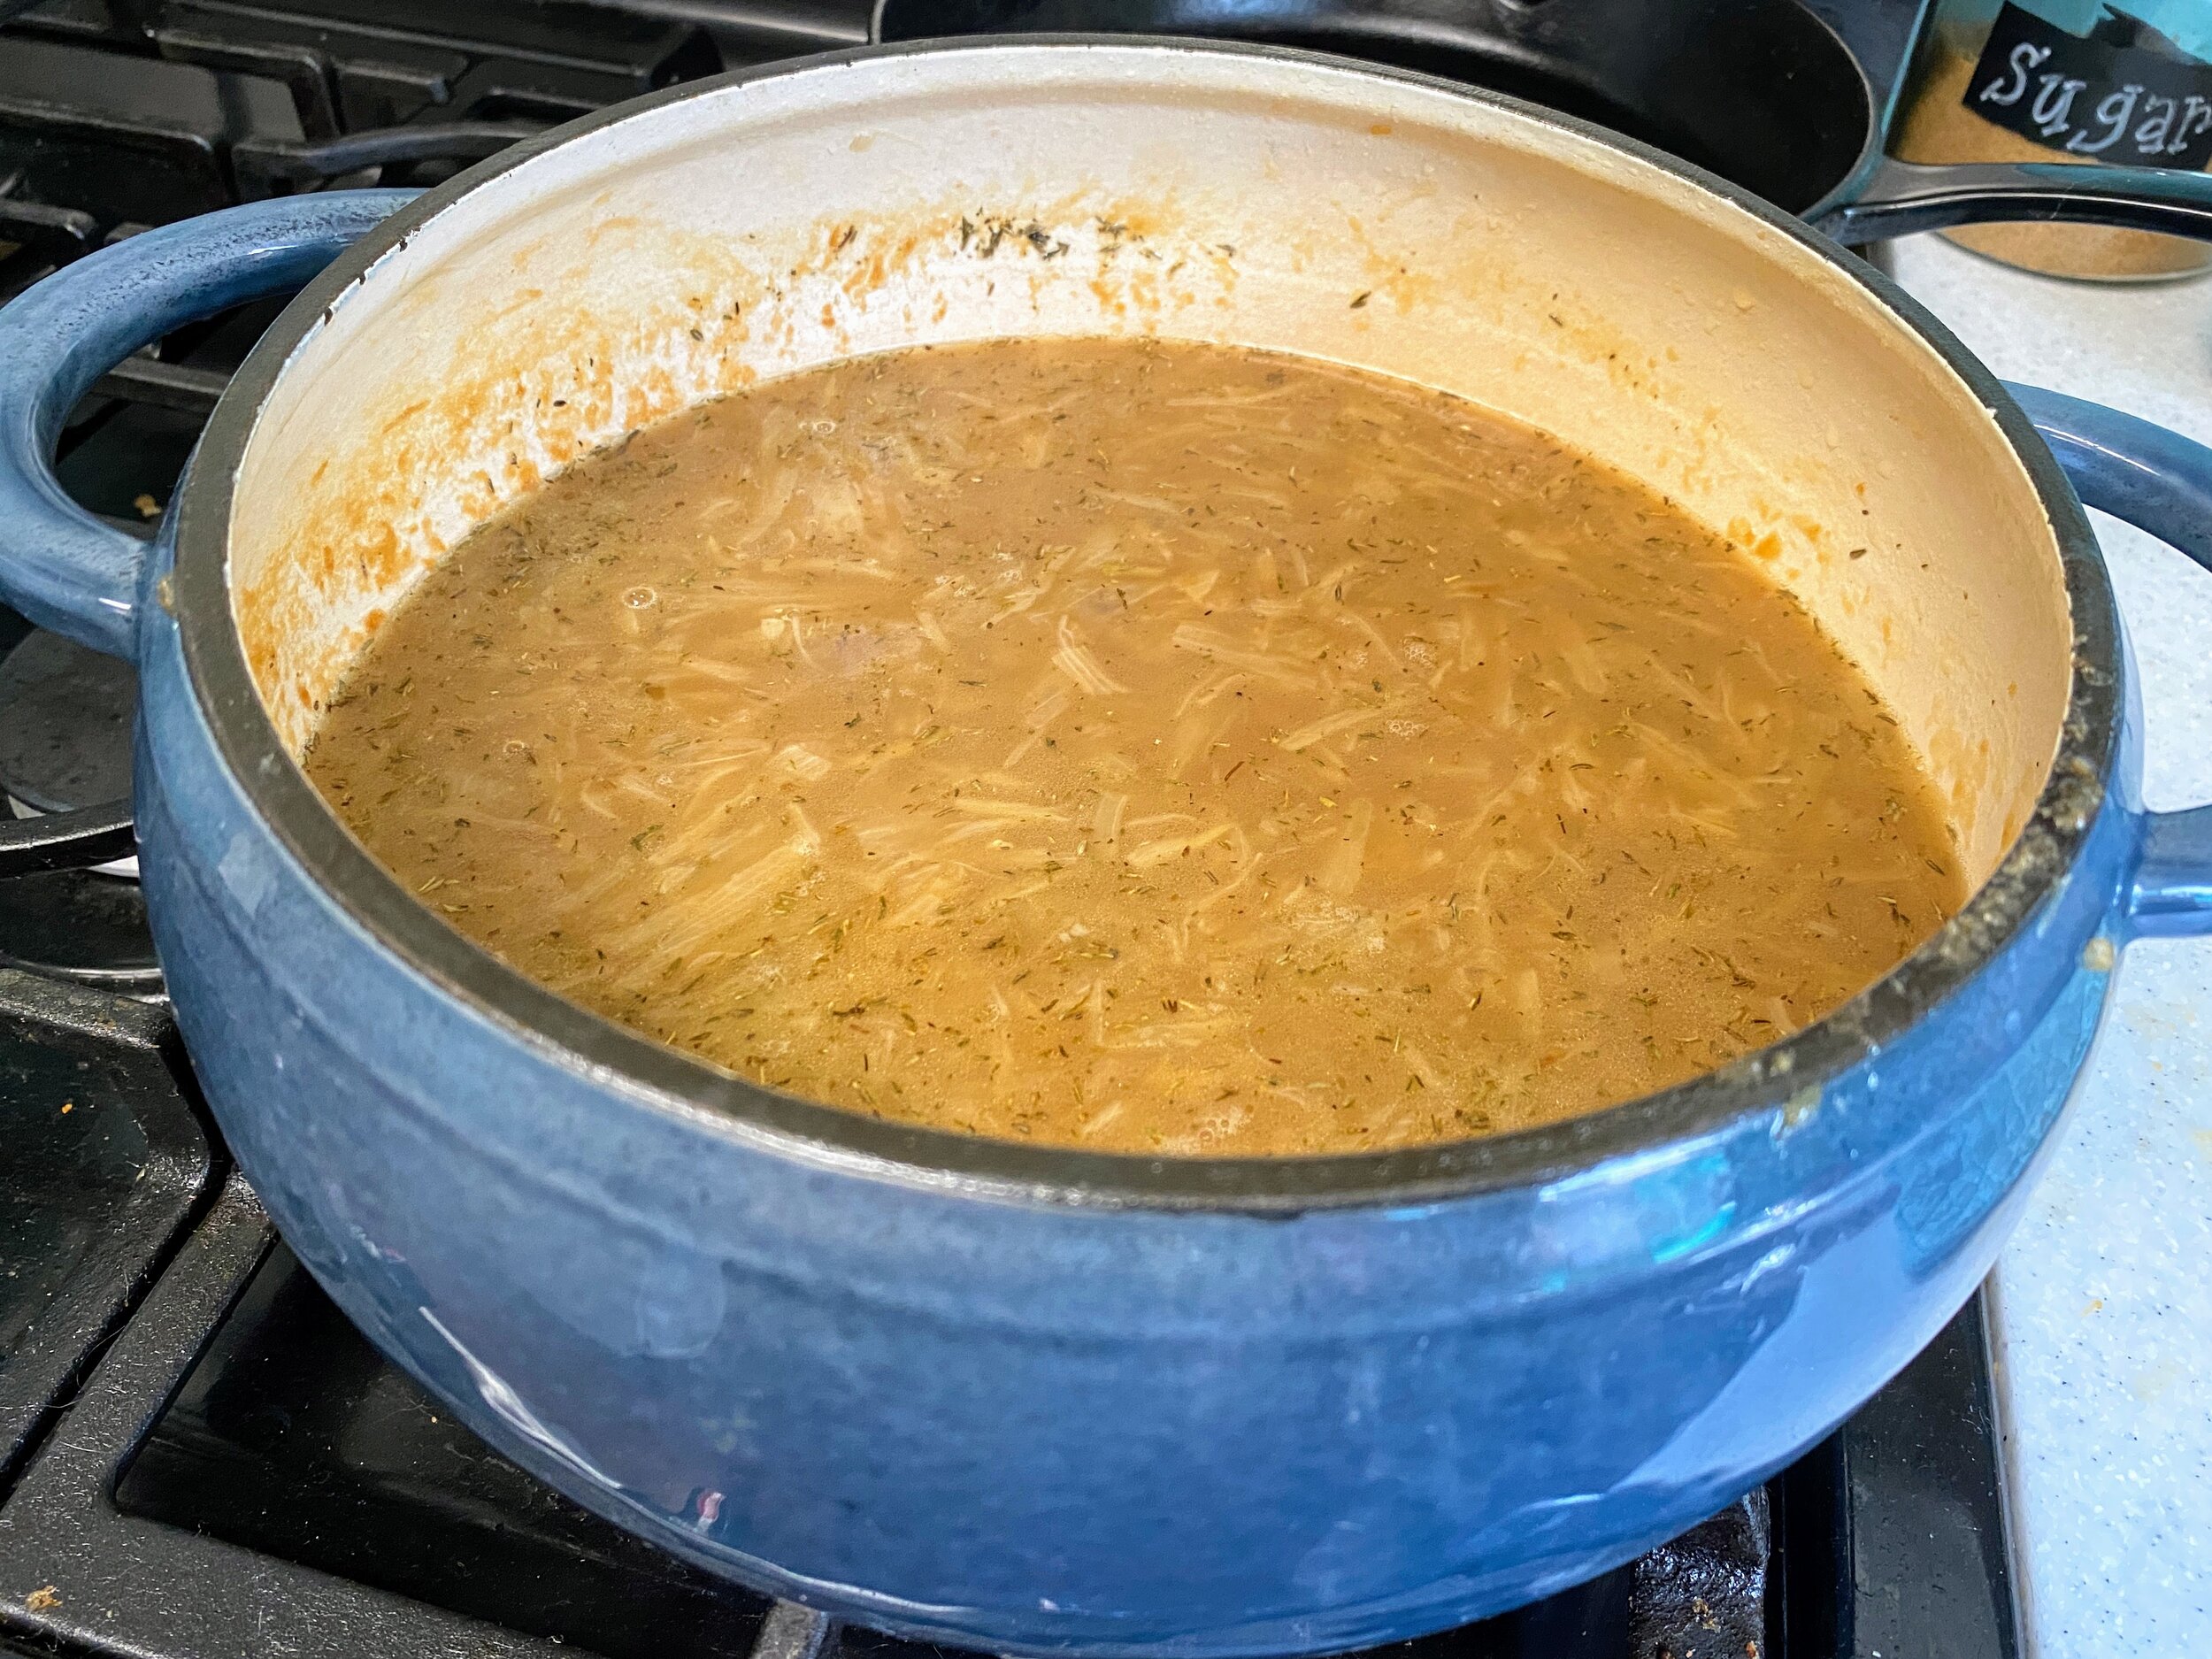
When the onions are dark, add the cider, stock, and thyme and bring to a boil. Simmer for 10 minutes.
The next time I do this I will probably change this part up. I think the cider should be added first, cooked off a bit, and THEN add the bone broth. I think the cider waters the whole thing down a little too much in retrospect. Additionally, I ended up with dried thyme instead of full fresh sprigs and I definitely regret that. The mouthfeel of dried thyme isn’t nearly as nice as I wanted it to be.
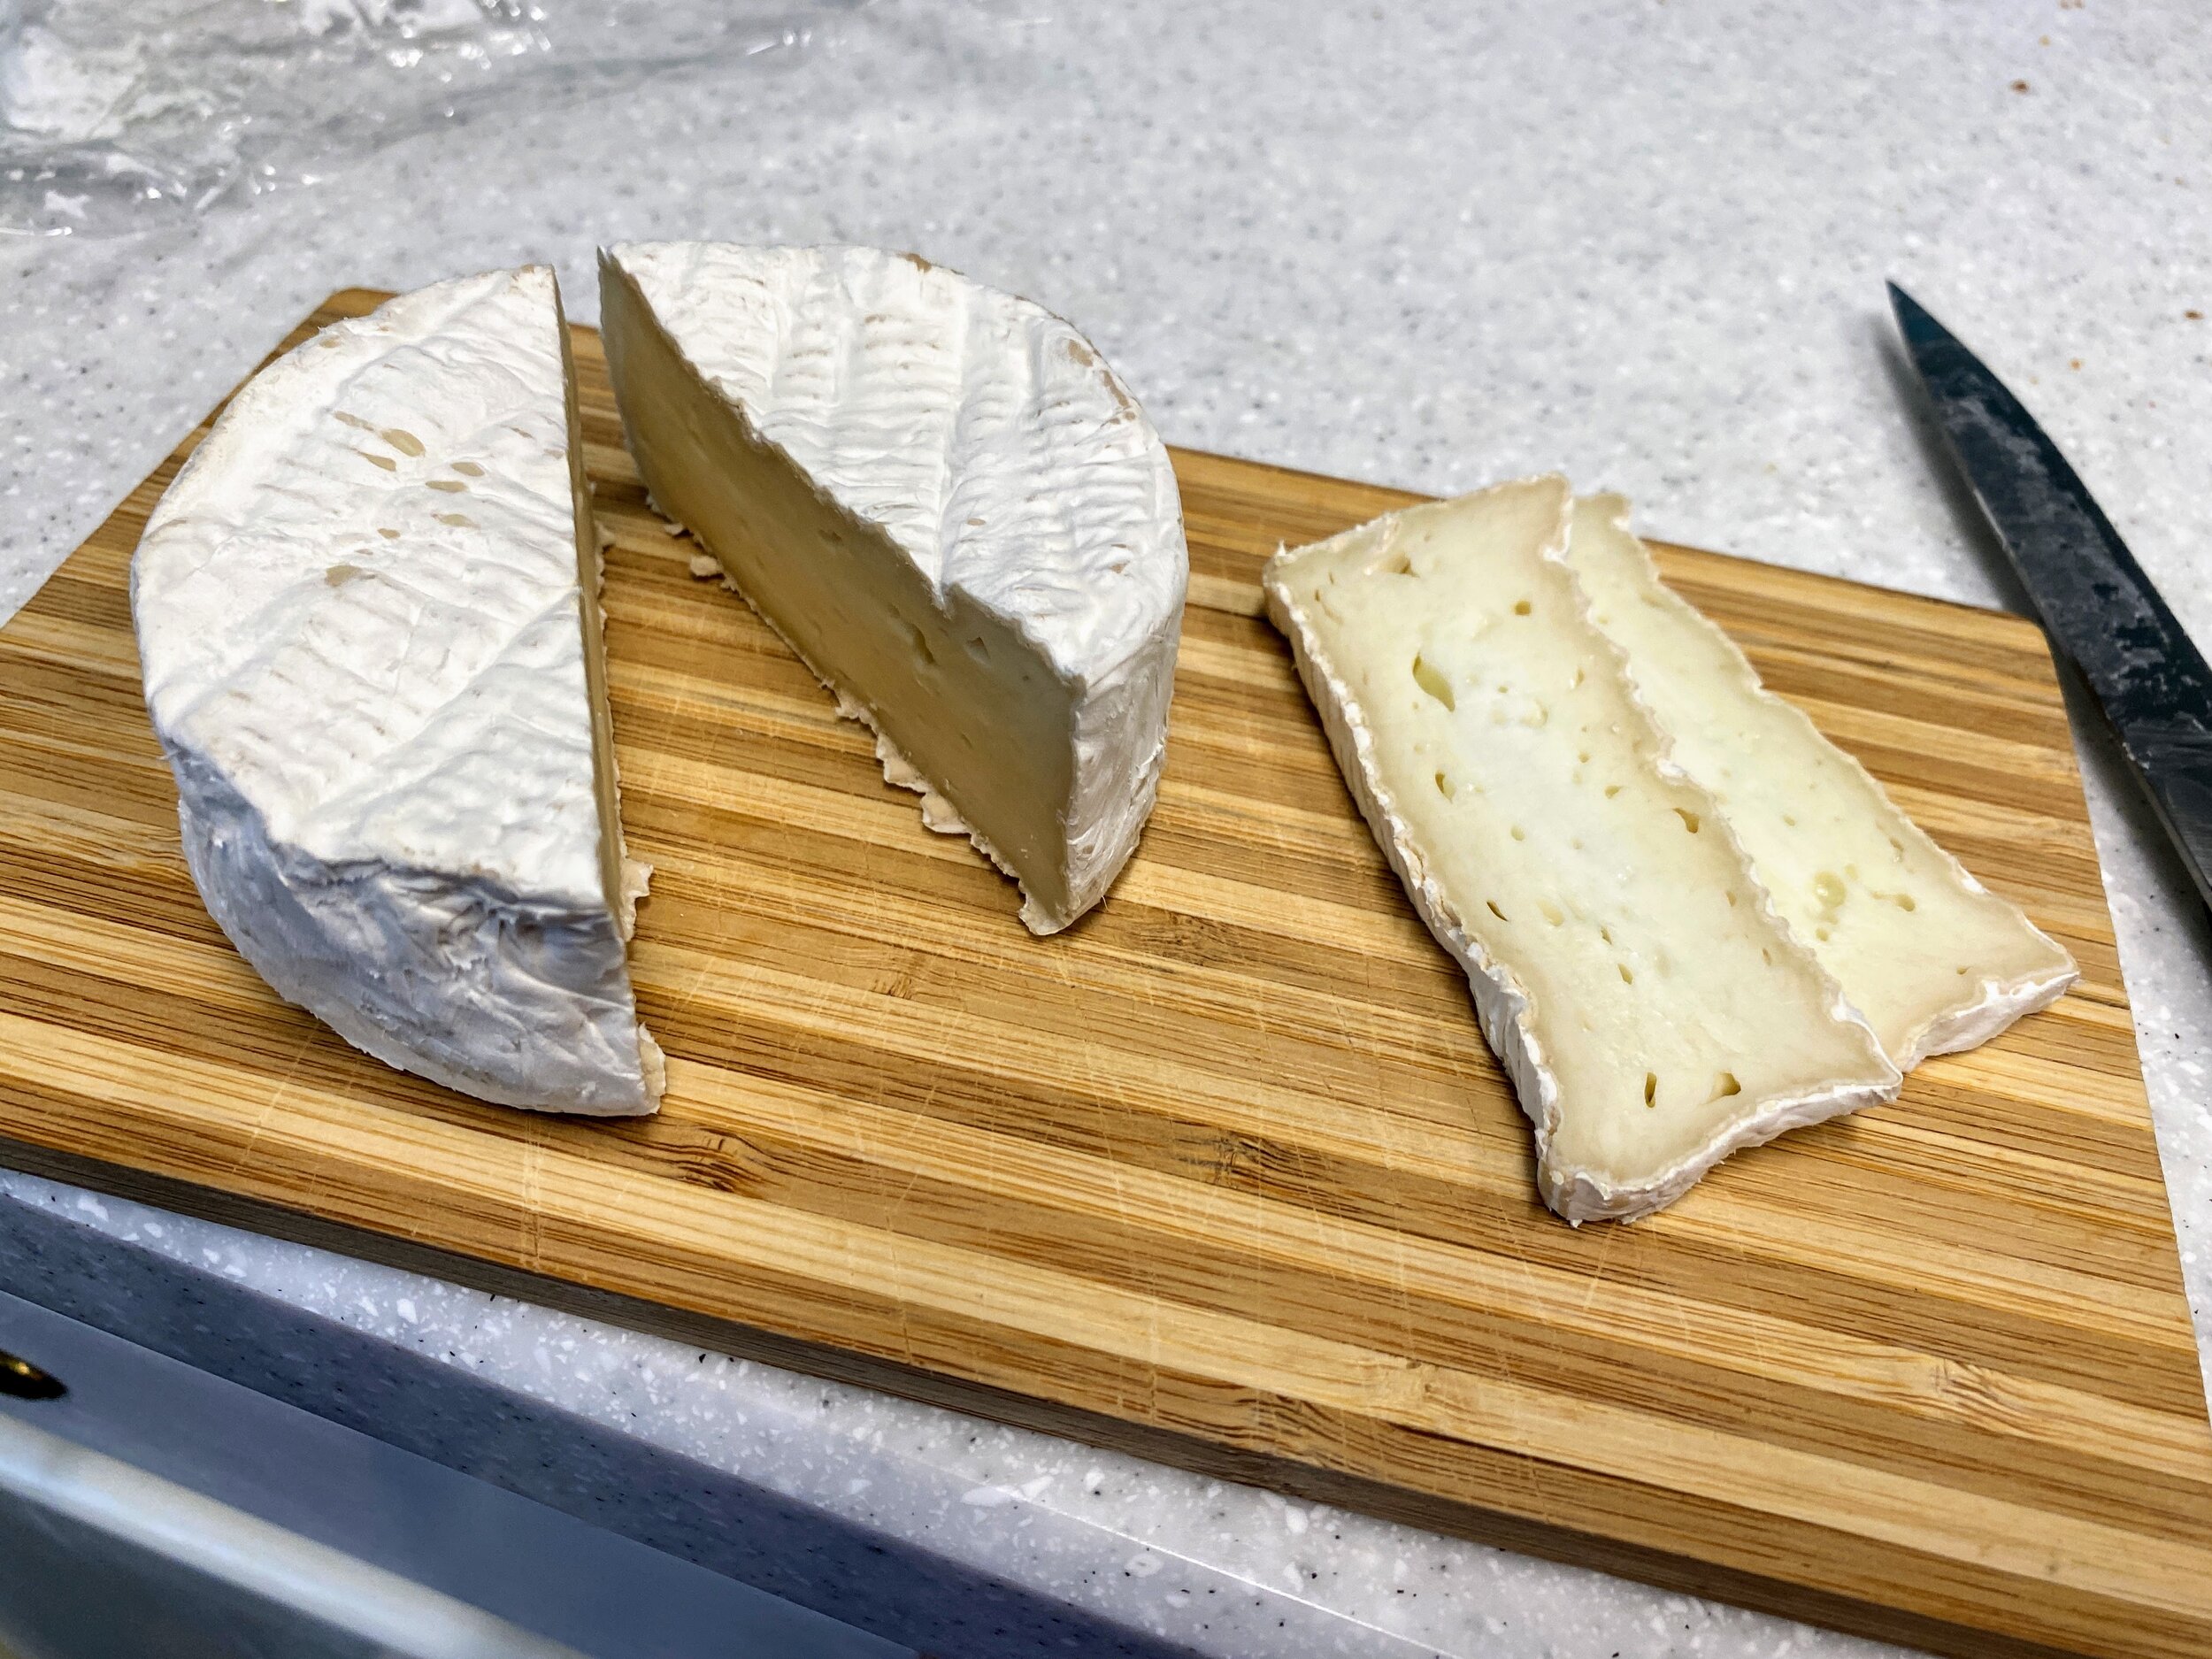
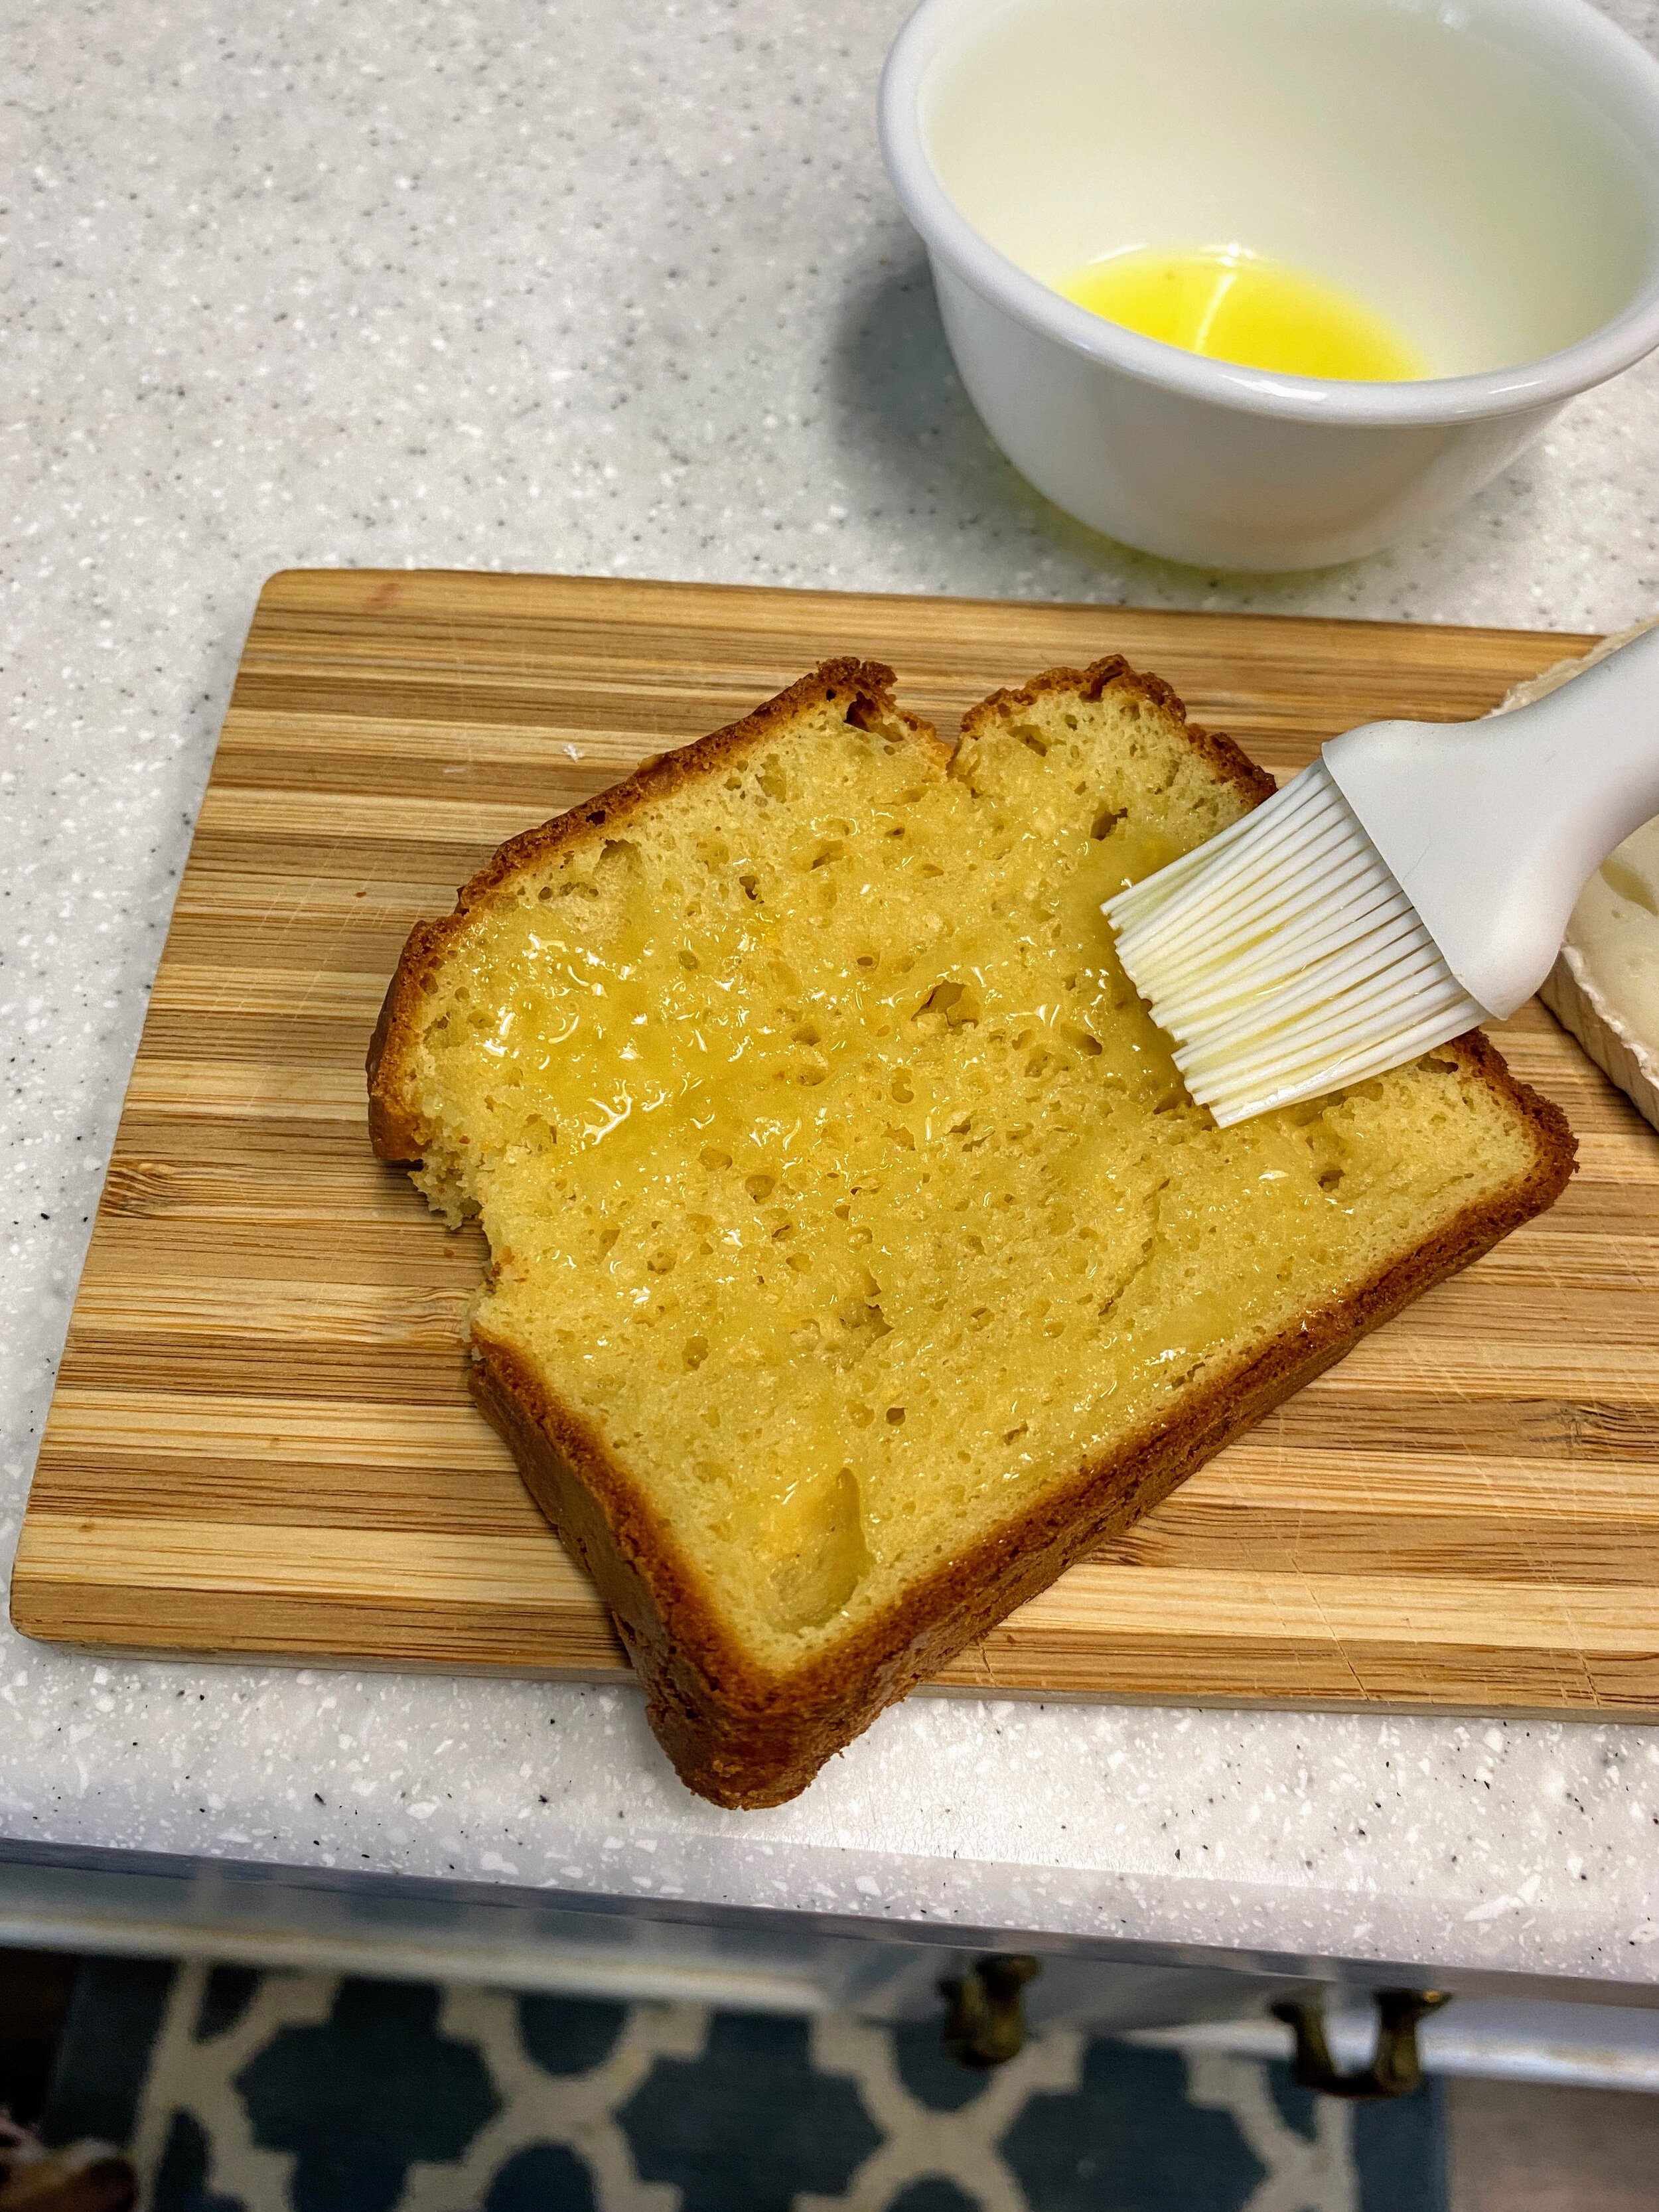
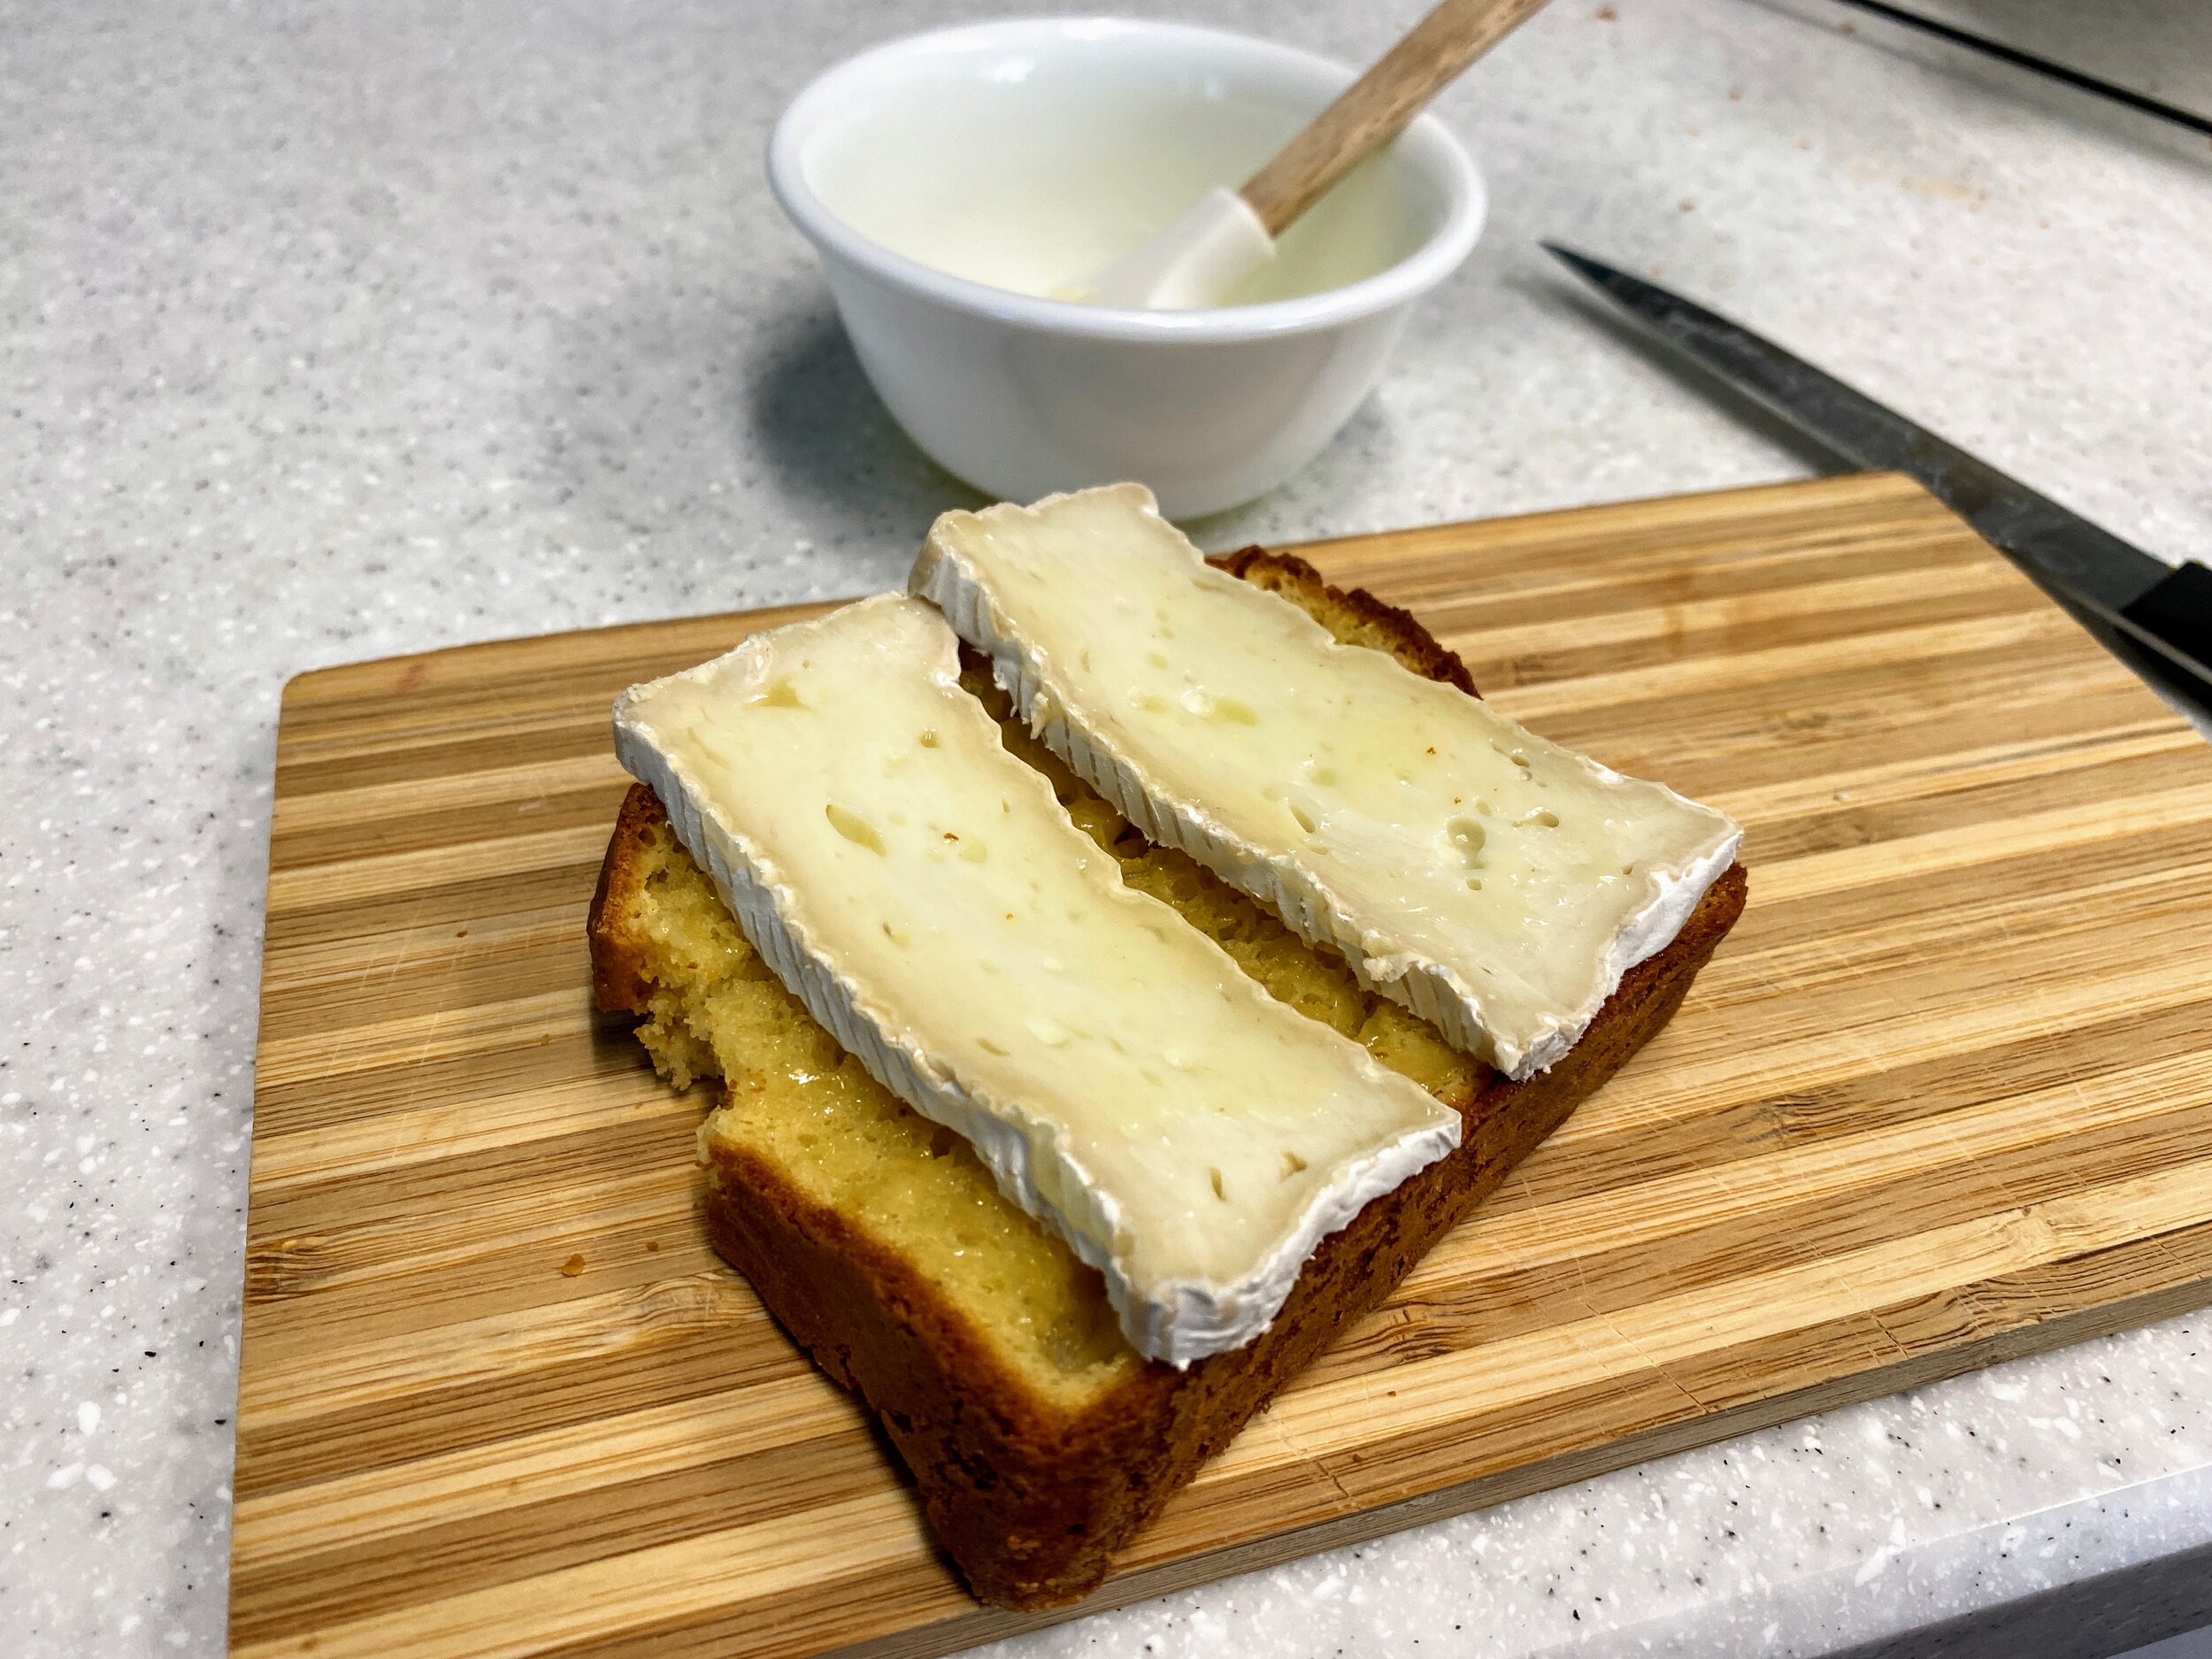
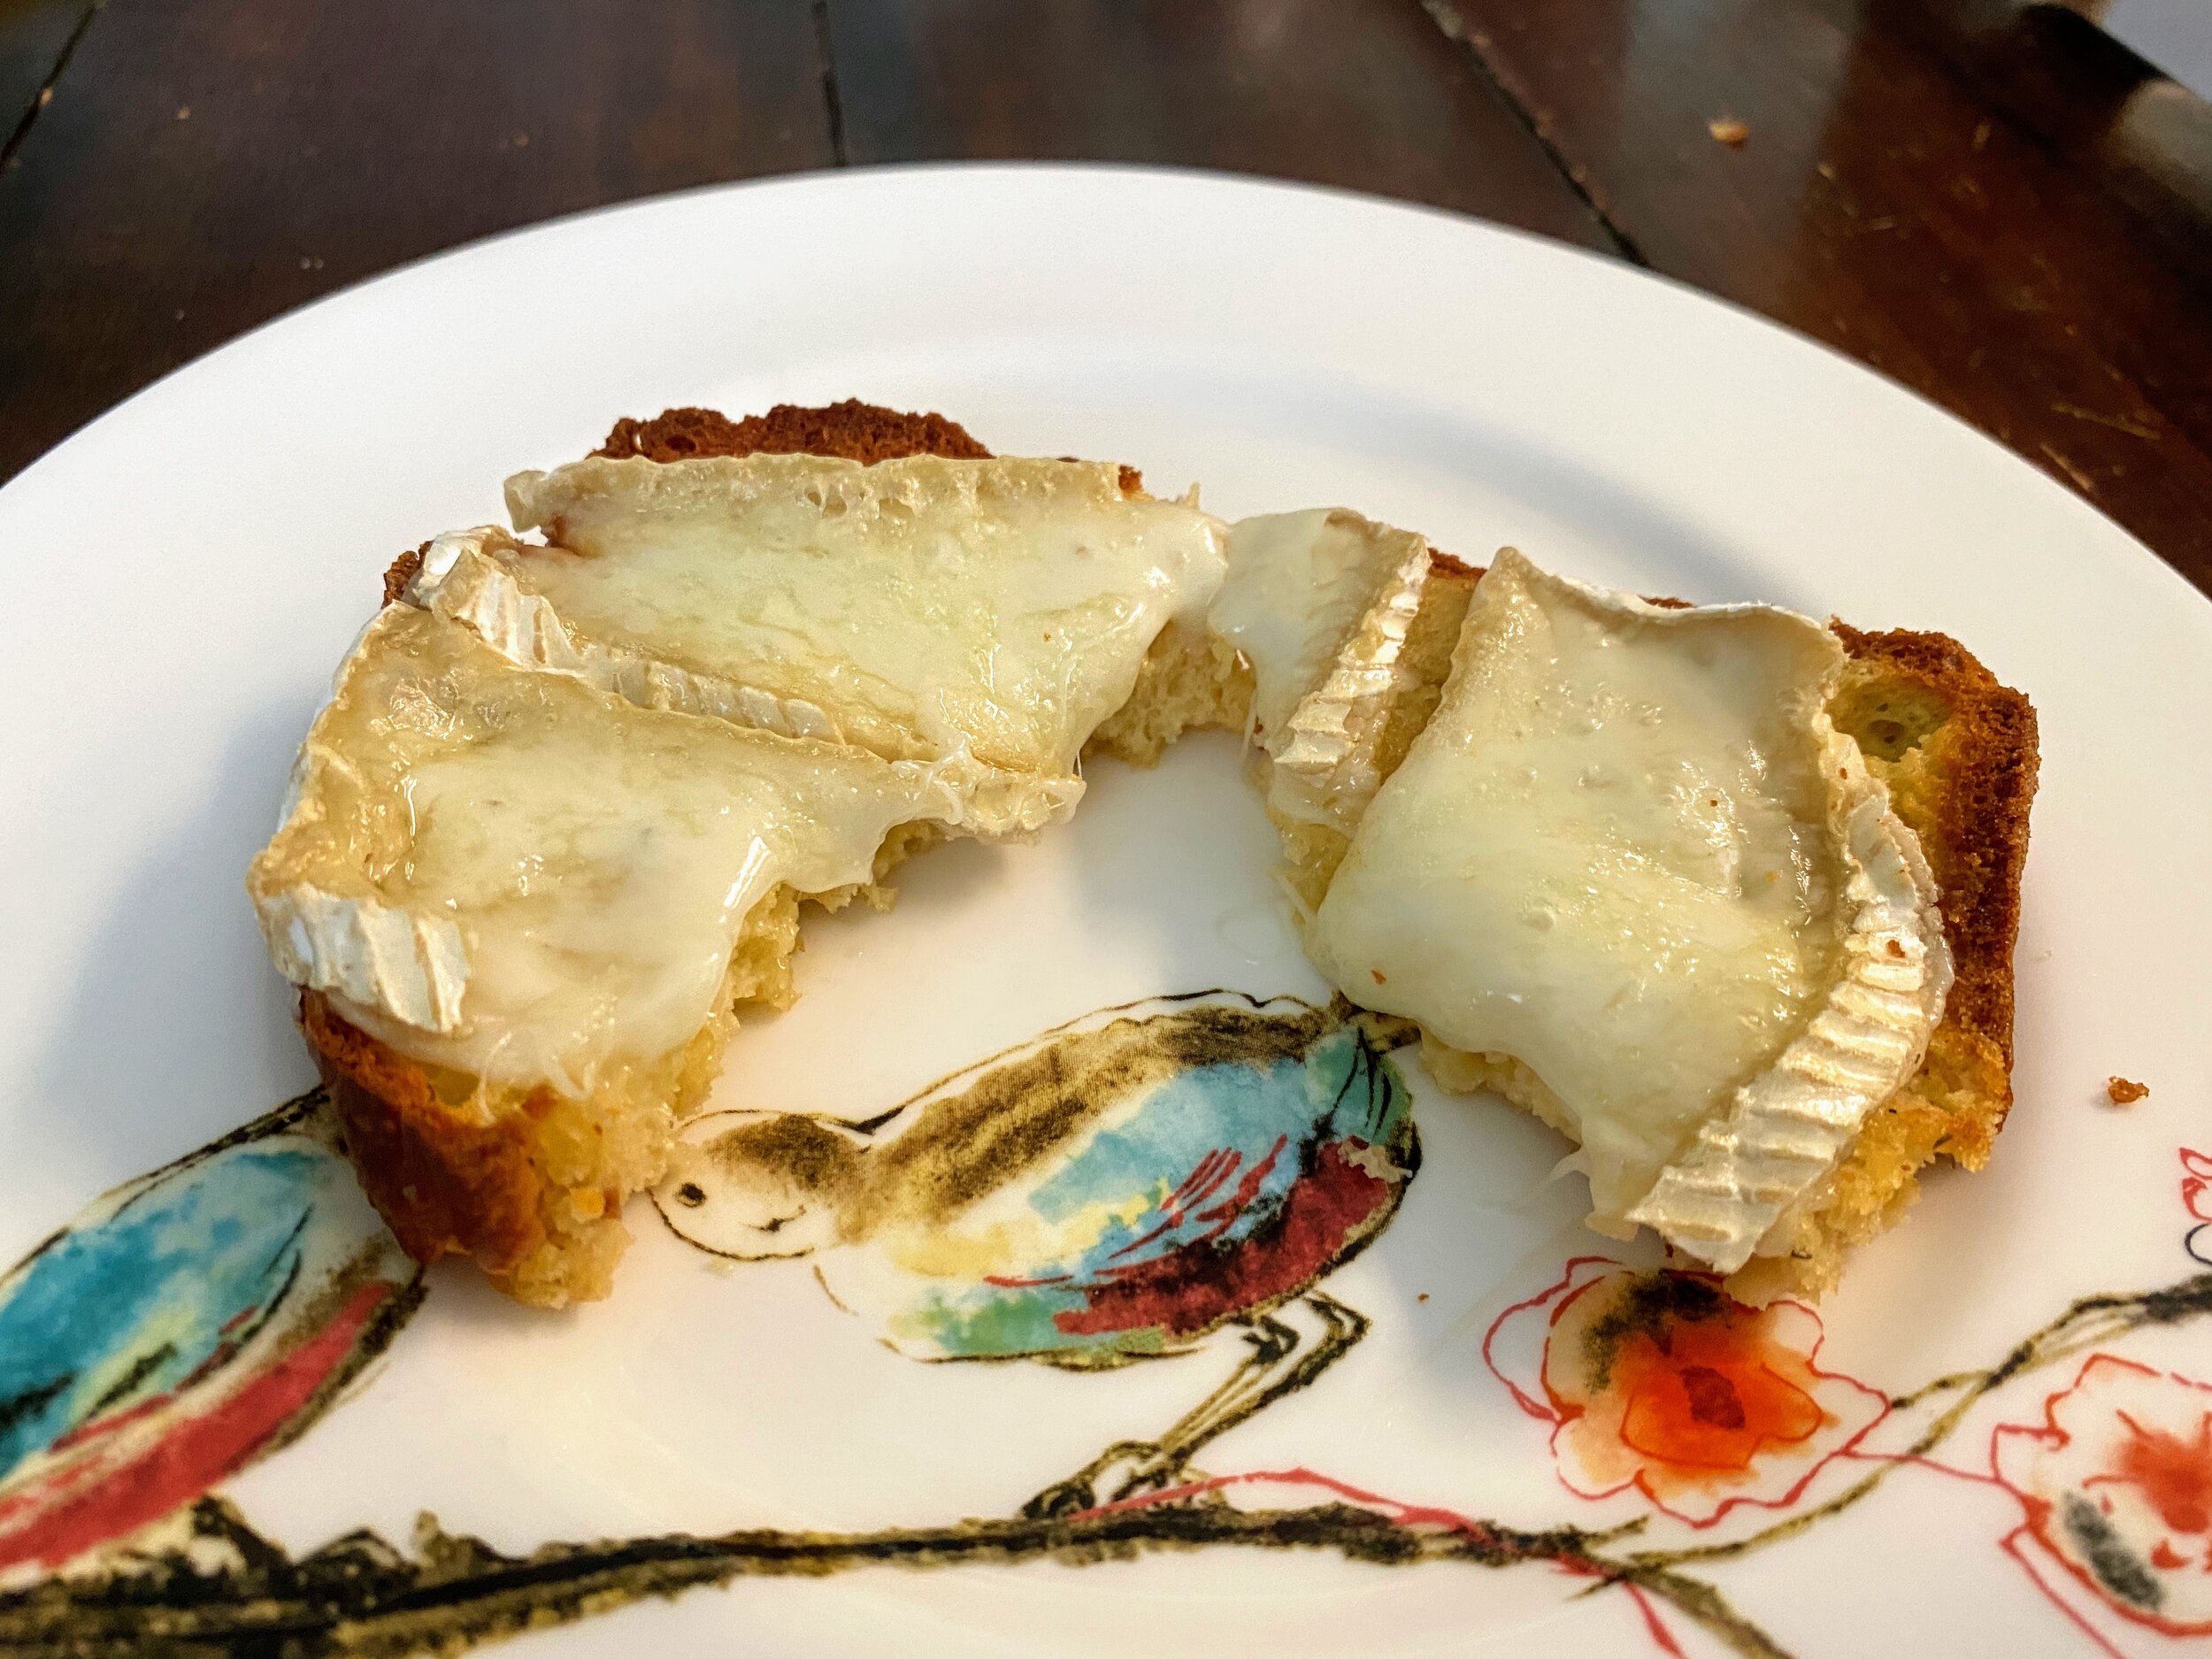
While the soup is simmering, take a slice of the homemade bread, brush butter over the bread then pop into the oven under the broiler for a few minutes. Remove and then add a couple slices of Brie, brush a little more butter over the cheese, and put it back under the boiler on low until bubbling.
Of course you can pick any cheese you want for this. The bread is great for dipping and the salt in the butter is the only salt that I added to this, so a salty cheese is a great addition. It is 100% up to you!
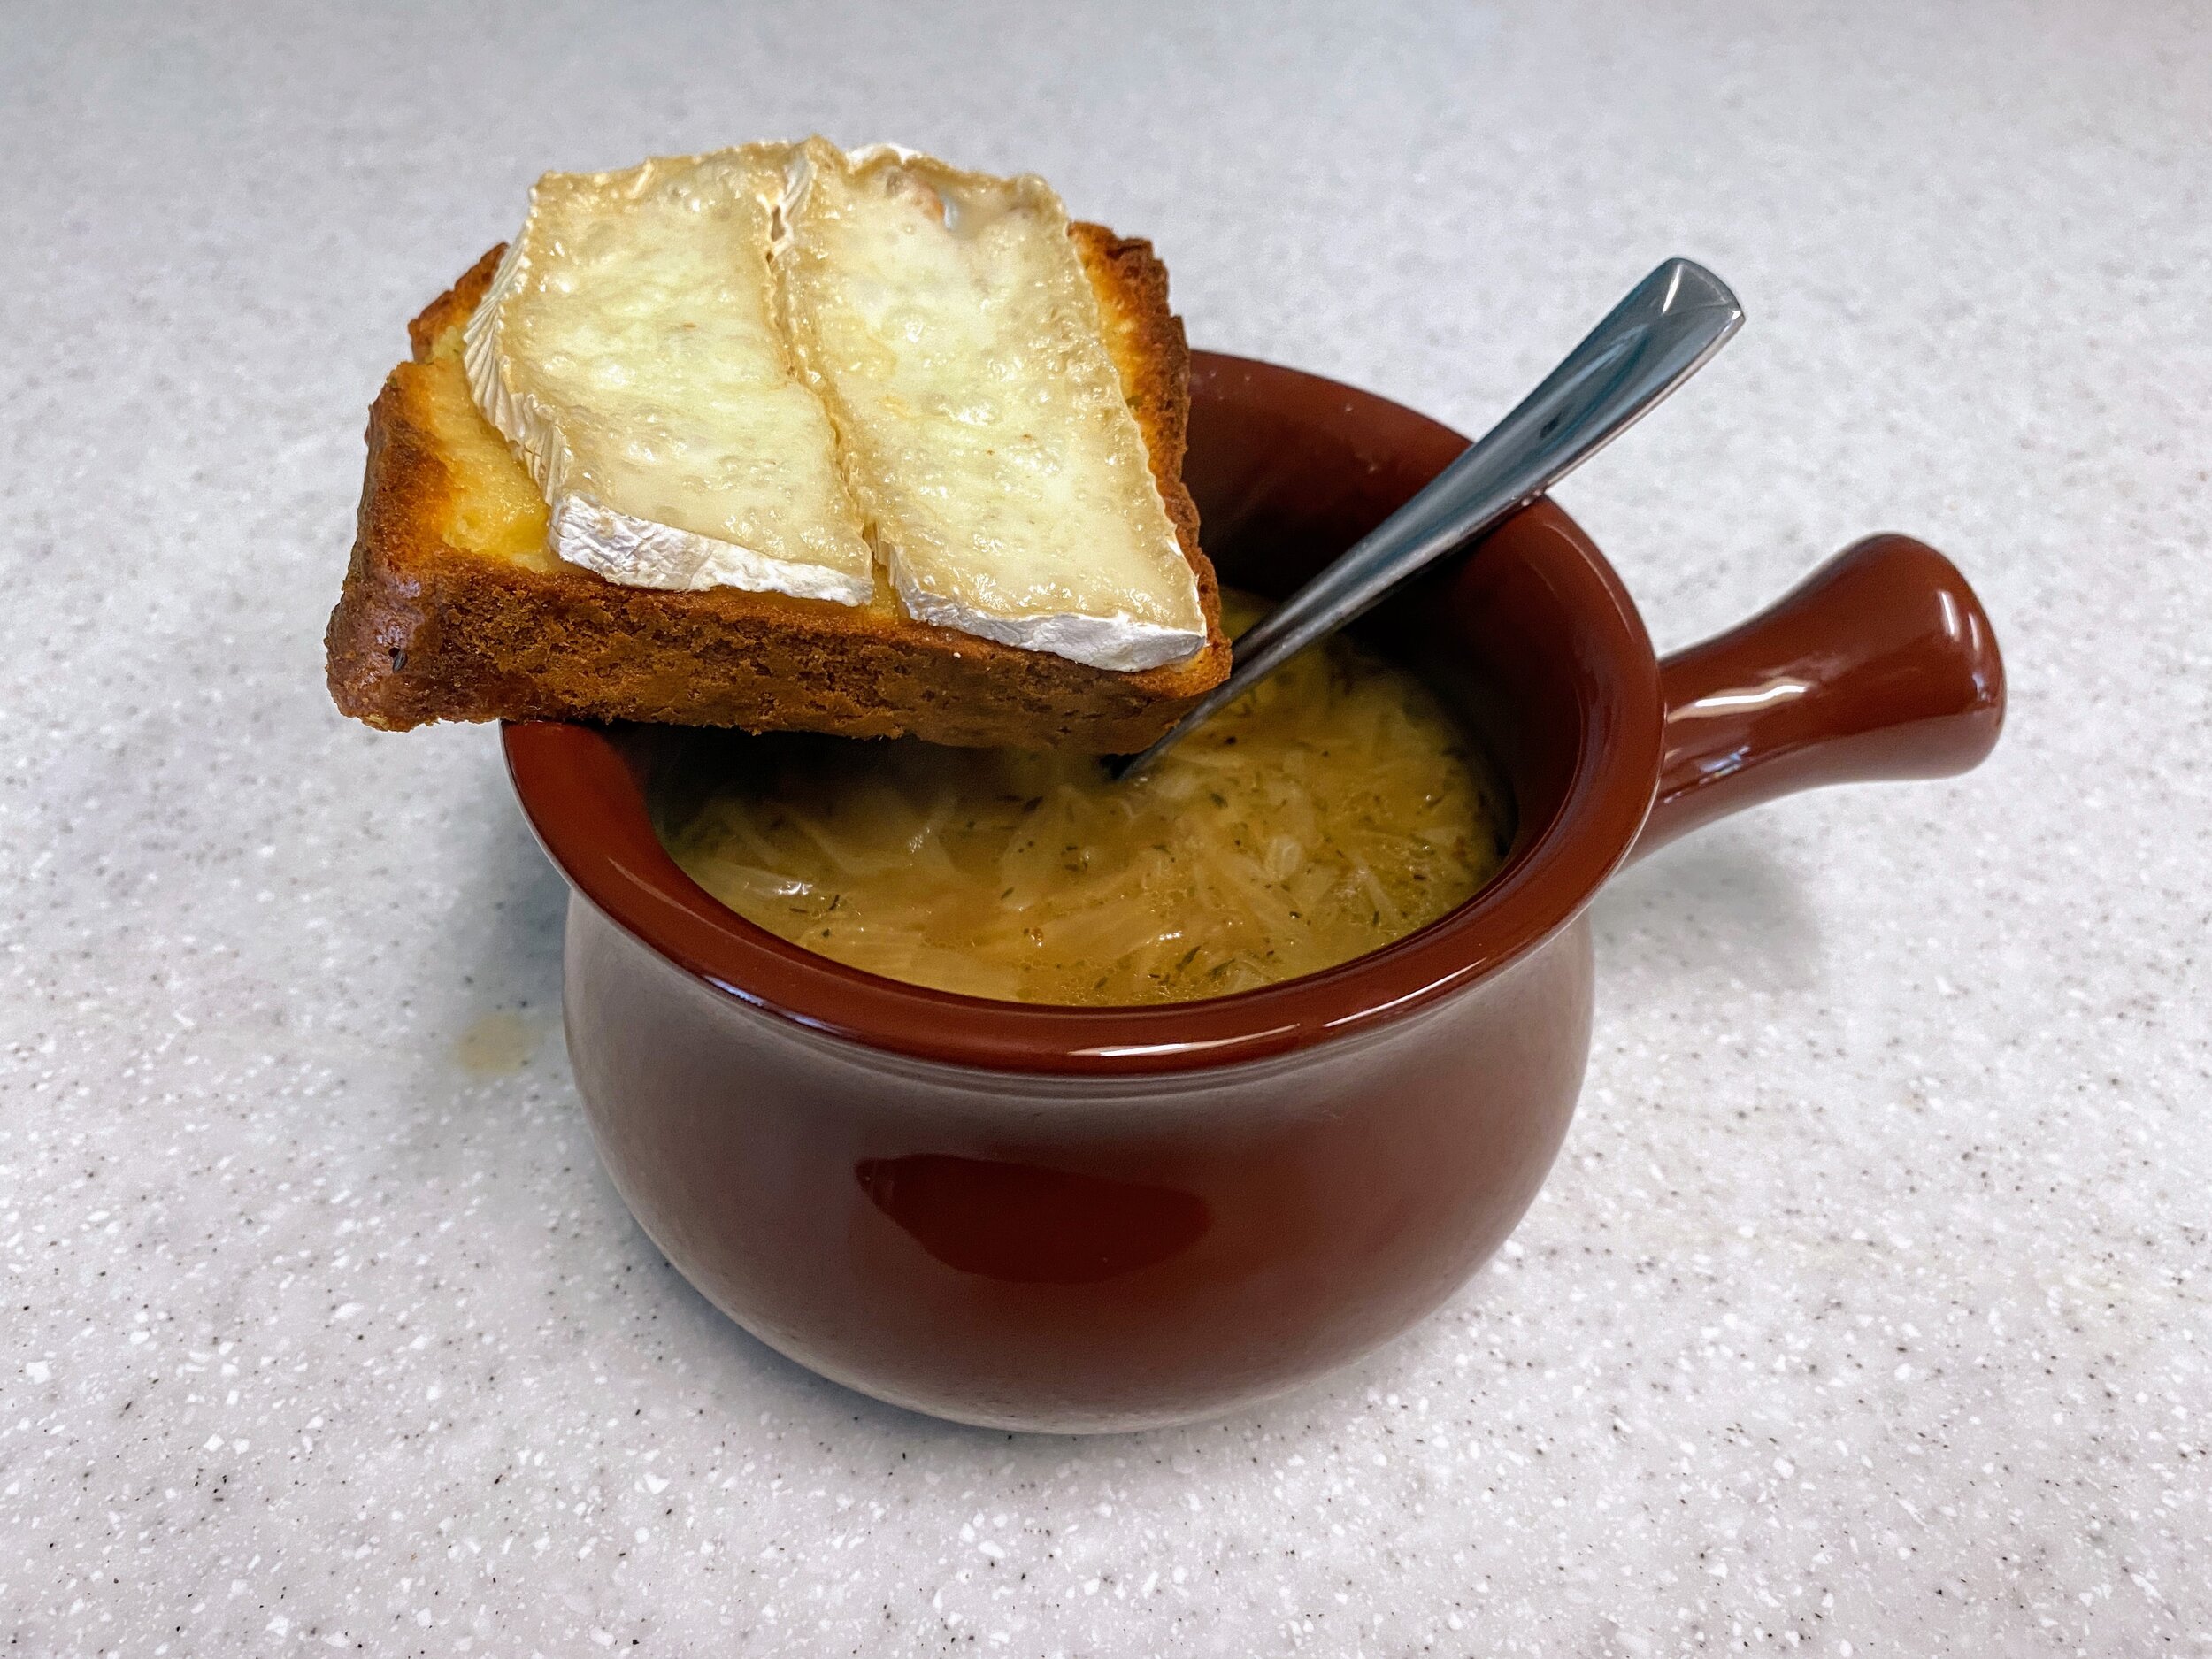
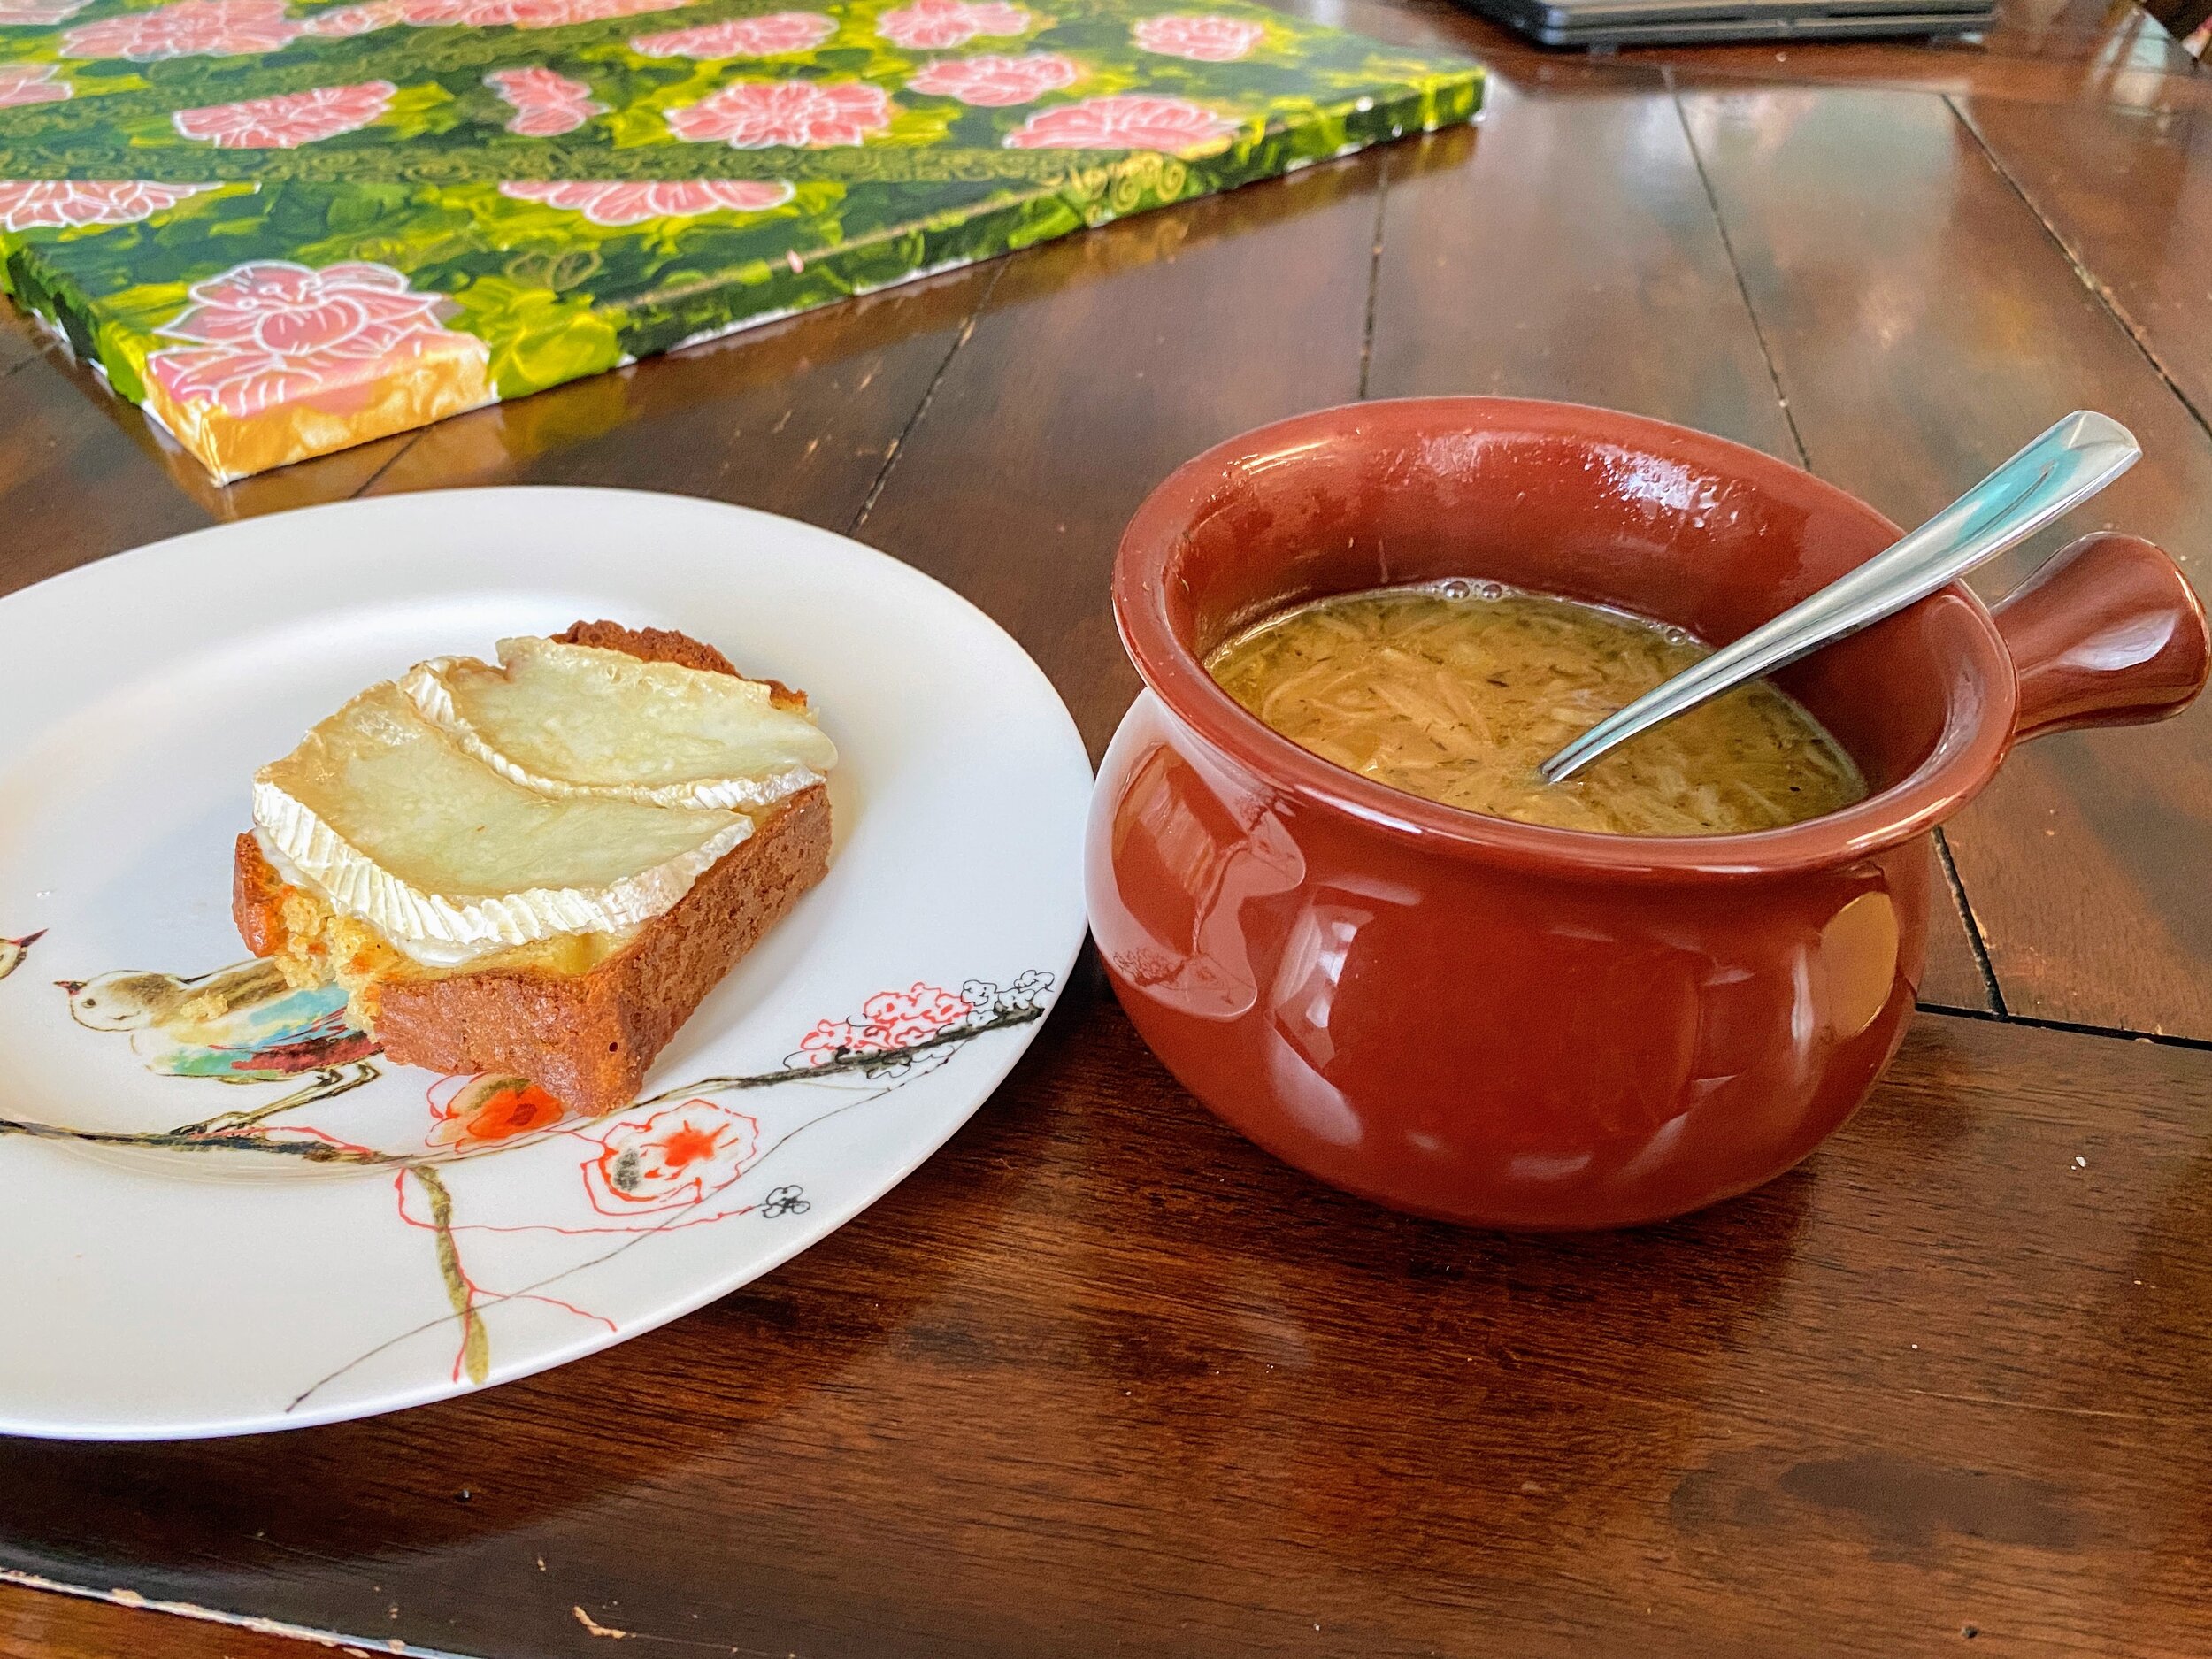
Ladle the soup into a heavy bowl. Place the slice of toast with Brie on top of the soup.
Serve immediately and enjoy!
