Slow Mornings

IMG_3808.JPG

I’m finding it harder and harder to get up in the morning. It’s not that I’m oversleeping and it’s not that I’m passing out hard and feeling groggy. My alarm goes off in the morning and getting up seems unimportant. What’s the big deal about getting to work? Why am I working? Why do anything that doesn’t seem like it’s immediately important to me? 

I laid in bed today until 15 minutes before I was supposed to be at work and I felt no adrenaline rush of “oh no I’m going to be late.” It didn’t seem like a big deal. I realize that some of this has to do with the culture at work; management has said that as long as you work 40 hours a week, it doesn’t matter how it’s structured. You come in late, you leave late or take a shorter lunch. This sort of lax management style has me taking advantage of the extra time I can take in the morning. It feels like something is a little off though. 


At this point we’re nearly two years into the pandemic, we’re experiencing climate disasters across the globe, there have been fires in the ocean, international protests, and a sense of despair has gripped a lot of people. It’s hard to feel motivated in this kind of environment, isn’t it? Working a 40 hour week, doing tasks that I’m only pressed to do because I need money to live, seems like a ridiculous thing to do. I don’t feel like humans were meant to live this way. I don’t mean to seem melodramatic, but this is what has been crossing my mind lately. 


I’m considering solutions, however small or short lived, at this point. I’d like to feel more motivated to do things throughout the day, and just the idea of making money from working doesn’t seem like it’s nearly inspiring enough. Work is the only place I go anymore. Occasionally I’ll pop into the grocery store but otherwise it’s just work-home-sleep-work-home-sleep, lather-rinse-repeat. I need something new and different, but what??? Brainstorming this is leaving me high and dry, devoid of options. I can’t go to the piano bar or any bar downtown, going to a play or musical seems like a disastrous idea, going to parks seems like a poor decision given the weather, going on dates with new people seems like I’d be asking to be exposed to covid, and where does that leave me?

download.jfif

Even if I could do any of these things, they feel very old hat. These are all things I’ve done in the past and I don’t really want to do any of them anymore. A lot of things I used to enjoy, don’t feel worthy of doing anymore. I don’t bake like I used to. We don’t have lots of people over or throw parties (obviously that’s pandemic related), but I’m not sure I’d even want to do that at this point. Too many people in one place sounds unpleasant. I’ve colored until I can’t think of anything else to draw, I’ve read so many books and so much fantastic fan fiction, and I’ve watched nearly every kdrama on Netflix. Where does this leave me?


I’m at a loss. I don’t have a good answer for this. What have you been doing to satisfy yourself over these last couple years? As we’ve gotten further and further into this different way of life, people must have come up with things to occupy themselves and get fulfillment, right? I’ve been leaning hard on Miayah and my family lately. My family has arranged weekly dinners and games on Wednesdays, alternating between my parents’ and my sister’s homes. That has buoyed my spirit quite a bit. It’s been nice and relaxing just being plain ol’ silly around loved ones, plus having dinner together is really pleasant. 


I know that the move has really messed with my feelings as well. Feeling displaced and thrown into a bit of chaos makes wanting to do the normal, routine, daily things seem unlikely. I wish I was in the position of being able to buy a home. Right now would be a terrible time to buy anyway, but it’s a good dream. That would offer a sort of stability that is lacking at this very moment. I hope that once we settle into our new place that some of these restless and discontent feelings will pass, but obviously there’s no guarantee that will happen. What if I’m left feeling listless after the move? What to do then?


I have no idea what comes next, and I don’t think I’m alone in this feeling. Where are we going? What’s happening? How do I take care of myself while things are the way they are? If you have any ideas, please feel free to hit me up and provide suggestions. Maybe there’s some new hobby I could pick up that gives me a lot of fulfillment. Maybe there are online groups that I can join that will take the place of in person meet ups. How have you been filling this weird feeling void that’s being created by the happenings in this crazy world?

Quilting Diaries: Charity Quilting

We all have our hobbies. I may not have a singular hobby, but all the hobbies I have tend to fall into some sort of fiber art – think sewing, embroidery, knitting, crochet. I wanted 2021 to be a time where I could be a little less haphazard about my hobbies, but that really hasn’t happened. 2021 has been a wild mess in our lives, and while we were hoping for a quiet autumn and winter seasons, moving has put a kink in that. I’m excited for this move. We’re still waiting on news from the complex we’re interested in, so keep your fingers crossed for us! Even with this move looming in our near future, I still find myself in need of time to really unplug from the stressors in my life, so I am making sure that I take time to engage in the hobbies I have.

We all have things that make us feel like it’s “okay” to engage with our hobbies. One of the things I struggle with is that my hobbies tend to create things. I often choose to not engage with my hobbies simply because I don’t have a space or use for the item I create. I’ve also really missed having something that I can provide volunteer hours for. As I was researching a quilt that I’ll be (hopefully) showcasing at the end of December, I came across the idea of charity quilting. I dug a little deeper into the topic and found out that there are many organisations with the sole purpose of collecting charity quilts. I felt like charity quilting would really fill a space in my life that would help me feel fulfilled in a way that I wasn’t. I found a local chapter of The Linus Connection. Their goal is to provide handmade blankets to children in crisis, and that really spoke to me. Bex and I investigated the next meeting date, went and had a great time. Immediately after this, our lives got very busy, and we haven’t been able to make it back. That doesn’t mean that it hasn’t been on my radar though!

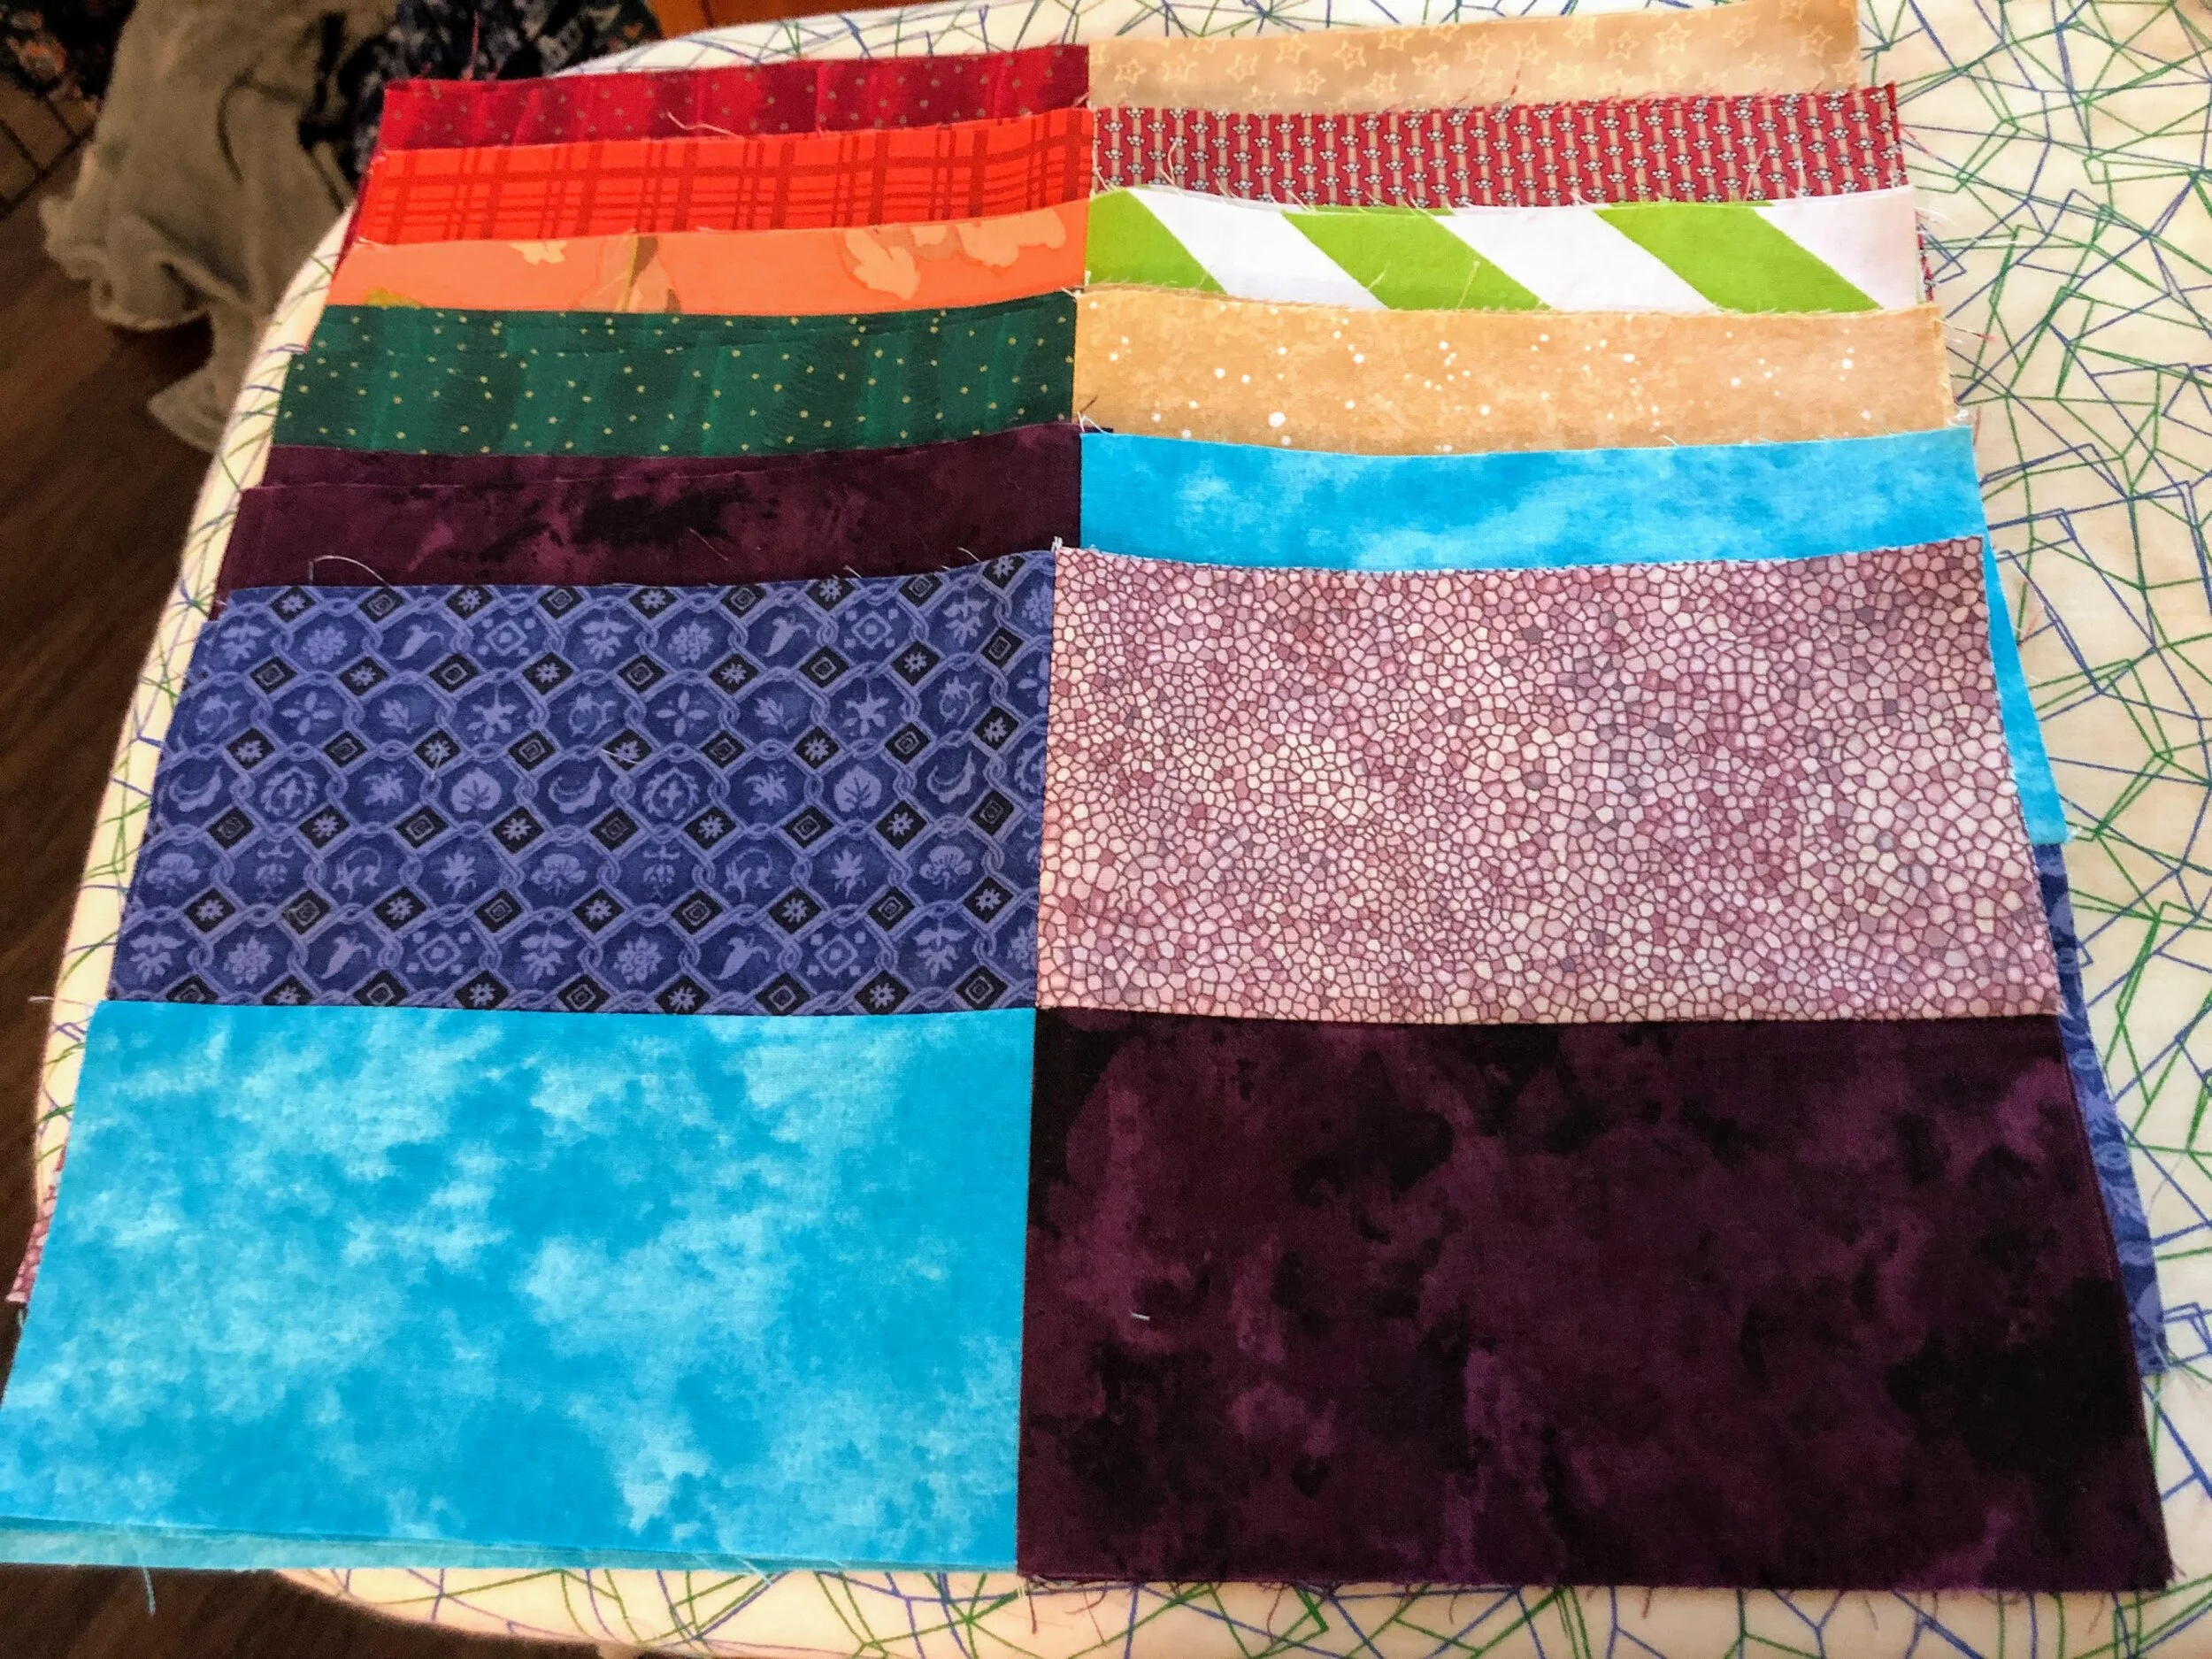
The Linus Connection accepts cash donations as well as donations of blanket making supplies or craft store gift cards. What this means is that you can hook into the local group, and they have almost anything you could need to create a blanket for a child in crisis. We didn’t realise this when we first went, but it was a welcome surprise. I planned to make a couple of quilts, so we went through the fabric stash and selected enough fabric to make several baby blankets. While there is a plethora of free quilt options available online and through The Linus Connection itself, I didn’t completely follow any of the available patterns. I took inspiration from Stash Buster 9 from Just Get It Done Quilts. I liked the idea of a rainbow of colours, but the measurements in her cut pattern just didn’t fit with what I needed for the quilt sizes used by The Linus Connection. I took some time to modify the cut sizes, and honestly, I’m pleased with the resulting top.

IMG_9271.jpeg
IMG_9272.jpeg
IMG_9273.jpeg
IMG_9274.jpeg

We also found an adorable trio of fabrics that I thought would be lovely in a straight patchwork quilt as well. I’m not used to working with such large motifs in my fabric, but the happy little monsters were cute and would do well with a larger square. I’m really pleased with how the squares are coming together as well. It feels cheery, and I smile every time I see it. These quilt tops are easy and straightforward in a way my other quilting project isn’t. They’re also a nice space for me to let go of a lot of the more complex things gripping my brain.

IMG_9277.jpeg
IMG_9276.jpeg

Everything I’m showing today is a work in progress. We live in a time where we are bombarded on social media by beautiful, complete projects that are started and finished in a quick video or singular blog post. If I only showed completed projects here, I wouldn’t have anything to post until December. Completing the project has never been the cornerstone of my life. The journey to the end has always provided me with more knowledge and insight into myself.

What I’m learning:

There is something beautiful about simple patterns. My other quilting project is much more complex and much larger. I was hitting a place where I was dreading sitting down to work on it. The project is so large that in order to complete it by December I started in August. I need short, simple projects to operate like a palate cleanser so that I can keep going with my marathon projects.

Sewing, and quilting more so than many other forms of sewing, has a HUGE ironing component. My normal idea of breaking down a larger project into small pieces that offer my brain a moment of completion doesn’t work with quilting, at least not for me. I learned this with my bigger project and have put that into practice with these smaller quilts. I get so much more enjoyment out of the process now! Instead of ironing between each piecing step, I’m building my sections as much as I possibly can without going to the iron. This does two things - one, I don’t have to leave my iron on all the time, and two, I can lump all my ironing into short sessions. When I was ironing as I went, I would end my quilting time feeling like I hadn’t accomplished anything at all. Now I feel like I accomplished a lot more when I can end my time by ironing out completed sections that are MUCH easier to see. It disrupts my checklist for my larger project, but it also has made these charity quilts feel much more real to me. I can sit down for an hour and have a small quilt top almost entirely completed.

I knew that I enjoyed quilting. When I made my first quilt my goal was to try all the steps to see if I liked quilting as a hobby at all. Now I’m learning to refine my process so that I can give myself some mental space and engage in something relaxing. I still hate cutting out pieces, no matter how many things I do to make the process less awful. I’m thankful that I have the space to engage in something that tickles the creative part of my brain while still being helpful to someone.

If you’re interested in charity quilting and are in the greater Austin area, I encourage you to check out The Linus Connection. Their website keeps a small archive of completed quilt pictures, and the meetings have a show and tell component. Bex and I really enjoyed getting to see the completed quilts. It felt like a mini-art show. Meetings aren’t even necessary. Their website has everything you need to know about how they need their blankets structured as well as alternate drop locations. It’s also not limited to quilts! They accept knit and crocheted blankets as well as weighted blankets. Hopefully I’ll complete these quilts before we move, but I’m not stressing out about it. I’m thankful that I have an opportunity to do something I enjoy for someone else in need.

IMG_9279.jpeg

Anxieties and the Inevitable Move

unnamed (1).png

I’ve been making concrete efforts to secure a new place to live. This was harder than one would expect for me because as it turns out, I’ve never really had to look for a place to live. My first apartment was within walking distance of my college, and that’s how I picked it. No looking, no random tours, just said, “that’s good,” and lived there. My second living arrangement was in a dorm on campus. My next apartment was another drive by, “that looks nice,” and I commited. My next apartment was found in a classified ad in an actual newspaper. Who does that anymore? After that I moved from place to place IN with someone that already had an apartment or townhome or house before I got there. I didn’t have to make a lick of a decision. So yes, I’ve never had to go through the trouble of finding my own place with more than just a drive by.

unnamed (3).png

I’ve found this whole thing to be very stressful and my anxieties have begun to pile up. The worst of it is the unknown part. We have until the end of the year, which is very gracious of our landlord, but I’m left with this feeling of I should be doing *something* and *now* but what? I don’t know where we’re moving, I don’t know when we’re moving, I don’t know how much space we’re going to have available, I don’t know how much stuff we have to get rid of, I don’t know the layout of the new space we’ll have... I have nothing but worries about all of this and no place to put them. It’s been quite a taxing couple of weeks. We’ve done some sifting through our third bedroom, which we use for storage, a bit and that was calming in a way. We took three very large boxes of things to be donated out and threw away two trash bags worth of things as well. We haven’t done anything since then though and that’s really throwing me for a loop. I needed a different answer, and soon.

unnamed (4).png

Miayah’s sister recently moved back into the Austin area. She was living in another state and due to some life changes, came back to be closer to family. Miayah let me know that her sister used an apartment realtor service, where they do the searching for you, and recommended Maddy, the representative, to me. As you can see from my first paragraph, I’d never used one before and didn’t know how they worked. Turns out it’s free! And they do the footwork! How refreshing. This would take one bit of stress off my plate because let me tell you, googling for apartments is a fresh kind of hell. Not all apartments advertise online. Not all apartments list their cost on their websites. Townhomes and homes for rent are hit or miss online and may not appear in any searches at all. Pictures are missing or unhelpful, tours can’t happen, move-in dates are rare, and you just don’t know what you’re getting yourself into. Getting the realtor was the best idea by far that I could have asked for.

I spoke with Maddy about our hopes, dreams, and budget for a short while to help her get a good picture of what we’re looking for in our new home. I was worried that our budget would be a big hindrance to what we’d end up with, but after our phone conversation she came back with a LOT of choices that fit right in. There were quite a few 2 bedroom 2 bath apartments available in our range and in the area of town we were wishing for. The cherry on the top was that she found a 3 bedroom 2.5 bath townhome in our budget and within a reasonable commuting distance to my work. I was shocked! A 3 bedroom was a dream that I didn’t have a lot of hope for. Miayah works from home and a third bedroom that would operate as an office for her was something we’d really wanted and now we could have it! With the townhome we’d even have a lot more space than most of the apartments. We’d be losing the garage and about 200 square feet of space and that’s it. 

unnamed.png

It’s no guarantee that we’ll be getting this townhome but we’re putting in our application today to find out if we can qualify. Cross your fingers for us! If we secure this location, my anxieties will decrease 10 fold. I’ll know where we’re going, when we’re going, how much space we’ll have, and I’ll have a much better idea of how much stuff I need to get rid of. I can make a schedule for myself where I can plan out what days I need to devote to going through our belongings. I can plan for savings in a better manner. I can feel more secure and know that we won’t end up in a strange inbetween where we have no place to live at all. This is very exciting and very important for me.

unnamed (2).png

I know that this move will ultimately end up being good for us. We’re getting away from a stressful living arrangement and taking up residence in a more neutral environment. I’m really excited about that. We’ll sign a long term lease agreement so we won’t have to worry about rent increases or moving for a while. We’ll have a place where the pups can exist with a little yard and a quiet, grassy area. We’ll be situated and safe. I’m looking forward to it now that we have a plan and my anxieties can’t go quite as wild. Definitely keep us in your thoughts as we apply for this place! I’ll take any good energy we can get.

Adjustments and Whale

It’s been a hot minute in our part of the world. At the end of August, we got news that we needed to move, and while we’re ultimately content with this turn of events, it’s turned our world upside down. We owe you an apology - we just sort of feel off the face of the planet for a little while as we’ve been insulating ourselves a bit in an effort to wrap our brains around what we need to do as we’re moving. Hopefully, things are back on schedule moving forward, but we thank you in advance for bearing with us as we’re working up to and through this transition.

I process my scraps as they happen, so while I have a bag of larger scraps, I also have several bags of scraps that are too small to do any else with.

I process my scraps as they happen, so while I have a bag of larger scraps, I also have several bags of scraps that are too small to do any else with.

Moving is a daunting task. We’ve lived in this house for a long time, which means accumulating things. We have taken the time to move room to room and build a plan to assess our belongings and lighten our load. We will be selling and donating things as well as cleaning and clearing things out. While our house isn’t currently a massive disarray of packed boxes and permanent markers, mentally, everything has felt chaotic. While trying to wrap my brain around what needs to happen, I made a little stuffed whale! Having something to keep my hands busy is a life saver during stressful times. I also have a background quilting project happening, so my scrap pile feels like it’s getting out of control. There are a ton of free plush patterns on the internet, and I found one here. The post is in Russian, but the OP documented their construction process in pictures; it’s a pretty straightforward pattern. I wanted a small project I could completely hand sew because it helps my brain clear out and then process. This project turned out to be perfect for my needs. The OP used a machine I think, but that wasn’t what I needed.

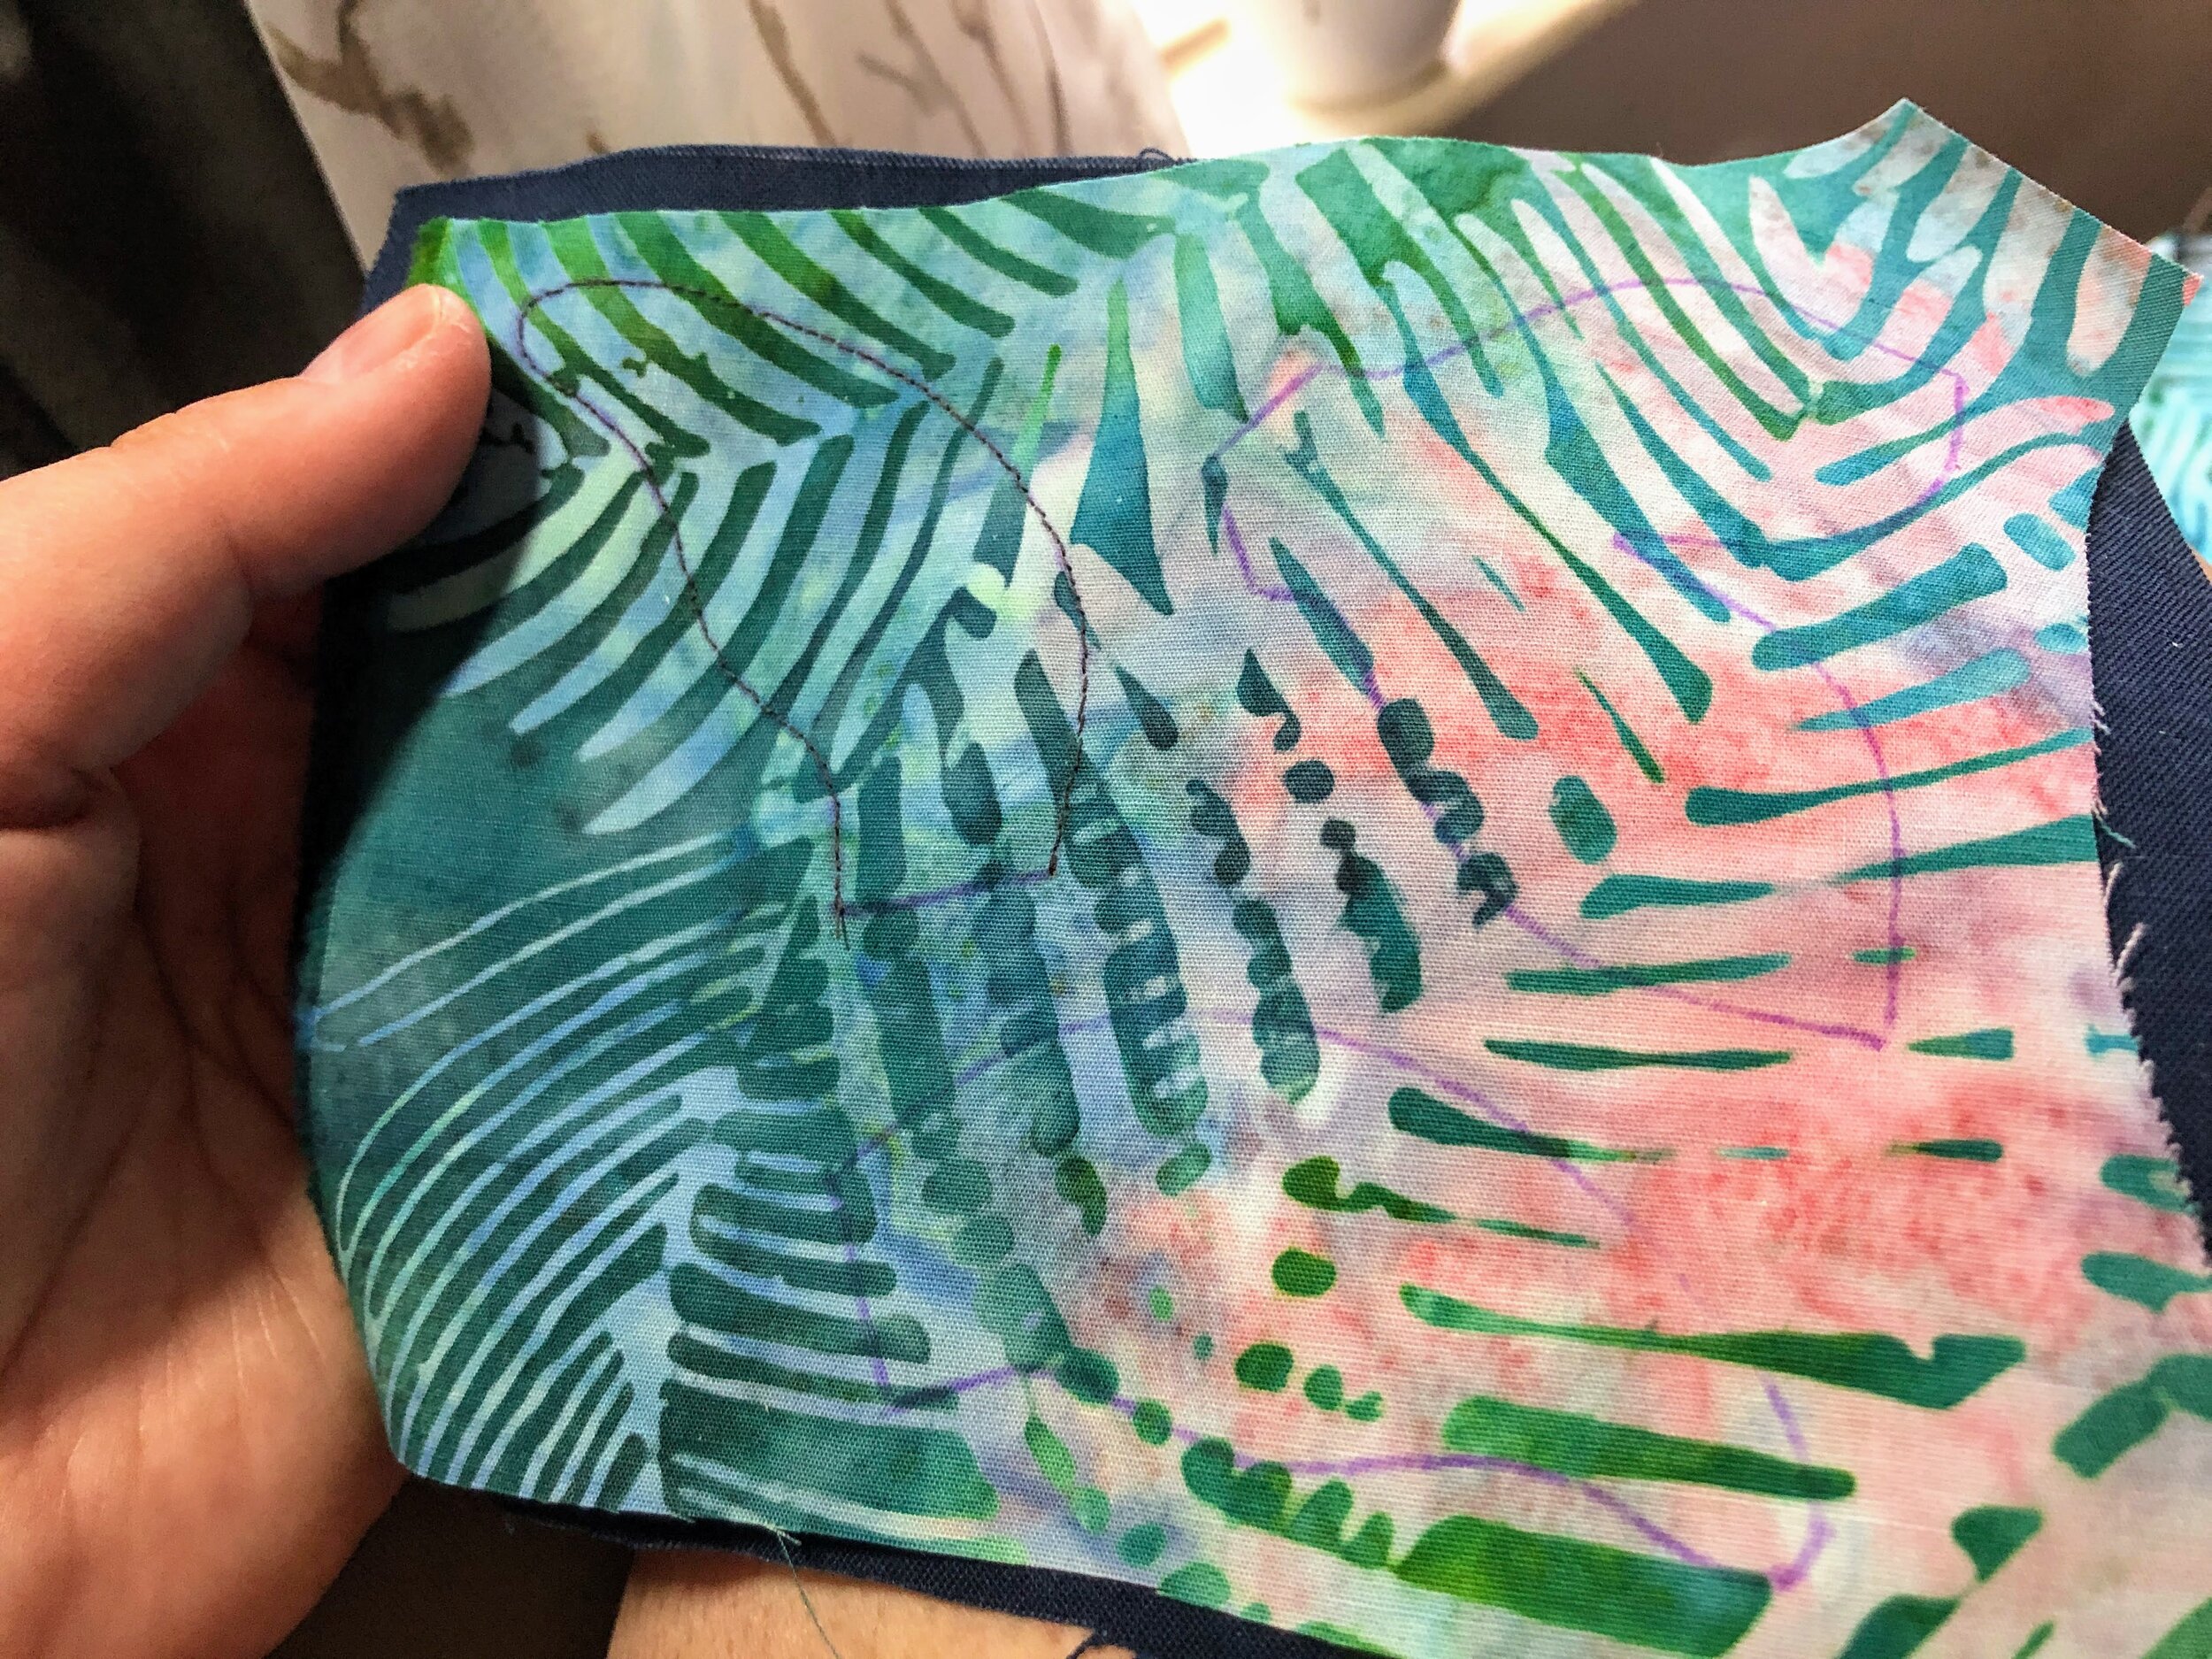
I printed the pattern image at the largest scale I could without having to print the image on multiple sheets of paper and cut it out. After that, I traced around the pattern pieces on some scrap fabric I have in my scrap fabric bag. I didn’t worry about grain or anything like that since the project is so small. You could really use the outline as either the stitch line or the actual cut line, but I used it as my stitch line and progressed accordingly.

IMG_9249.jpeg

The fins and tail are stitched right-sides together, turned right-sides out, and pressed before final construction. Honestly, the worst part, in my opinion, is always clipping curves. It’s always a bit more tedious than I prefer, and I always have little, tiny fabric scraps flying all around.

IMG_9250.jpeg
IMG_9252.jpeg

The body is seamed together leaving a gap for the fins, and while little curves can be a bit fiddly, having a stitch line is really helpful, at least for me. The whole point of slow stitching is to give myself a mental break. I did take some time to do some decorative top stitching around the fins, tail, and body before stitching the body together.

IMG_9256.jpeg

And here it is! All stuffed and put together. I am pleased with the overall result, and I got some mental breathing room.

IMG_9262.jpeg

We’re going through our house and making decisions about what we need to do and how we want to handle our move. I think the most daunting part of this is actually finding a location to live. This isn’t a great time to move, and moving isn’t something we’ve had to contemplate in a long time. We have been able to source a LOT of moving boxes and packing materials, so that’s really exciting. We’re also starting to sell some of the things we’re not going to be taking with us. In some ways it’s a really nice thing to contemplate. In other ways, it’s daunting and entirely overwhelming. I’m hoping to get to document some of our process, but we are trying to strike a balance between purging and packing and still having a calming place to live. I think we’ve struck a decent balance and that we have a decent plan. I feel like we have been able to come to an agreement about what we want and what we can live with. I’m hoping that this move will be relatively painless, and hopefully we can find some decent movers. Wish us luck!

Displacement

It’s been a while since I’ve moved living spaces voluntarily. I moved in with Miayah back in 2016, forcefully after a whirlwind divorce and a very upsetting situation. I hadn’t planned on moving at the time, as the divorce completely blind sided me. I hadn’t lived in that particular apartment with my ex for very long, maybe a month. Days before the split we’d painted an accent wall in the living room a beautiful robin’s egg blue. I still think of that wall from time to time. It was the first time I’d been able to pick a pretty color for my living space that was just for me. The move before that wasn’t something I’d picked either. My ex and I had been in a different apartment in the same complex and he decided that he wanted to move into a smaller space that would save money. I had no say in it as I wasn’t officially on the lease. Cleaning that old apartment fell into my hands as well; I received no assistance from my ex. It was the move before that, that was actually voluntary - back in late 2014. I had been in my sister’s house after moving from Idaho and I chose to leave to move in with my ex.


It’s been seven years since I got to move voluntarily on my own.

IMG_1800.JPG

Being put in that position really makes you feel vulnerable in your own space. It took years living in our current house before I finally felt secure, finally felt like this was my space that I belonged in. I realize that we were still renting, but given that the property was owned by Miayah’s relative, that we were in safer, more stable hands. The rent wouldn’t rise without careful consideration, we’d have family that would help take care of the house, we’d have more of a say in what kind of maintenance needs to be completed and how. Obviously there are pitfalls to doing business with family, but we navigated it with grace, courage, and patience.

IMG_1846.JPG

I’d moved in when my life fell apart. I’d moved in when Miayah and her ex (who is a lovely man) were falling apart too. I felt like a disrupter, like someone that didn’t belong but had come stomping in, screaming and clapping pot lids together like a child. I felt like I needed to constantly walk on eggshells, forever worried that I was invading their space where there were so many emotions being thrown around. I was told years later that Miayah’s ex feels like I replaced him in their household, that somehow I stole her away from him in a way. I still feel a little guilty to this day, despite being reassured otherwise. 


IMG_5275.JPG

Like I mentioned, it did take years for me to be comfortable in the house with Miayah. I wasn’t sure about my relationship with her for a while. I knew we were close friends, and ever getting closer, but I was insecure. You may be surprised by this information, given how close we are now. I was used to being taken for granted and in a way, felt that I was pretty disposable. This has changed after a good amount of therapy and time, but I was so sure that once Miayah found another person to date, that she’d move on without me. I was certain that in future years she’d leave me the house to go live with someone else. I’d mentioned it offhand about three years ago during a girls night, thinking nothing of it, but found out that Miayah cried about it that night. Before that I didn’t realize how valued our relationship is by both of us. I’d thought it was more one-sided since Miayah is so carefree and unattached, but I was deeply wrong and hurt her by saying so. I still feel guilty. My insecurity injured her.

IMG_2454.JPG

We’ve since discussed it and came to a funny agreement that honestly, I absolutely hate. Somehow we both came to the conclusion that at some point in the next decade we’d probably not live together but in reality, that sounds really shitty. I don’t have any desire to leave and I never did; I just thought that she’d drop me at some point, which is simply a throwback to my own personal traumas. This thought process is desperately unfair to Miayah and I’m sorry that I ever felt that way.

All these feelings are making a comeback as we’ve just found out that we’ll have to move by the beginning of 2022. The expenses have increased to a point that Miayah’s relative feels compelled to sell our house. It’s so scary for us. I’m sure you’re familiar with the housing and rent situation in the country right now, especially here in Austin, and this is a terrifying time to move. Combined with the expenses we’ve had to endure over the last year, the pay cuts we’ve both experienced over the pandemic, and the rising rent prices, our options are very limited, and I’m very upset. Somehow what breaks my heart the most is that Eebles won’t have her precious yard anymore where she can chase the birds like the little idiot she is. If we could buy the house from her relative we would, but neither of us is in a financial position to do so. Our option right now is looking like an apartment with about 600 sqft less than what we have now, with no garage. It’s going to be quite the period of downsizing which is also making me apprehensive.

IMG_1398.JPG

I know we’ll make it through this. I know that moving is less than ideal when it’s not our choice, but there’s the possibility that we’ll save money, pay less in utility bills, and this gives us a chance to better curate our possessions. I’m not looking forward to packing, and I’m not looking forward to living somewhere else. I love this house. I love that we’ve made it into a home. Even so, where Miayah is - that’s home for me now. I don’t want to go anywhere where I can’t live with her. She’s made my life so much better than it’s ever been and I’m grateful to the point that I don’t have words. I’m tentatively looking forward to this next adventure and I’m glad that I can do it with her. 🍇


Hot Pot

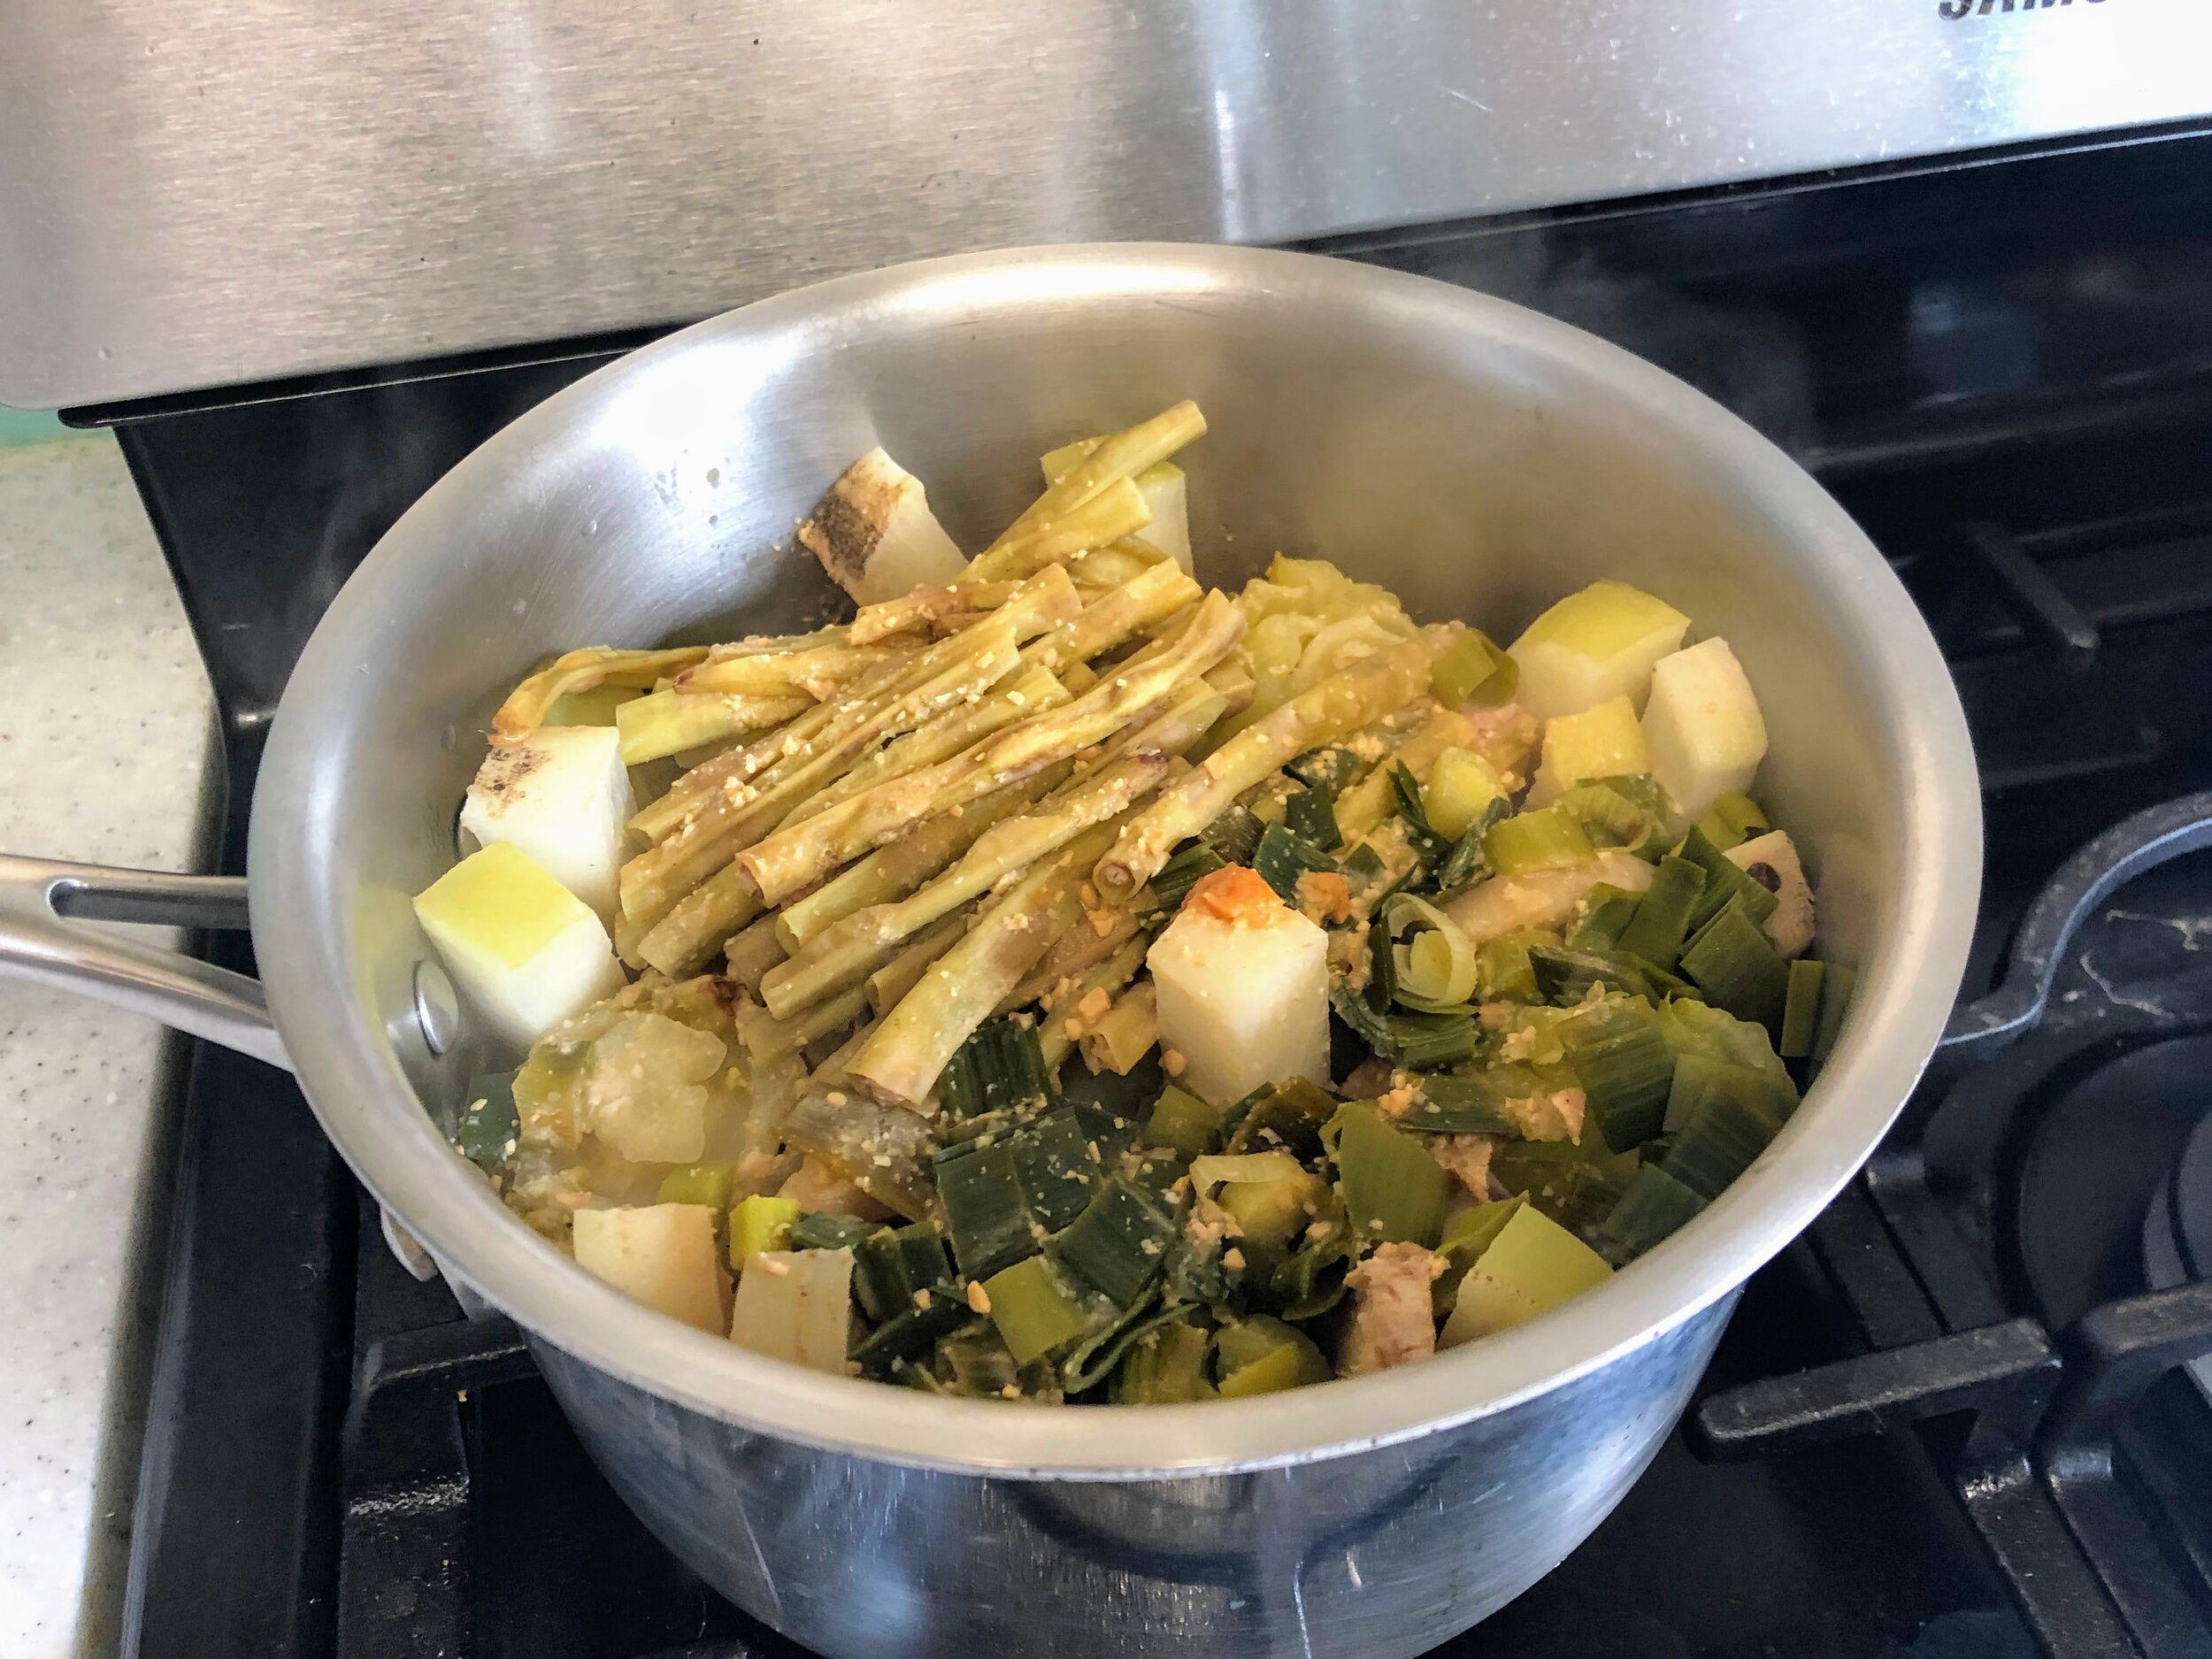
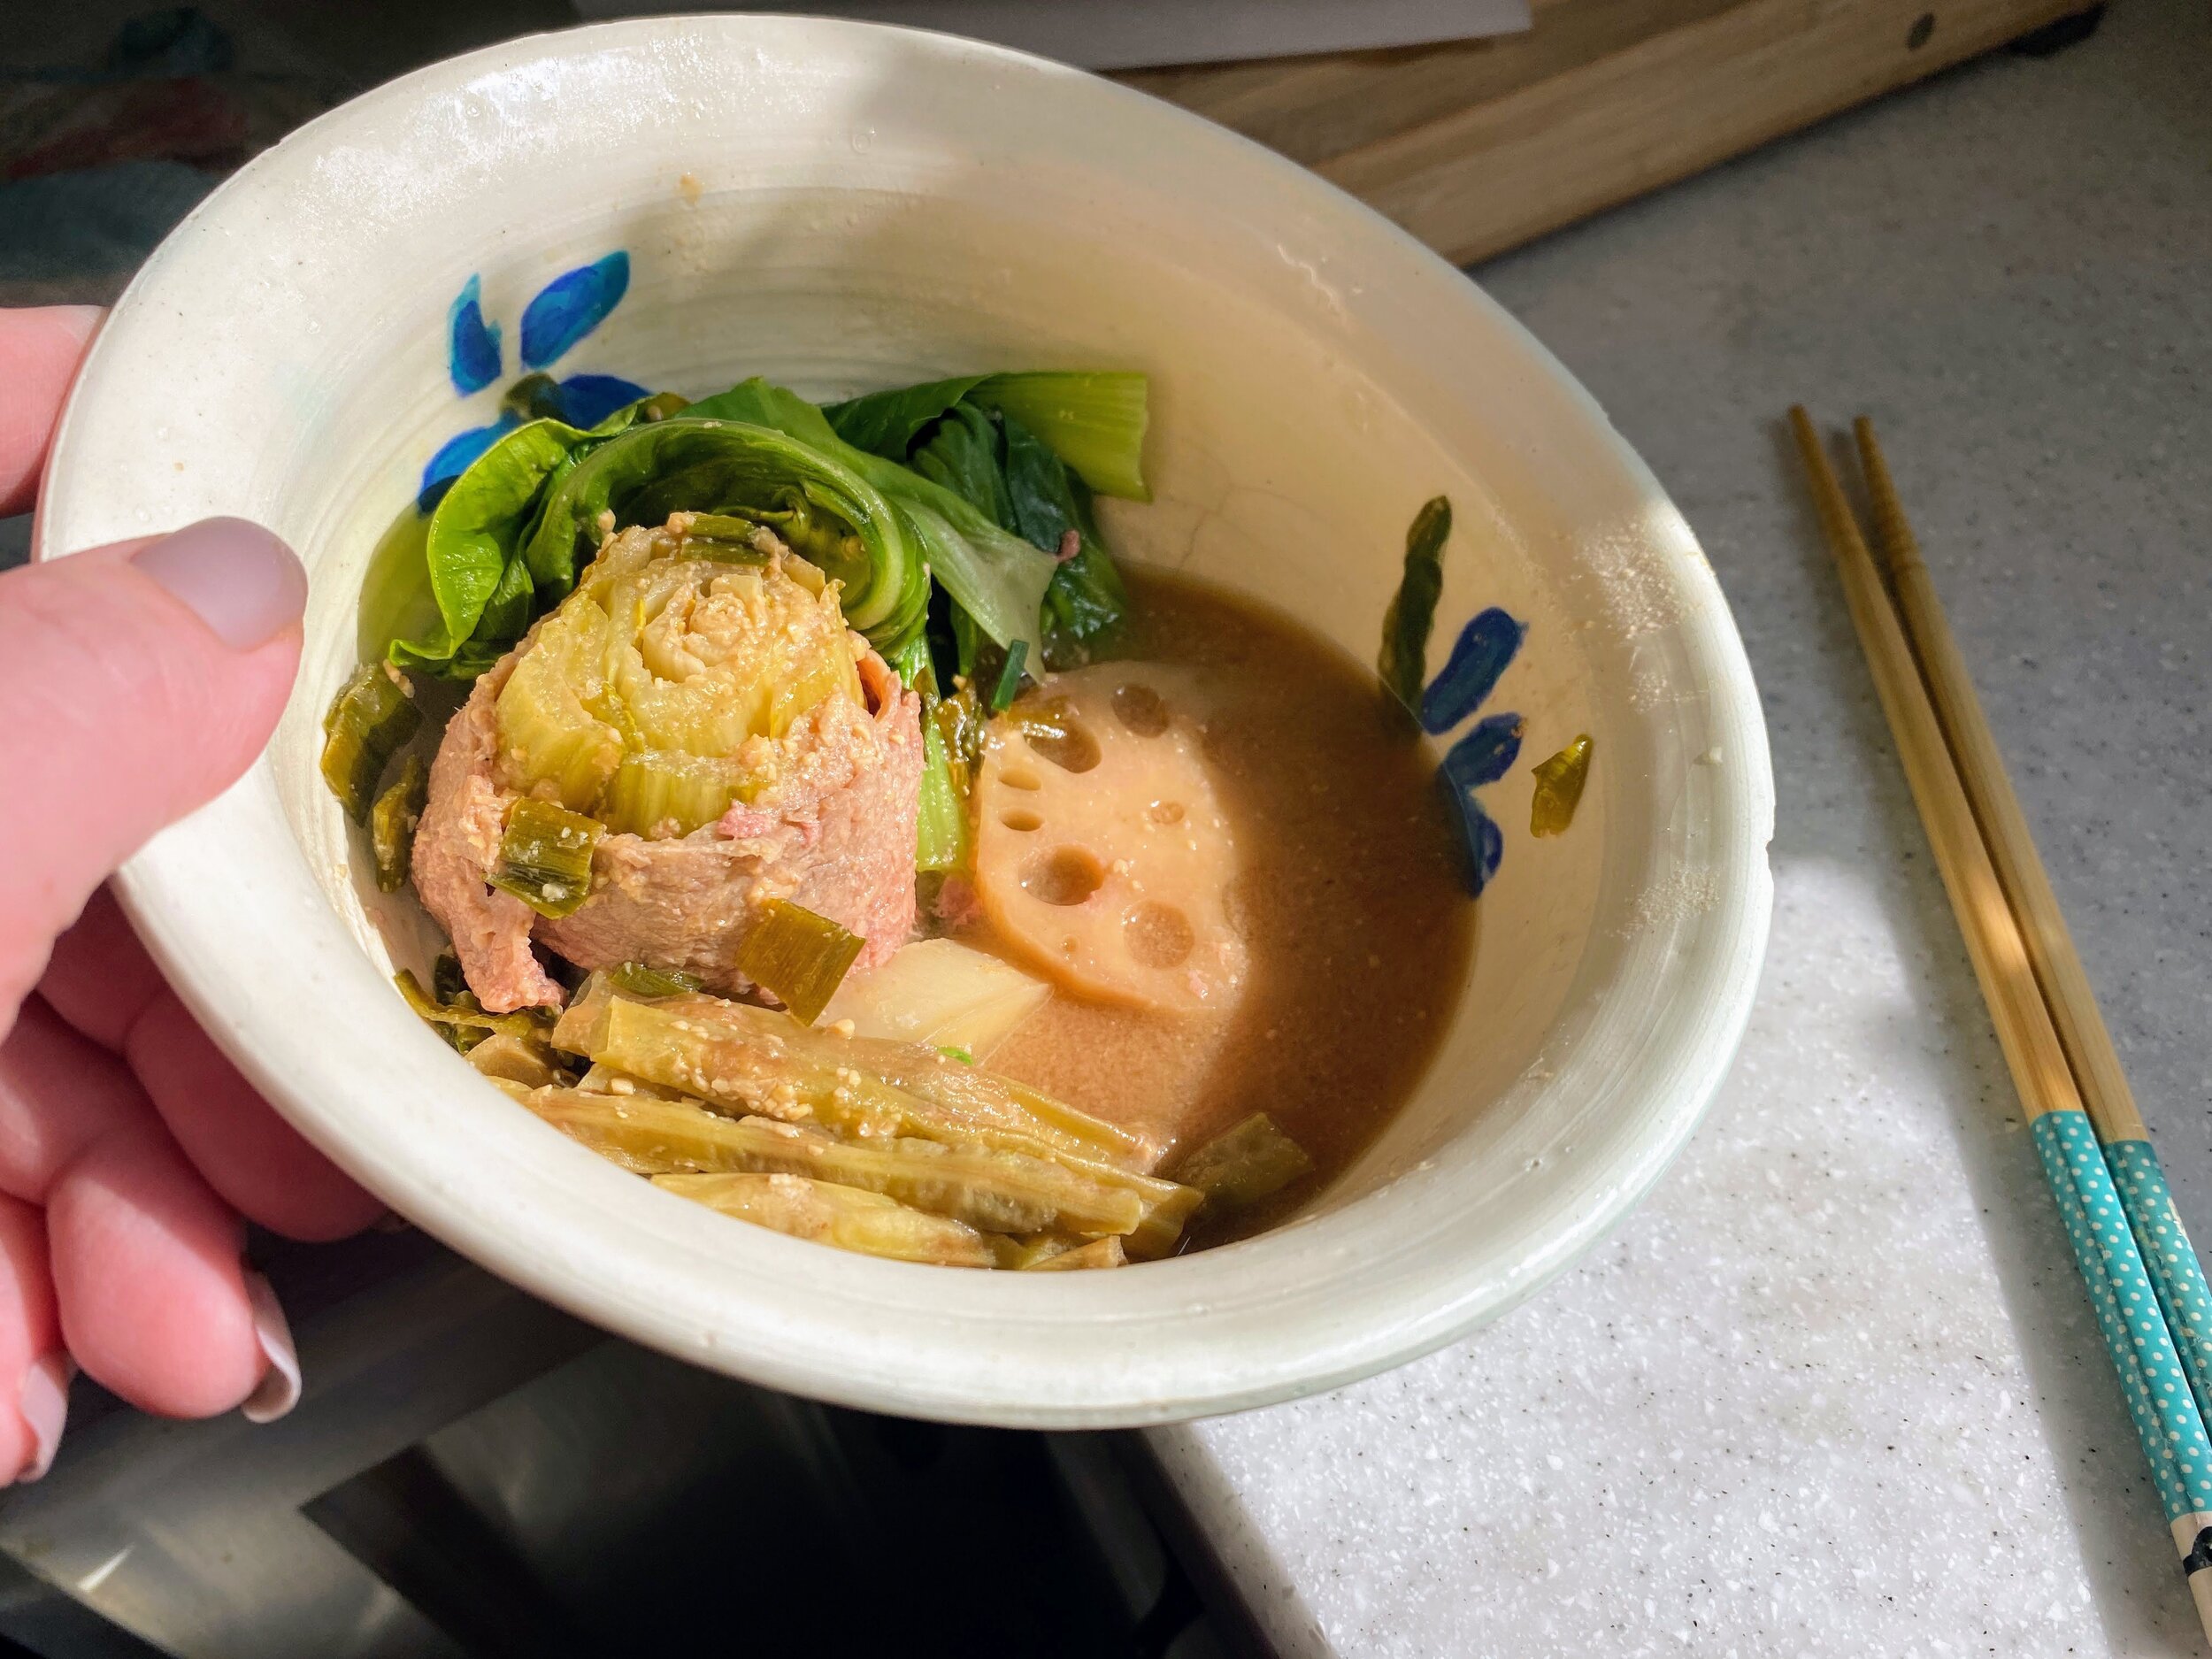
I like recipes that are less recipe and more method. I’ve adapted this from several different recipes I’ve found over the years, and while I still call it Hot Pot, it’s much more of moniker that is recognized in our household than something you’d find in a recipe. This method is nice because everything happens in one pot in about a half hour. It’s inexpensive and easily adaptable for various allergy or dietary requirements. Basically, you layer various ingredients based on how long they take to cook, add some liquid, and top with any greens to steam about 5 minutes before the end.

Hot pot in our house usually have the following components:

  • Protein: This is usually in the form of thinly sliced beef or lamb that we pick up from our local Asian grocer. It’s fairly inexpensive and we can typically get it in small quantities. Sometimes we skip the meat all together and introduce hard boiled quail eggs instead. Tofu is also an option – it really depends on what you like. Seafood is also a nice addition if that’s something you like.

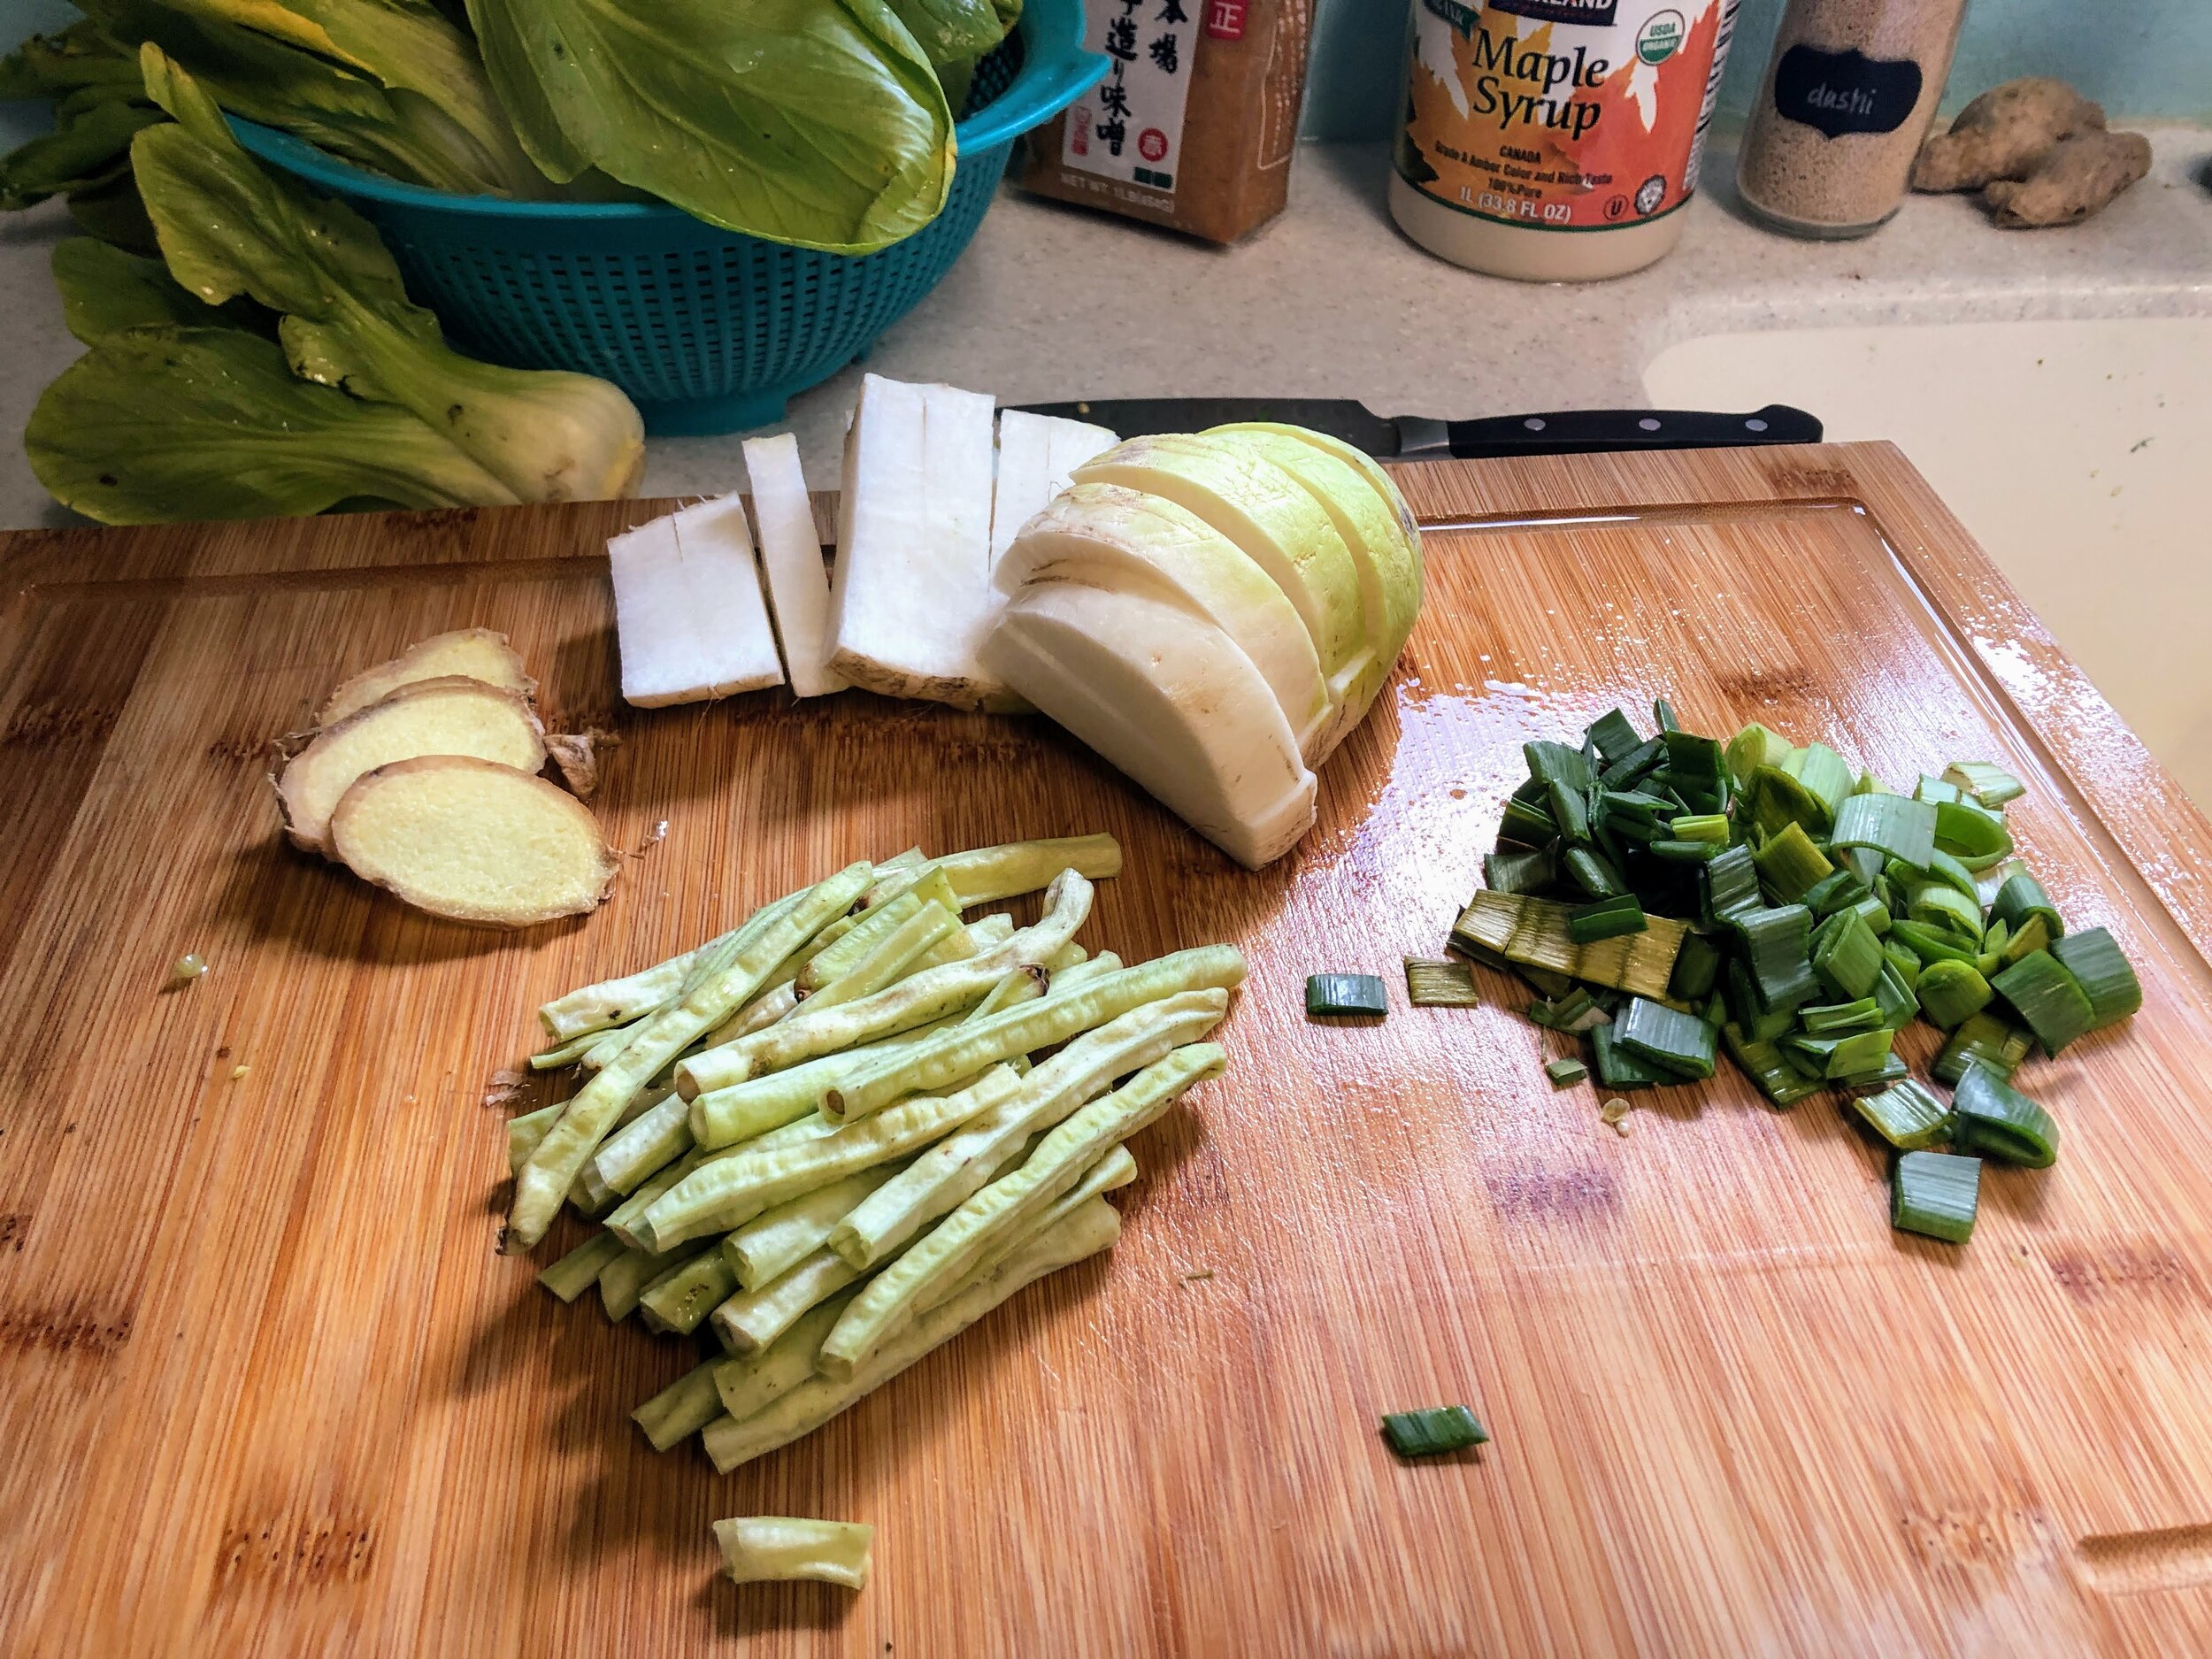
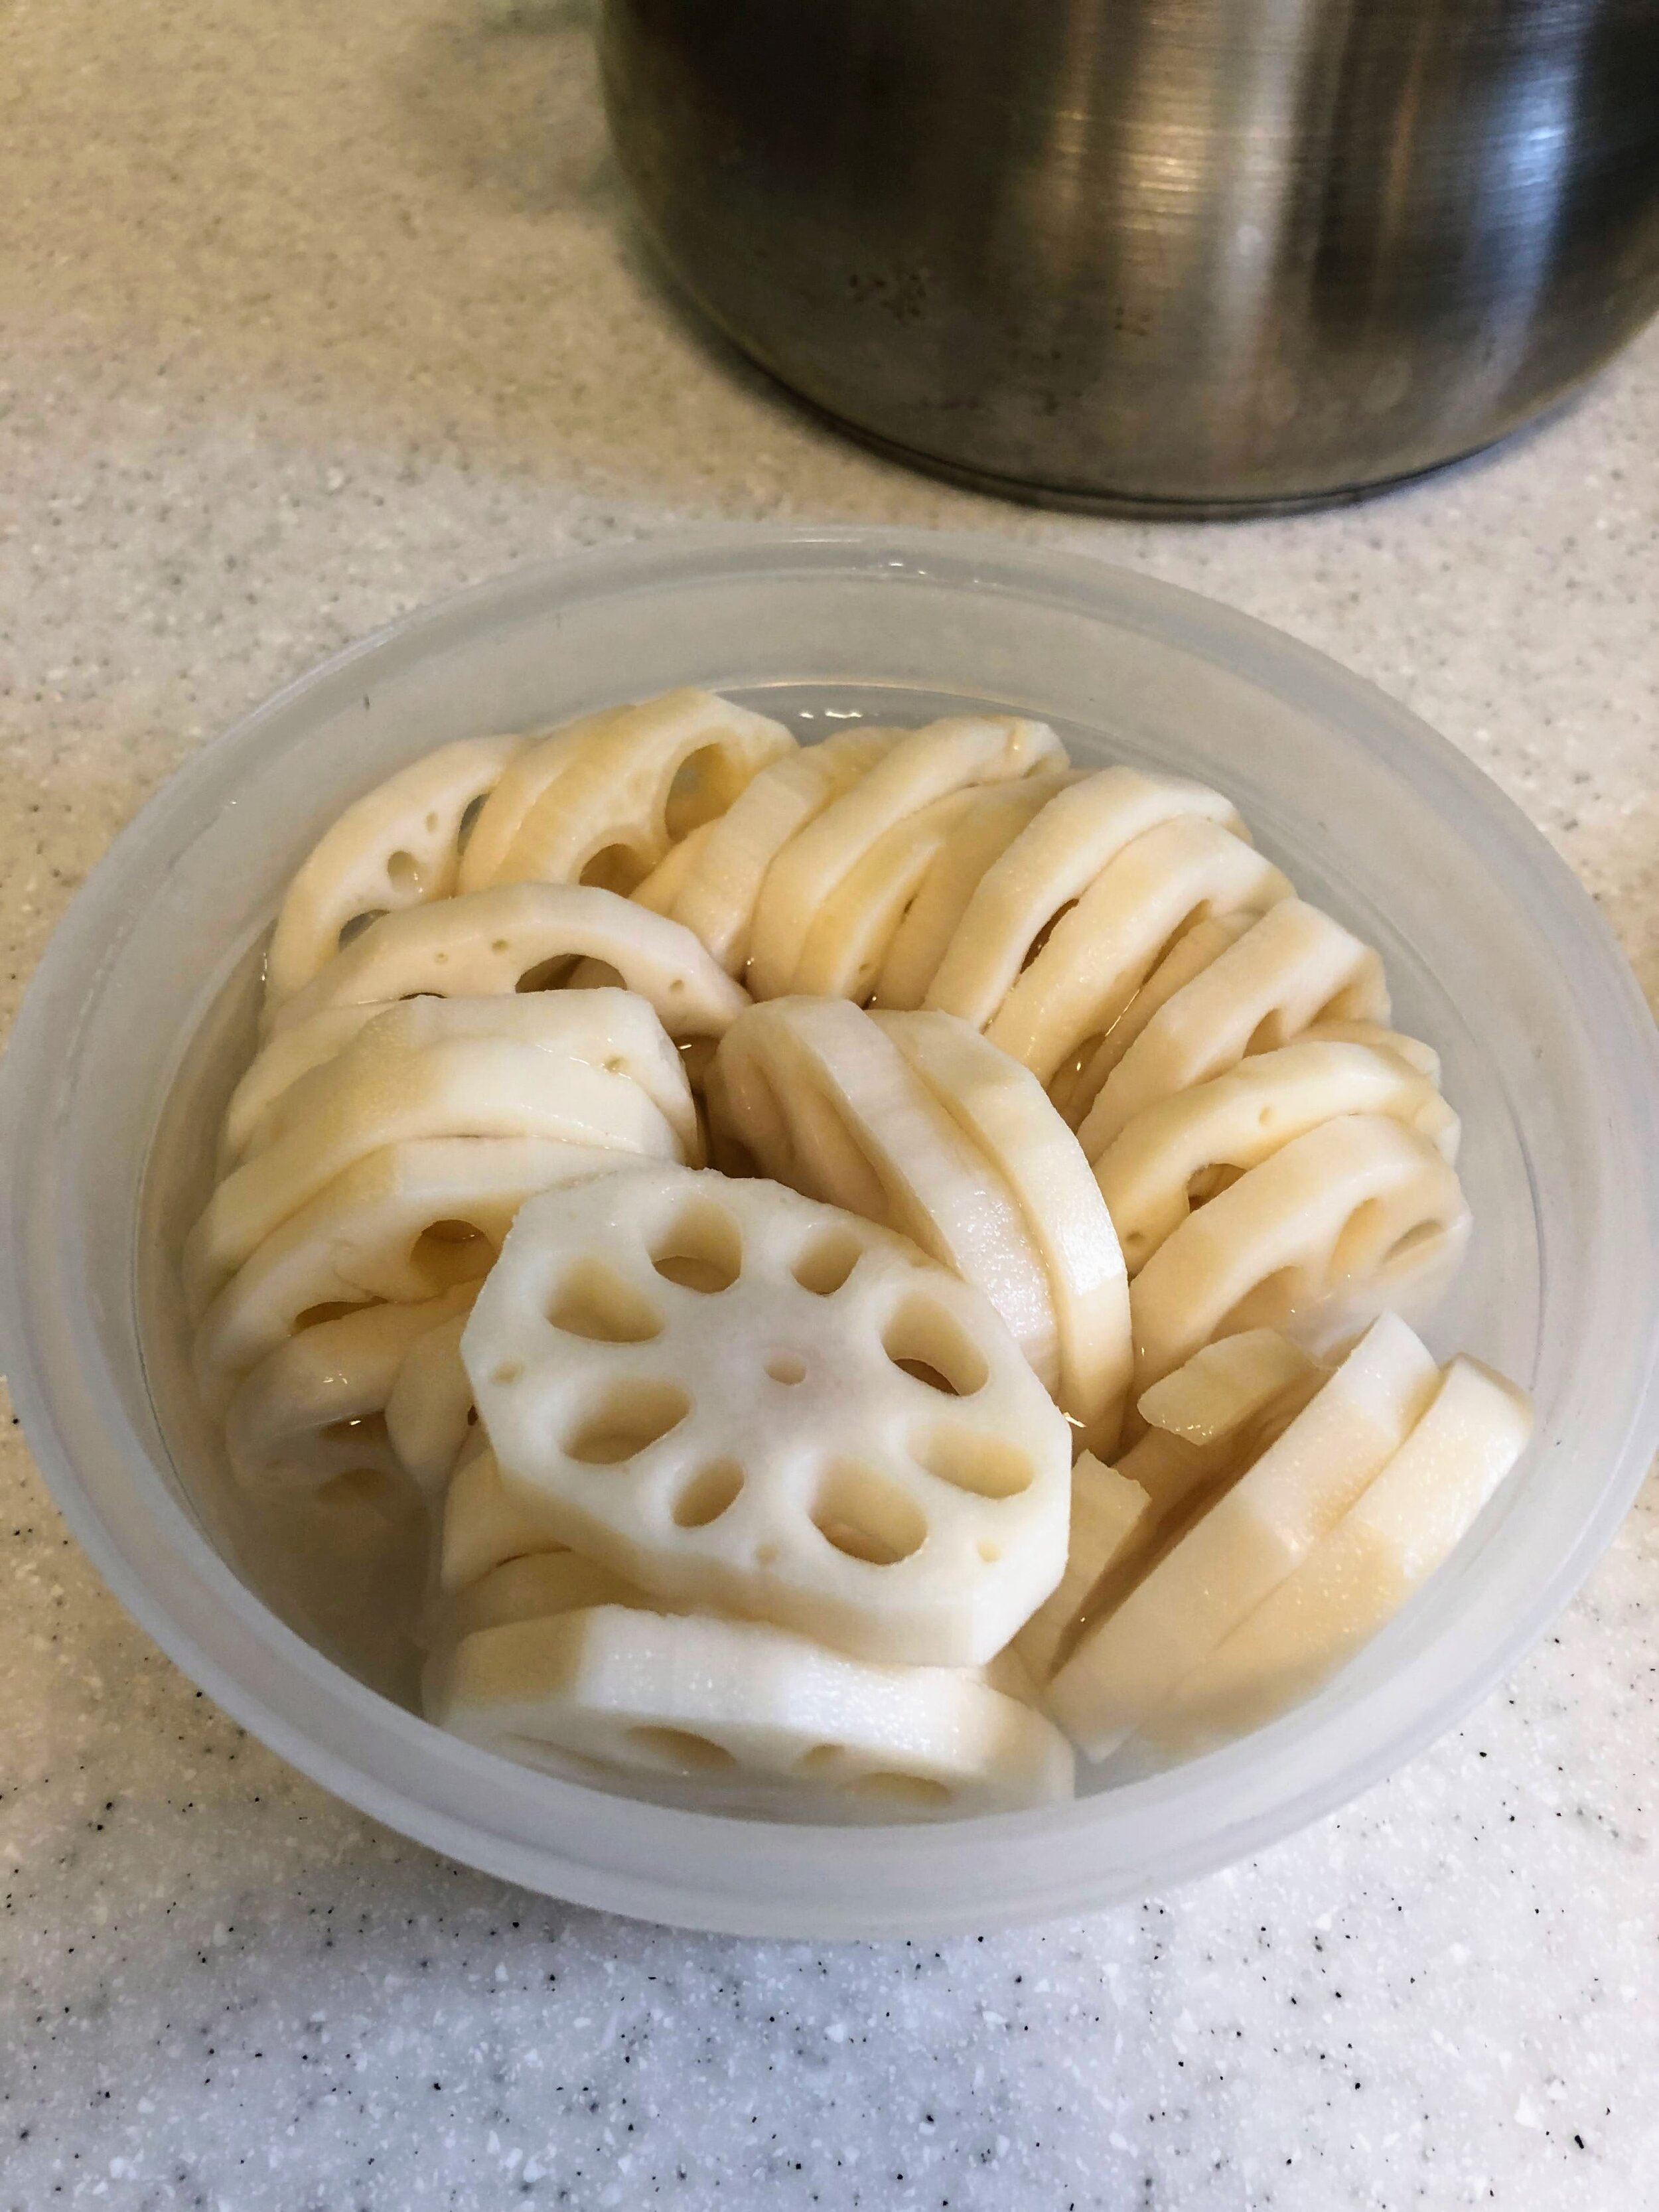
  • “Hard” Vegetables:  I define “hard” vegetables as vegetables that have, or can stand, a longer cooking time. We regularly purchase a variety of baby bok choy that can withstand a longer cooking time and benefits from being in direct contact with the cooking liquid. We also regularly use various types of daikon, turnip, and the tougher, green parts of leeks. This is also where we would put slices of ginger or garlic if we’re using them fresh. Other things that fit inside this category would be things like carrot, parsnip, lotus root, small radishes, Brussel sprouts etc. If you like onions, they can sometimes be in this category, but I would only use small, whole onions.

  • “Soft” Vegetables: These are things that are a bit more delicate or need a longer steam time. This is where I put things like long beans (also called cow peas), spinach stems, certain varieties of broccoli, or bamboo shoots. Other things that can be added are things like the tender portions of a leek, sliced onions, snap peas, and peppers.

  • “Steamables”: This is where I use the delicate greens. This is most often spinach leaves or the tops of the baby bok choy. This is also where I’ll toss in a bunch of watercress if we’re interested in cooking the watercress. This is completely optional, but I like this because it allows me to use all parts of a vegetable. I’ve absolutely tossed in radish leaves to steam. Pretty much any edible green is good to go.

  • Liquid: The absolute favourite in our house is a thick miso broth, but that is not the only option. Whatever liquid you choose should be used to add flavour though. You really don’t need a lot either. The vegetables provide a lot of additional liquid. The goal is to have enough to cover half to one inch of the base layer.

This method is super flexible. I made a super simple hot pot, so let’s jump in.  

Hot Pot (Serves 2)

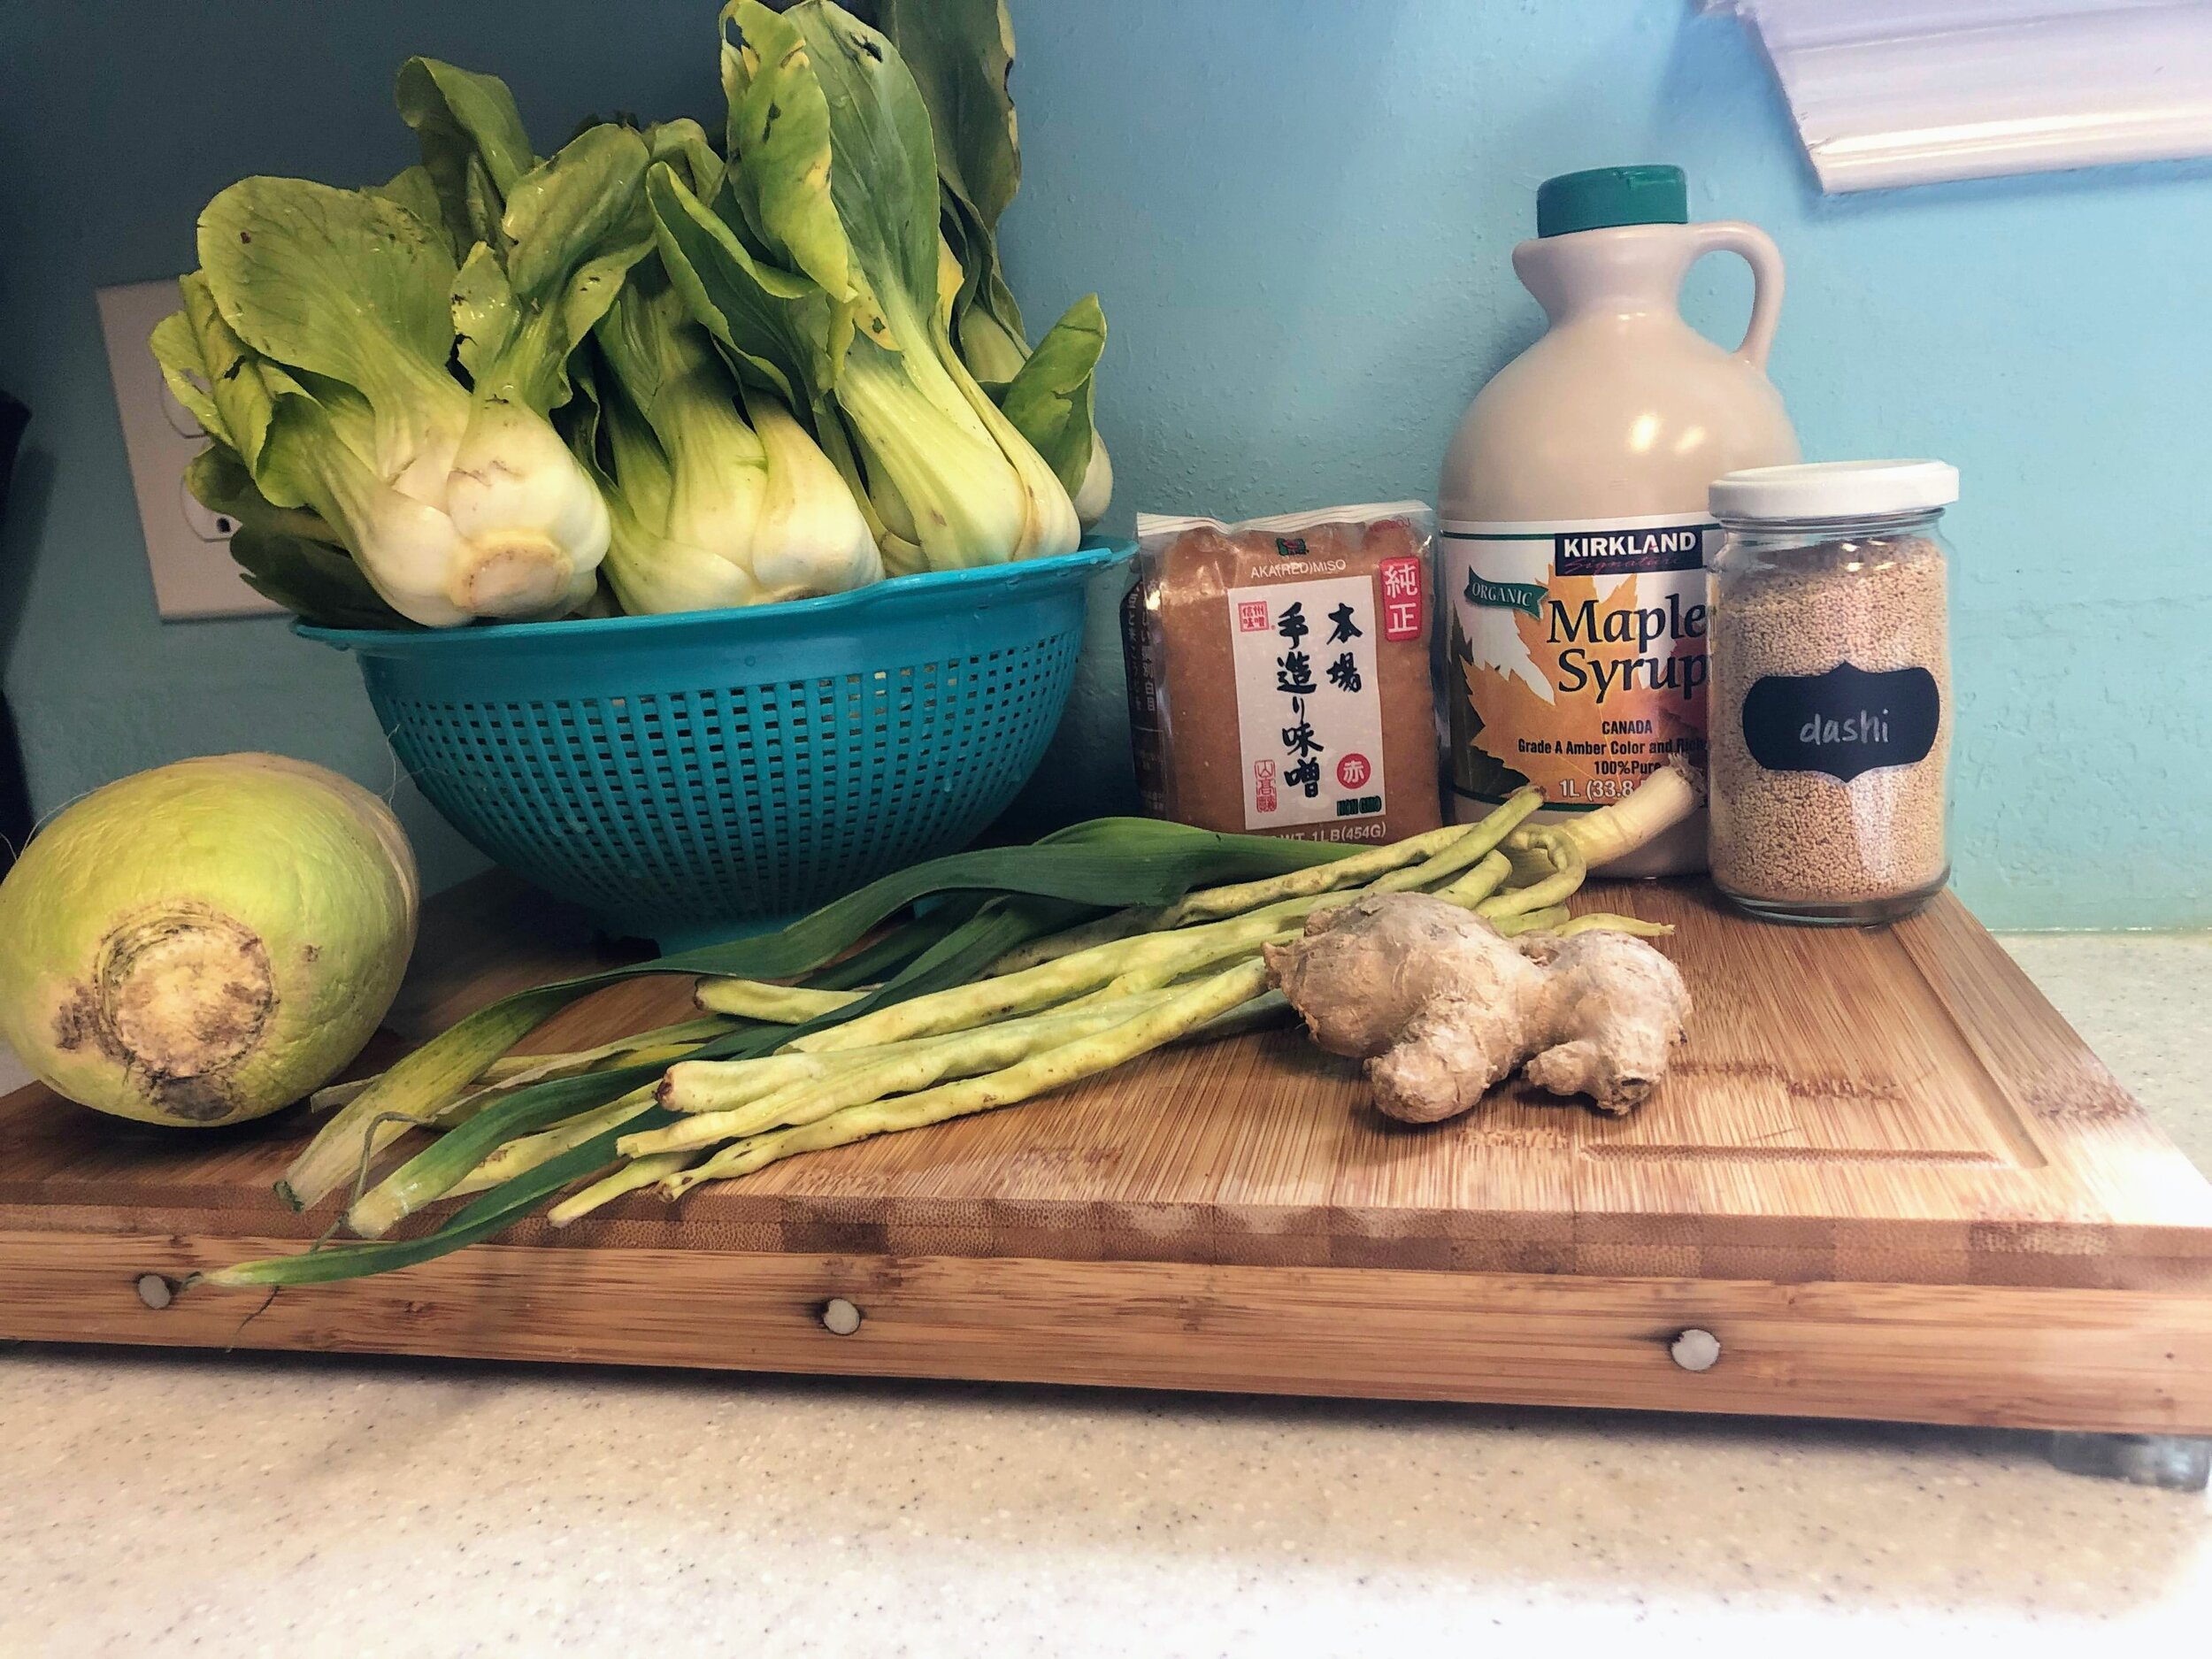
  • 1/4 pound thinly sliced beef

  • 4-6 Heads baby bok choy

  • 1//2 small korean radish, sliced

  • 4-6 pieces lotus root, sliced

  • 1-inch piece of ginger, sliced

  • small bunch of garlic shoots

  • small bunch of cow peas

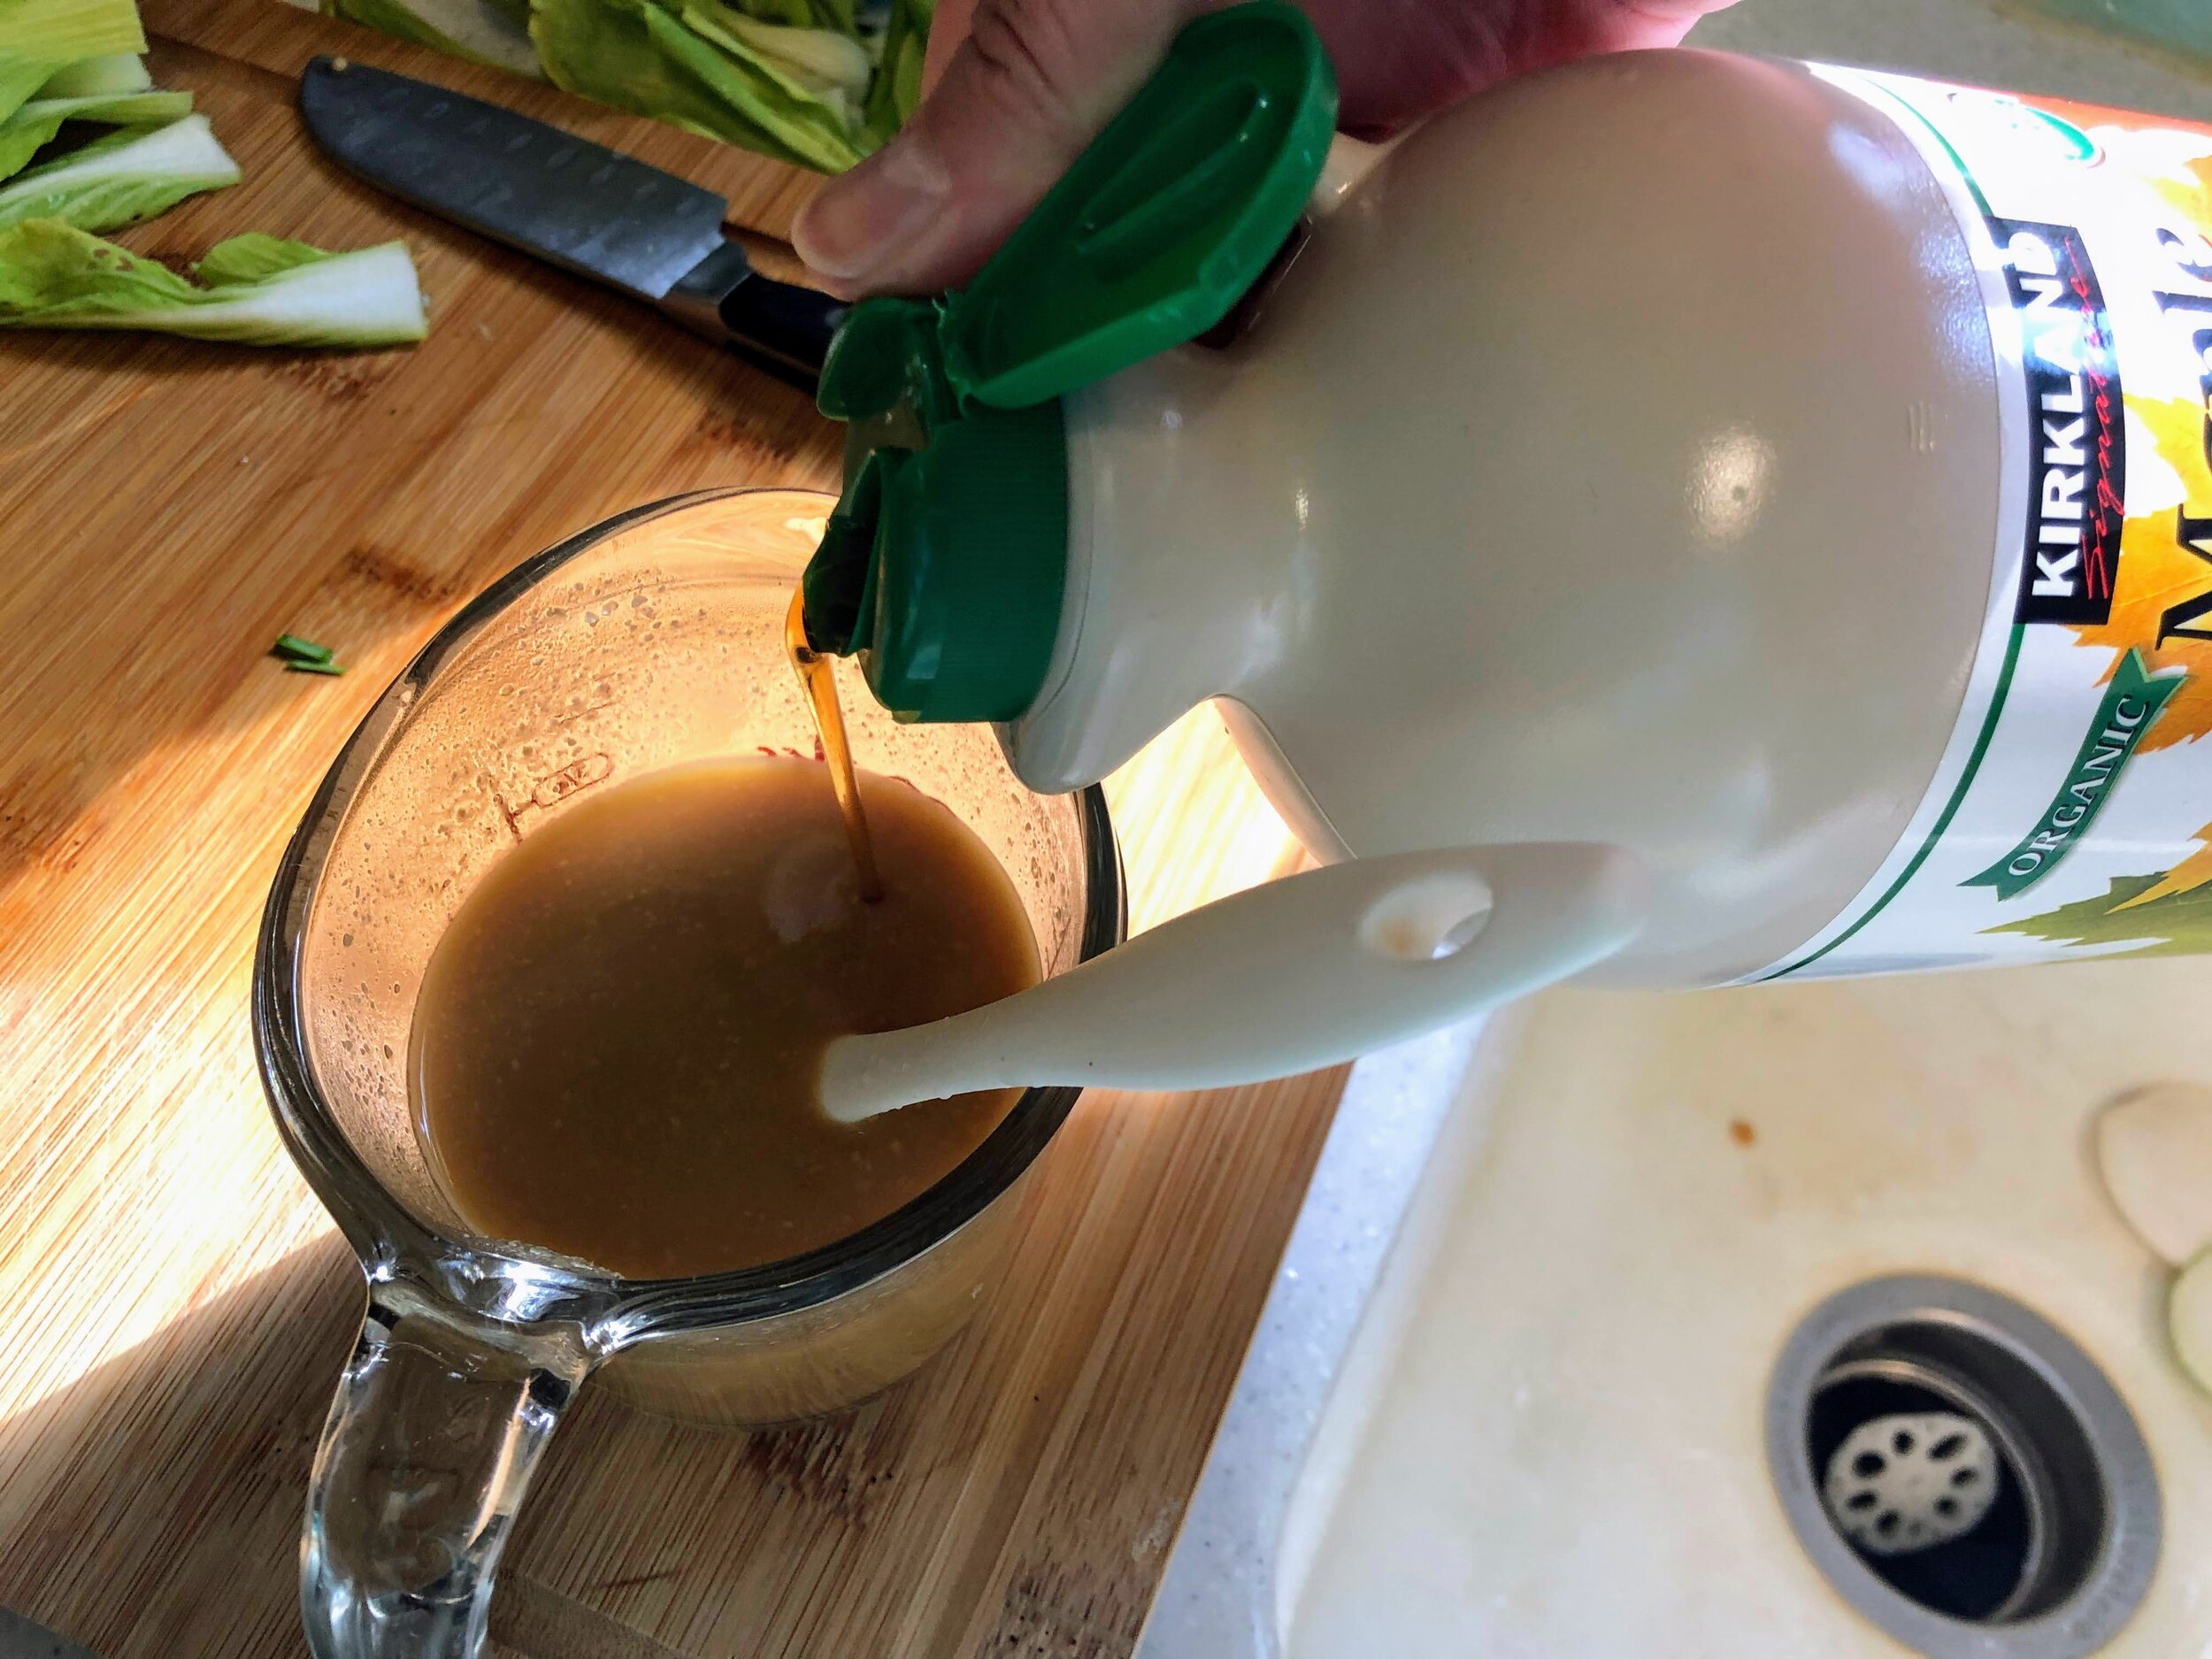
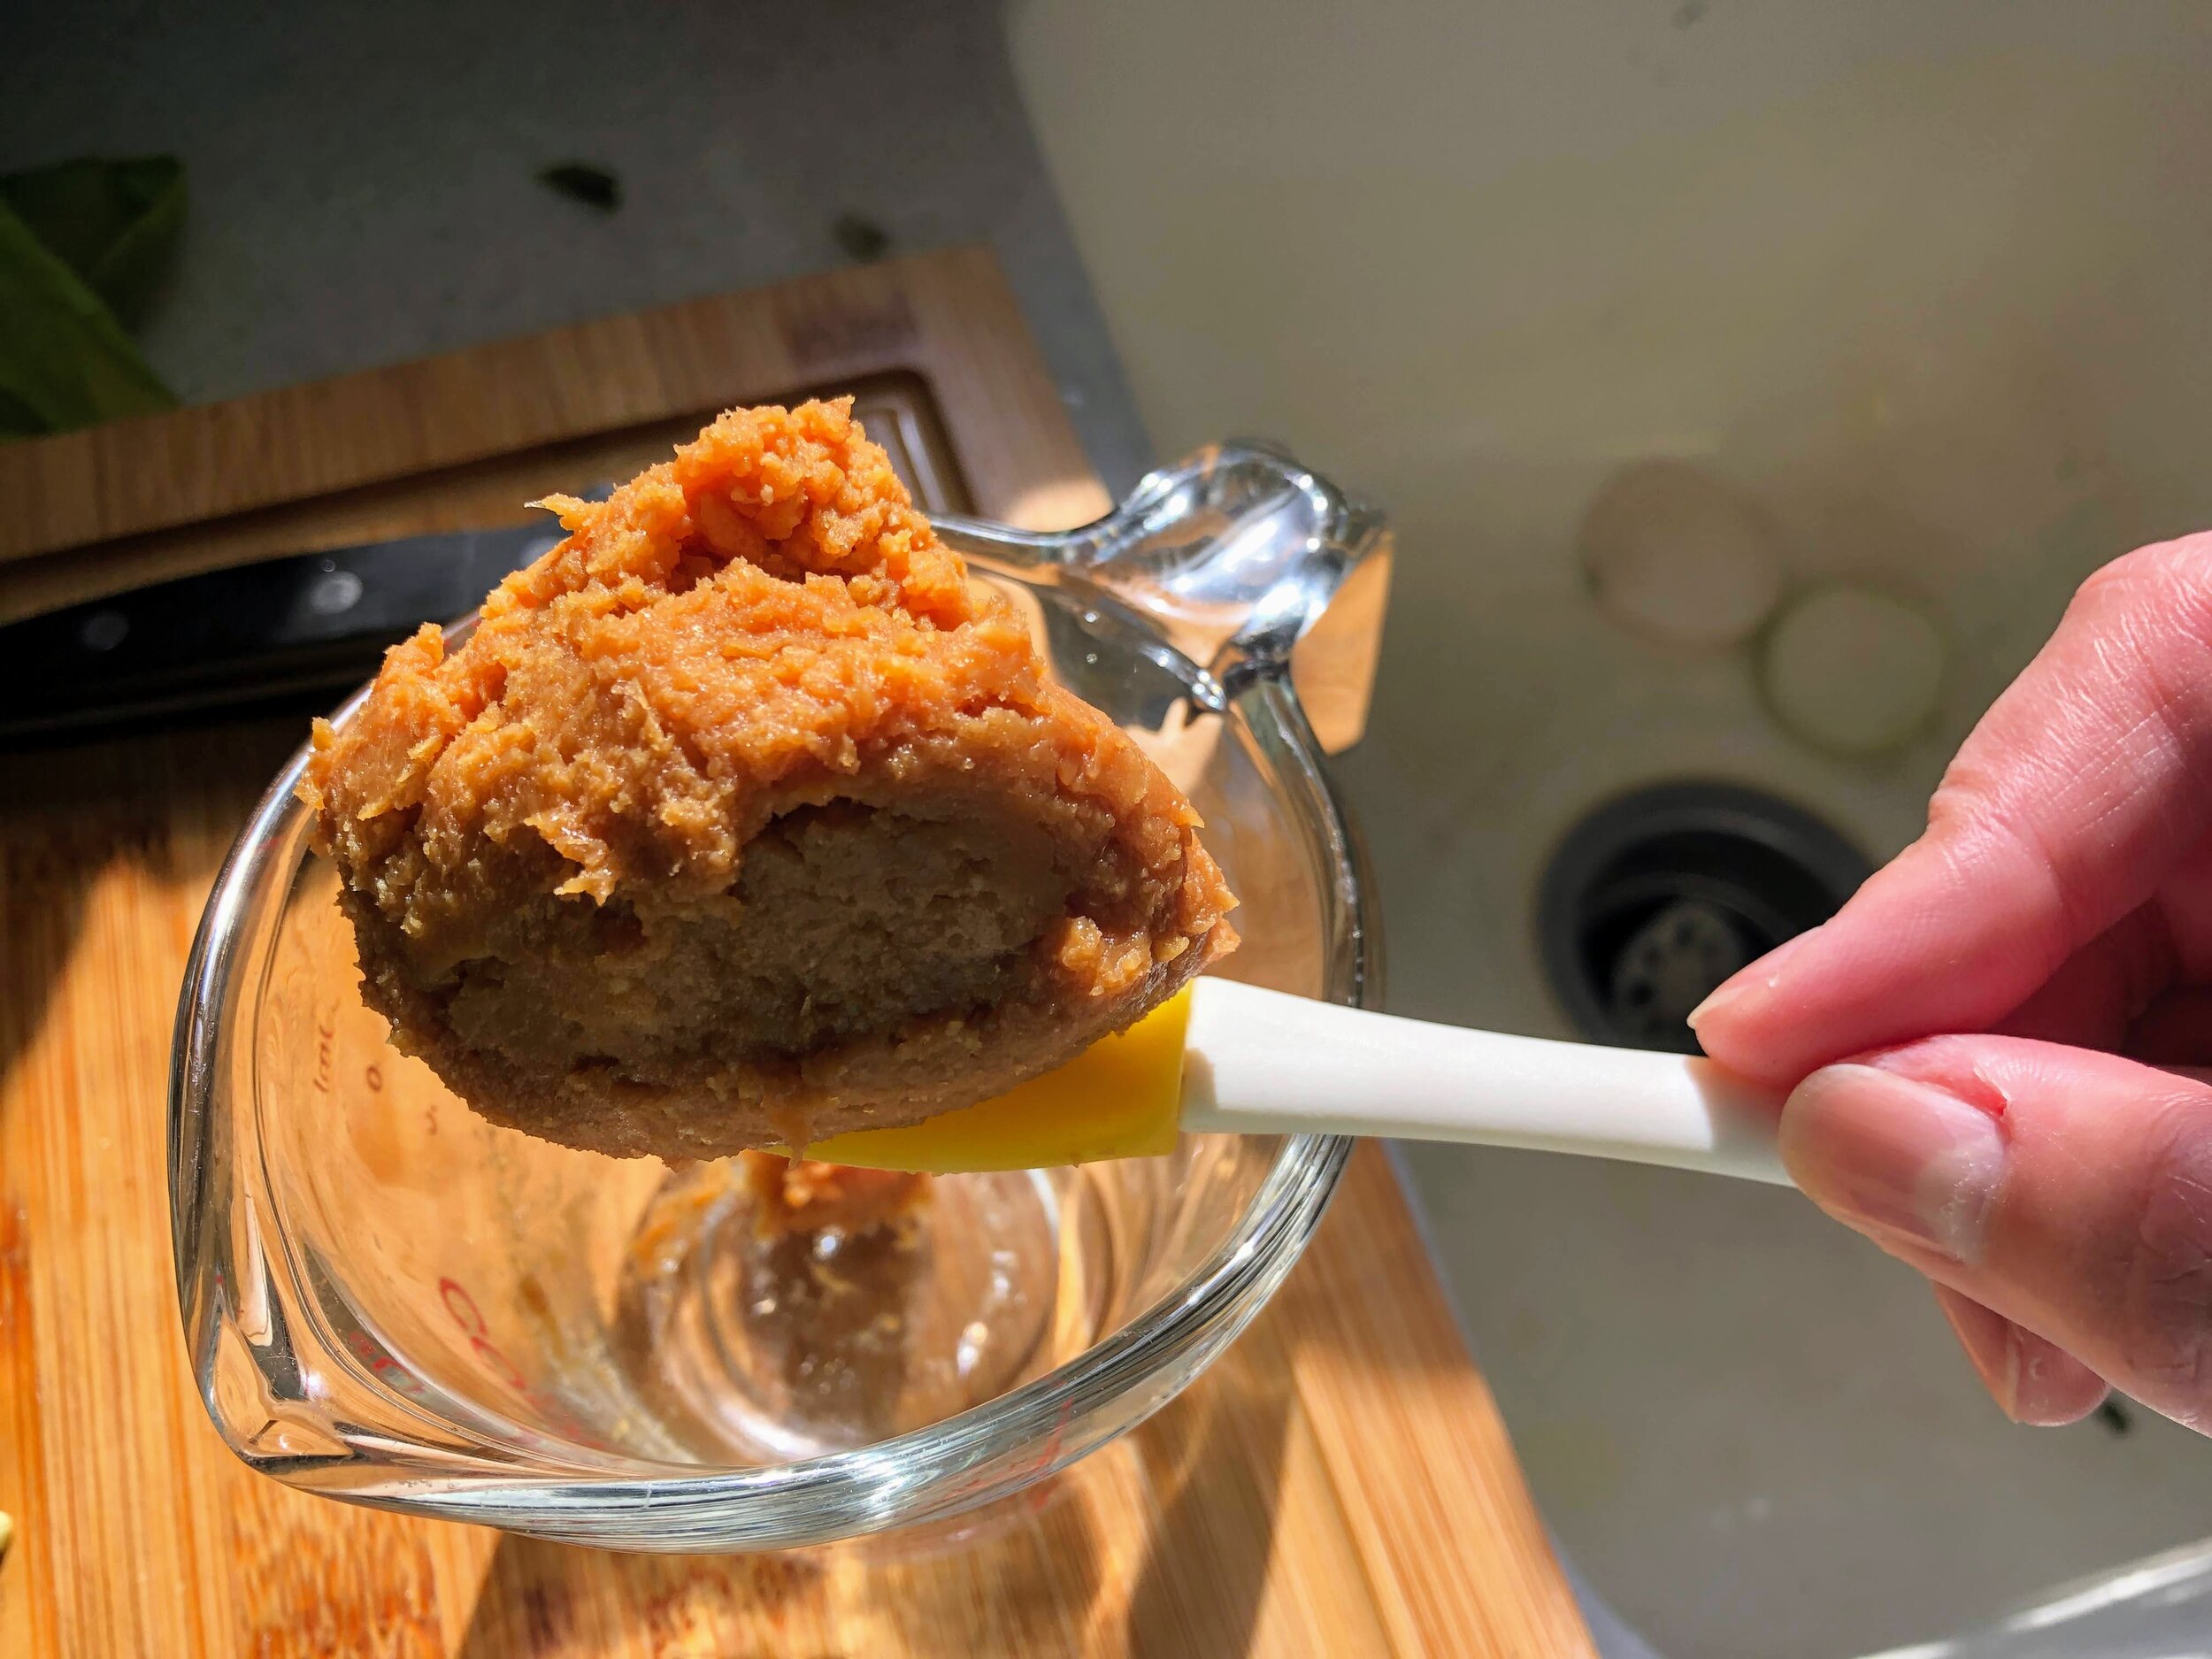
  • 2 tablespoons miso paste (I used red miso)

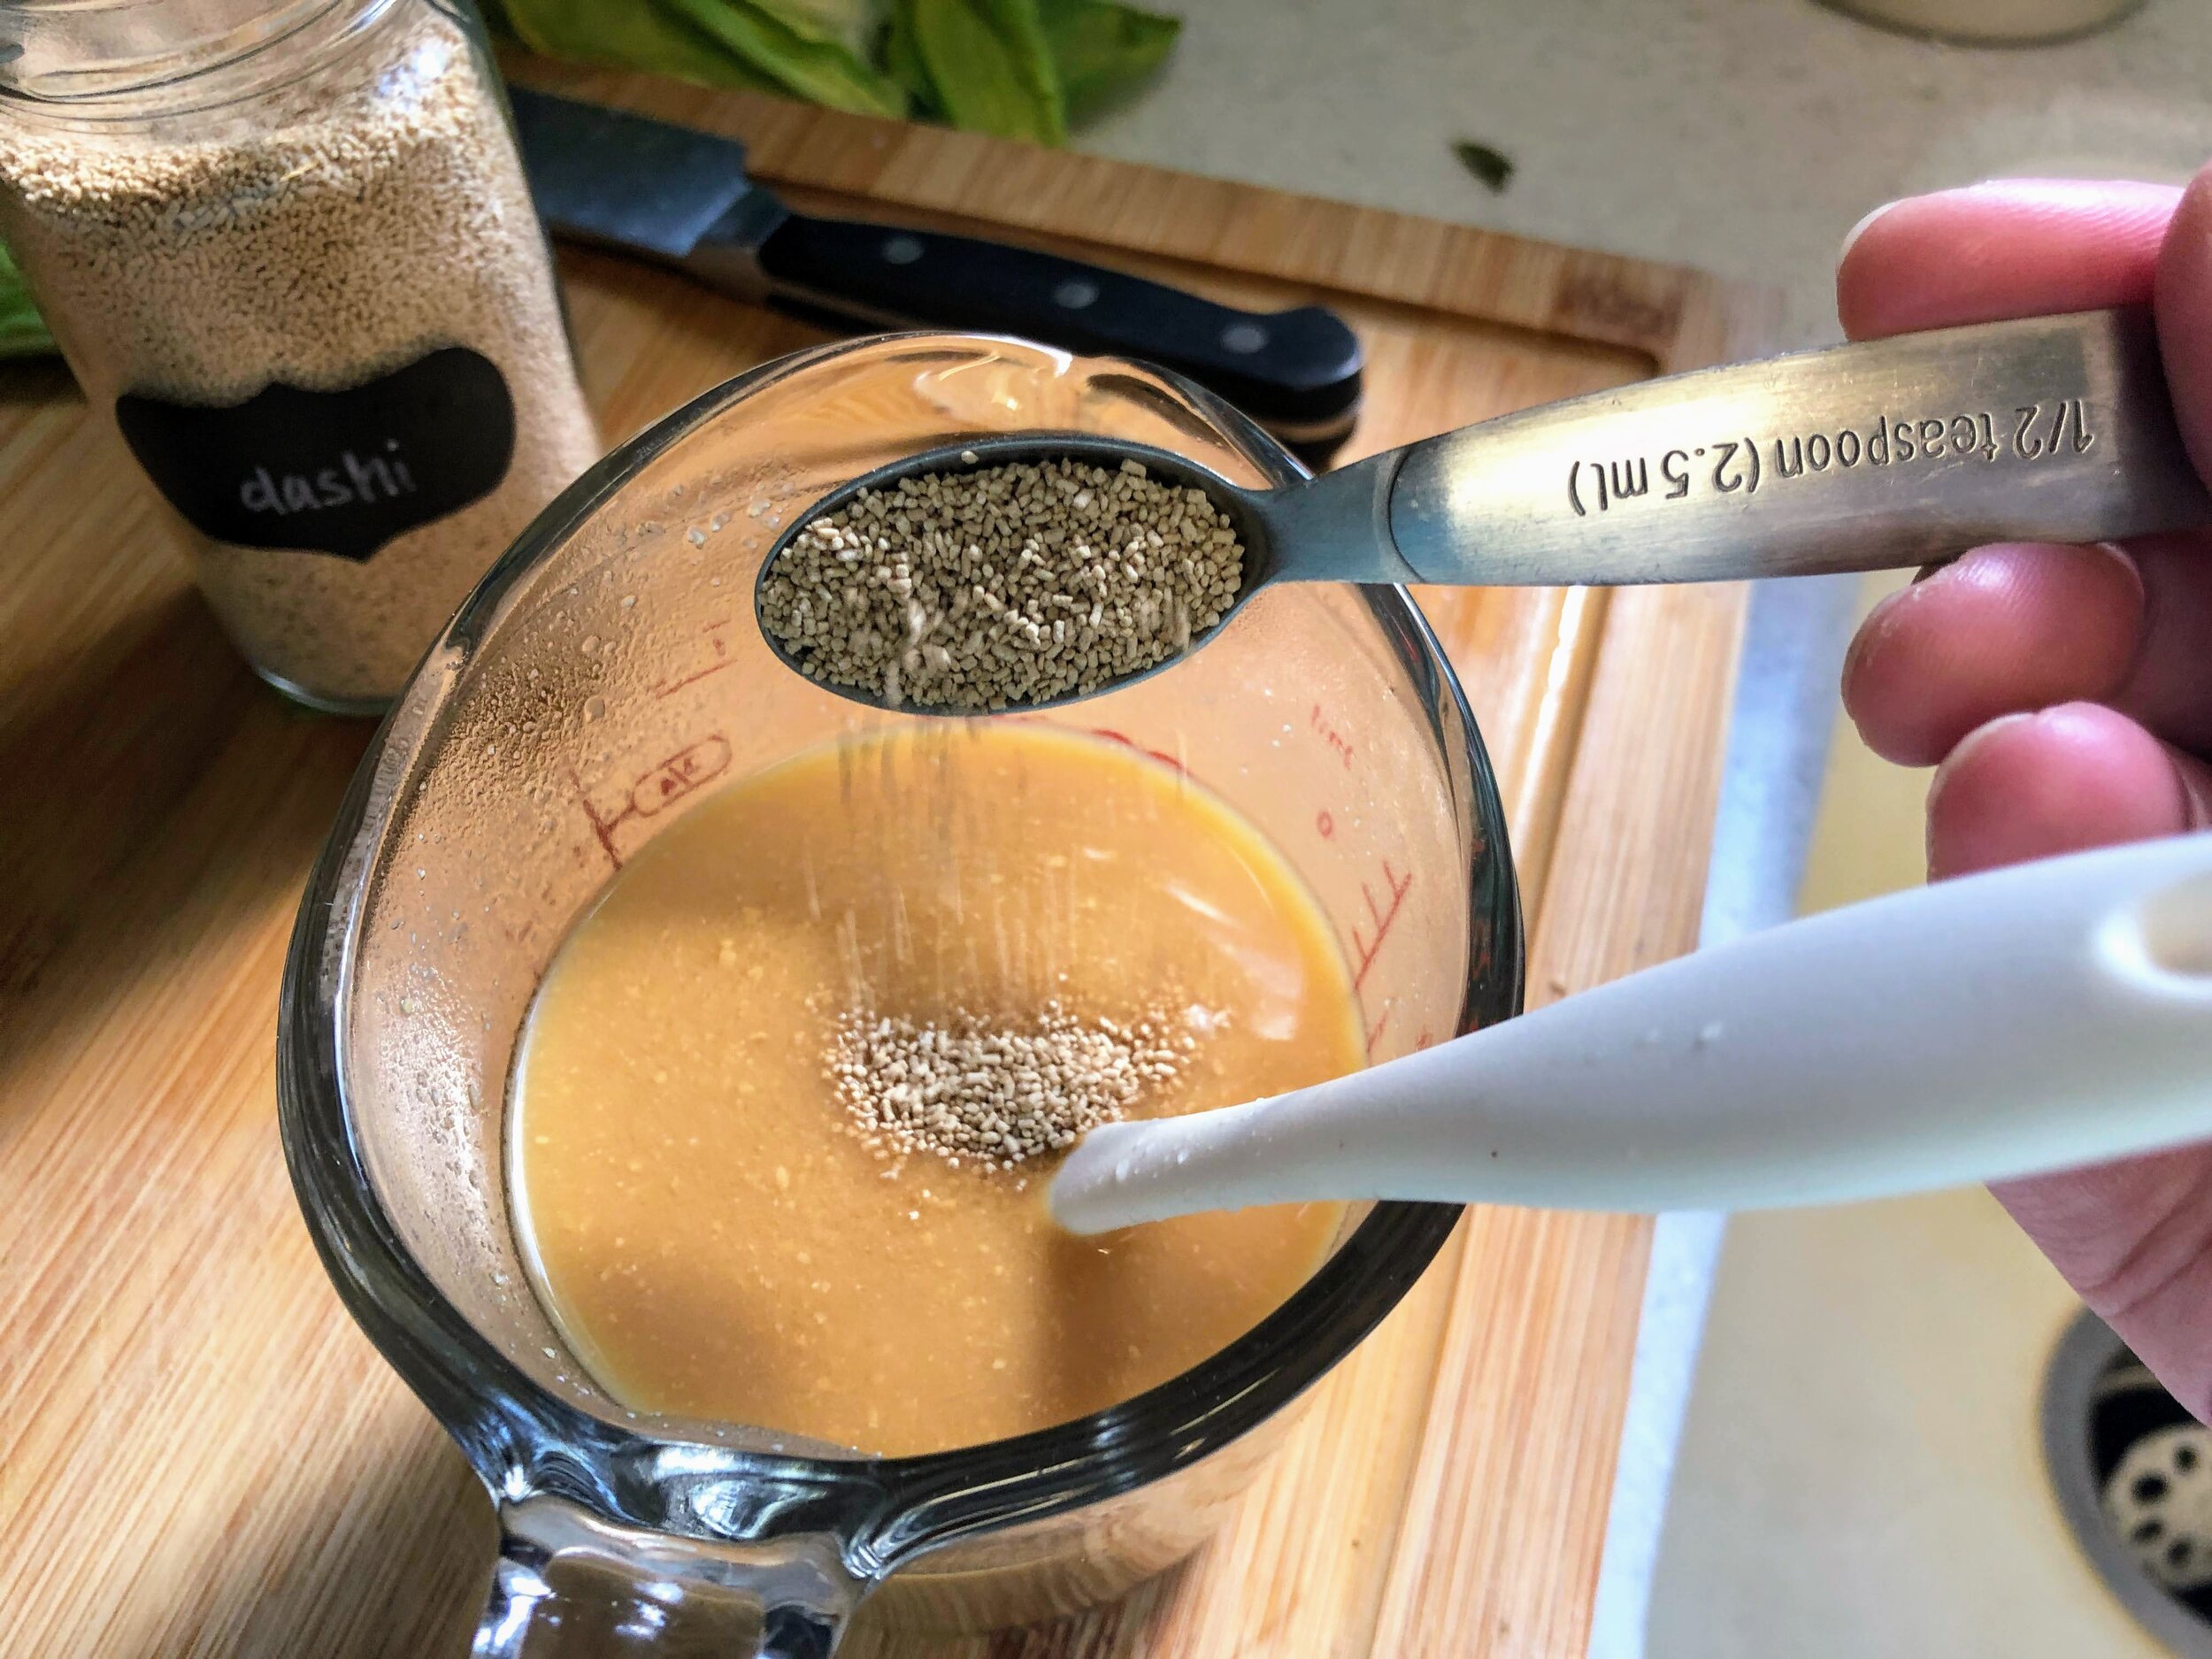
  • 1 teaspoon instant dashi powder

  • Maple syrup, to taste

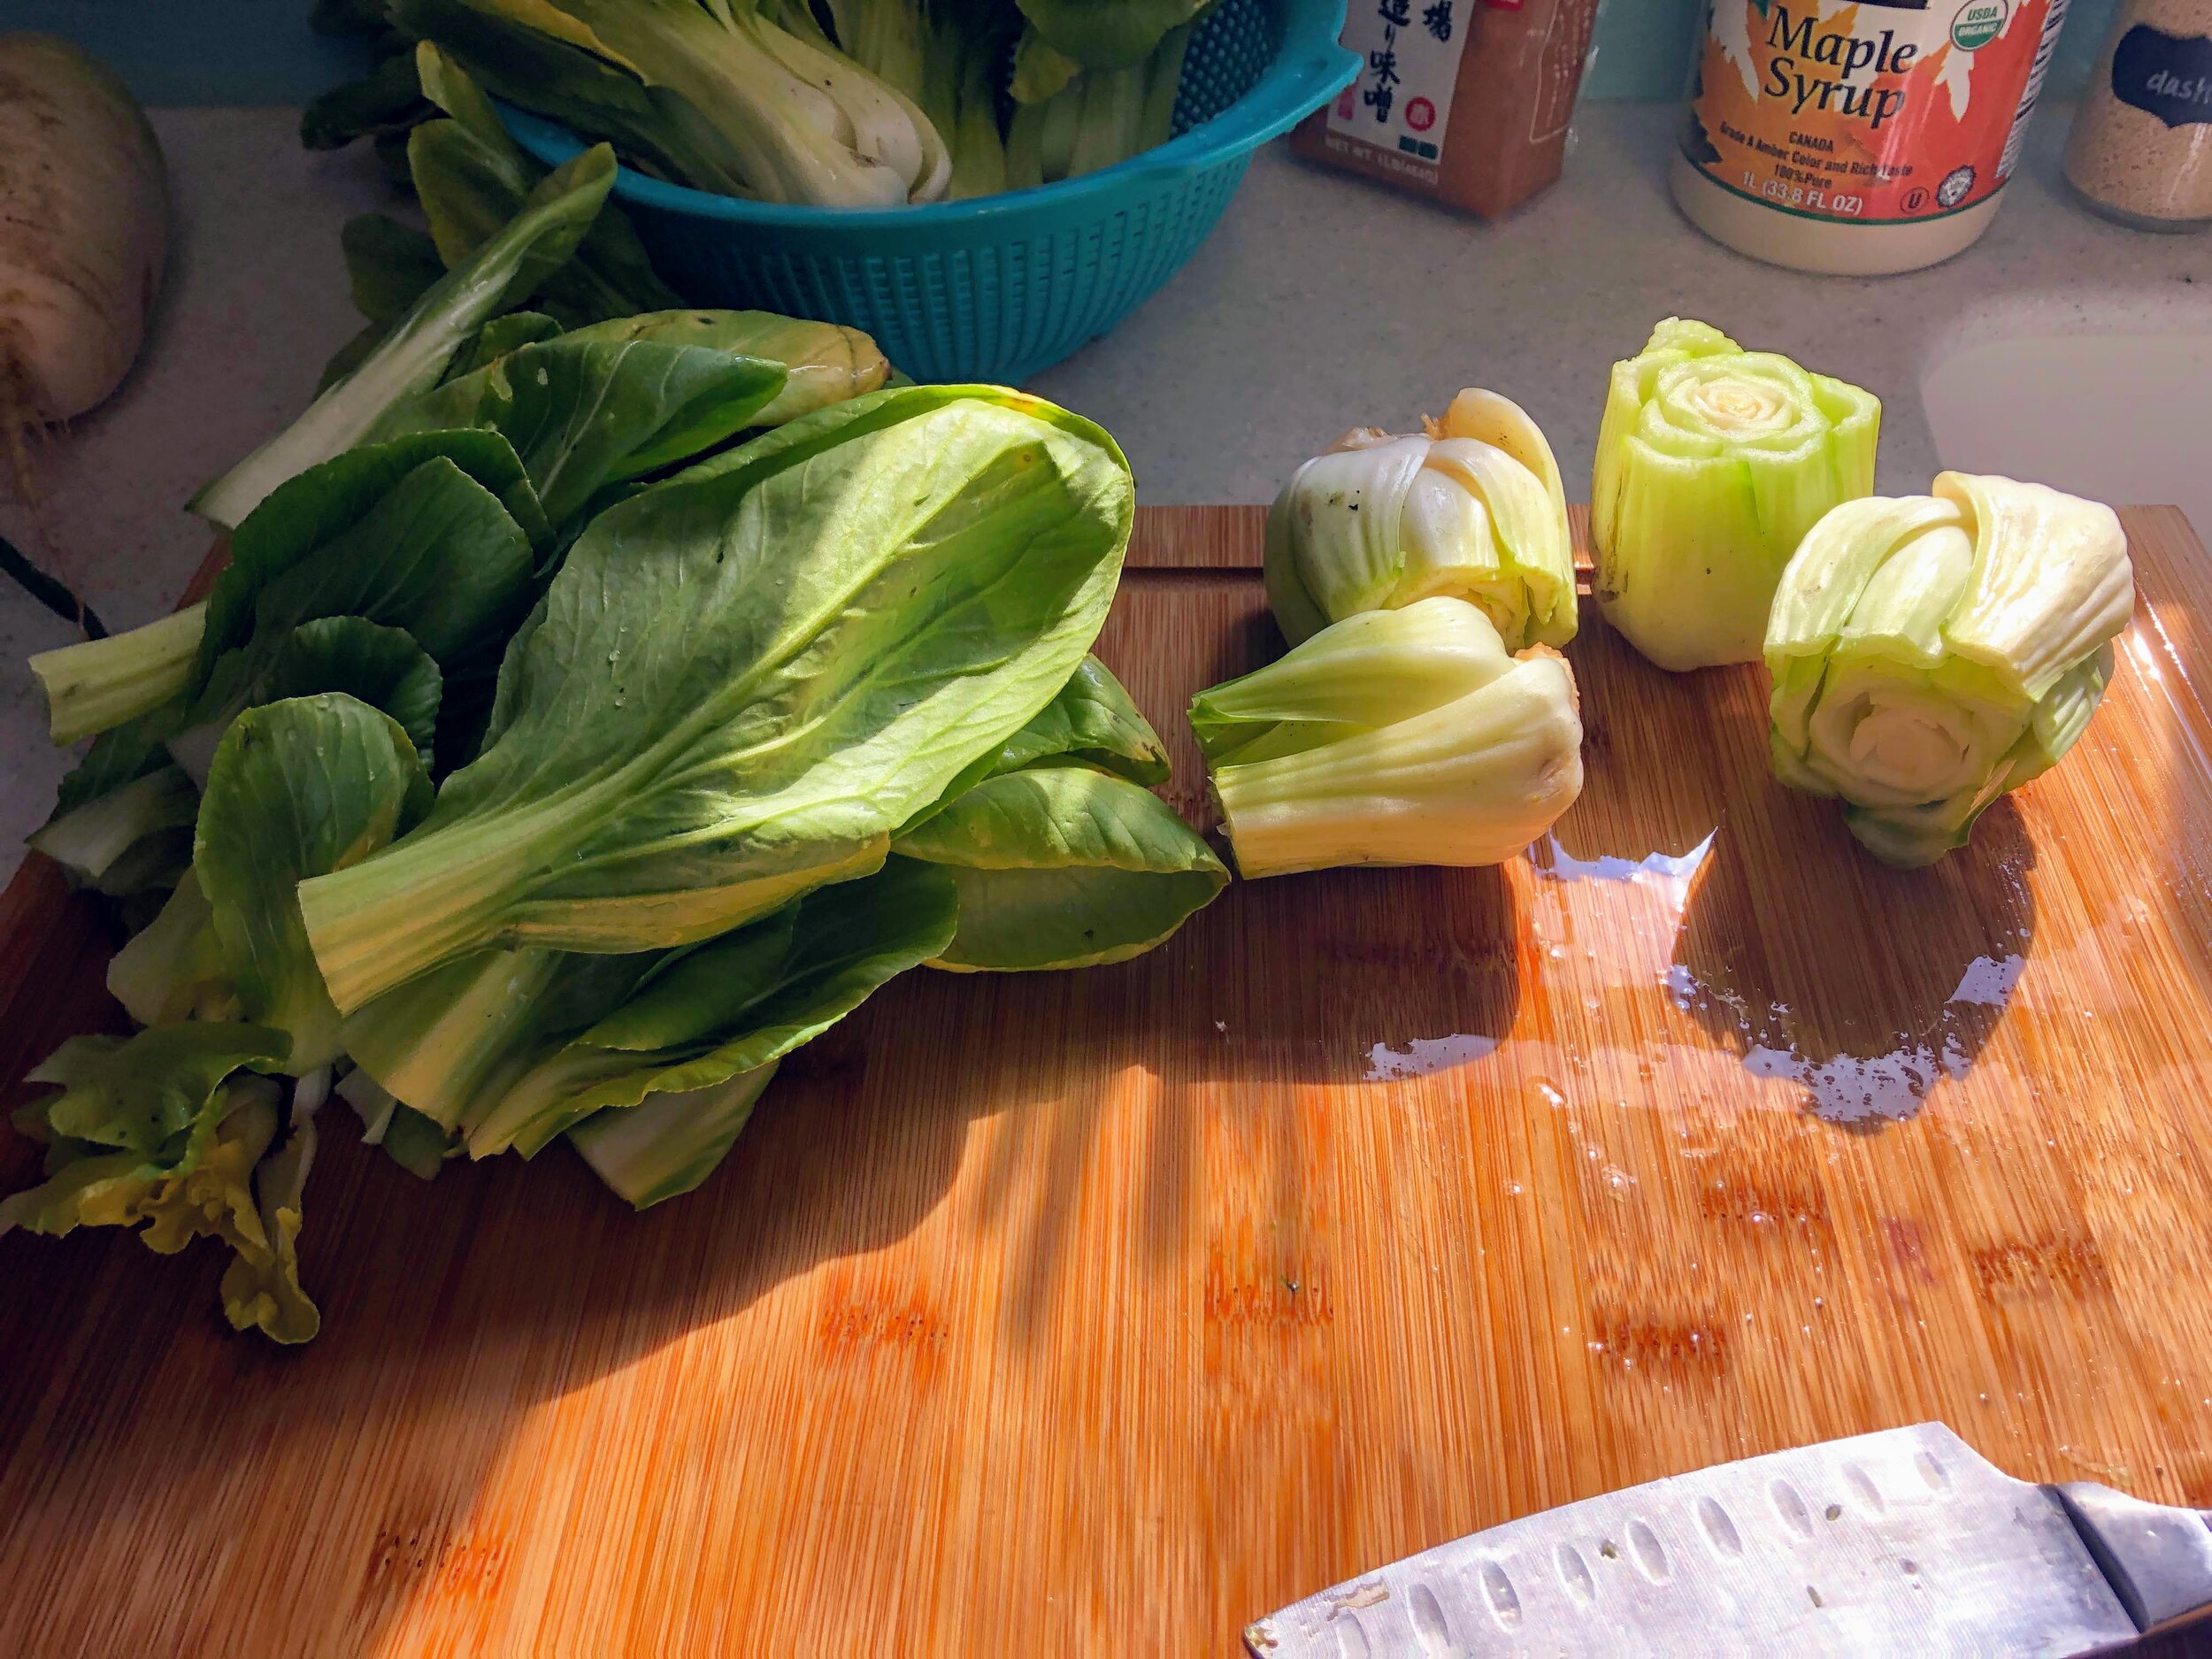
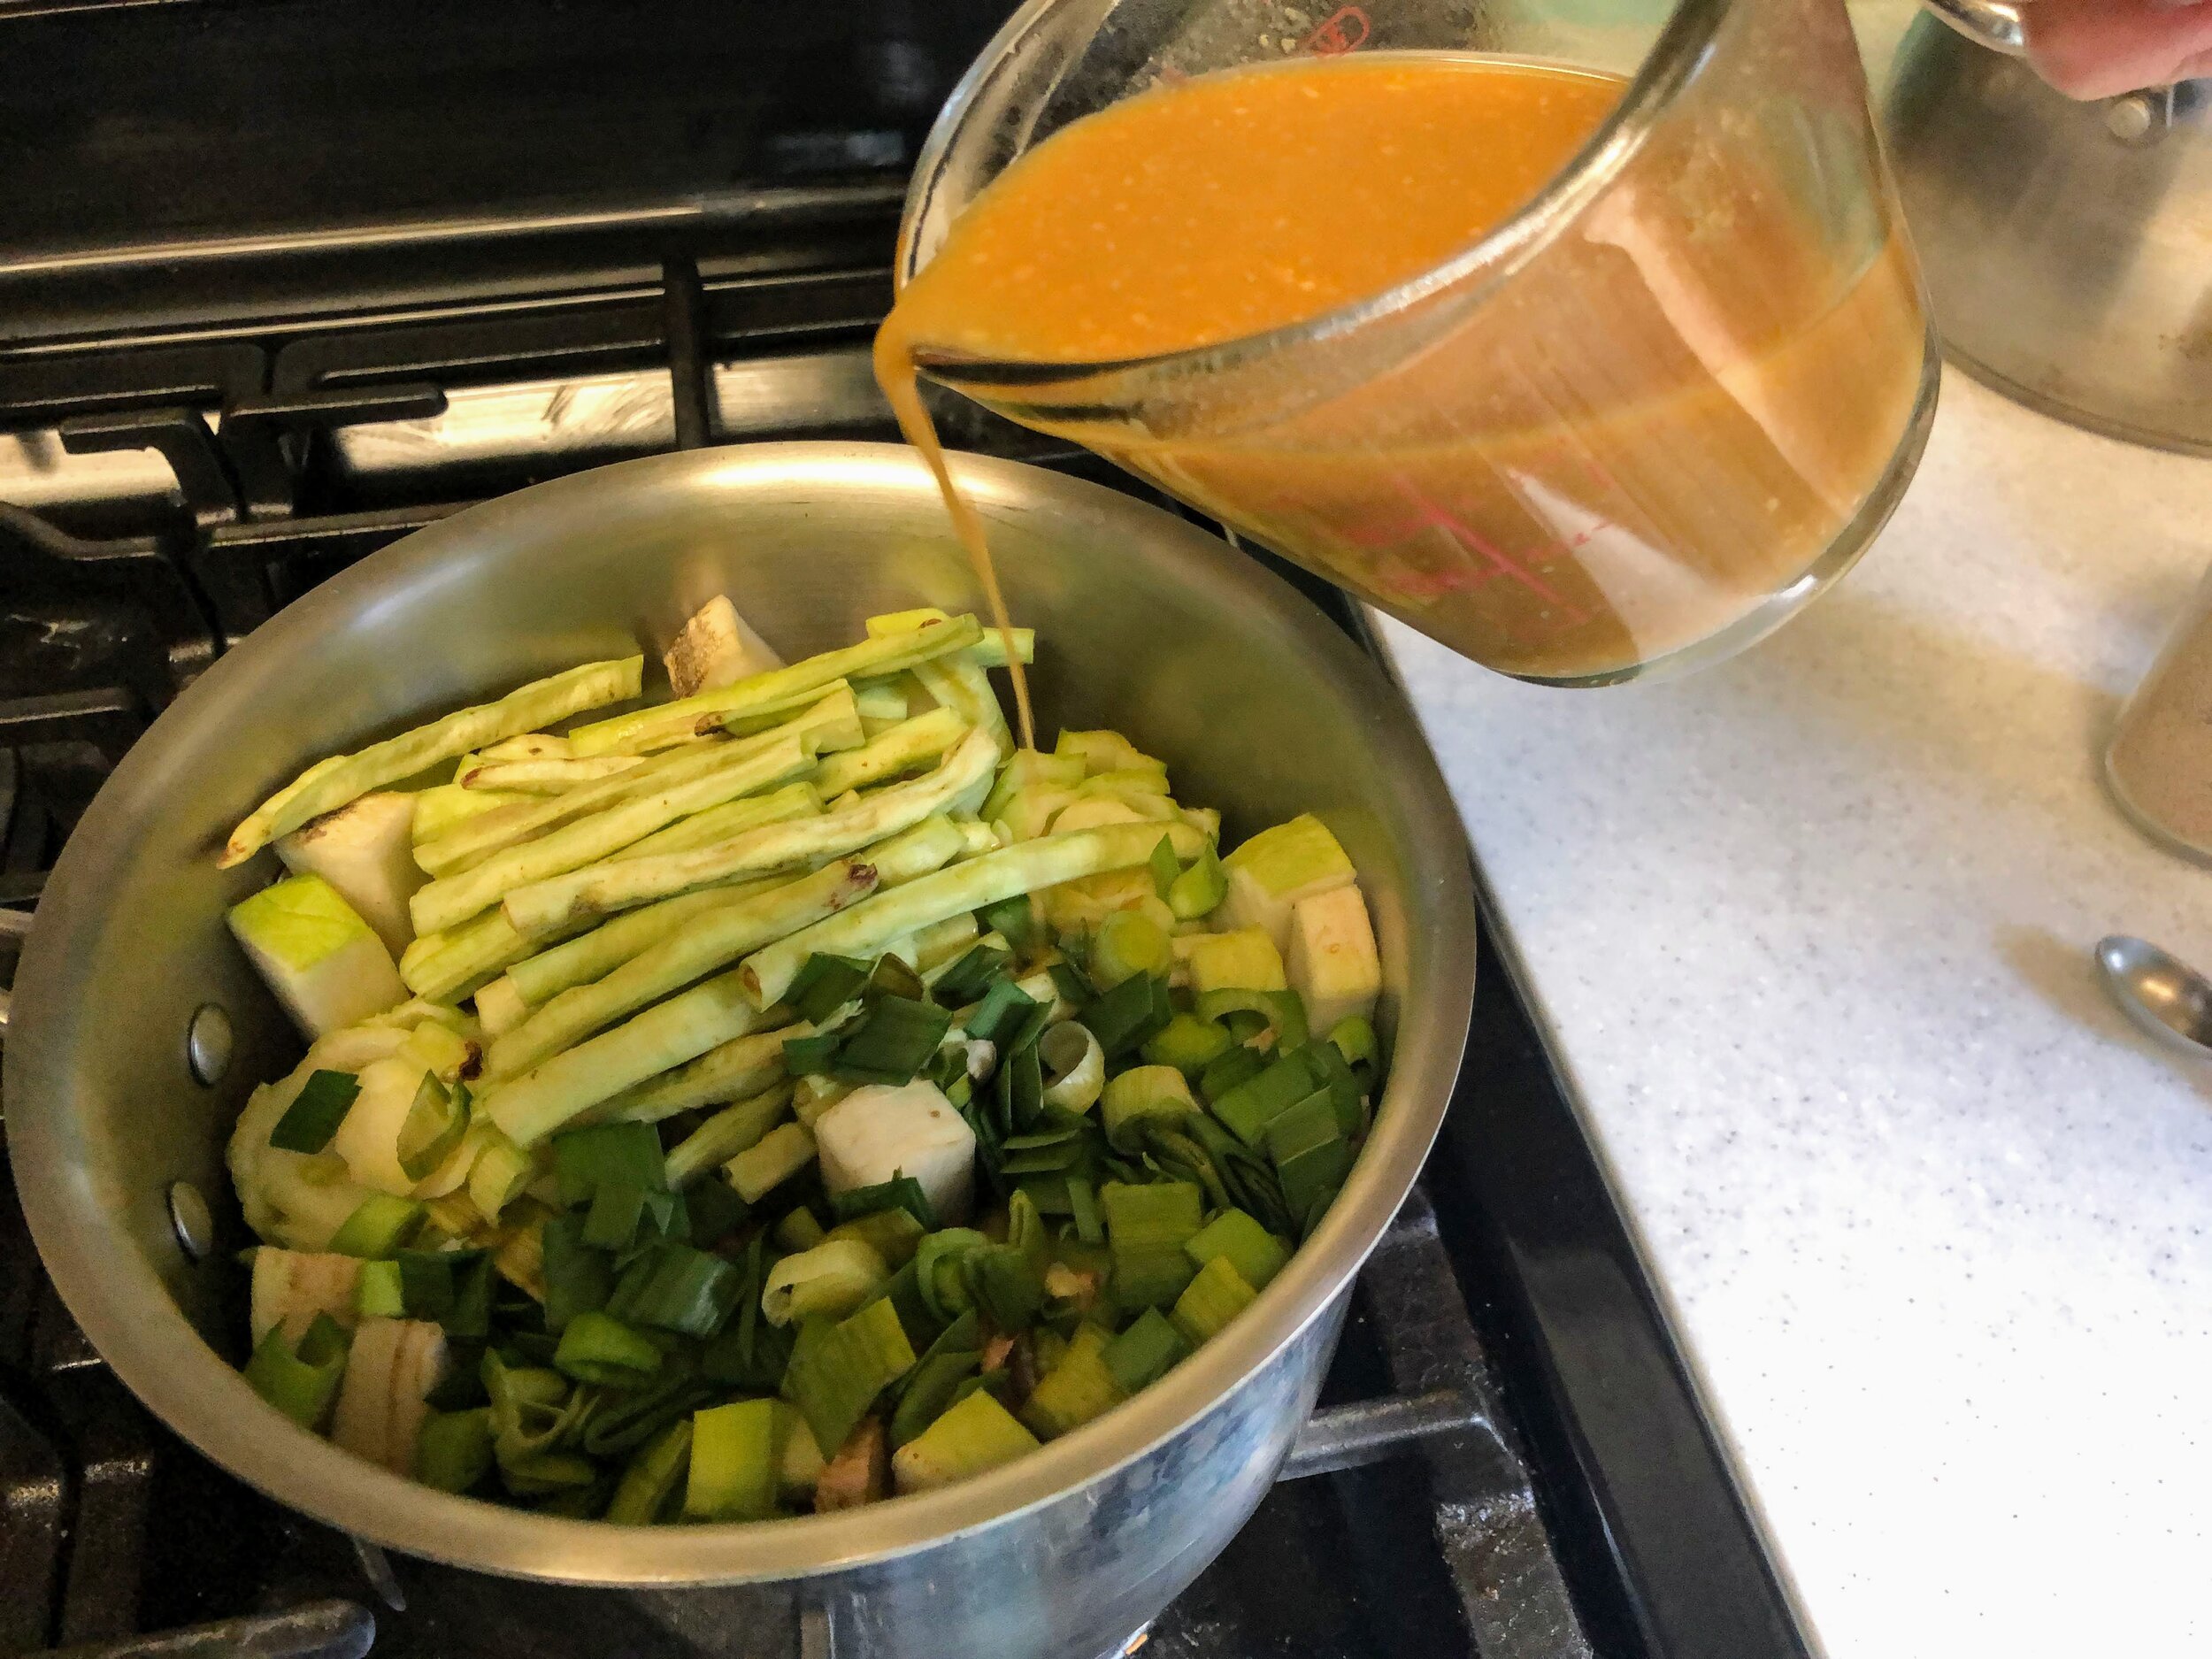
Separate baby bok choy stems from leaves, and wrap with thin slices of beef. Place them in the bottom of a small pot and pack remaining space with radish slices, lotus root, and ginger. Be sure to pack it very tightly.

Prepare broth. Thin miso paste with 1/2-1 cup of warm water. Stir in dashi powder and maple syrup.

Place garlic shoots and cow peas on top of the other ingredients in the pot and pour broth over the top. Cover and cook on medium-low heat for 20-30 minutes.

Add bok choy leaves to top, cover, and steam for an additional five minutes.

Enjoy!

Chocolate Chip Cookies

Hey hey y’all! Coming at you today is a recipe for crispy edged, extra caramelized chocolate chip cookies. I’ve adapted this recipe from a Buzzfeed article I found ages ago that unfortunately I can’t seem to find anymore. If I do find it I’ll pop the link in the comments.

Ingredients:

  • 1 cup (2 sticks) unsalted butter, melted and cooled

  • 1¼ cups packed dark brown sugar

  • ¾ cup granulated sugar

  • 2½ cups all-purpose flour

  • ¾ teaspoon fine sea salt

  • 1 tsp baking soda

  • 2 eggs

  • 2 tsp vanilla extract

  • 12- ounce bag semi-sweet chocolate chips

  • Flaky sea salt

Instructions:

  1. Whisk the flour, salt, and baking soda in a medium bowl. Set aside.

  2. Whisk both sugars in a large bowl and make sure to break up any large chunks. If there are any stubborn lumps, break them up with your fingertips. 

  3. Add the melted butter and whisk vigorously for about 1 minute, until the mixture forms one mass and starts to pull away from the sides of the bowl. Scrape the sides of the bowl with a flexible spatula.

  4. Whisk in one egg to the sugar-butter mixture, stirring until it’s fully mixed in. Scrape the sides of the bowl with your spatula. Whisk in the second egg and the vanilla and scrape the sides of bowl again.

  5. Add the dry ingredients to the wet and stir with the spatula to fully combine. Make sure you’ve scraped the bottom of the bowl and there are no streaks of dry ingredients left. 

  6. Stir in the chocolate chips.

  7. Scoop the dough into ¼ cup balls and place on a parchment-lined baking sheet. Wrap the baking sheet tightly with plastic wrap and refrigerate for at least 4 hours and up to 3 days. You can also freeze the chilled balls of dough in an airtight zip-top bag for up to 1 month.

  8. Thirty minutes before baking, preheat the oven to 375ºF. Sprinkle the dough with flaky sea salt and bake 3 inches apart on a parchment-lined baking sheet for 12 to 16 minutes, until the edges are set and the cookie is beginning to turn golden brown throughout. Let cool on the sheet for 5 minutes, then transfer to a wire rack to cool completely.

  9. Enjoy!

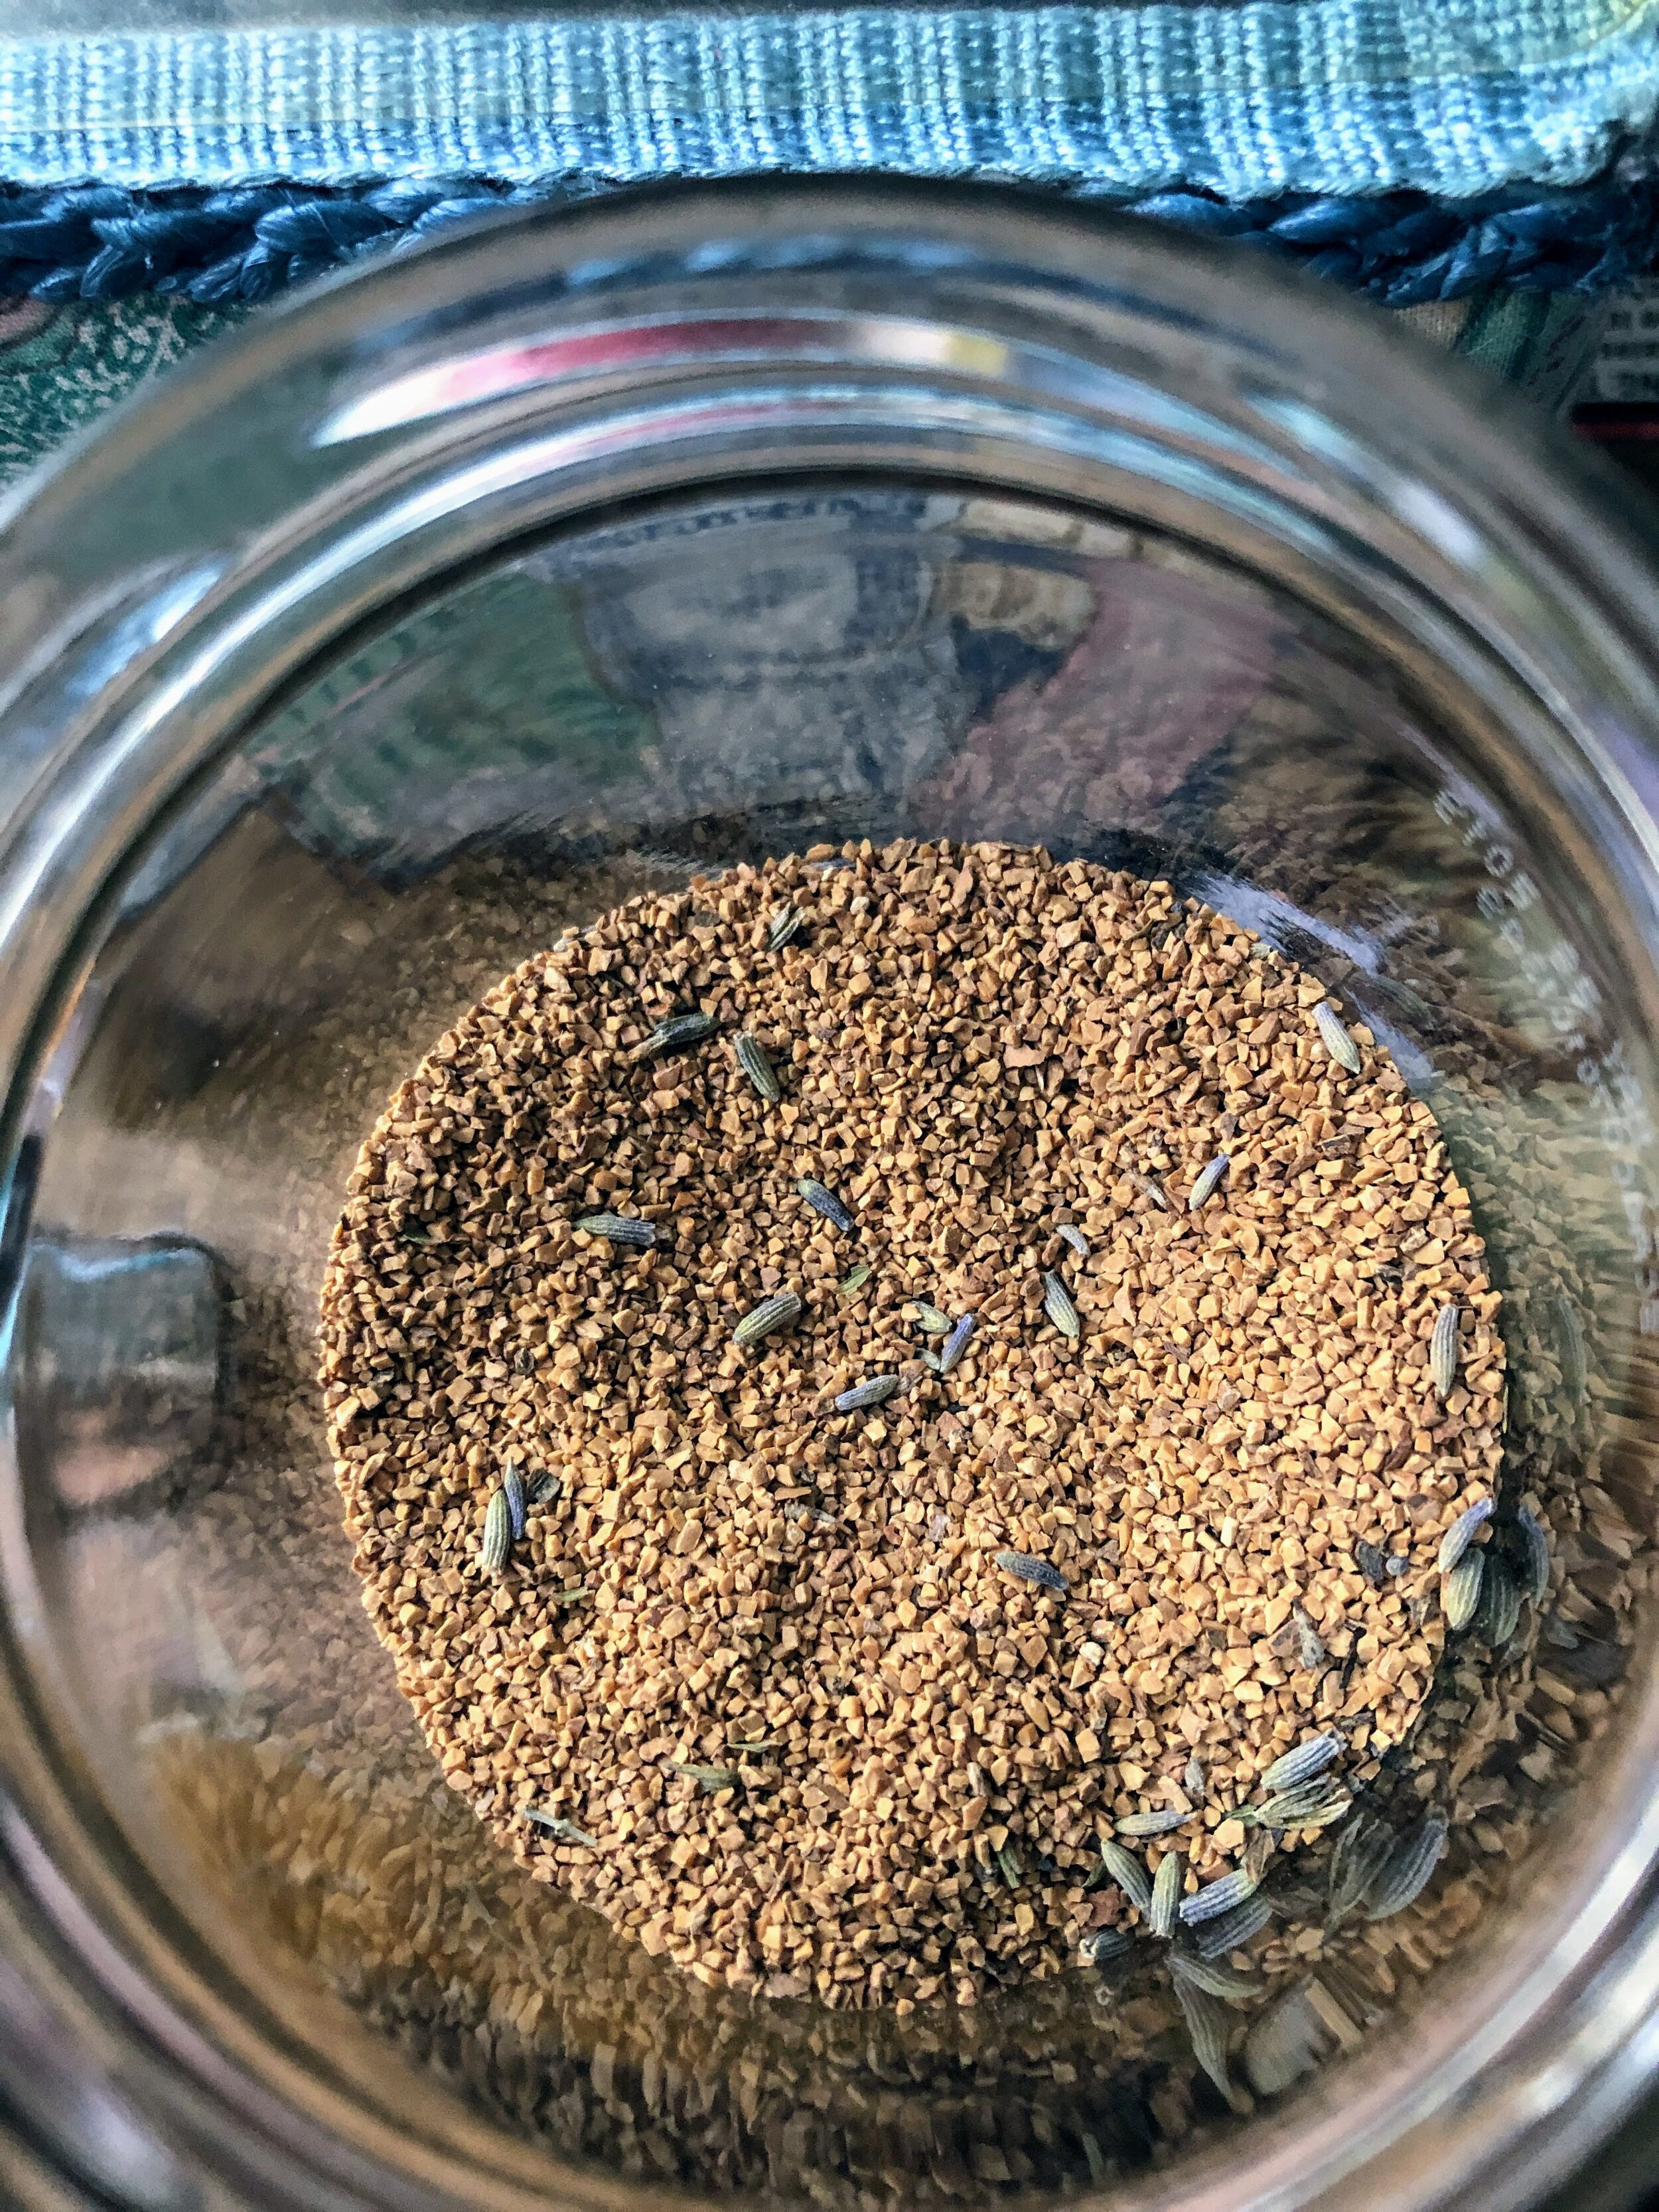
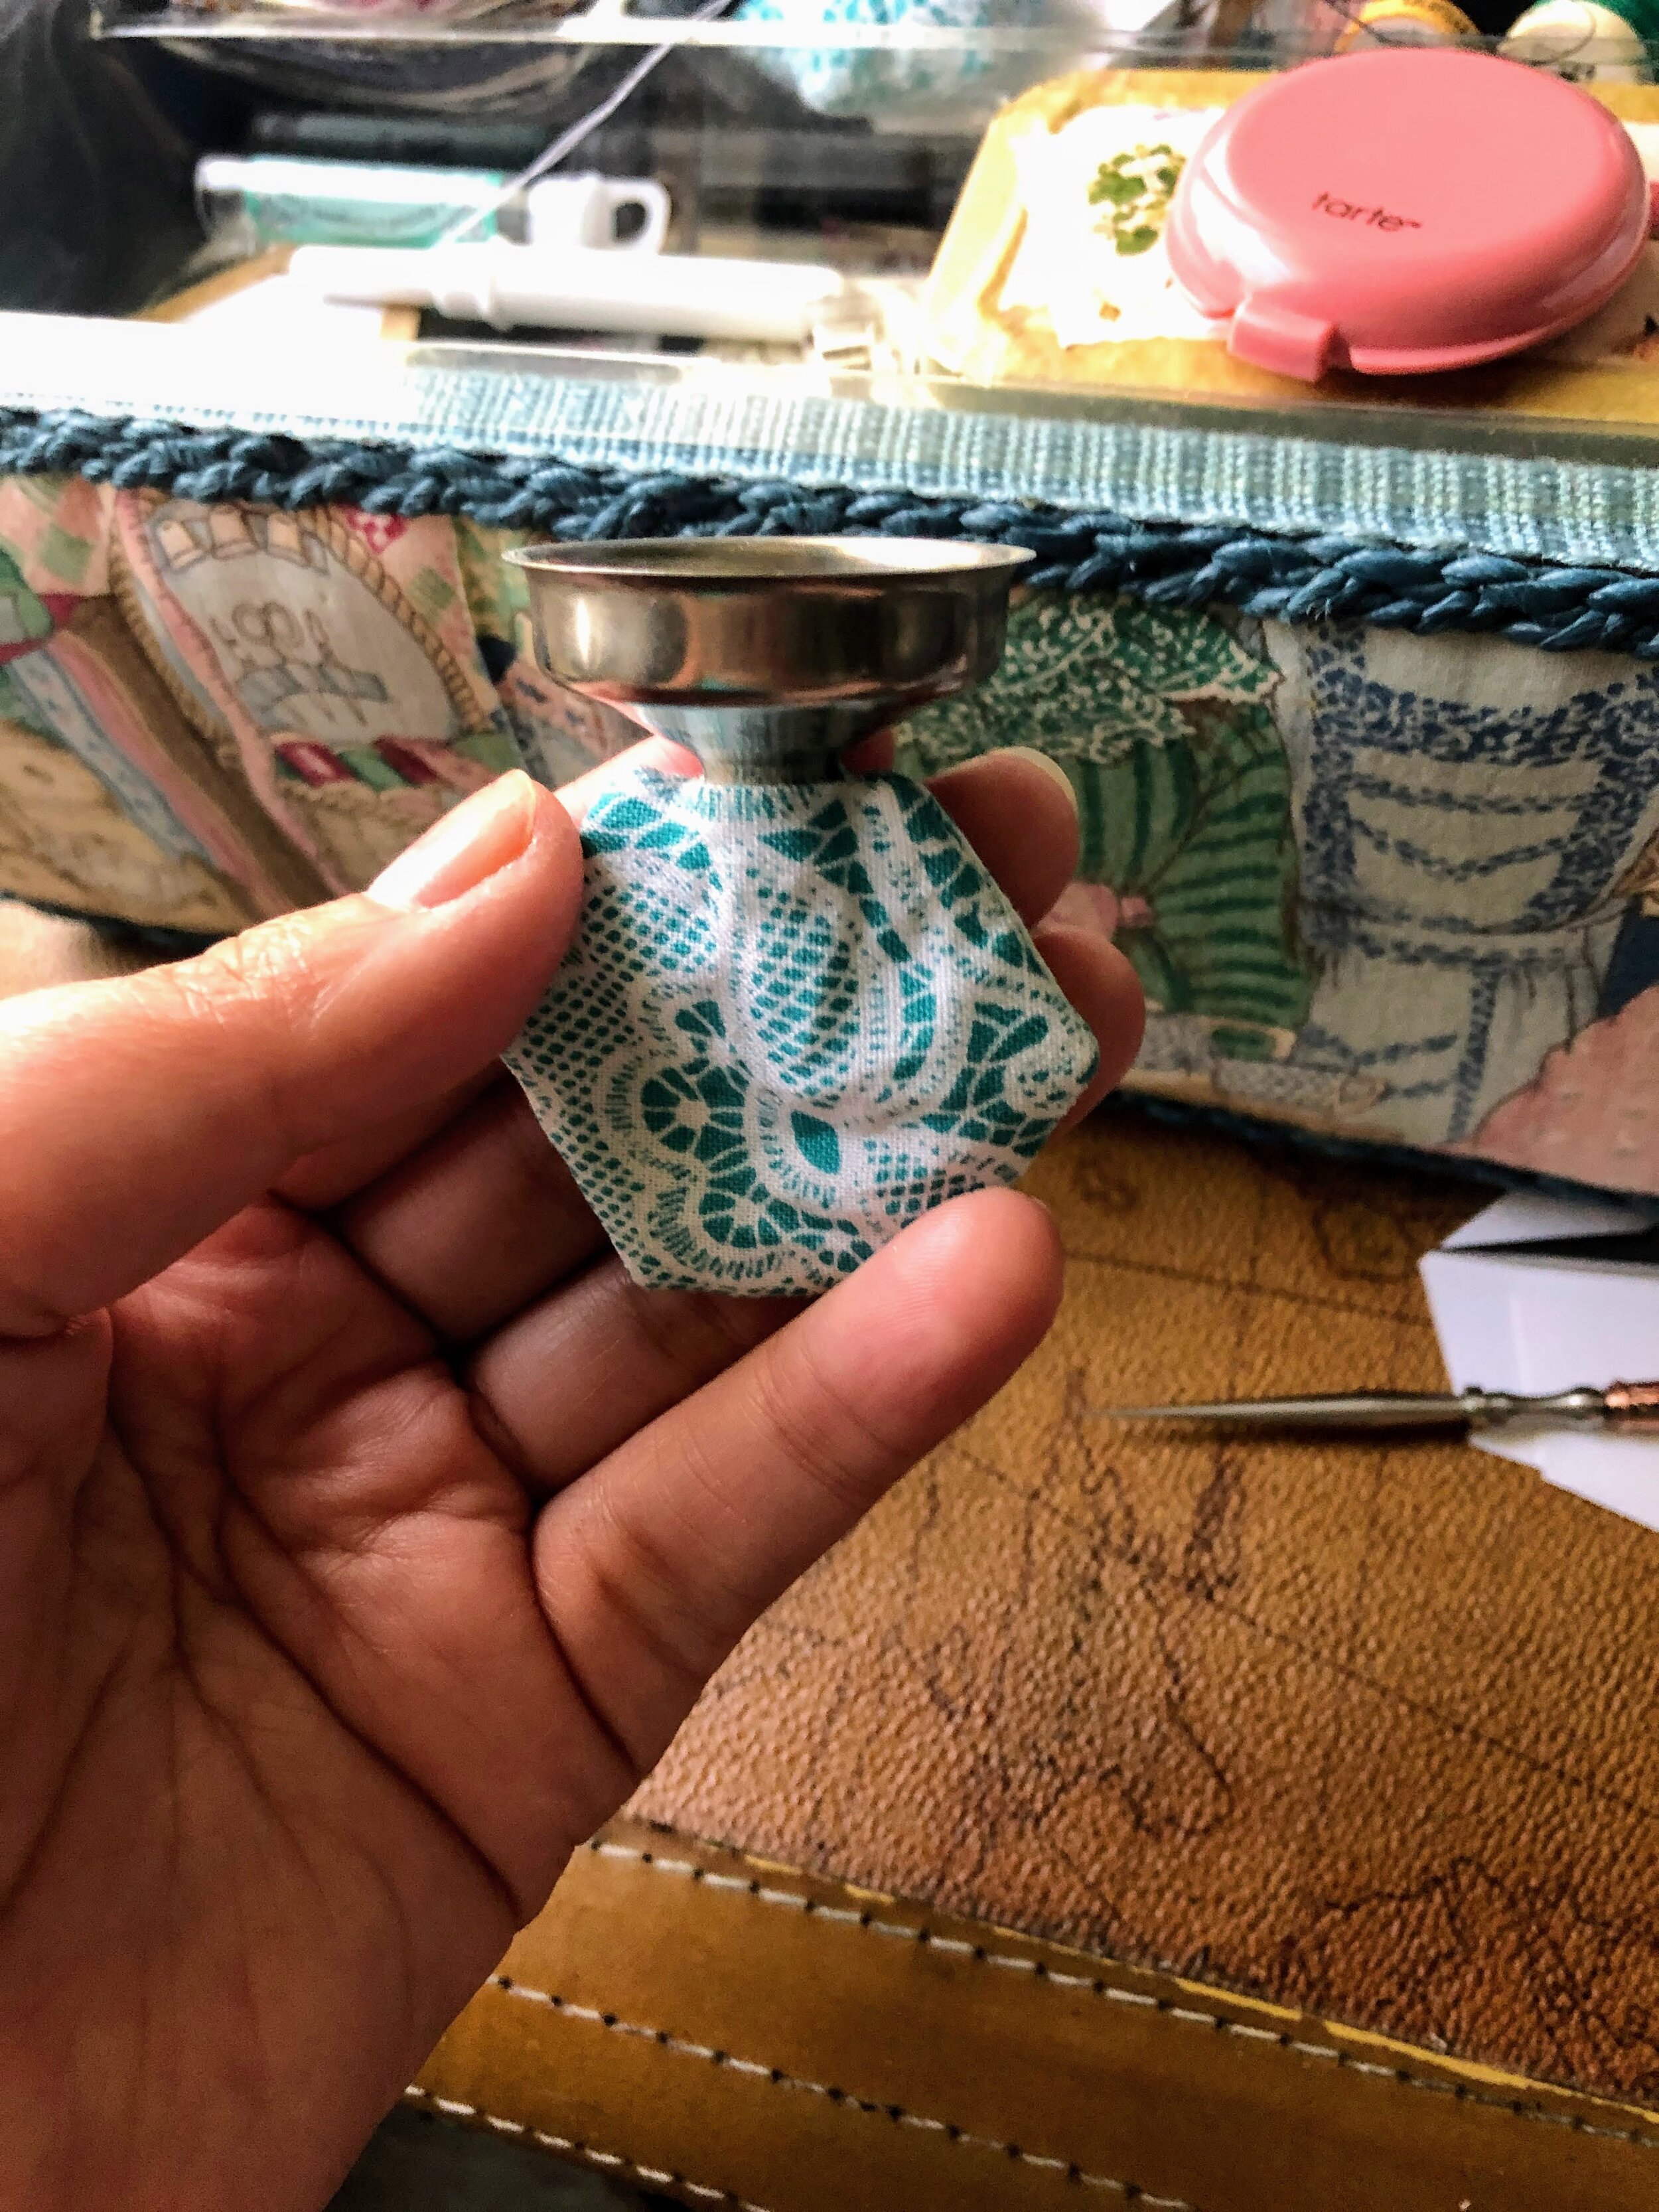
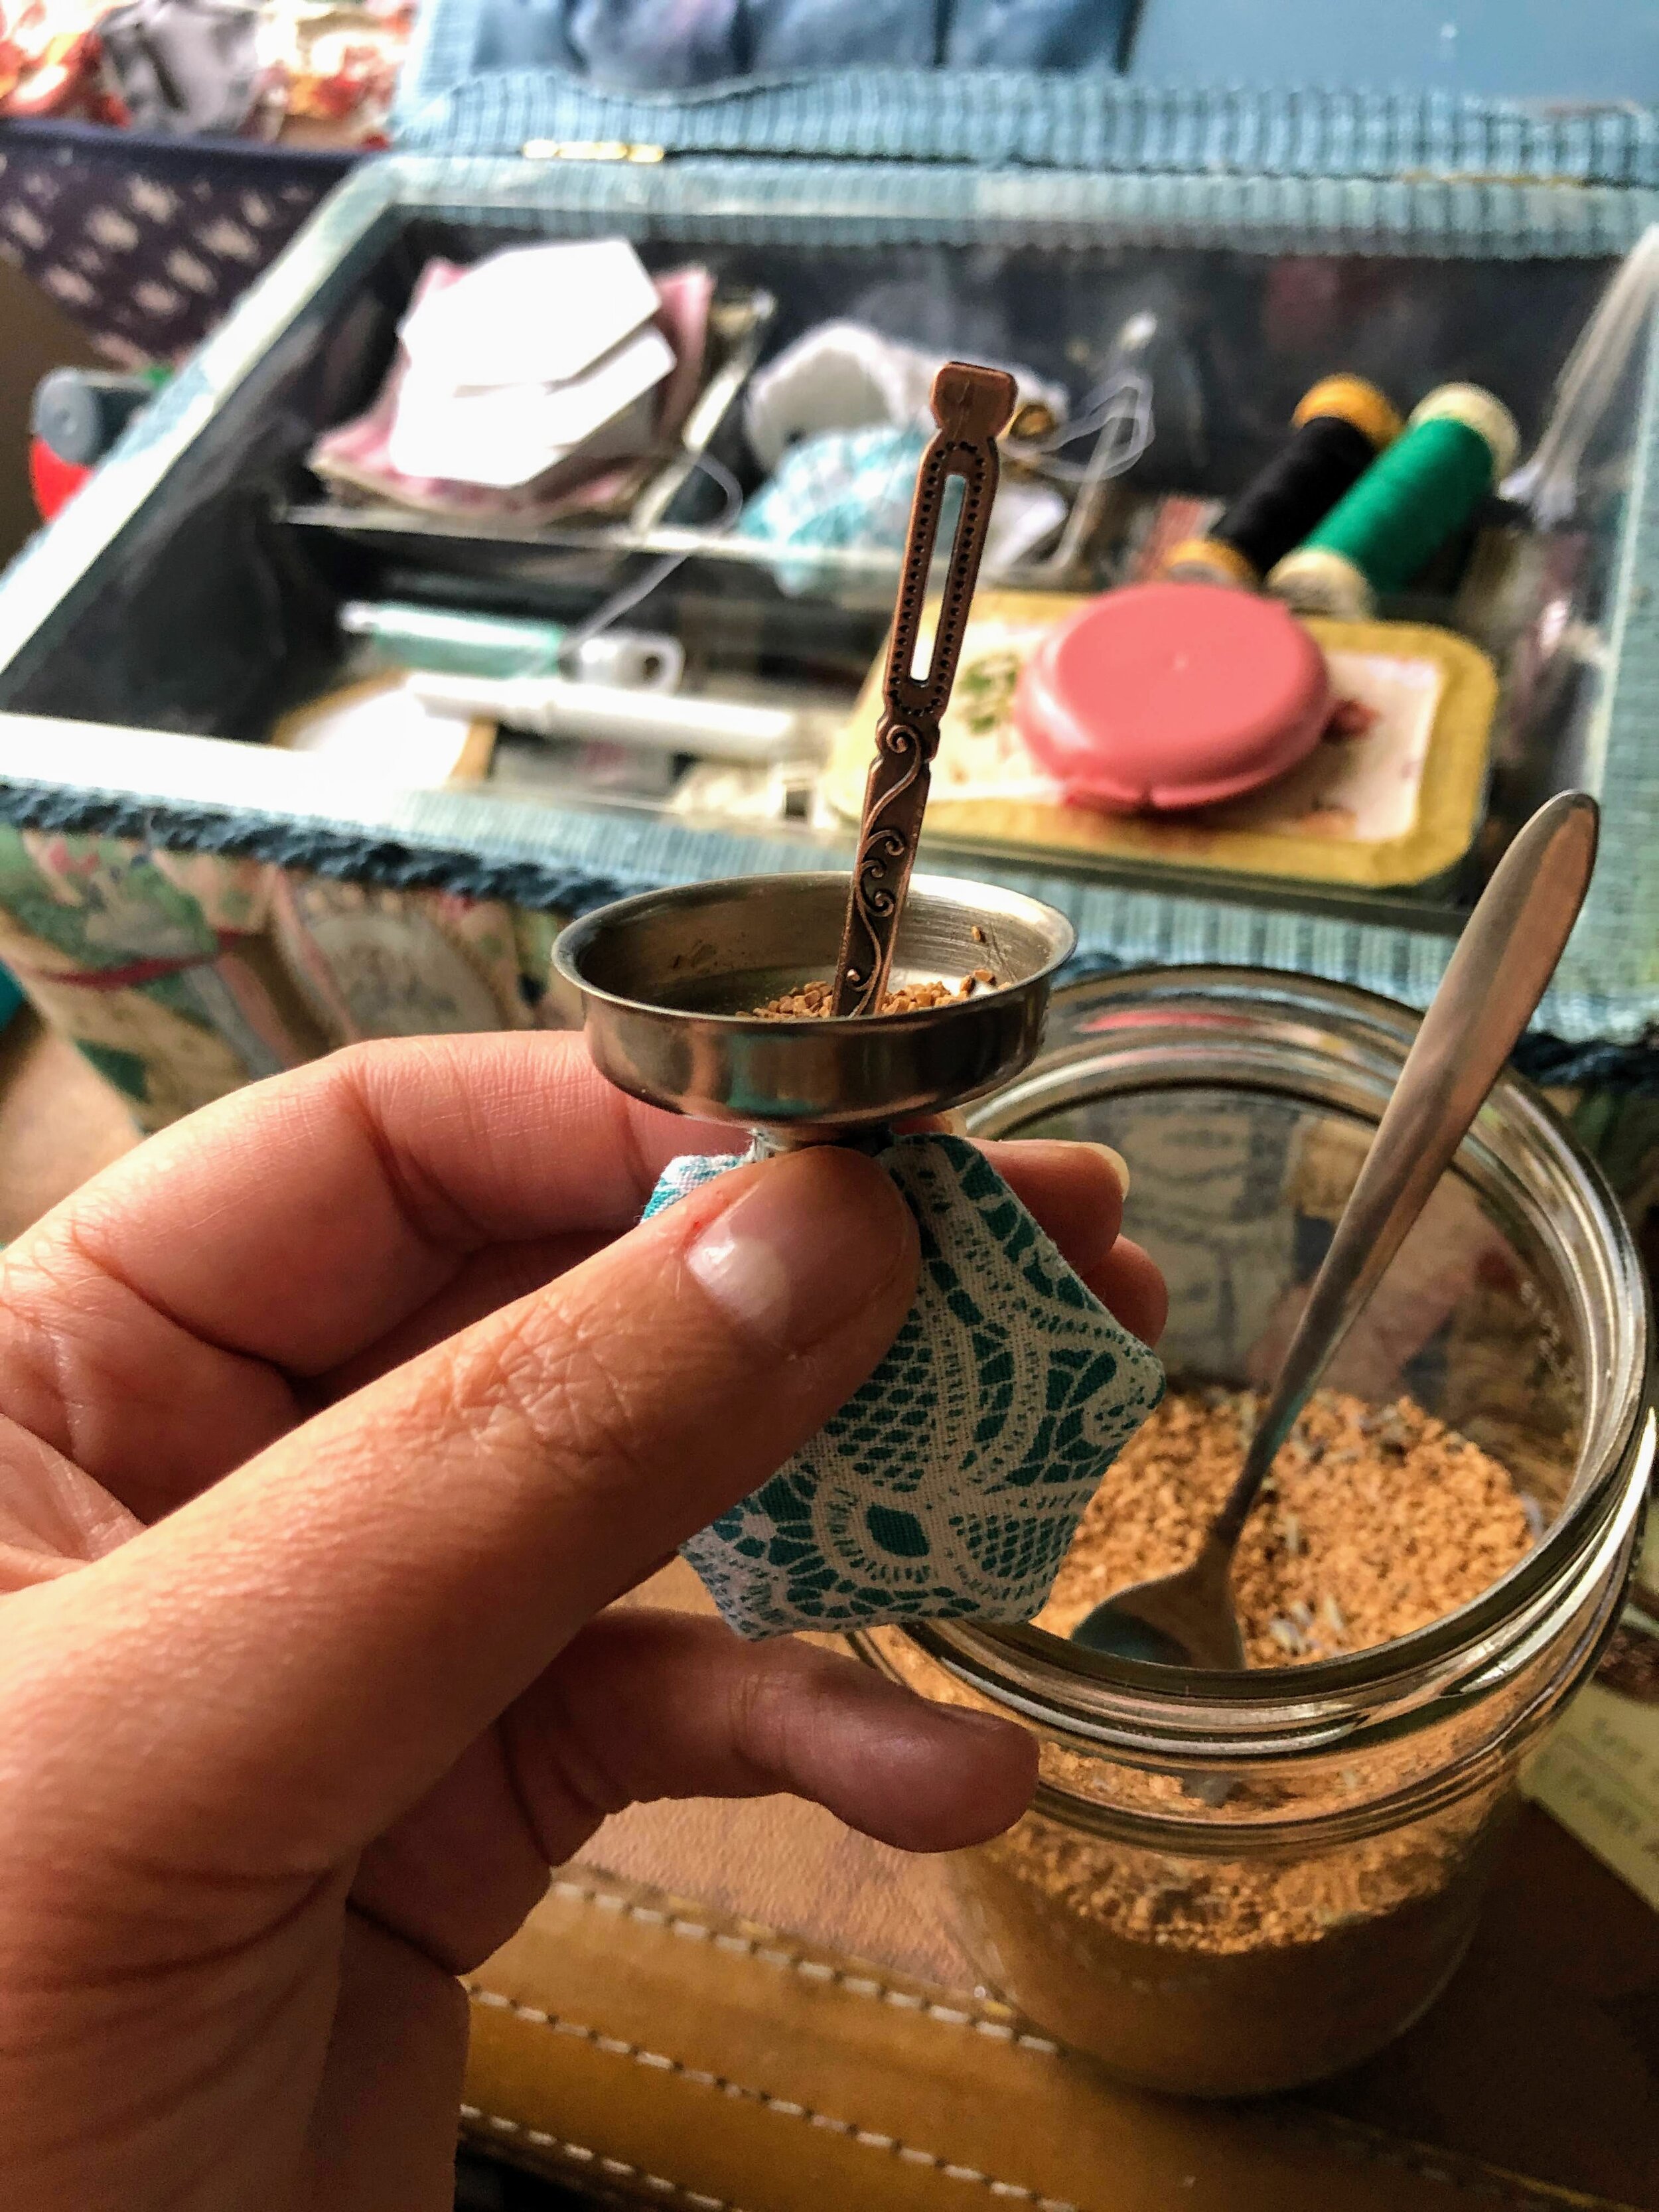
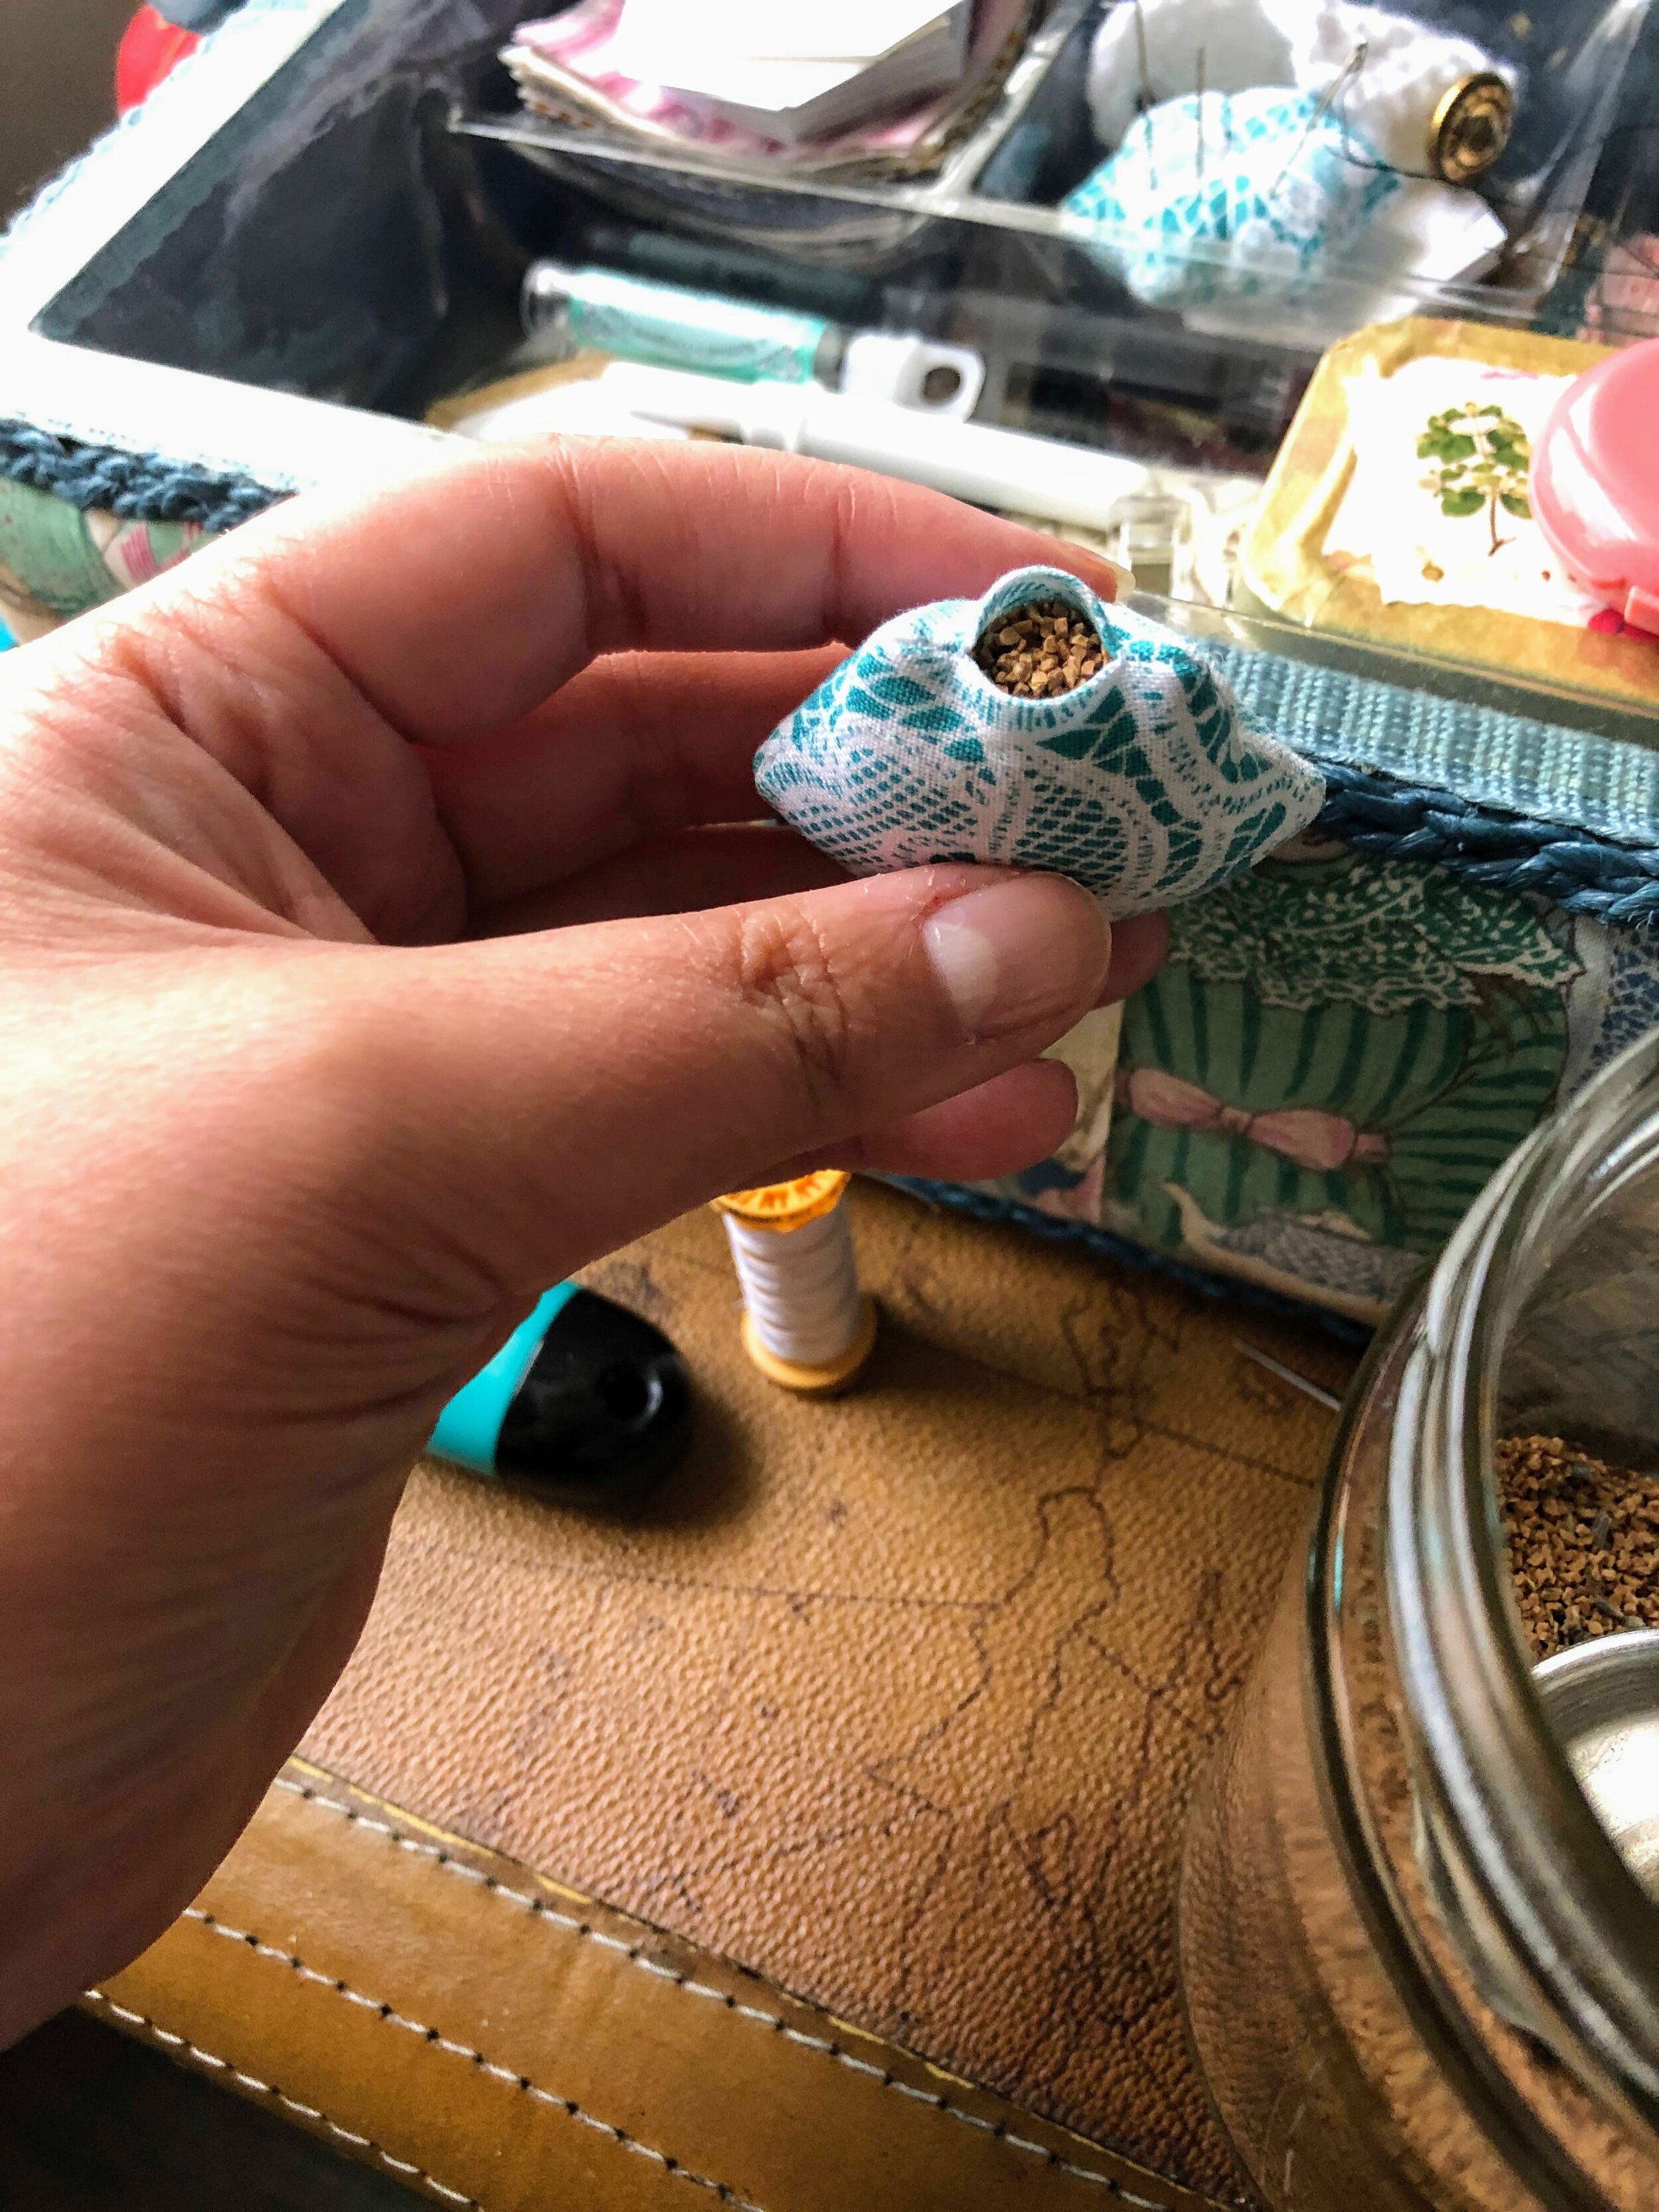
Small EPP Pincushion

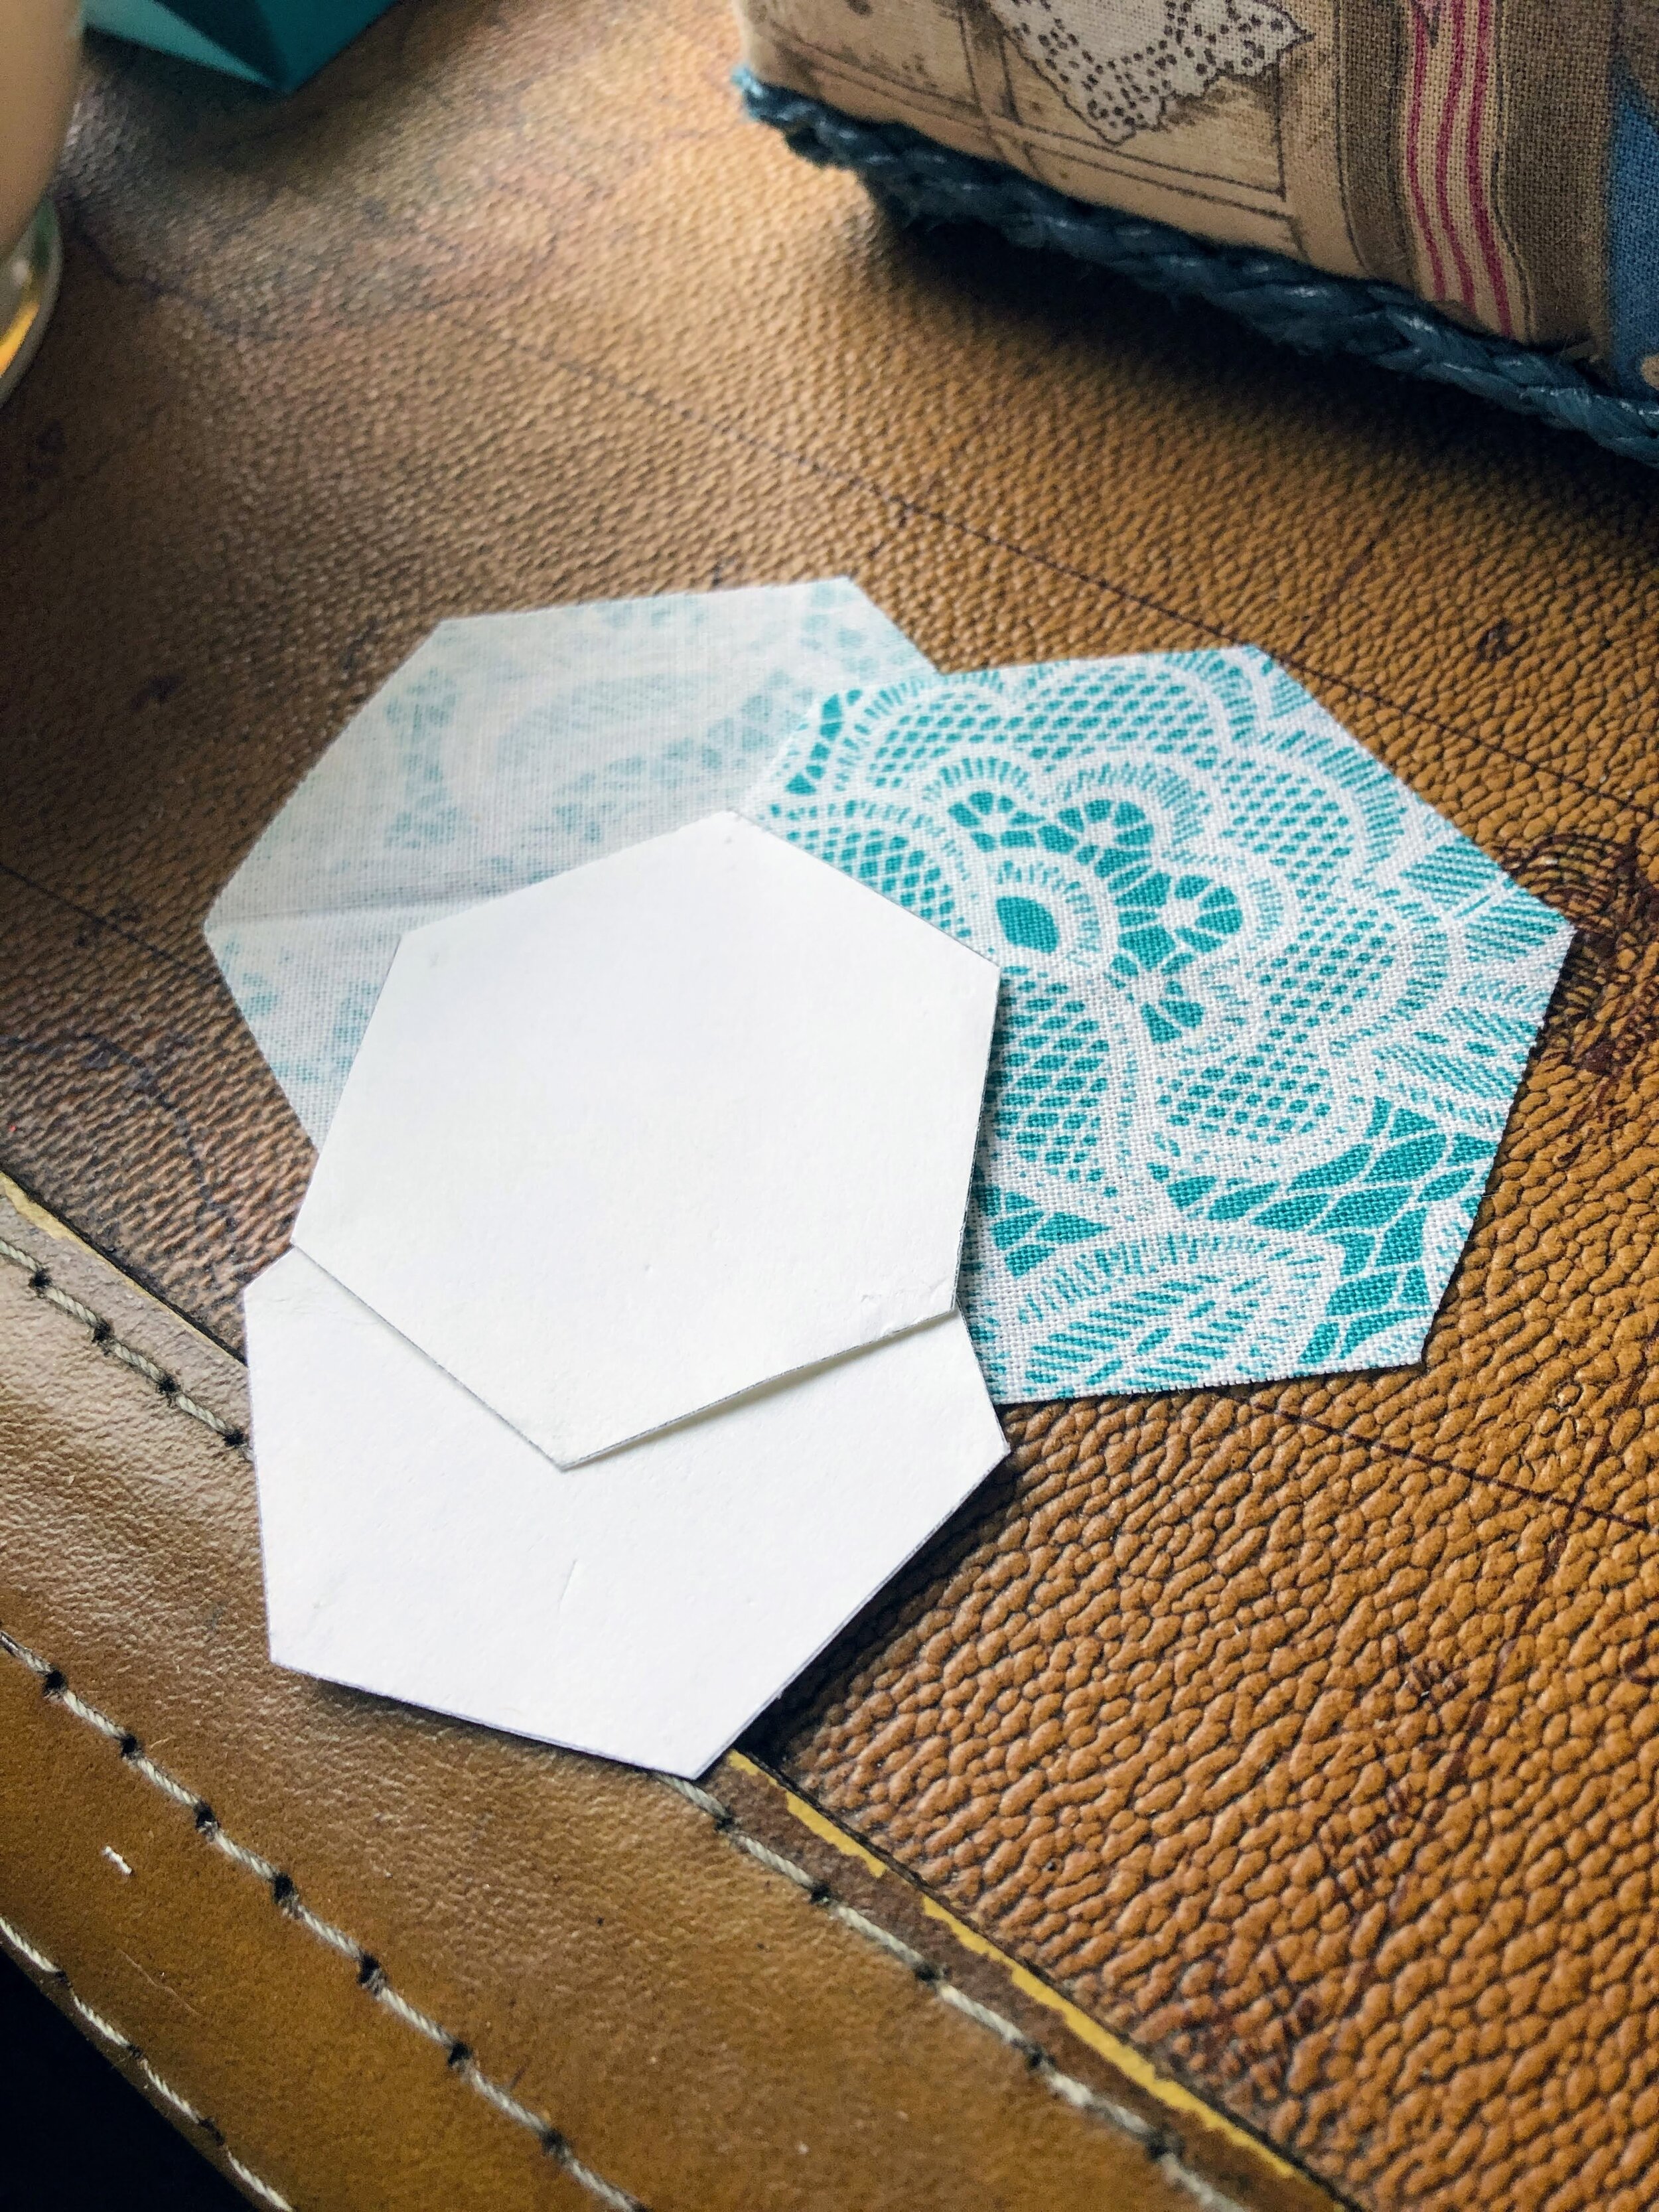
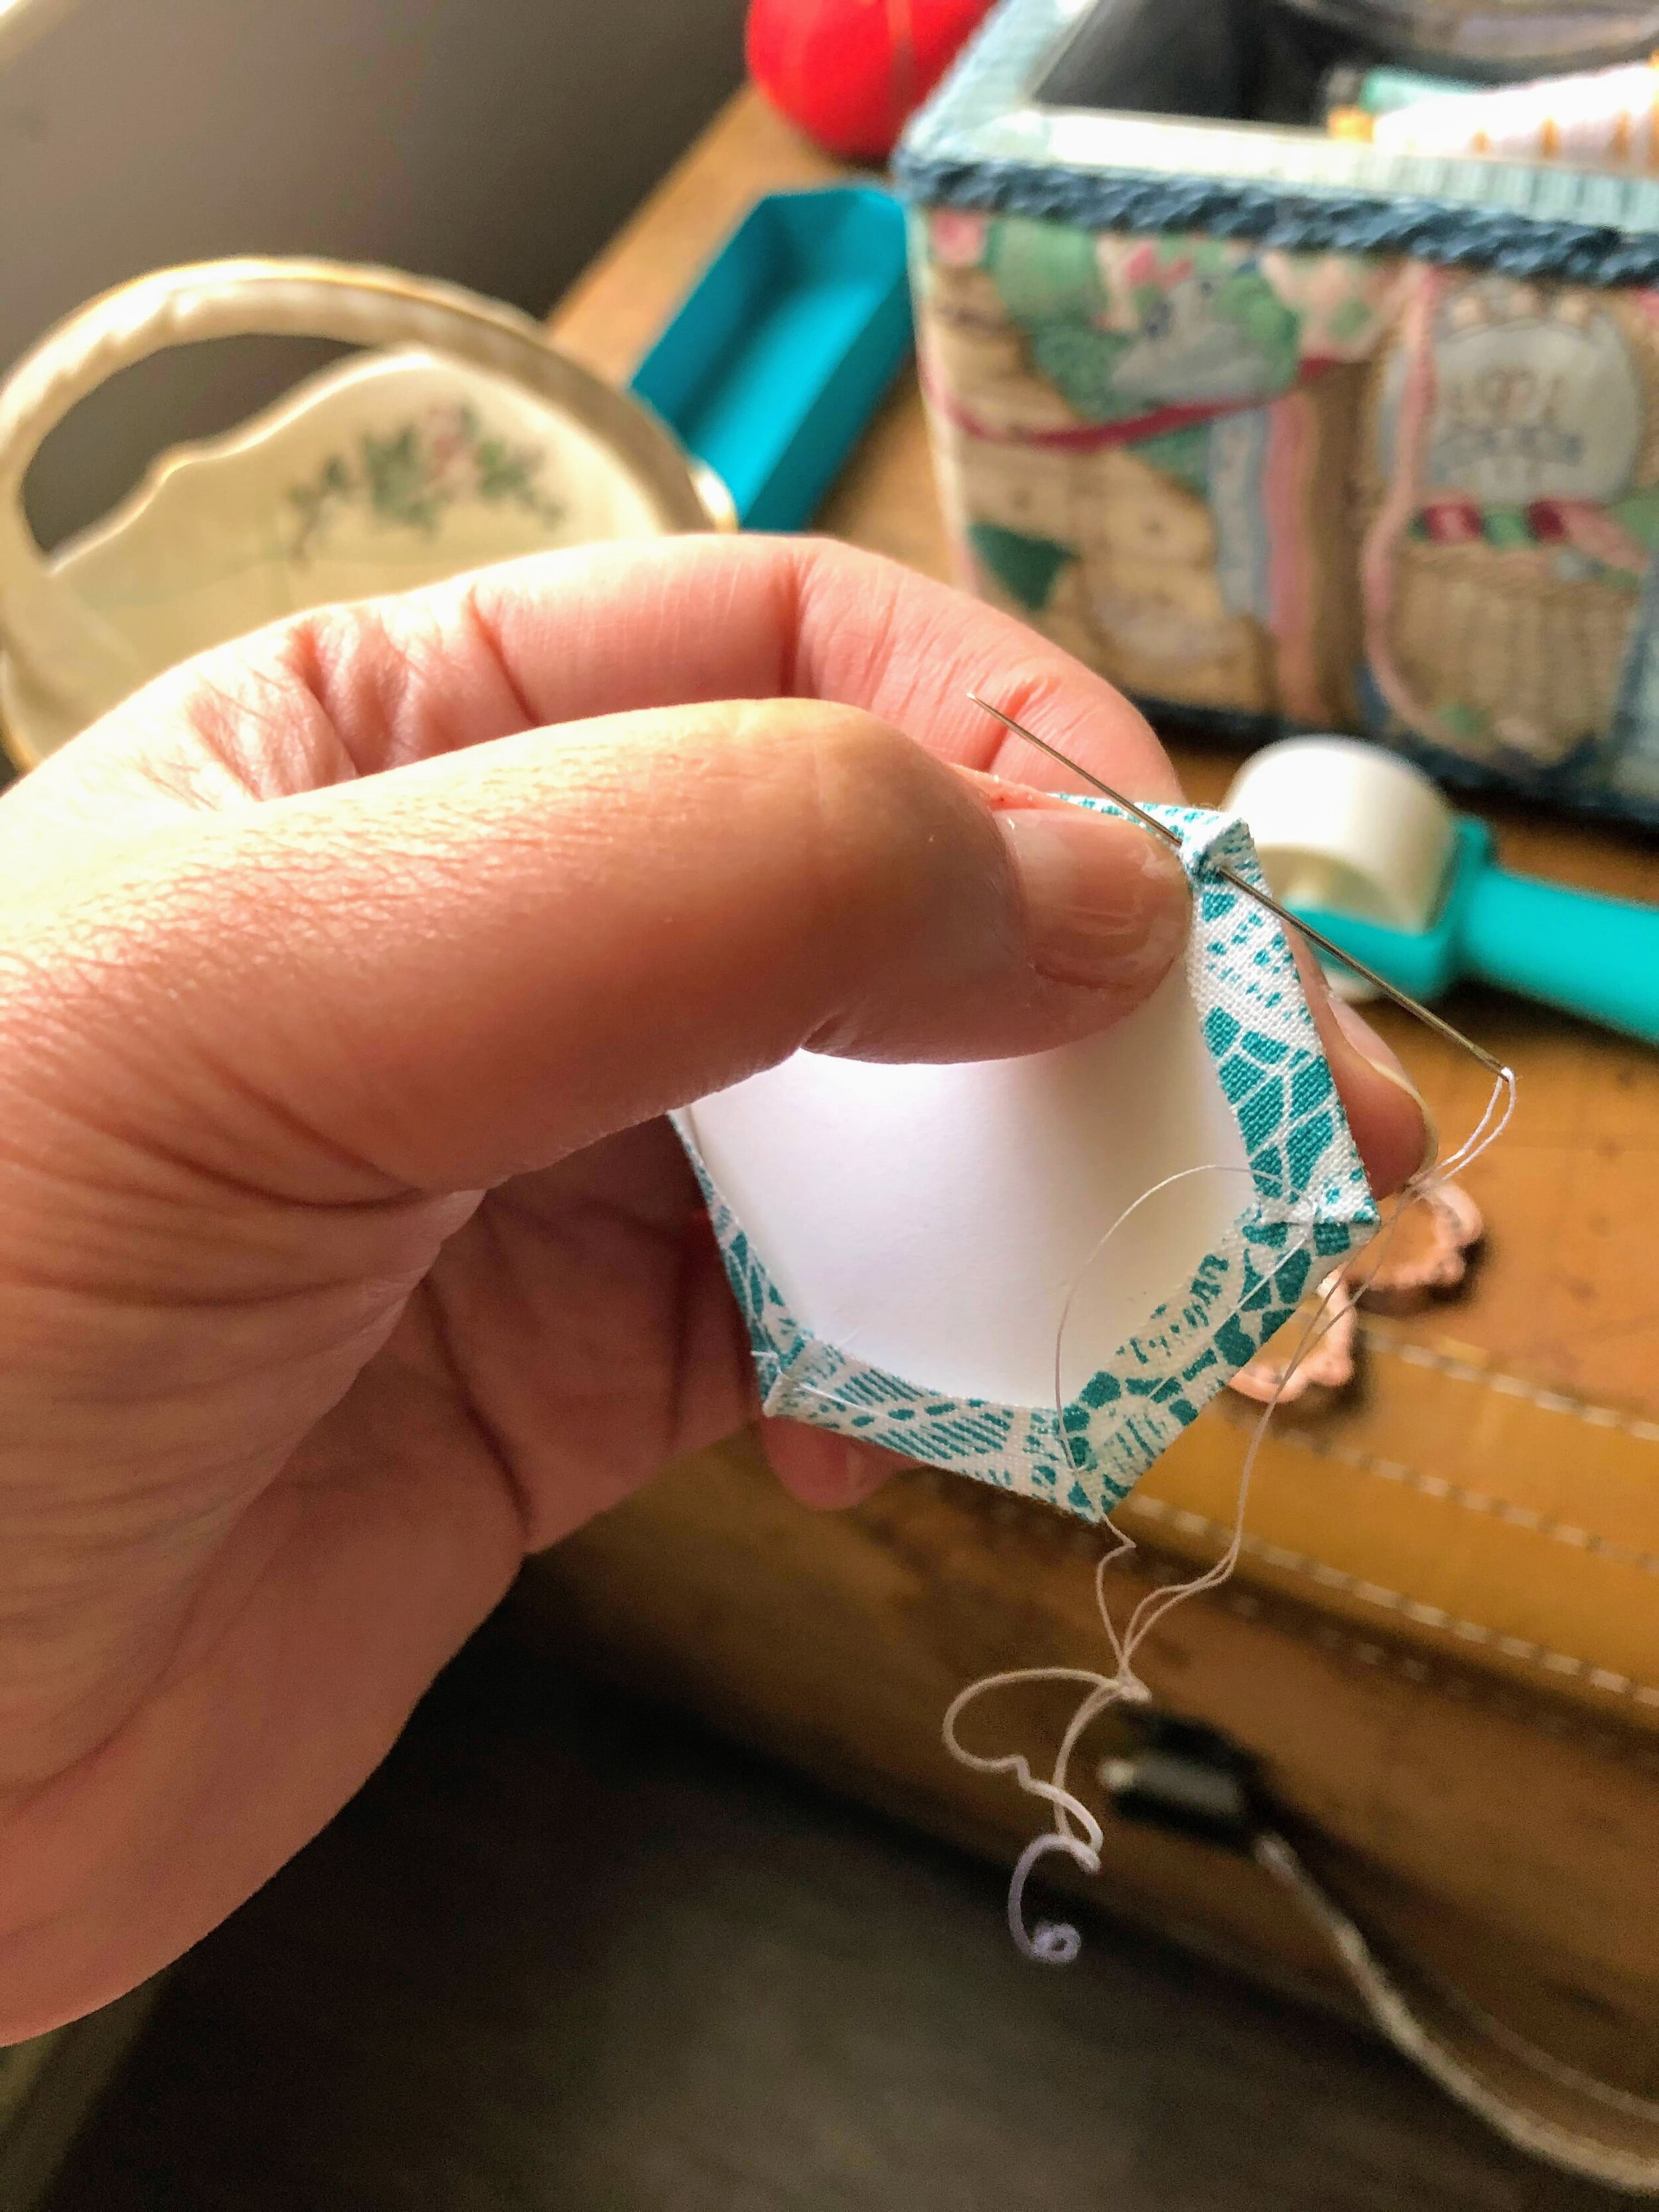
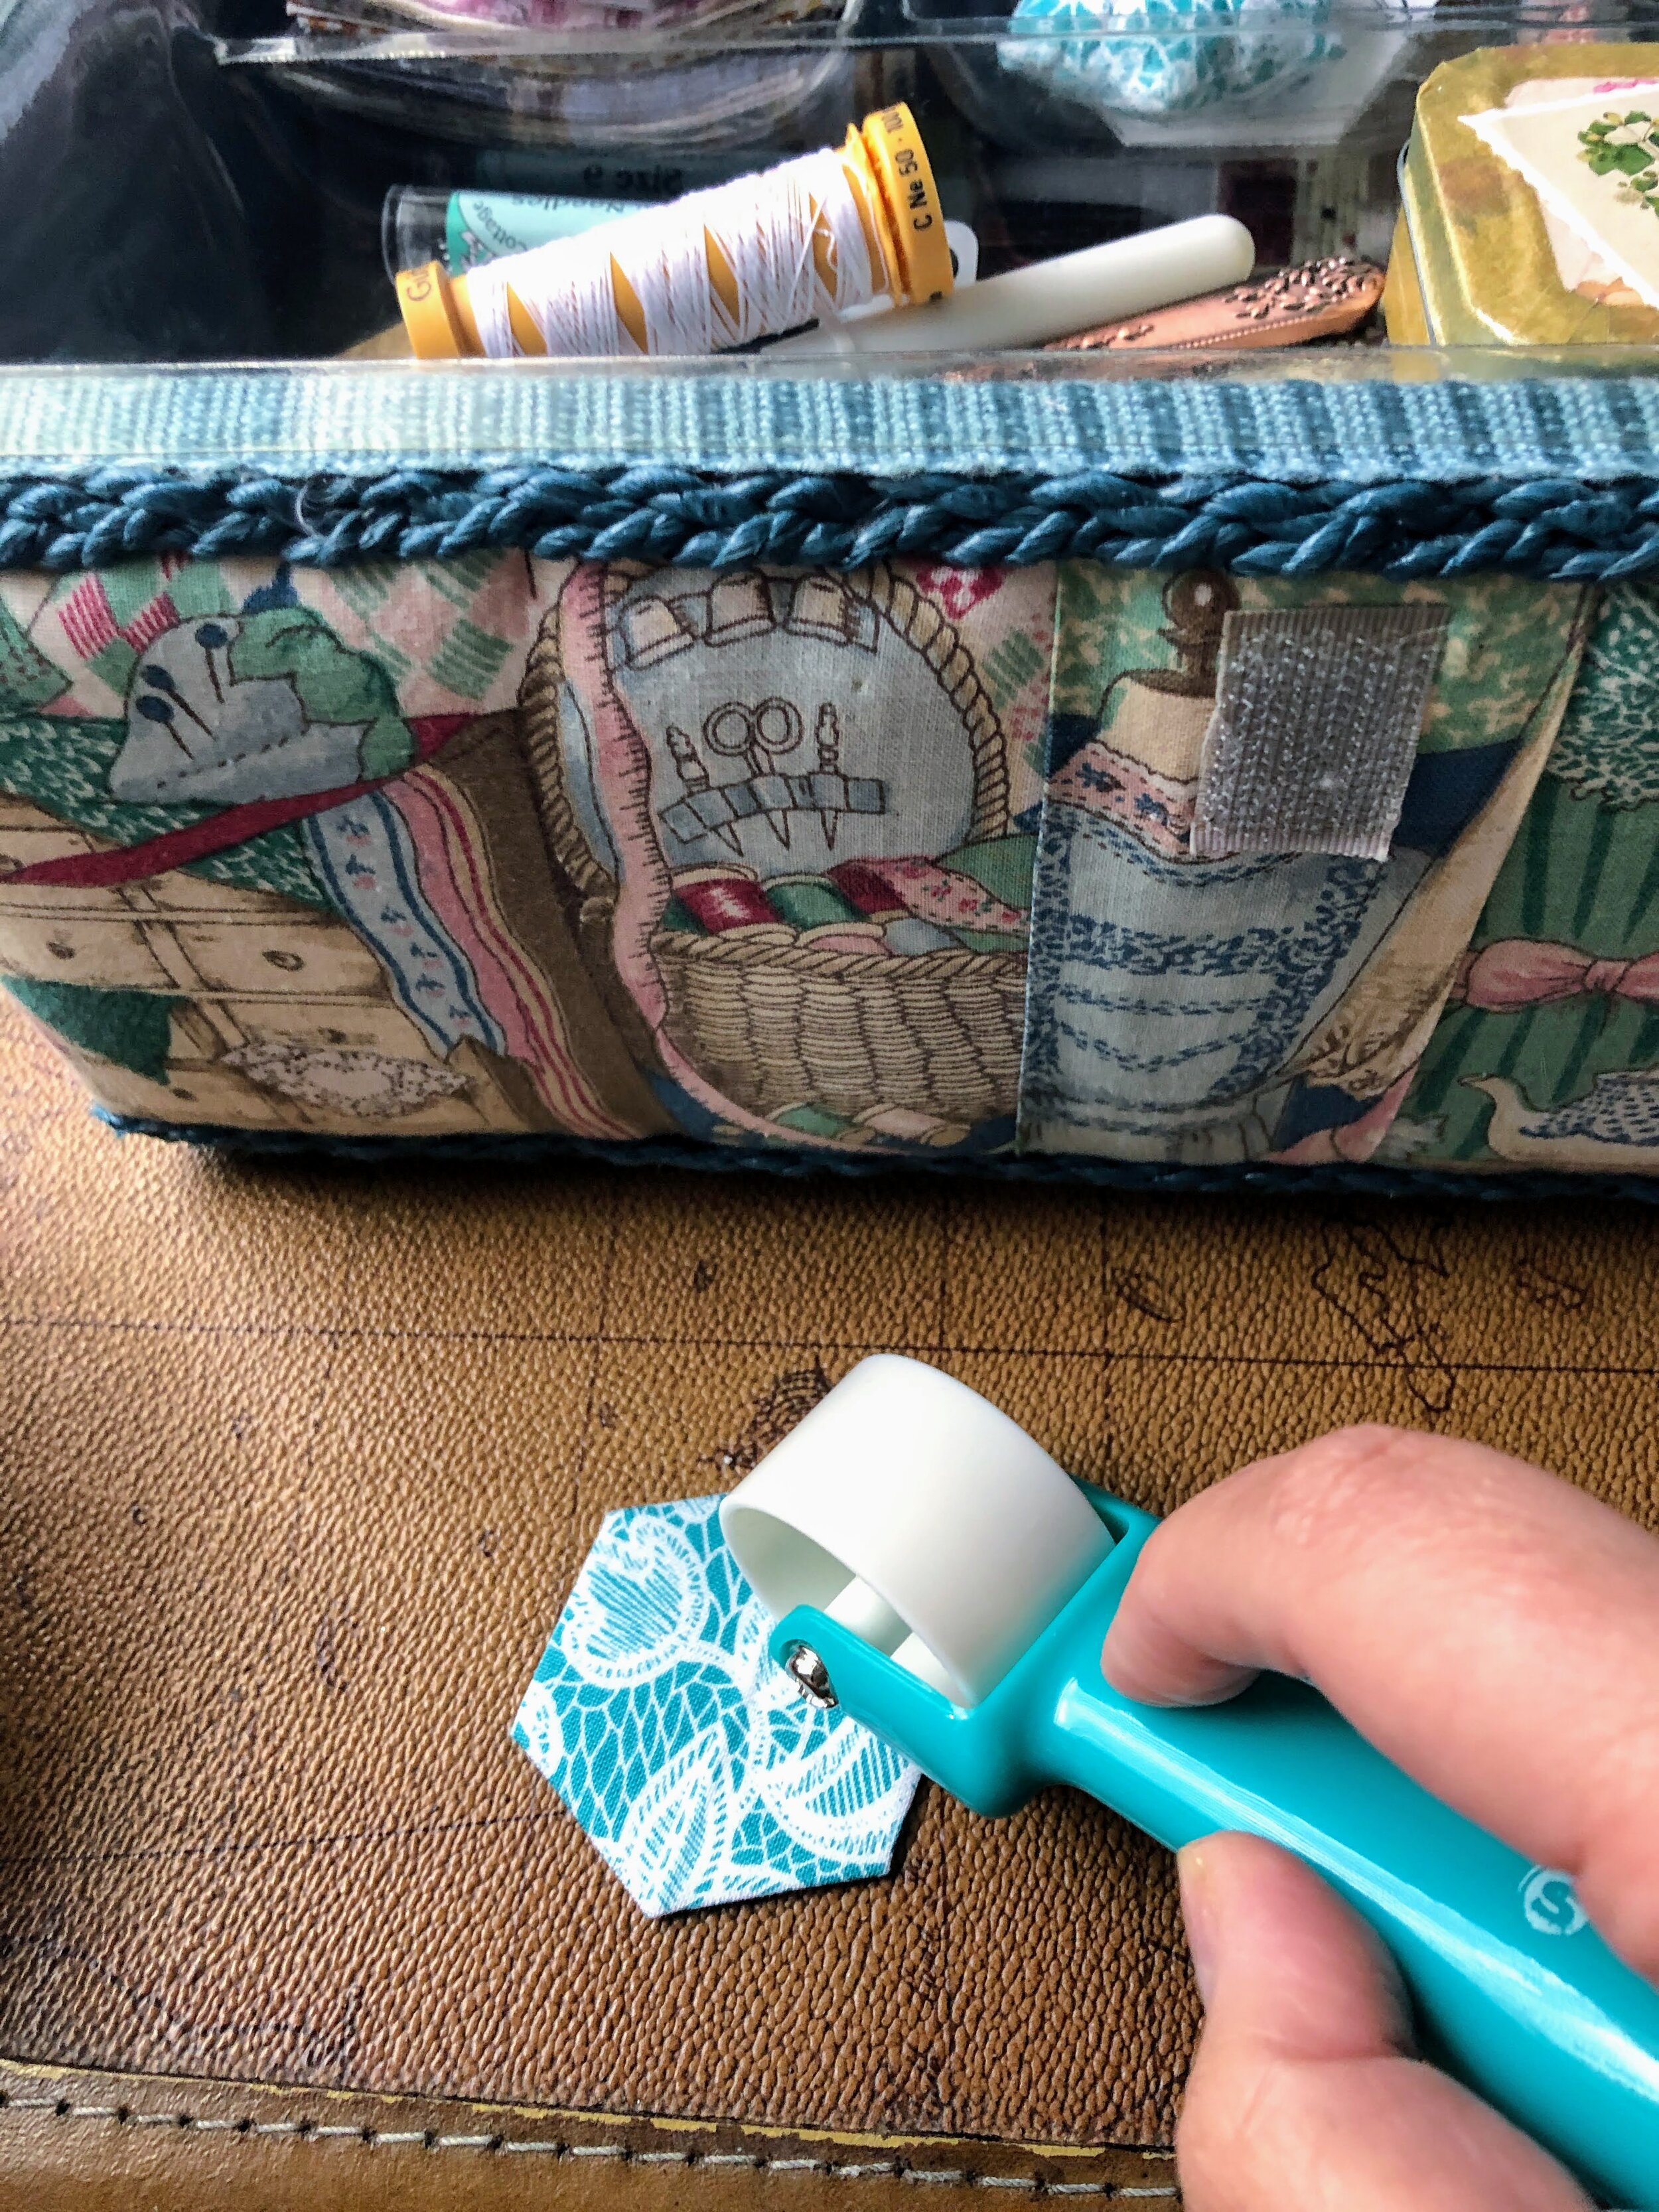
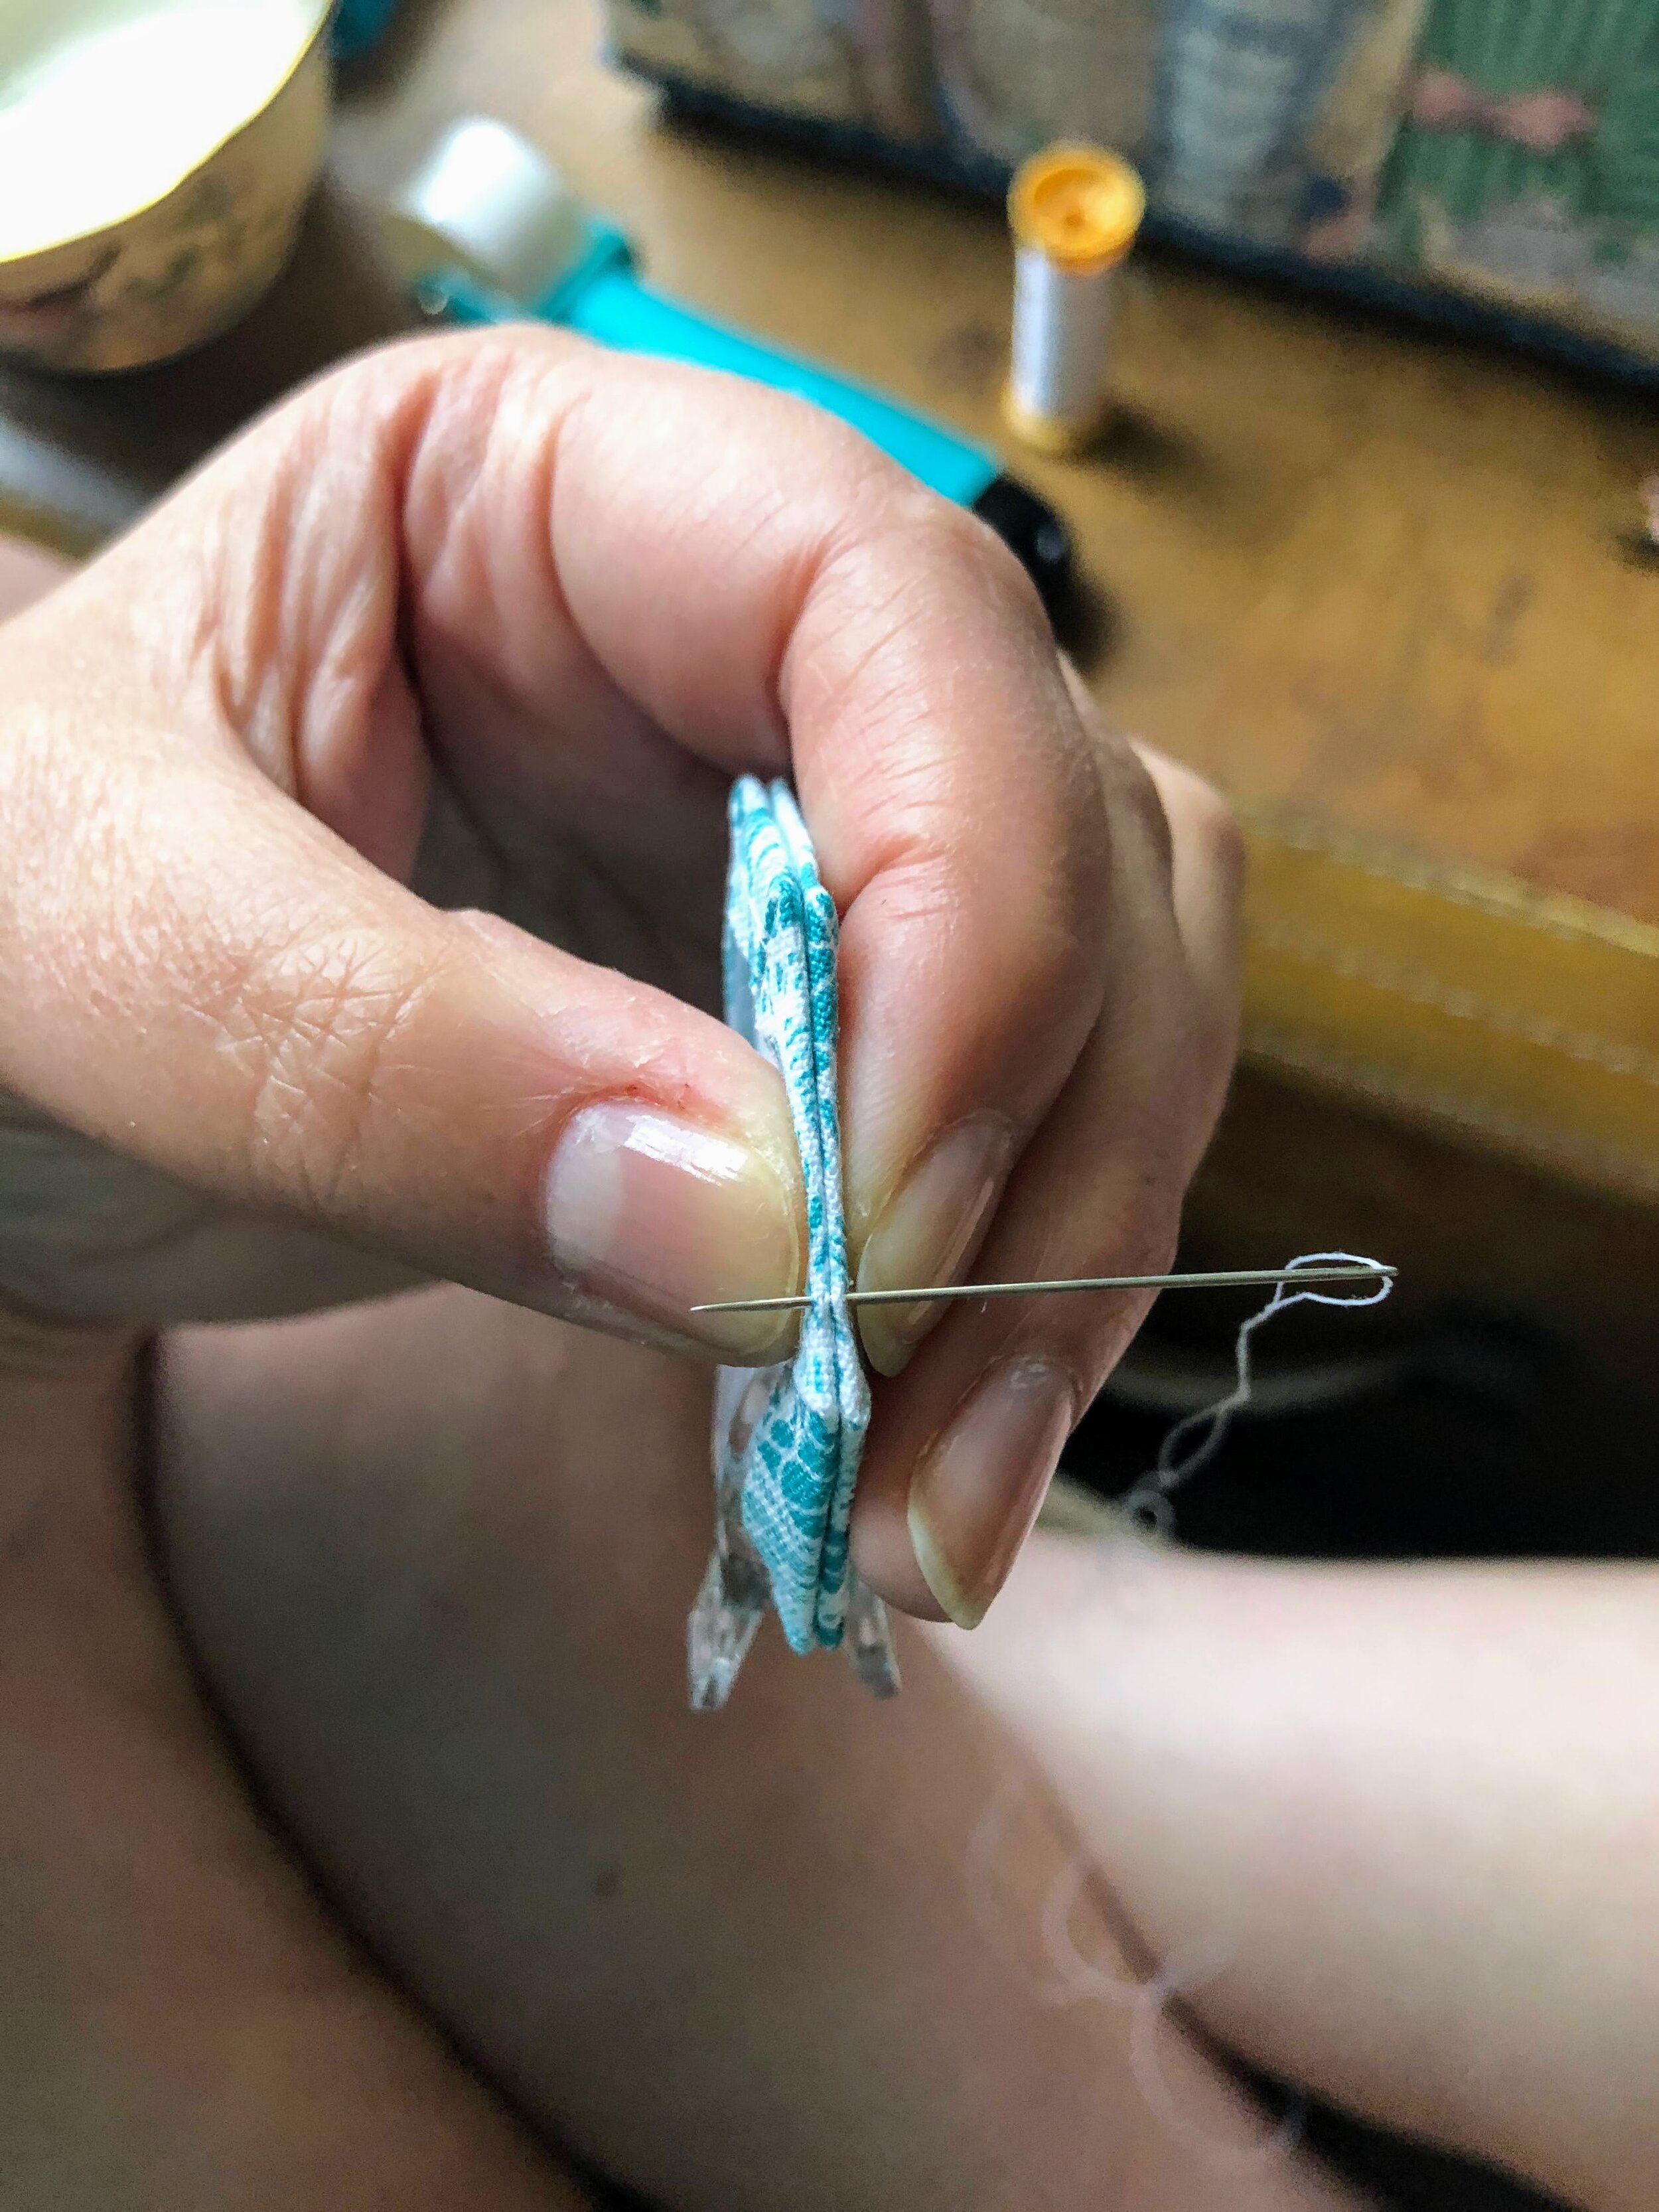
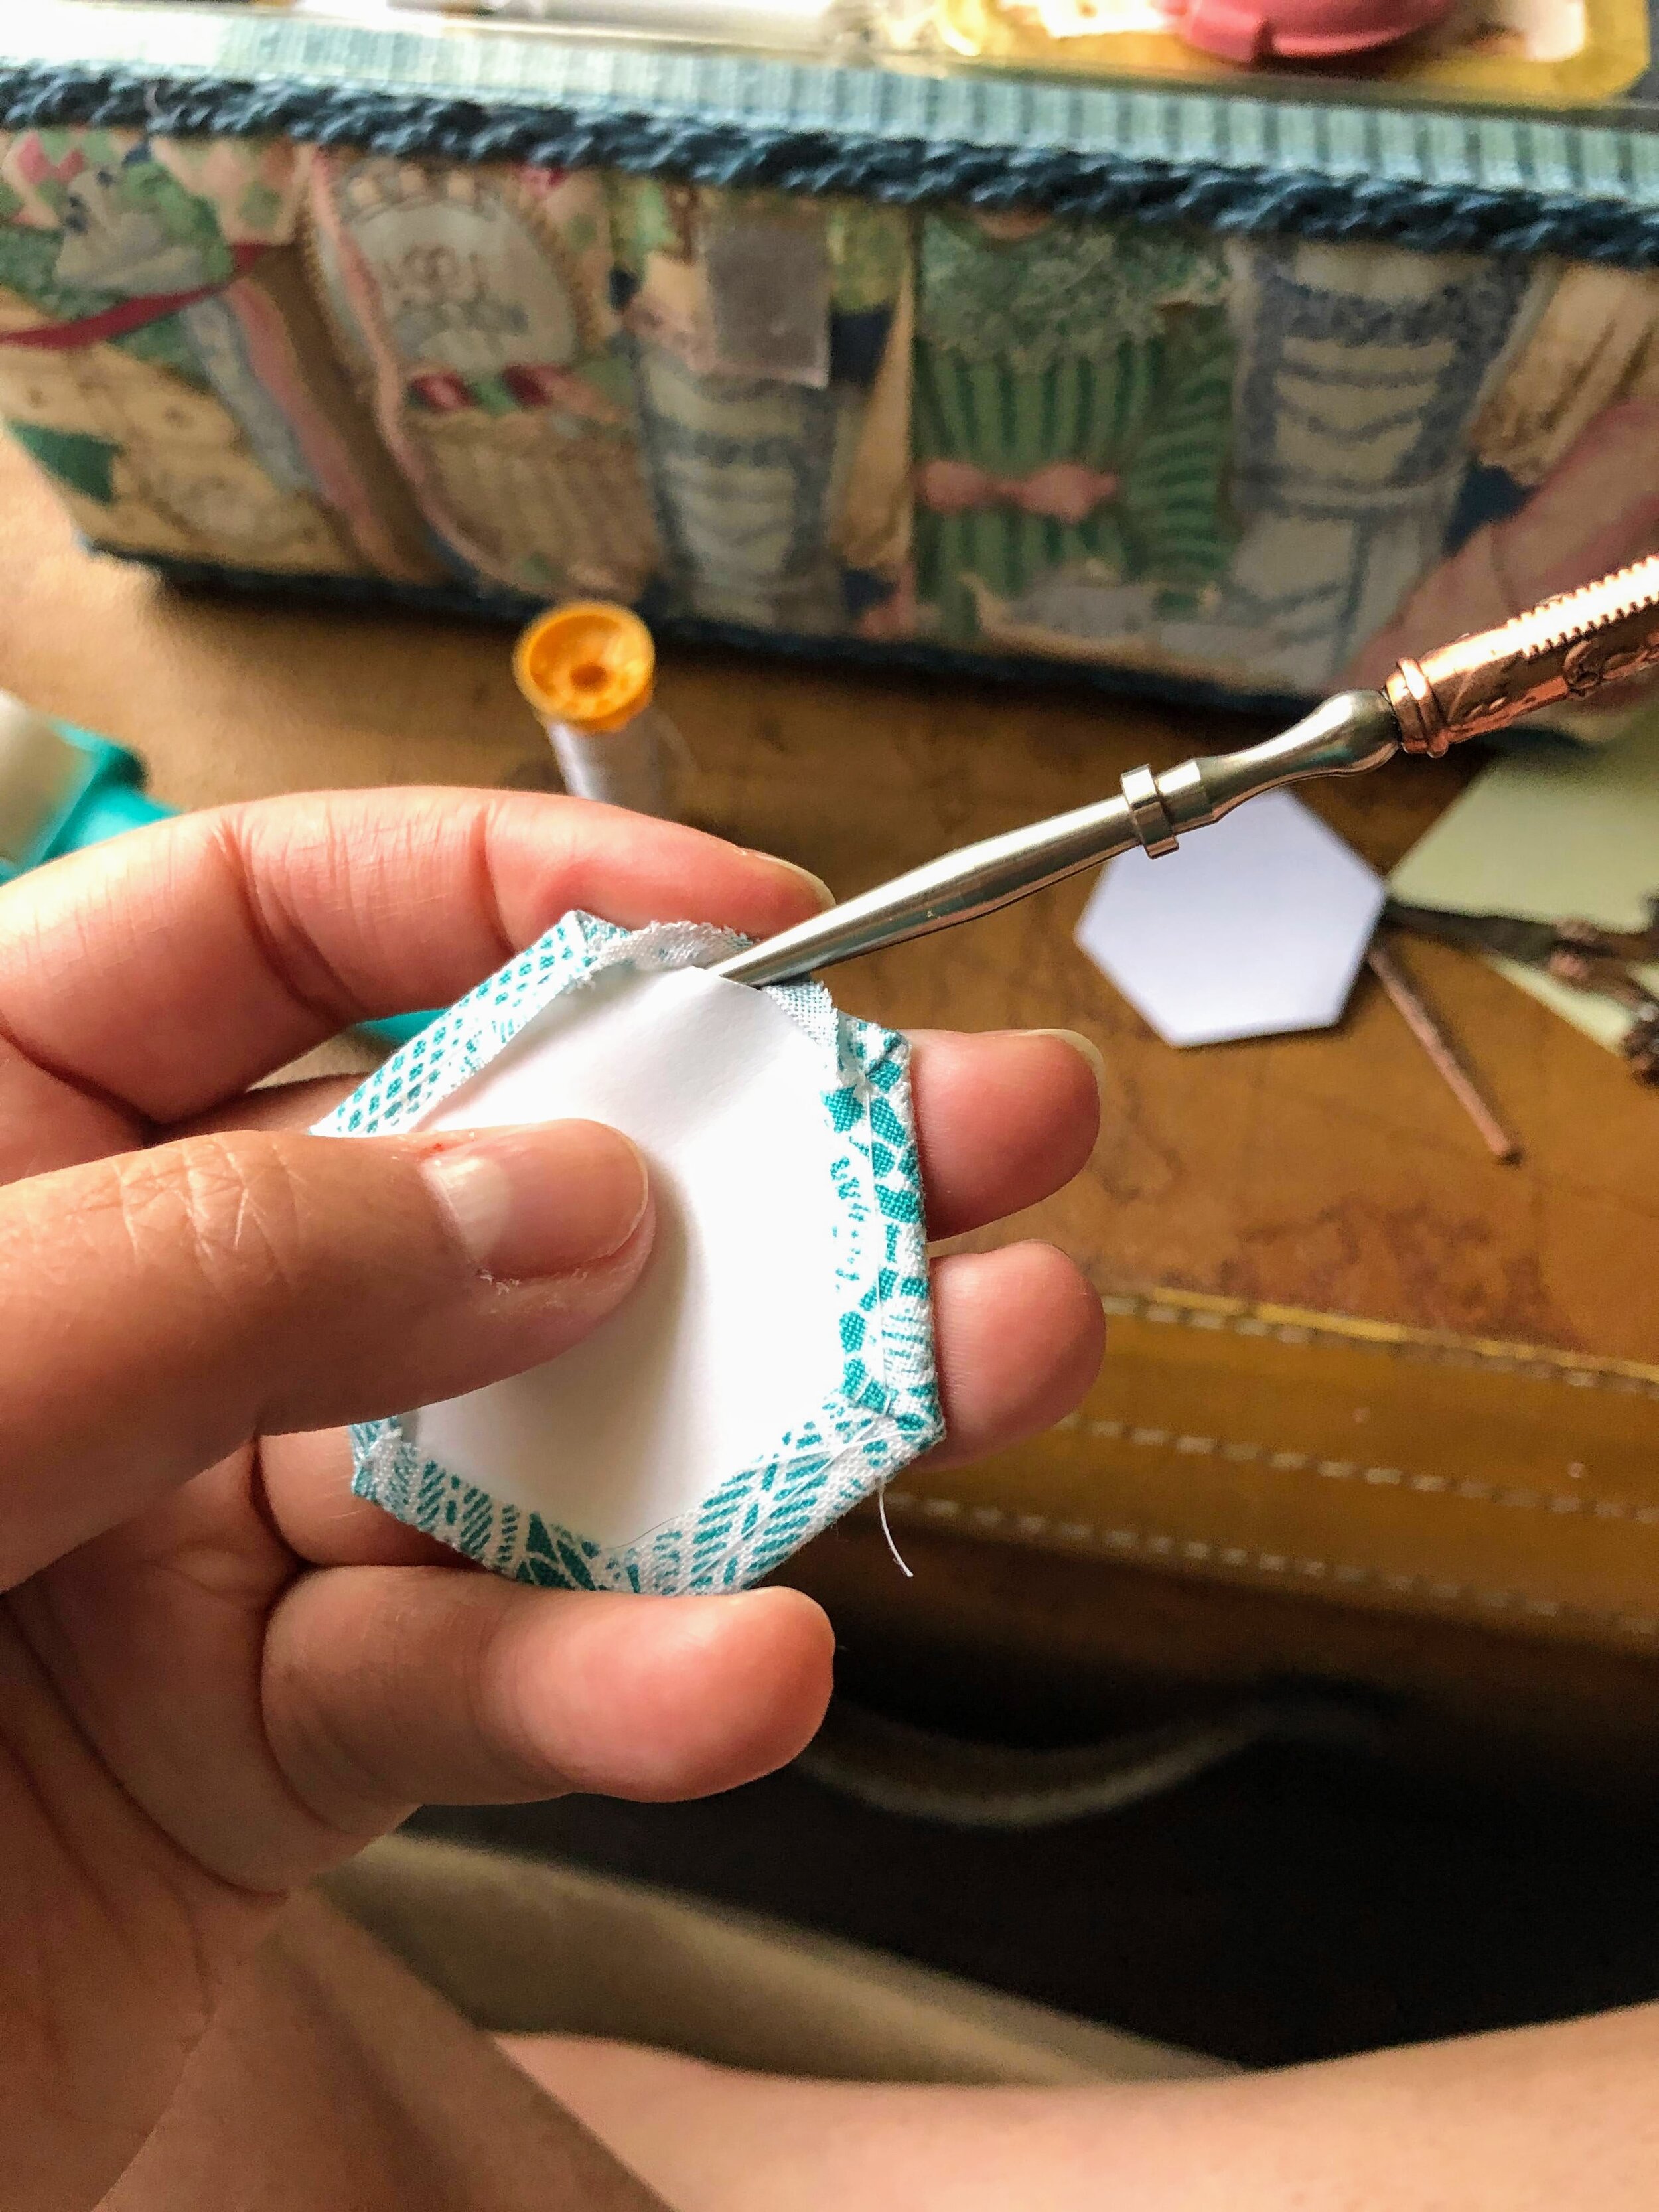
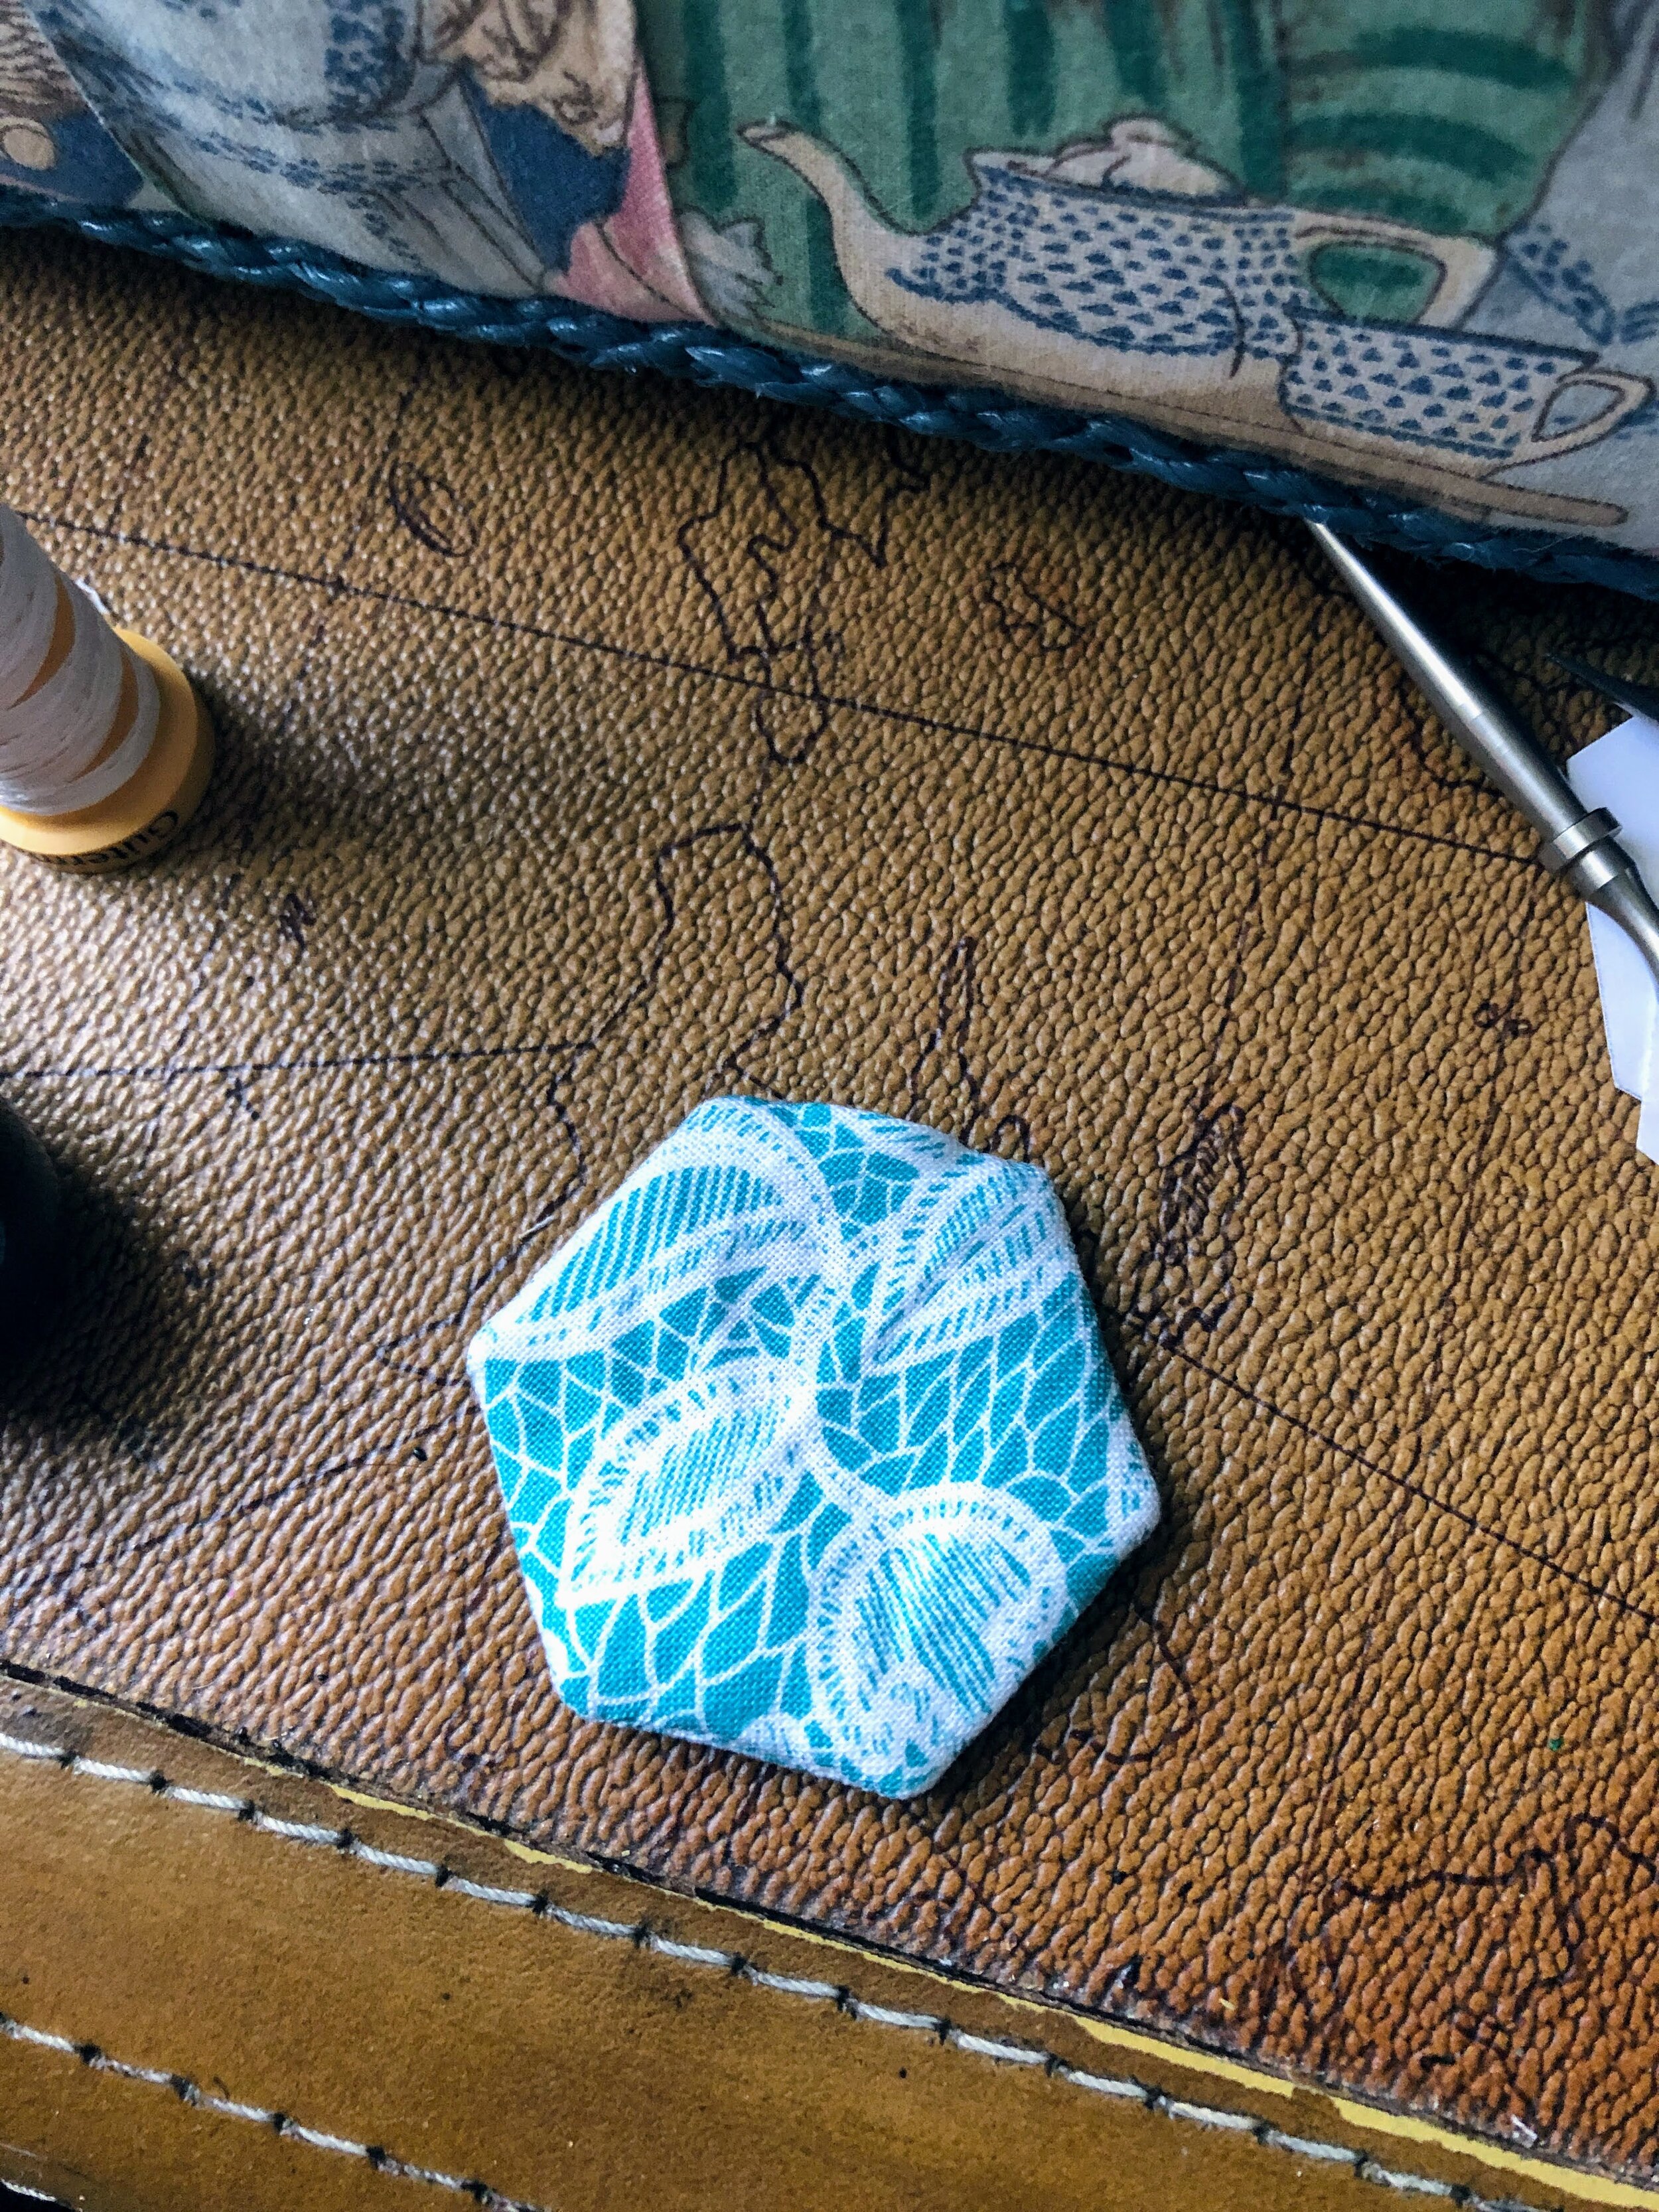
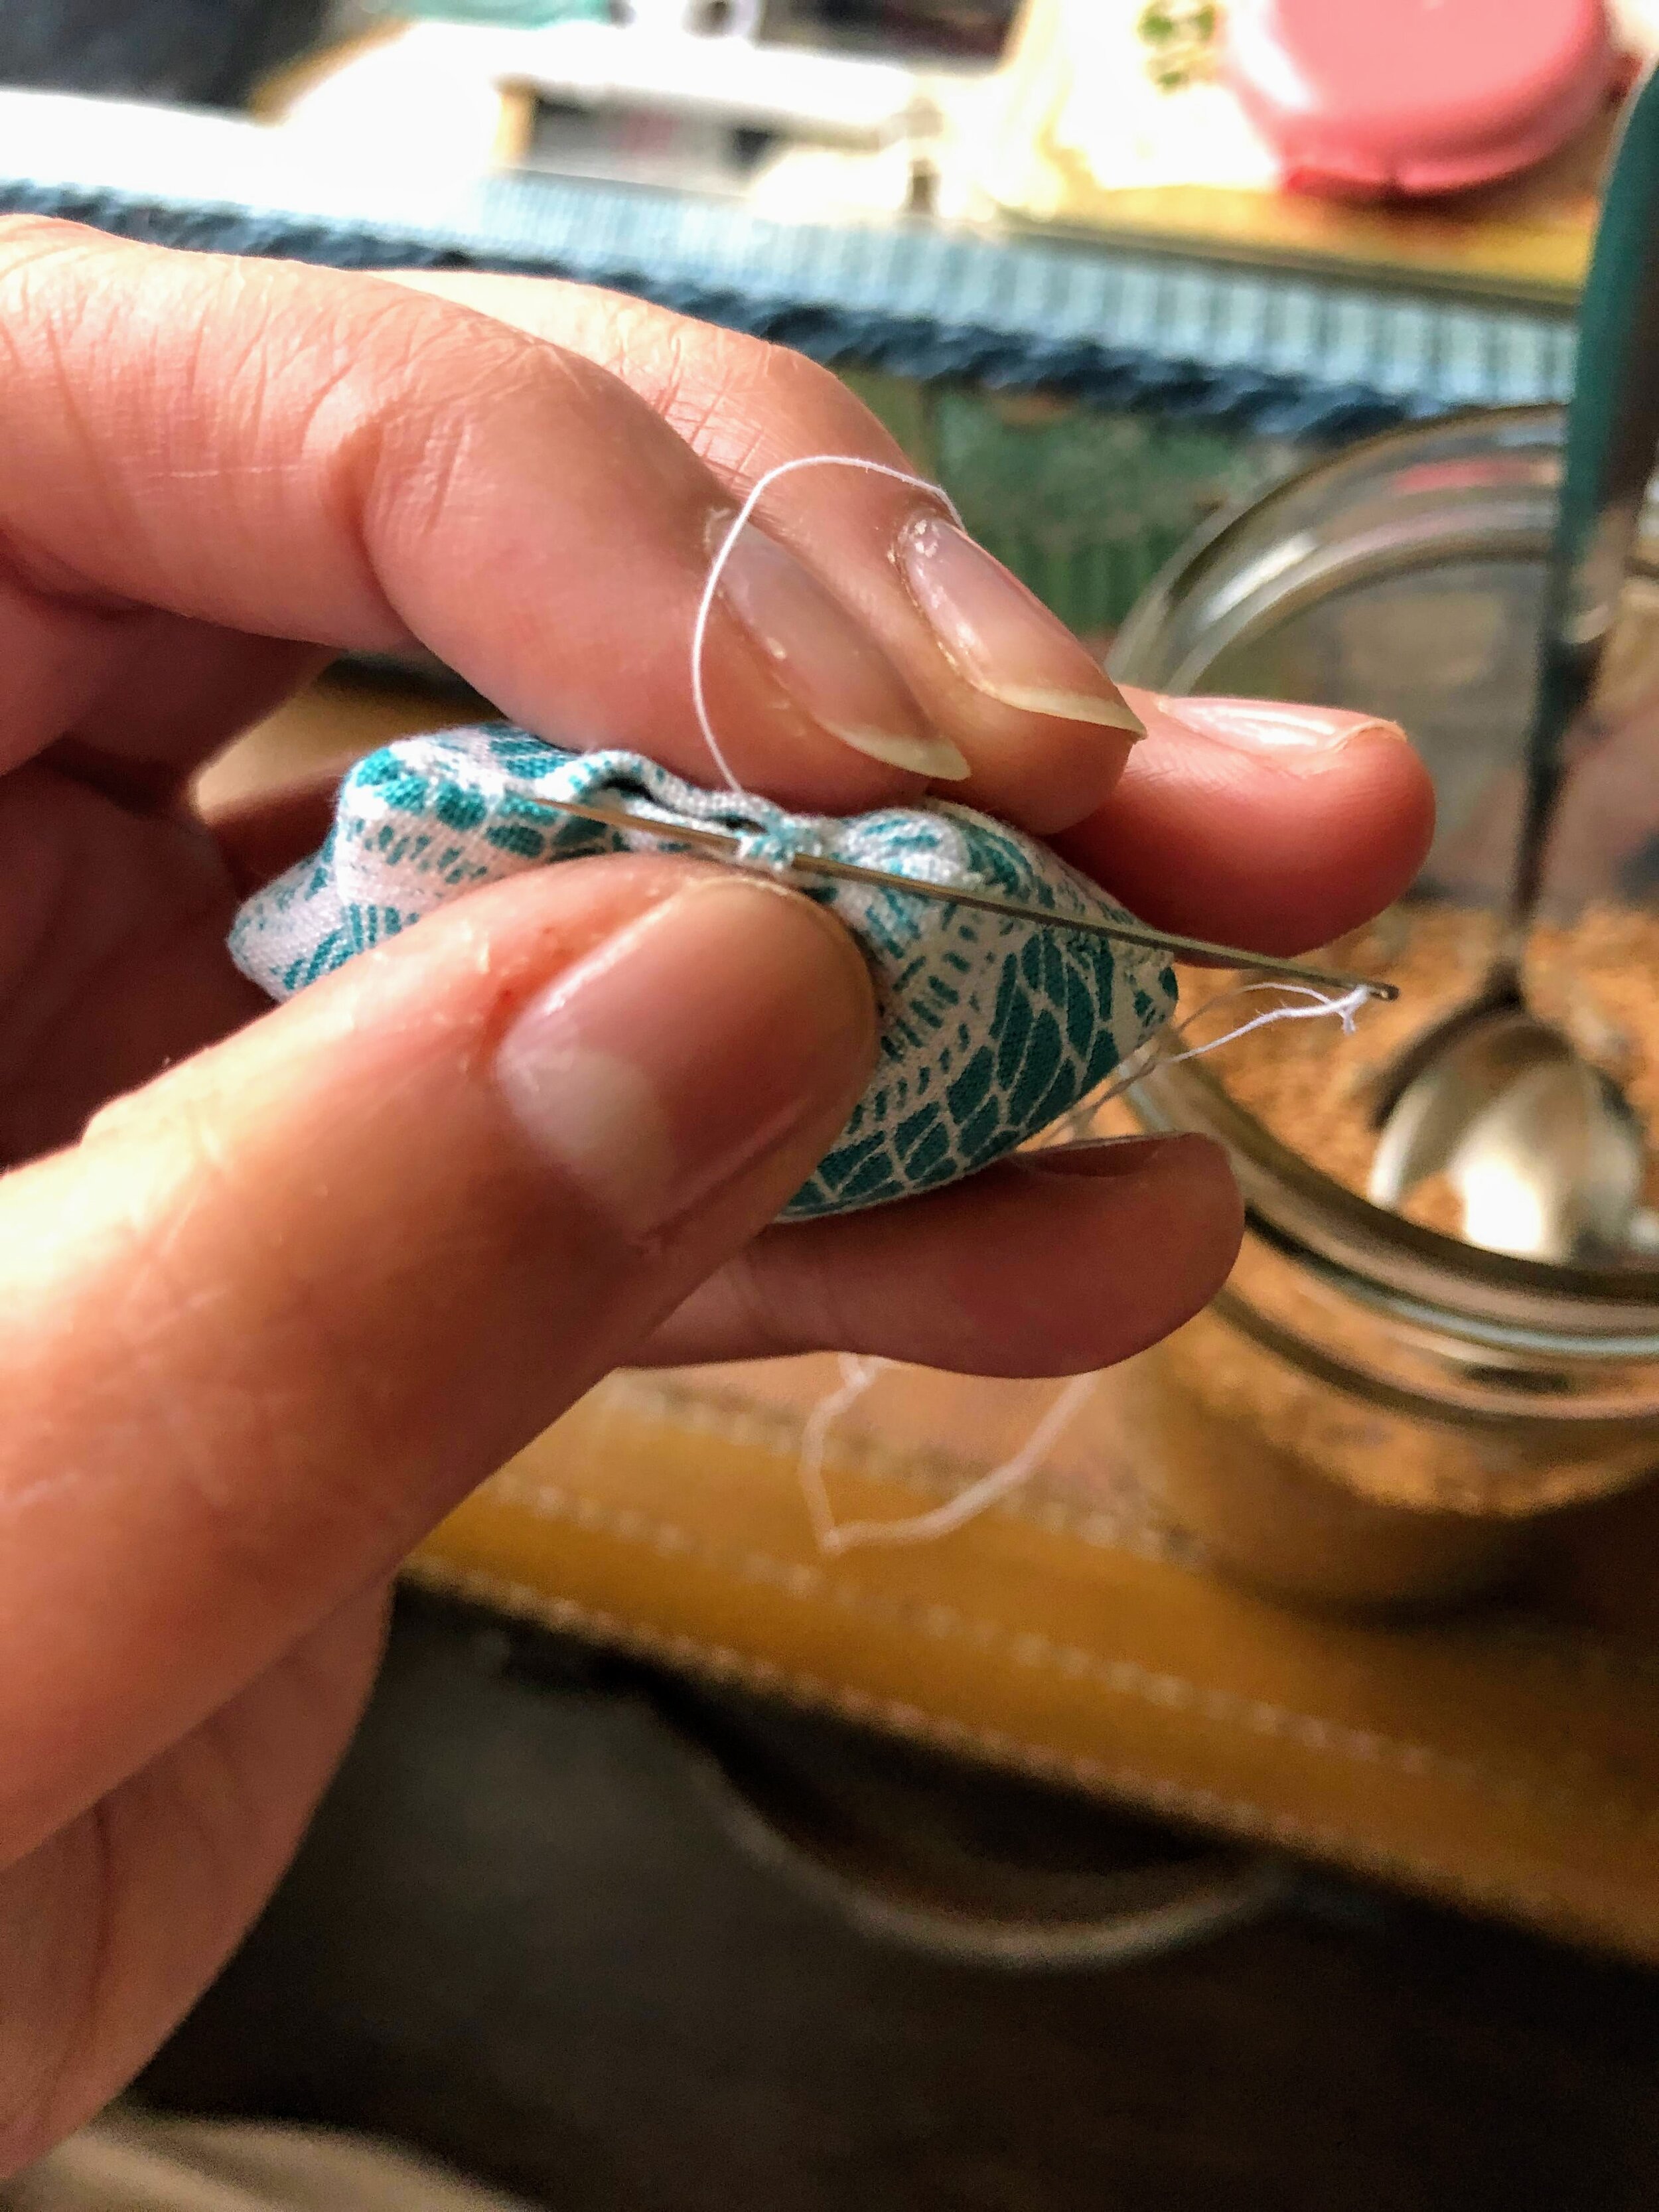
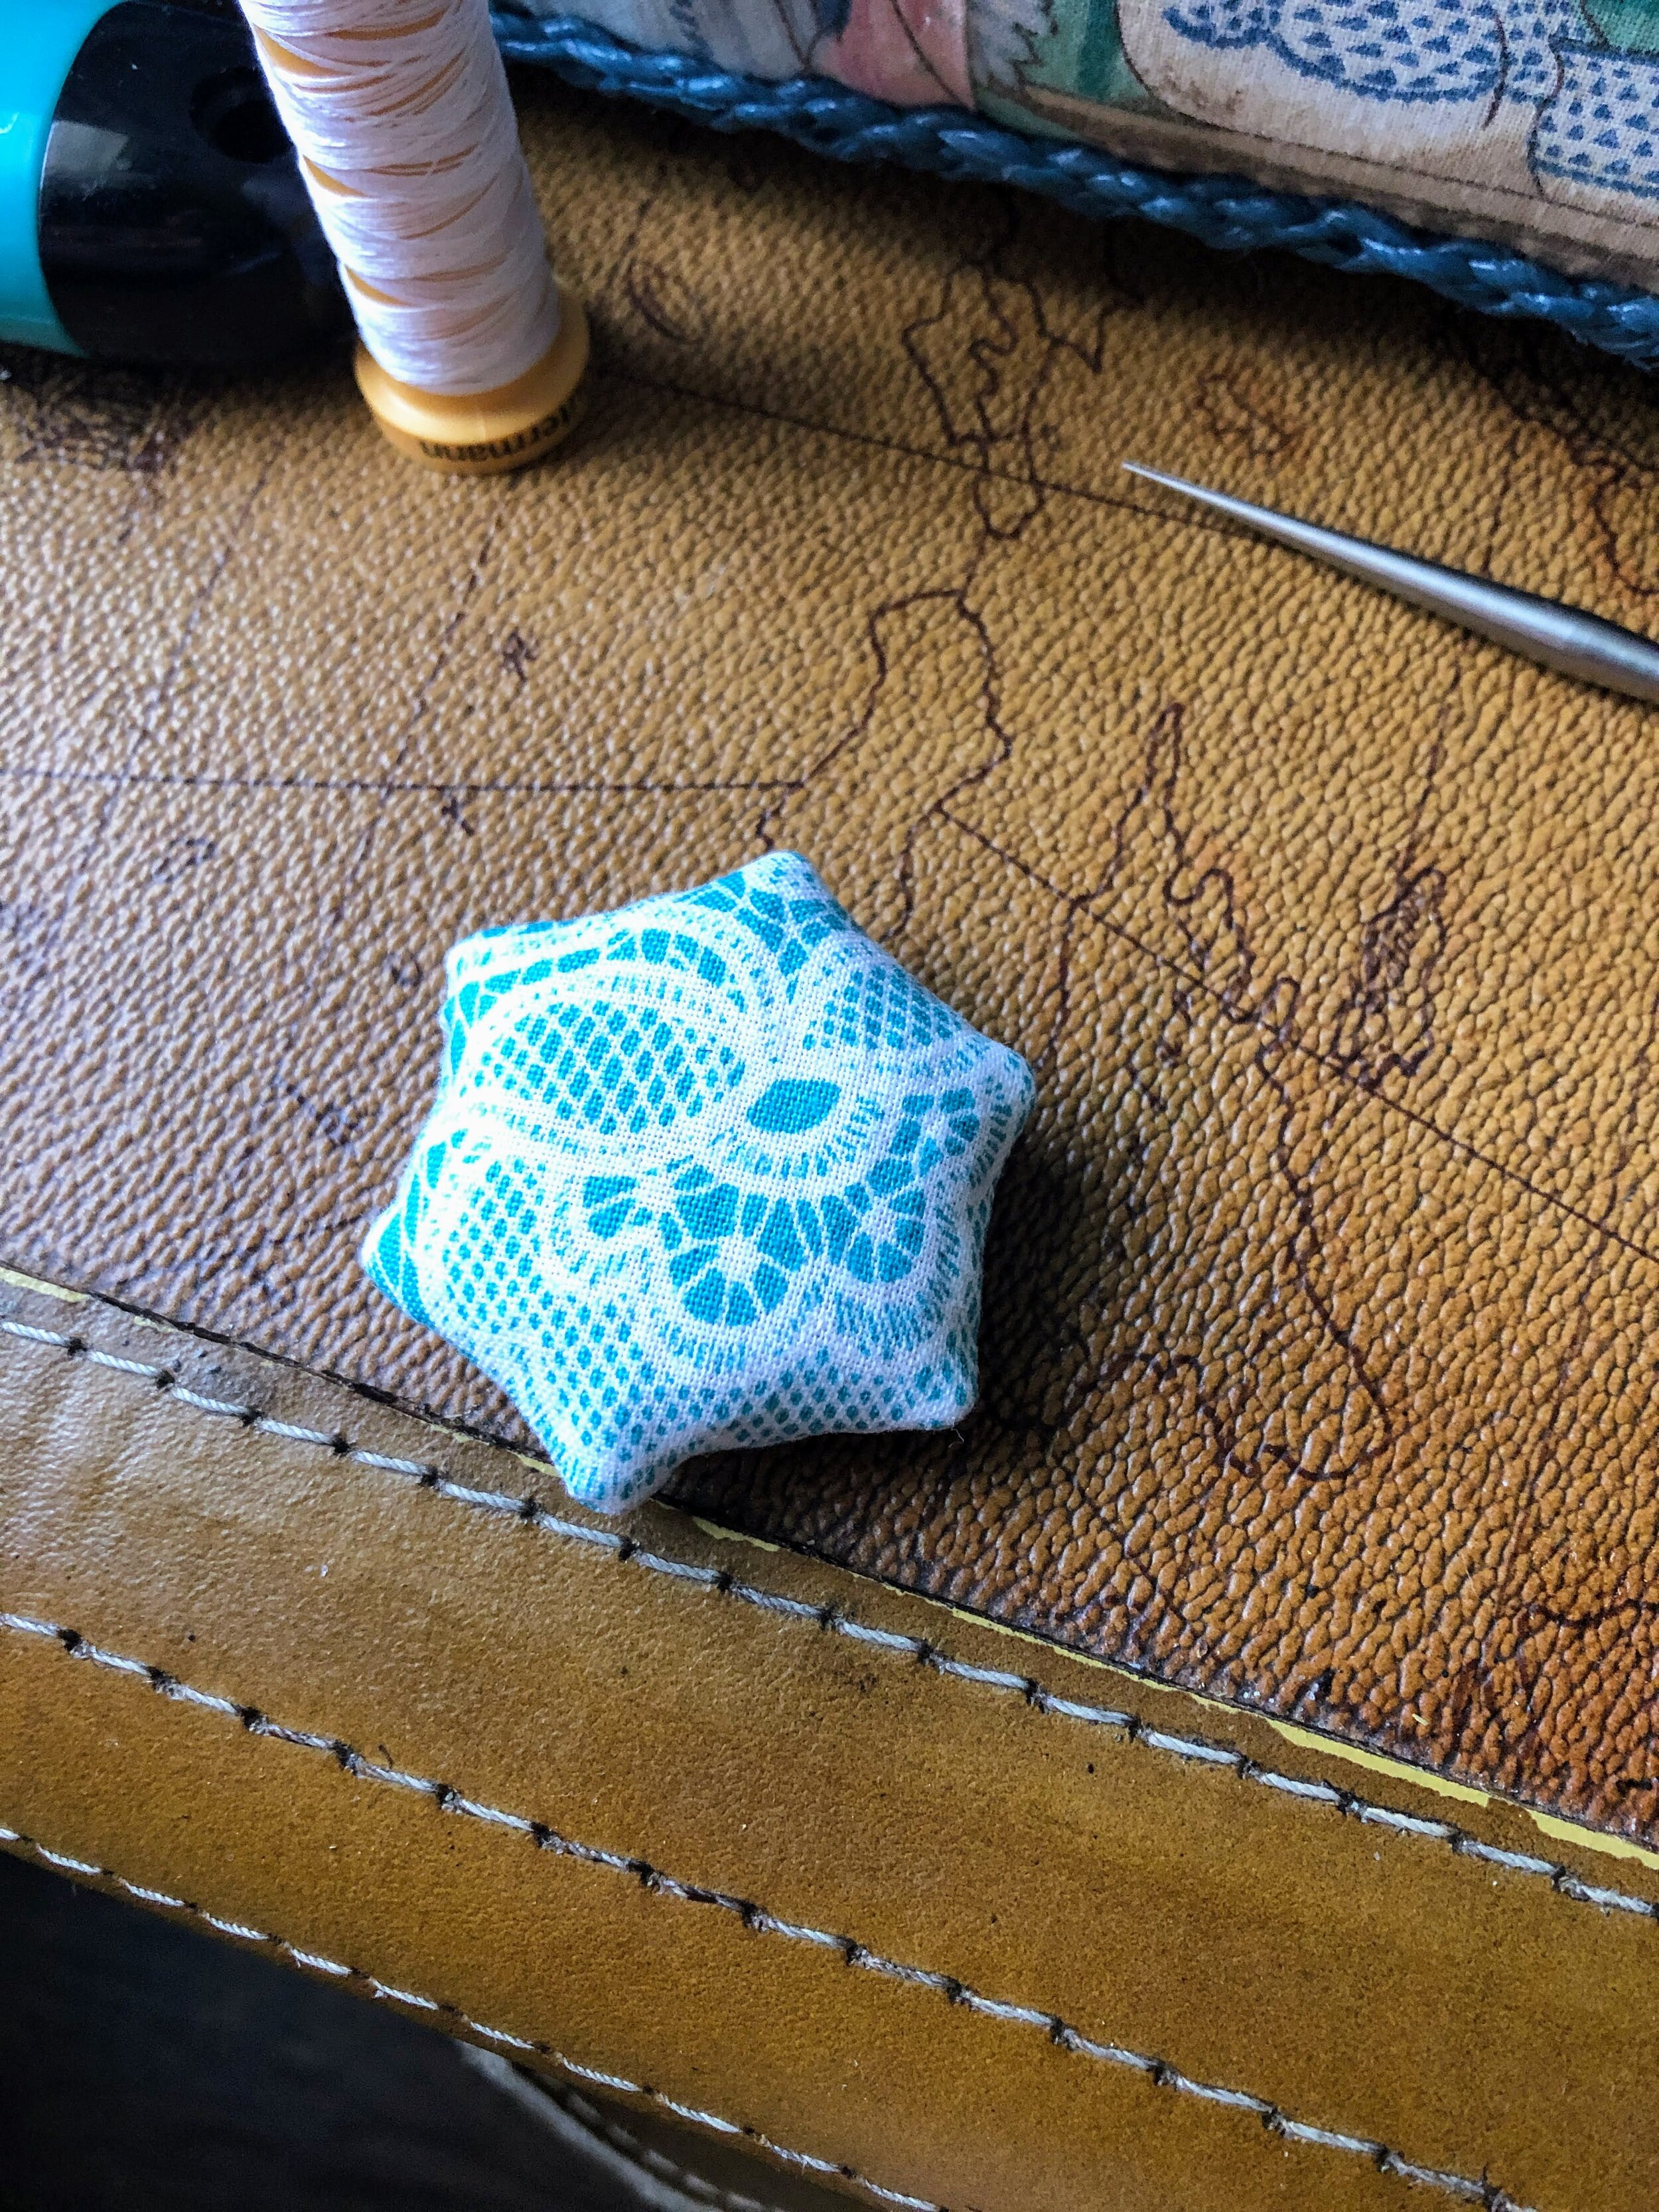
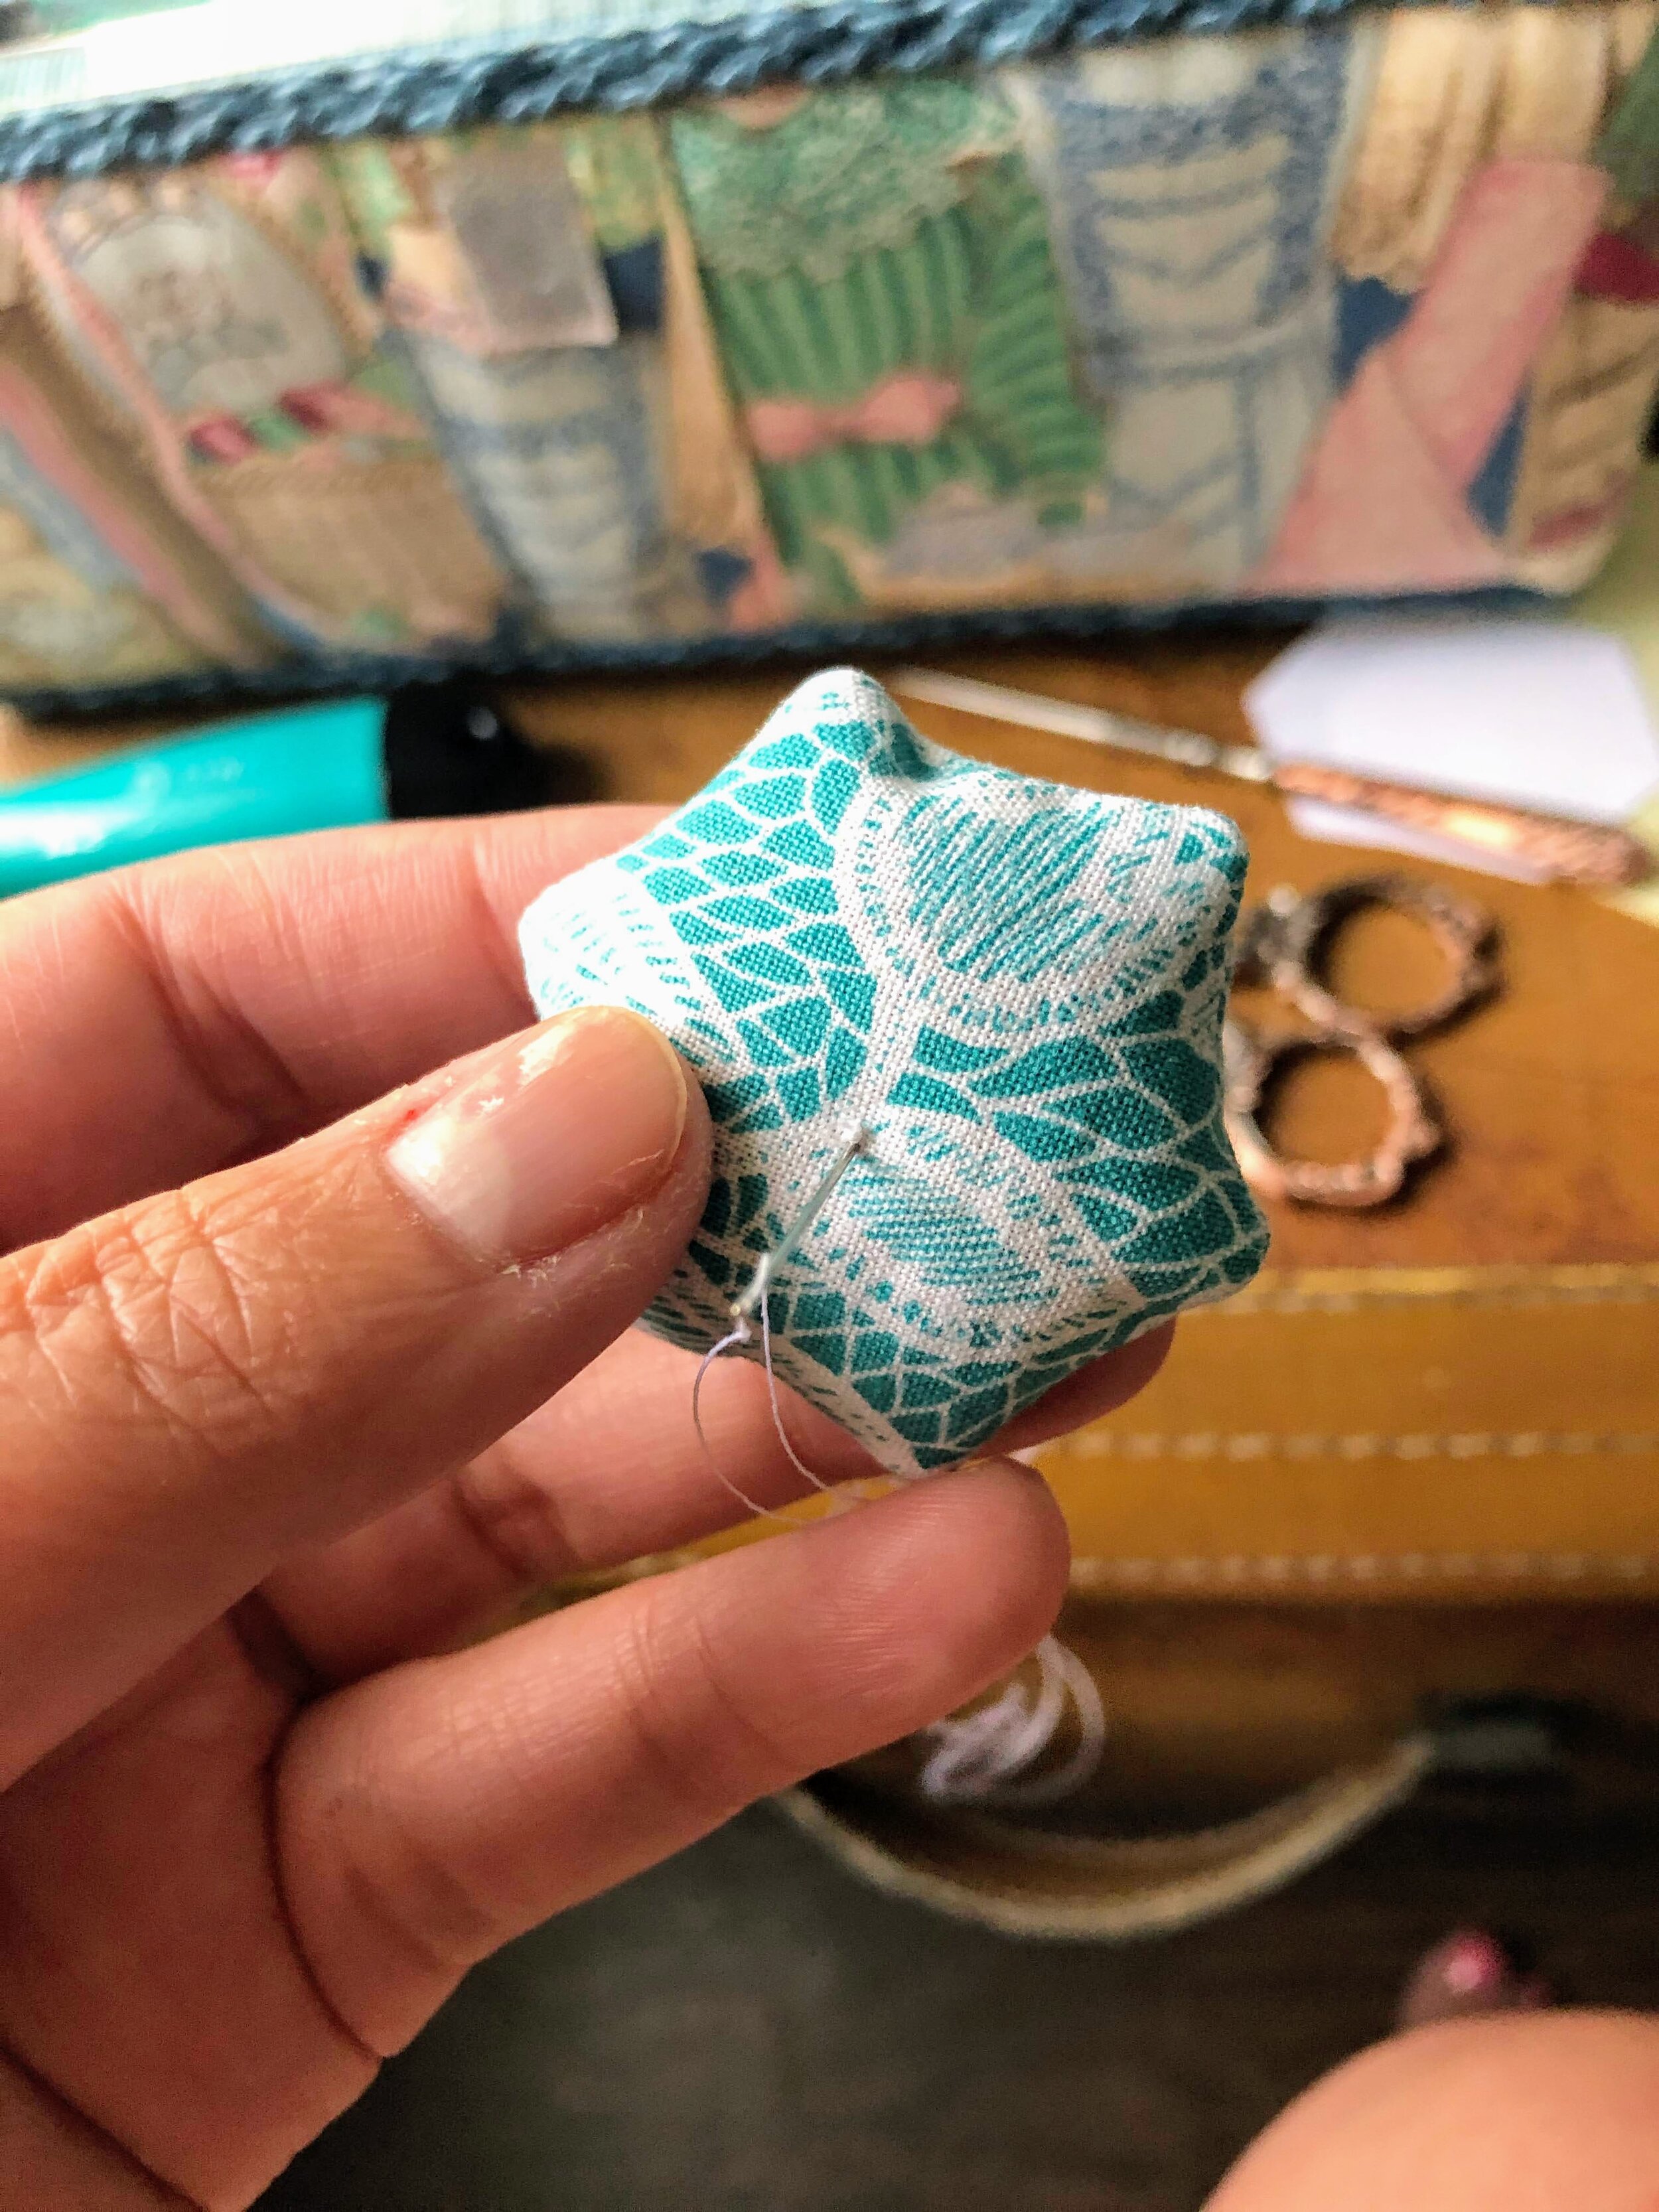
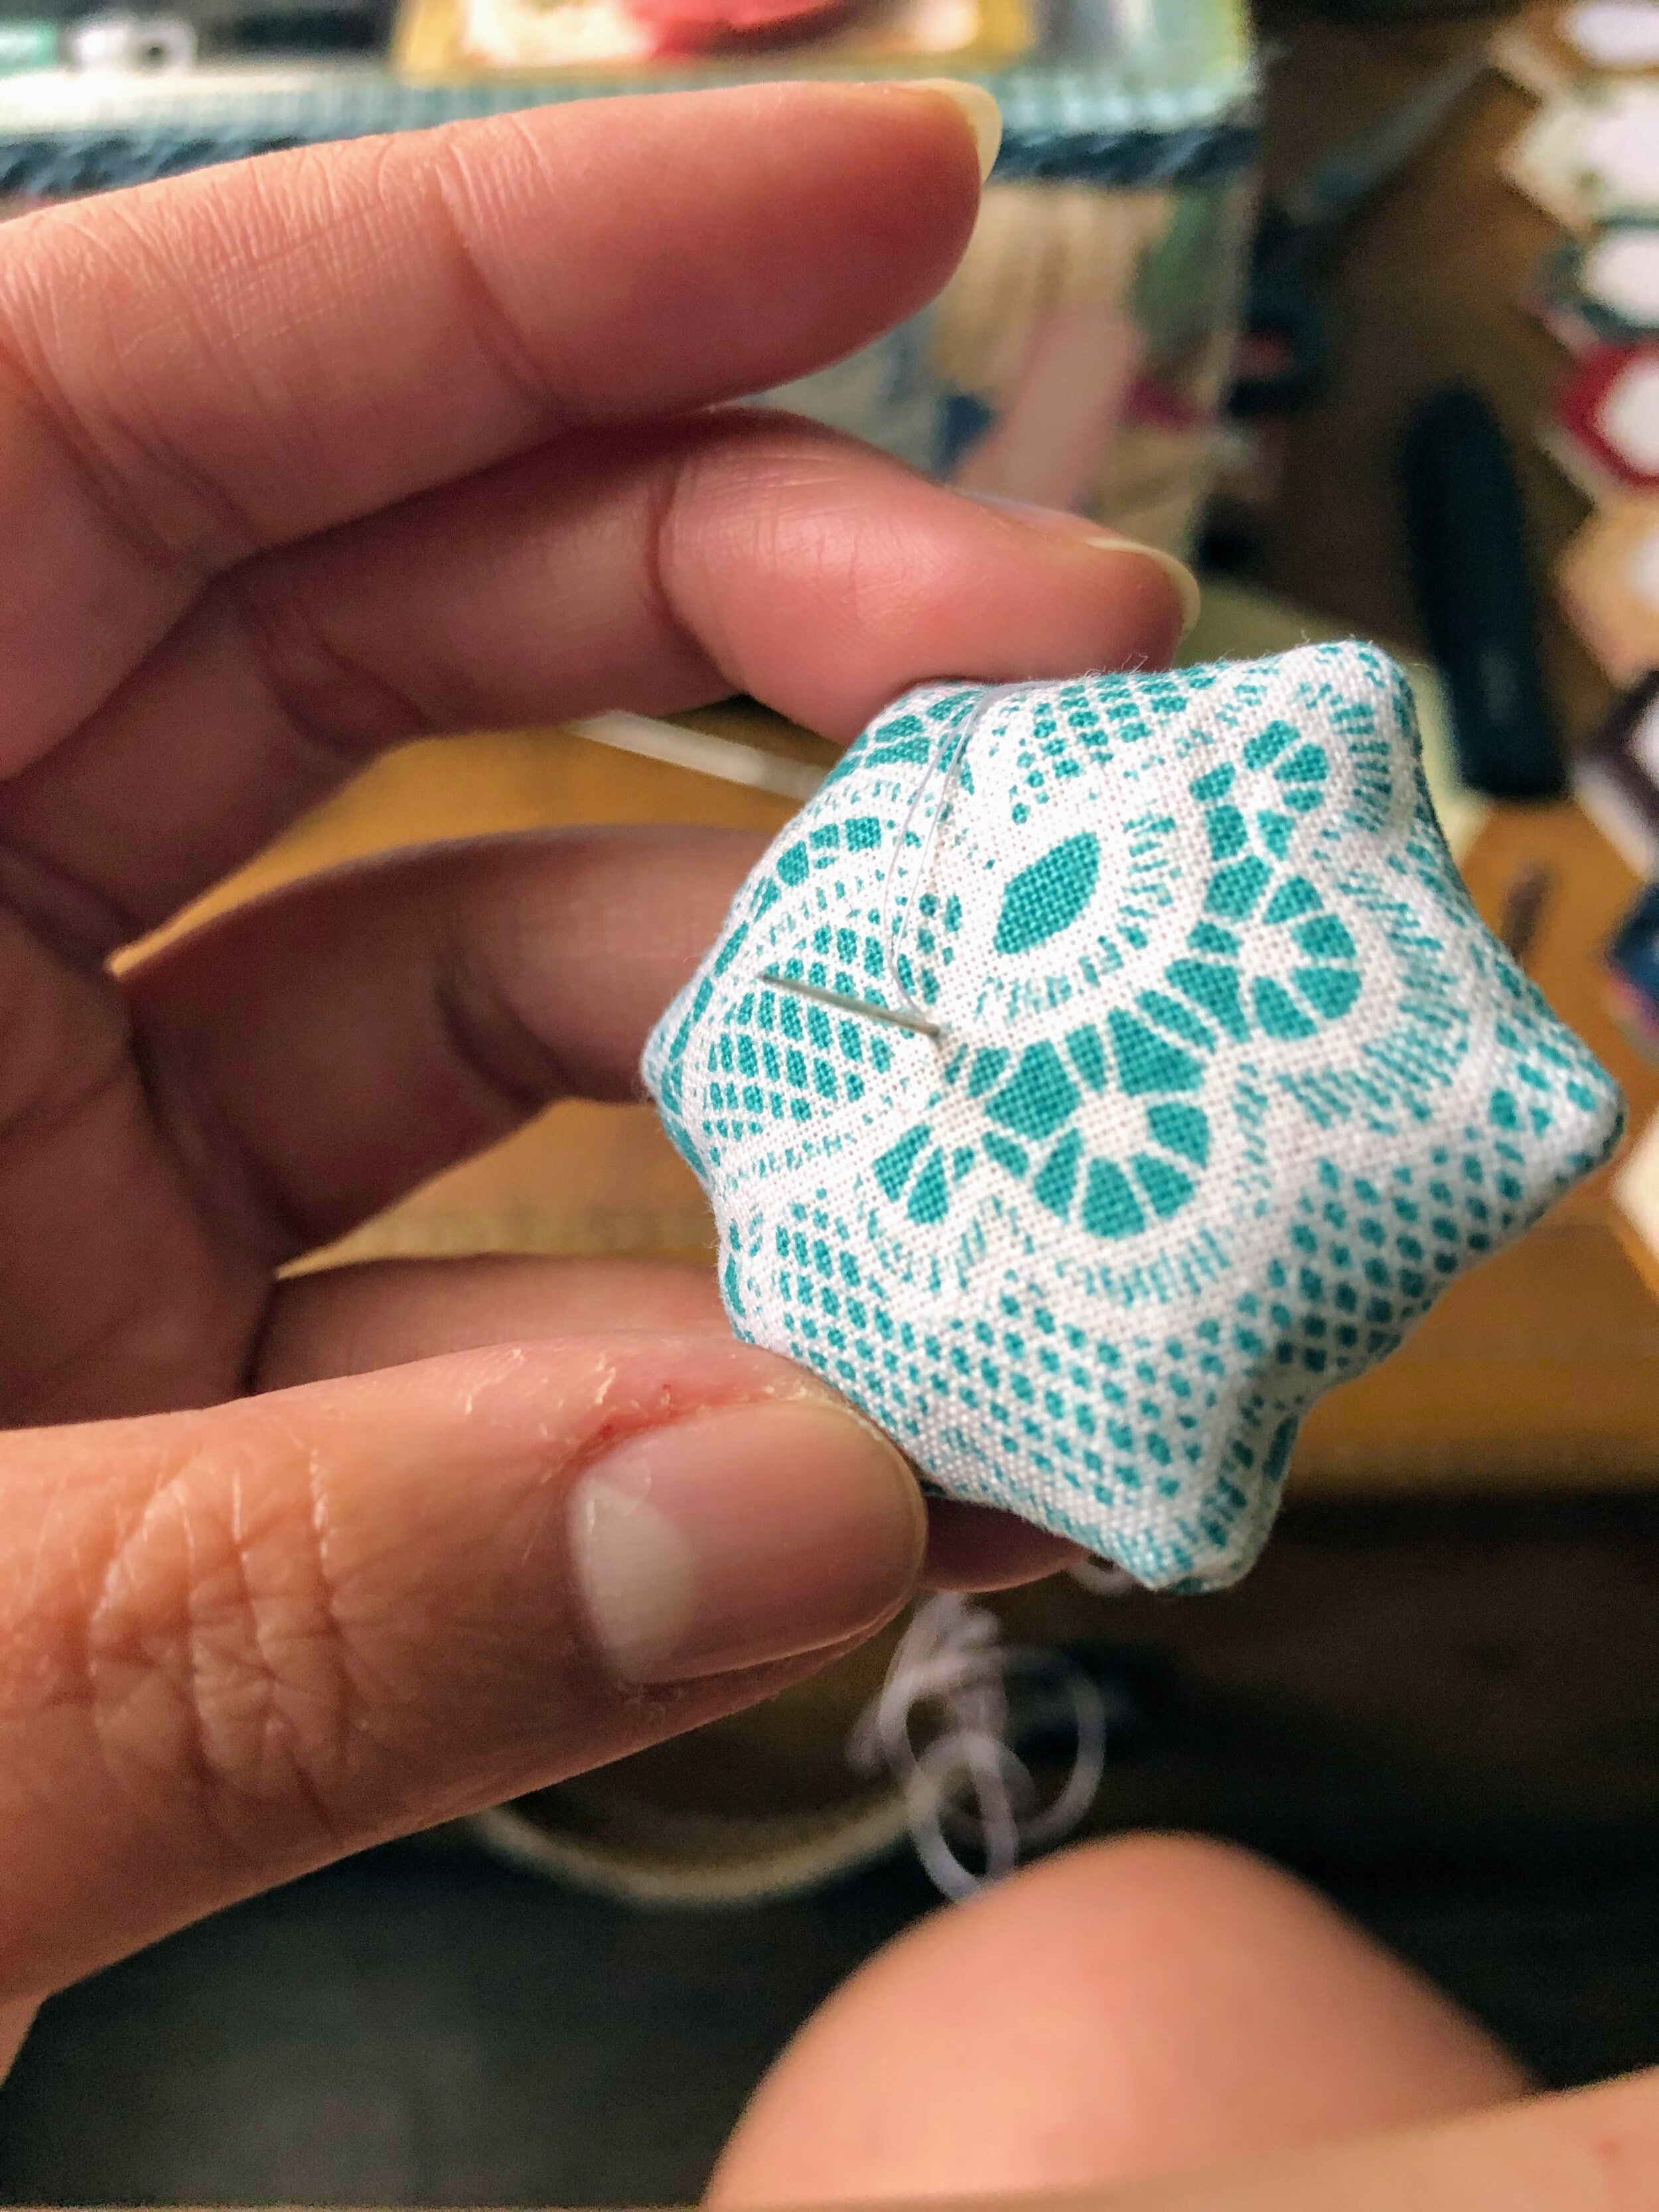
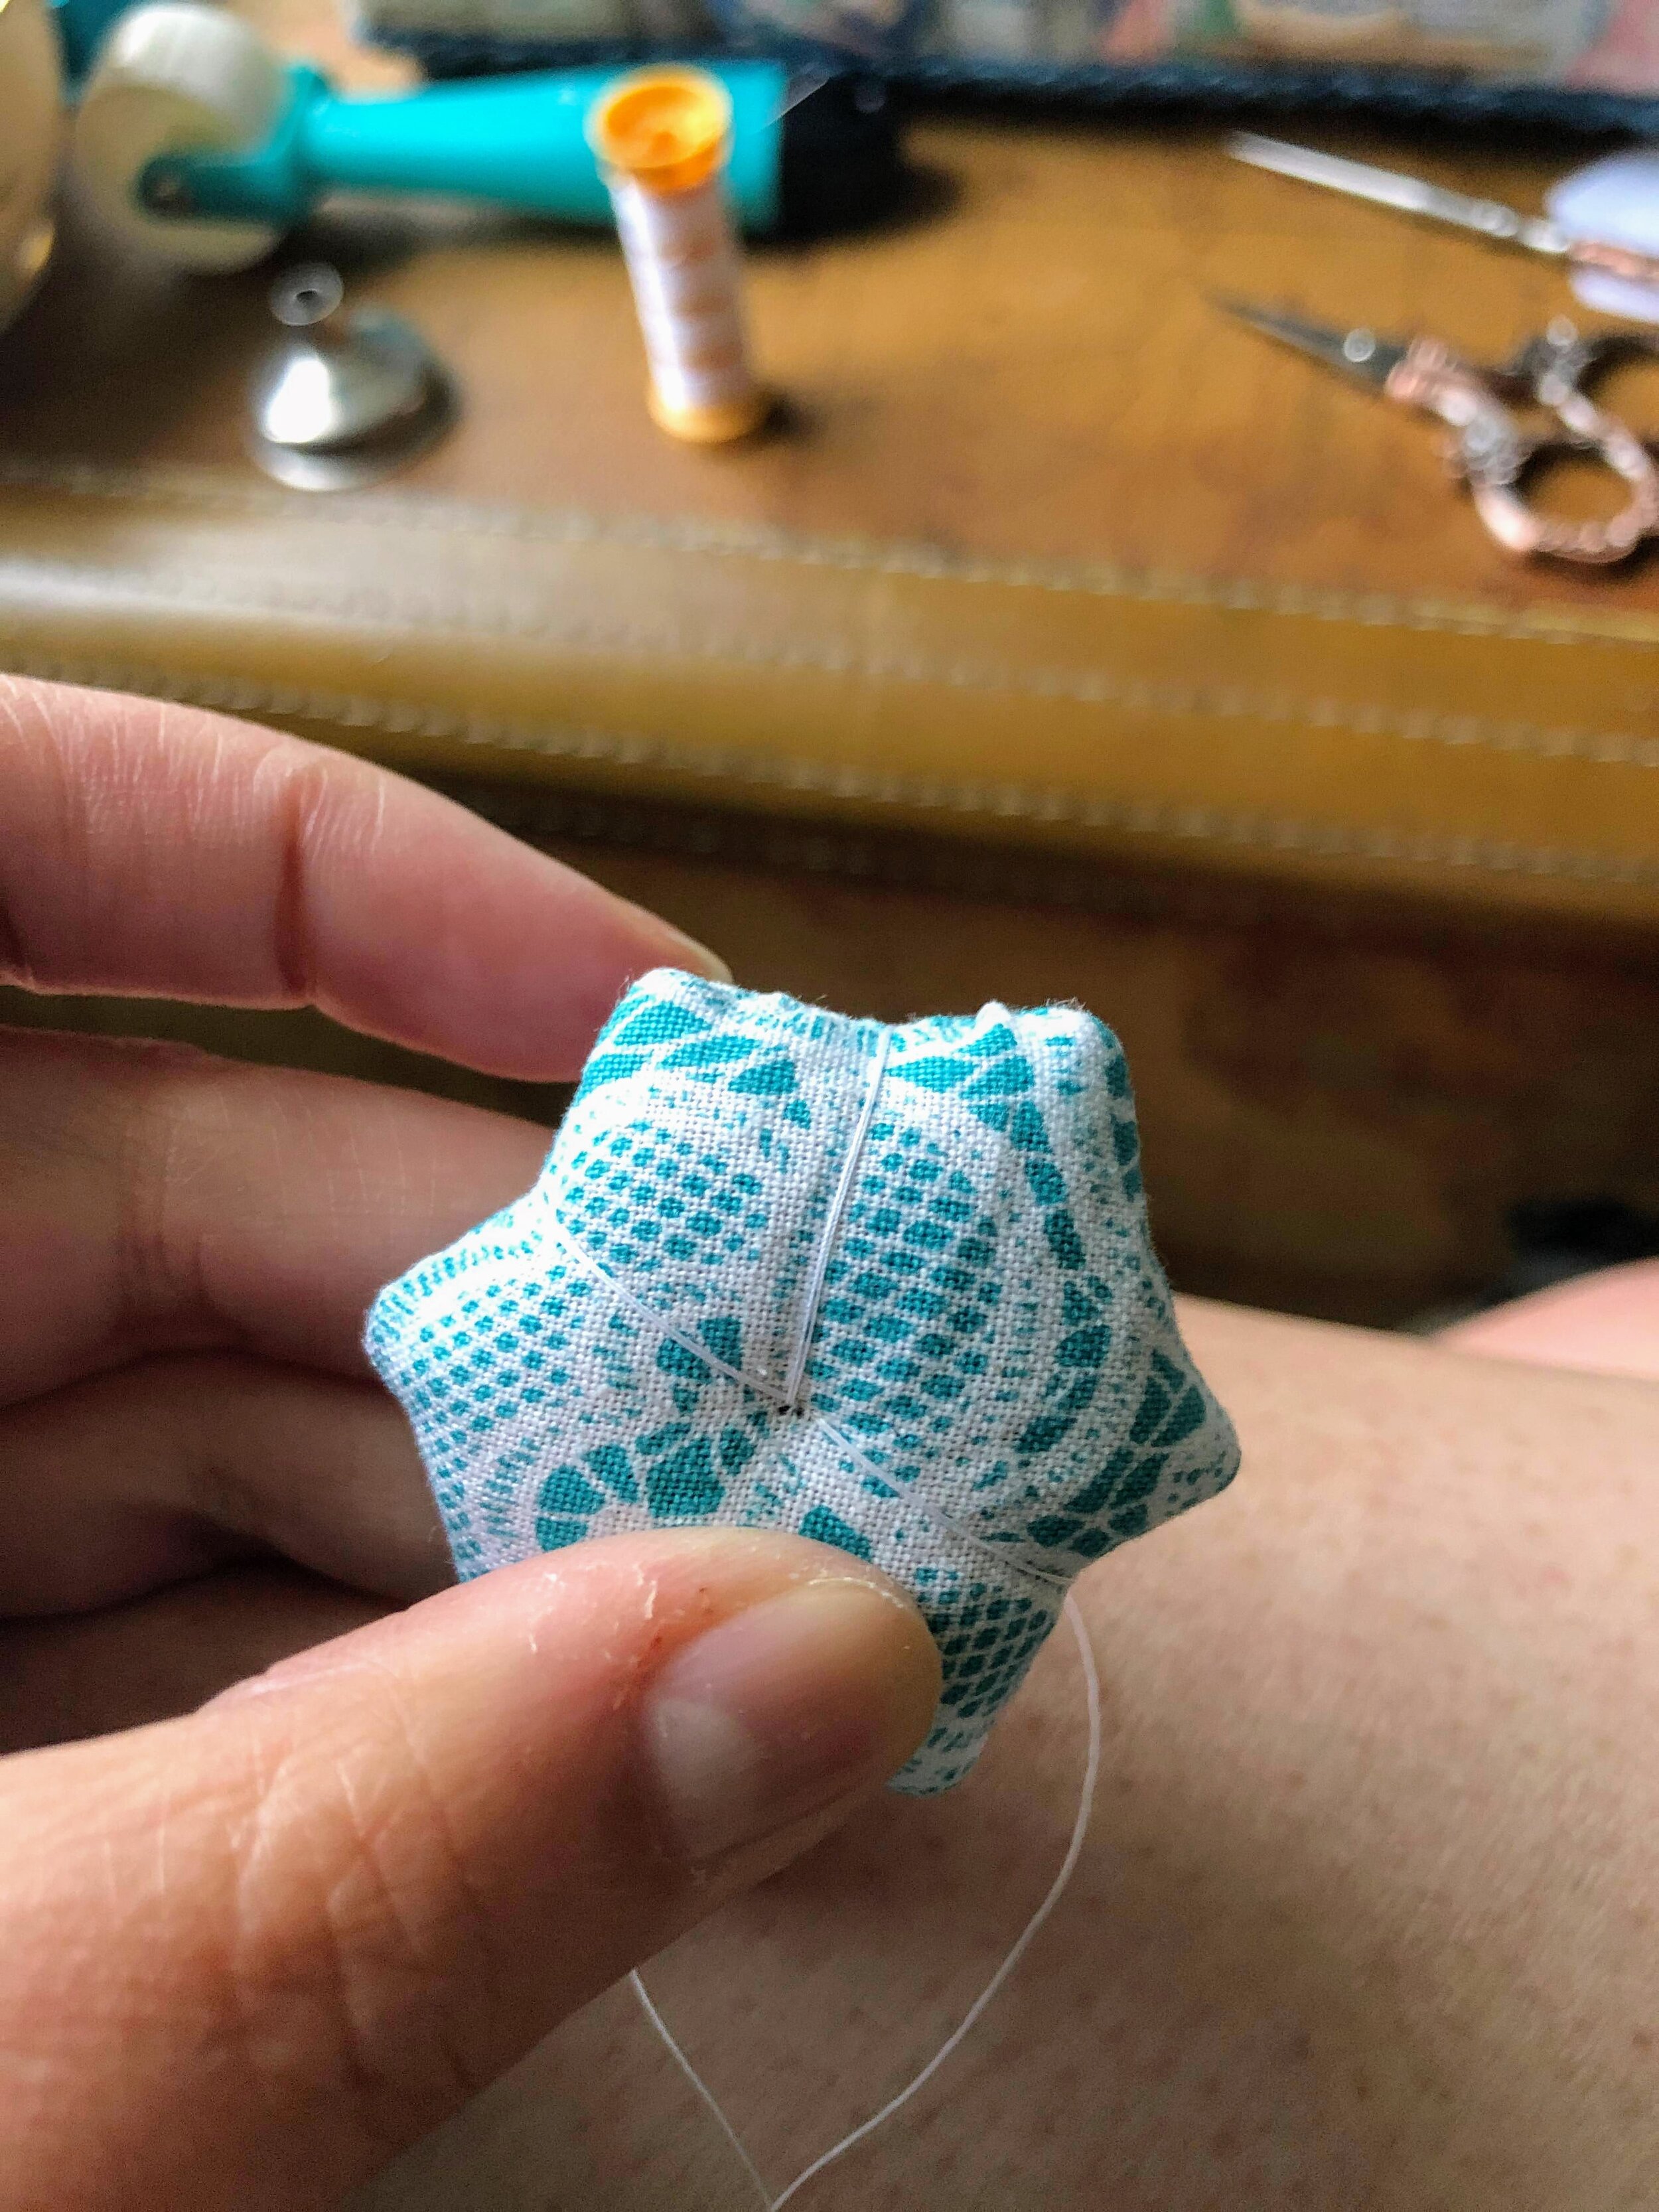
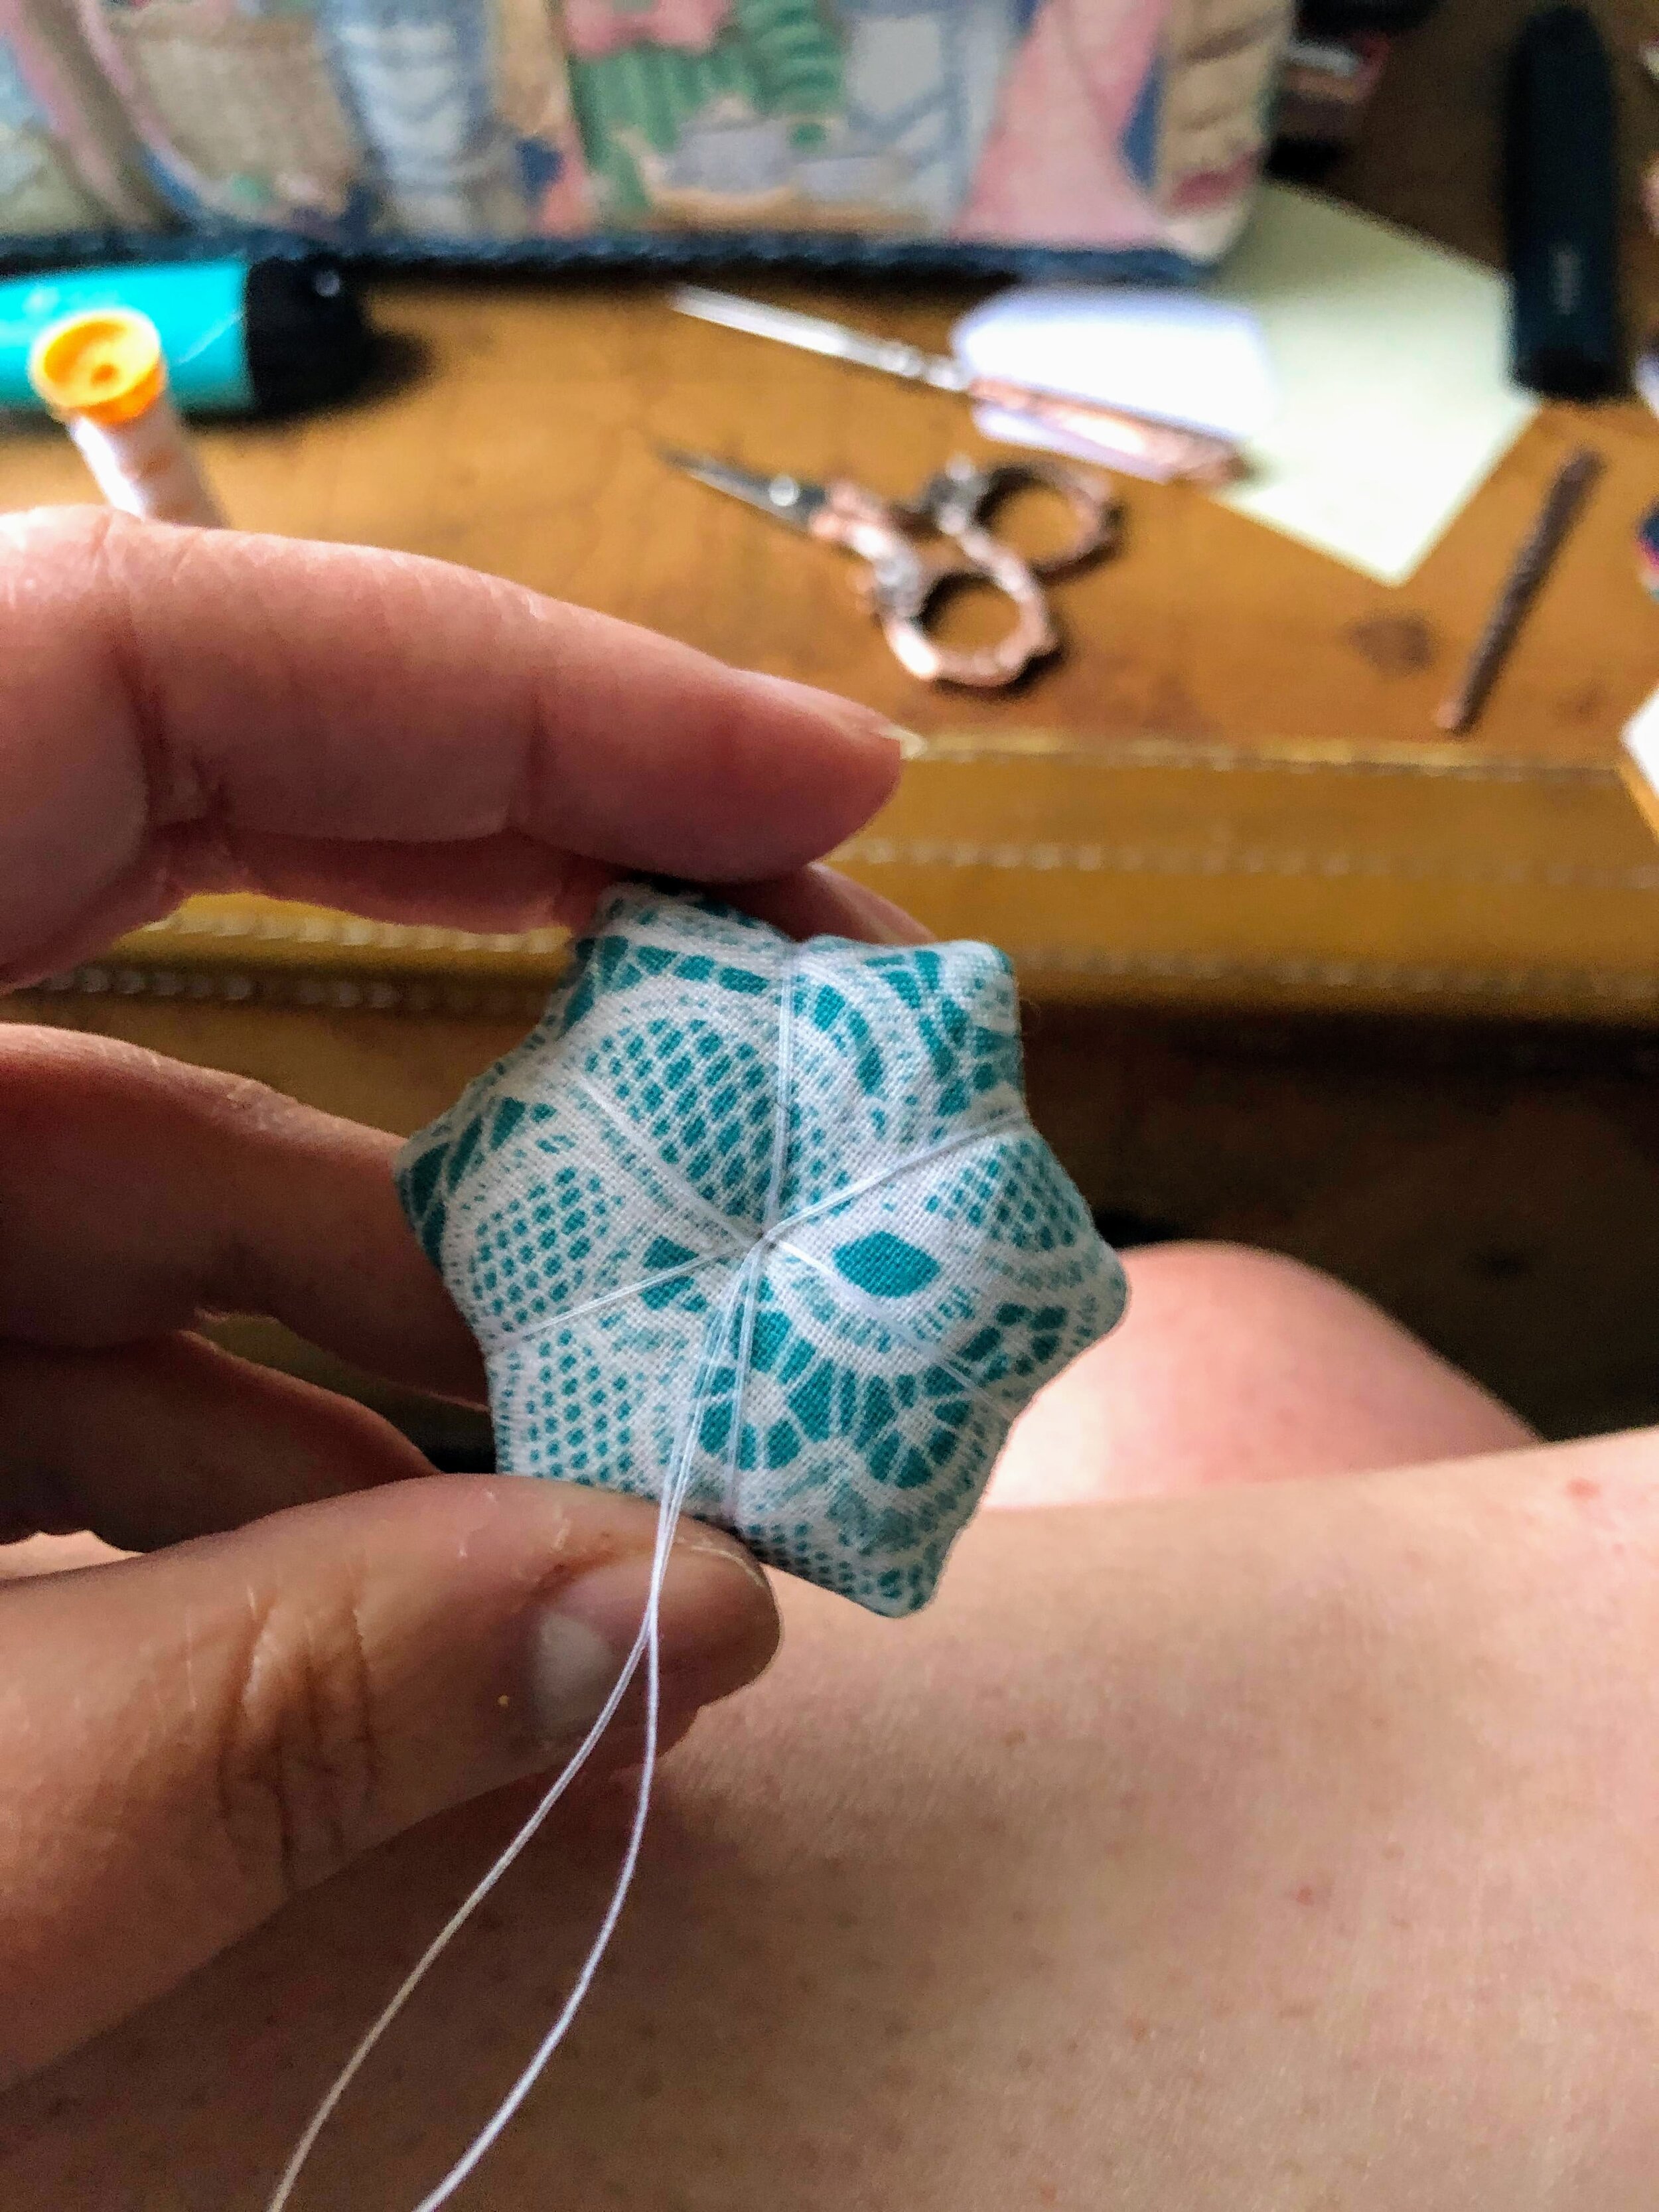
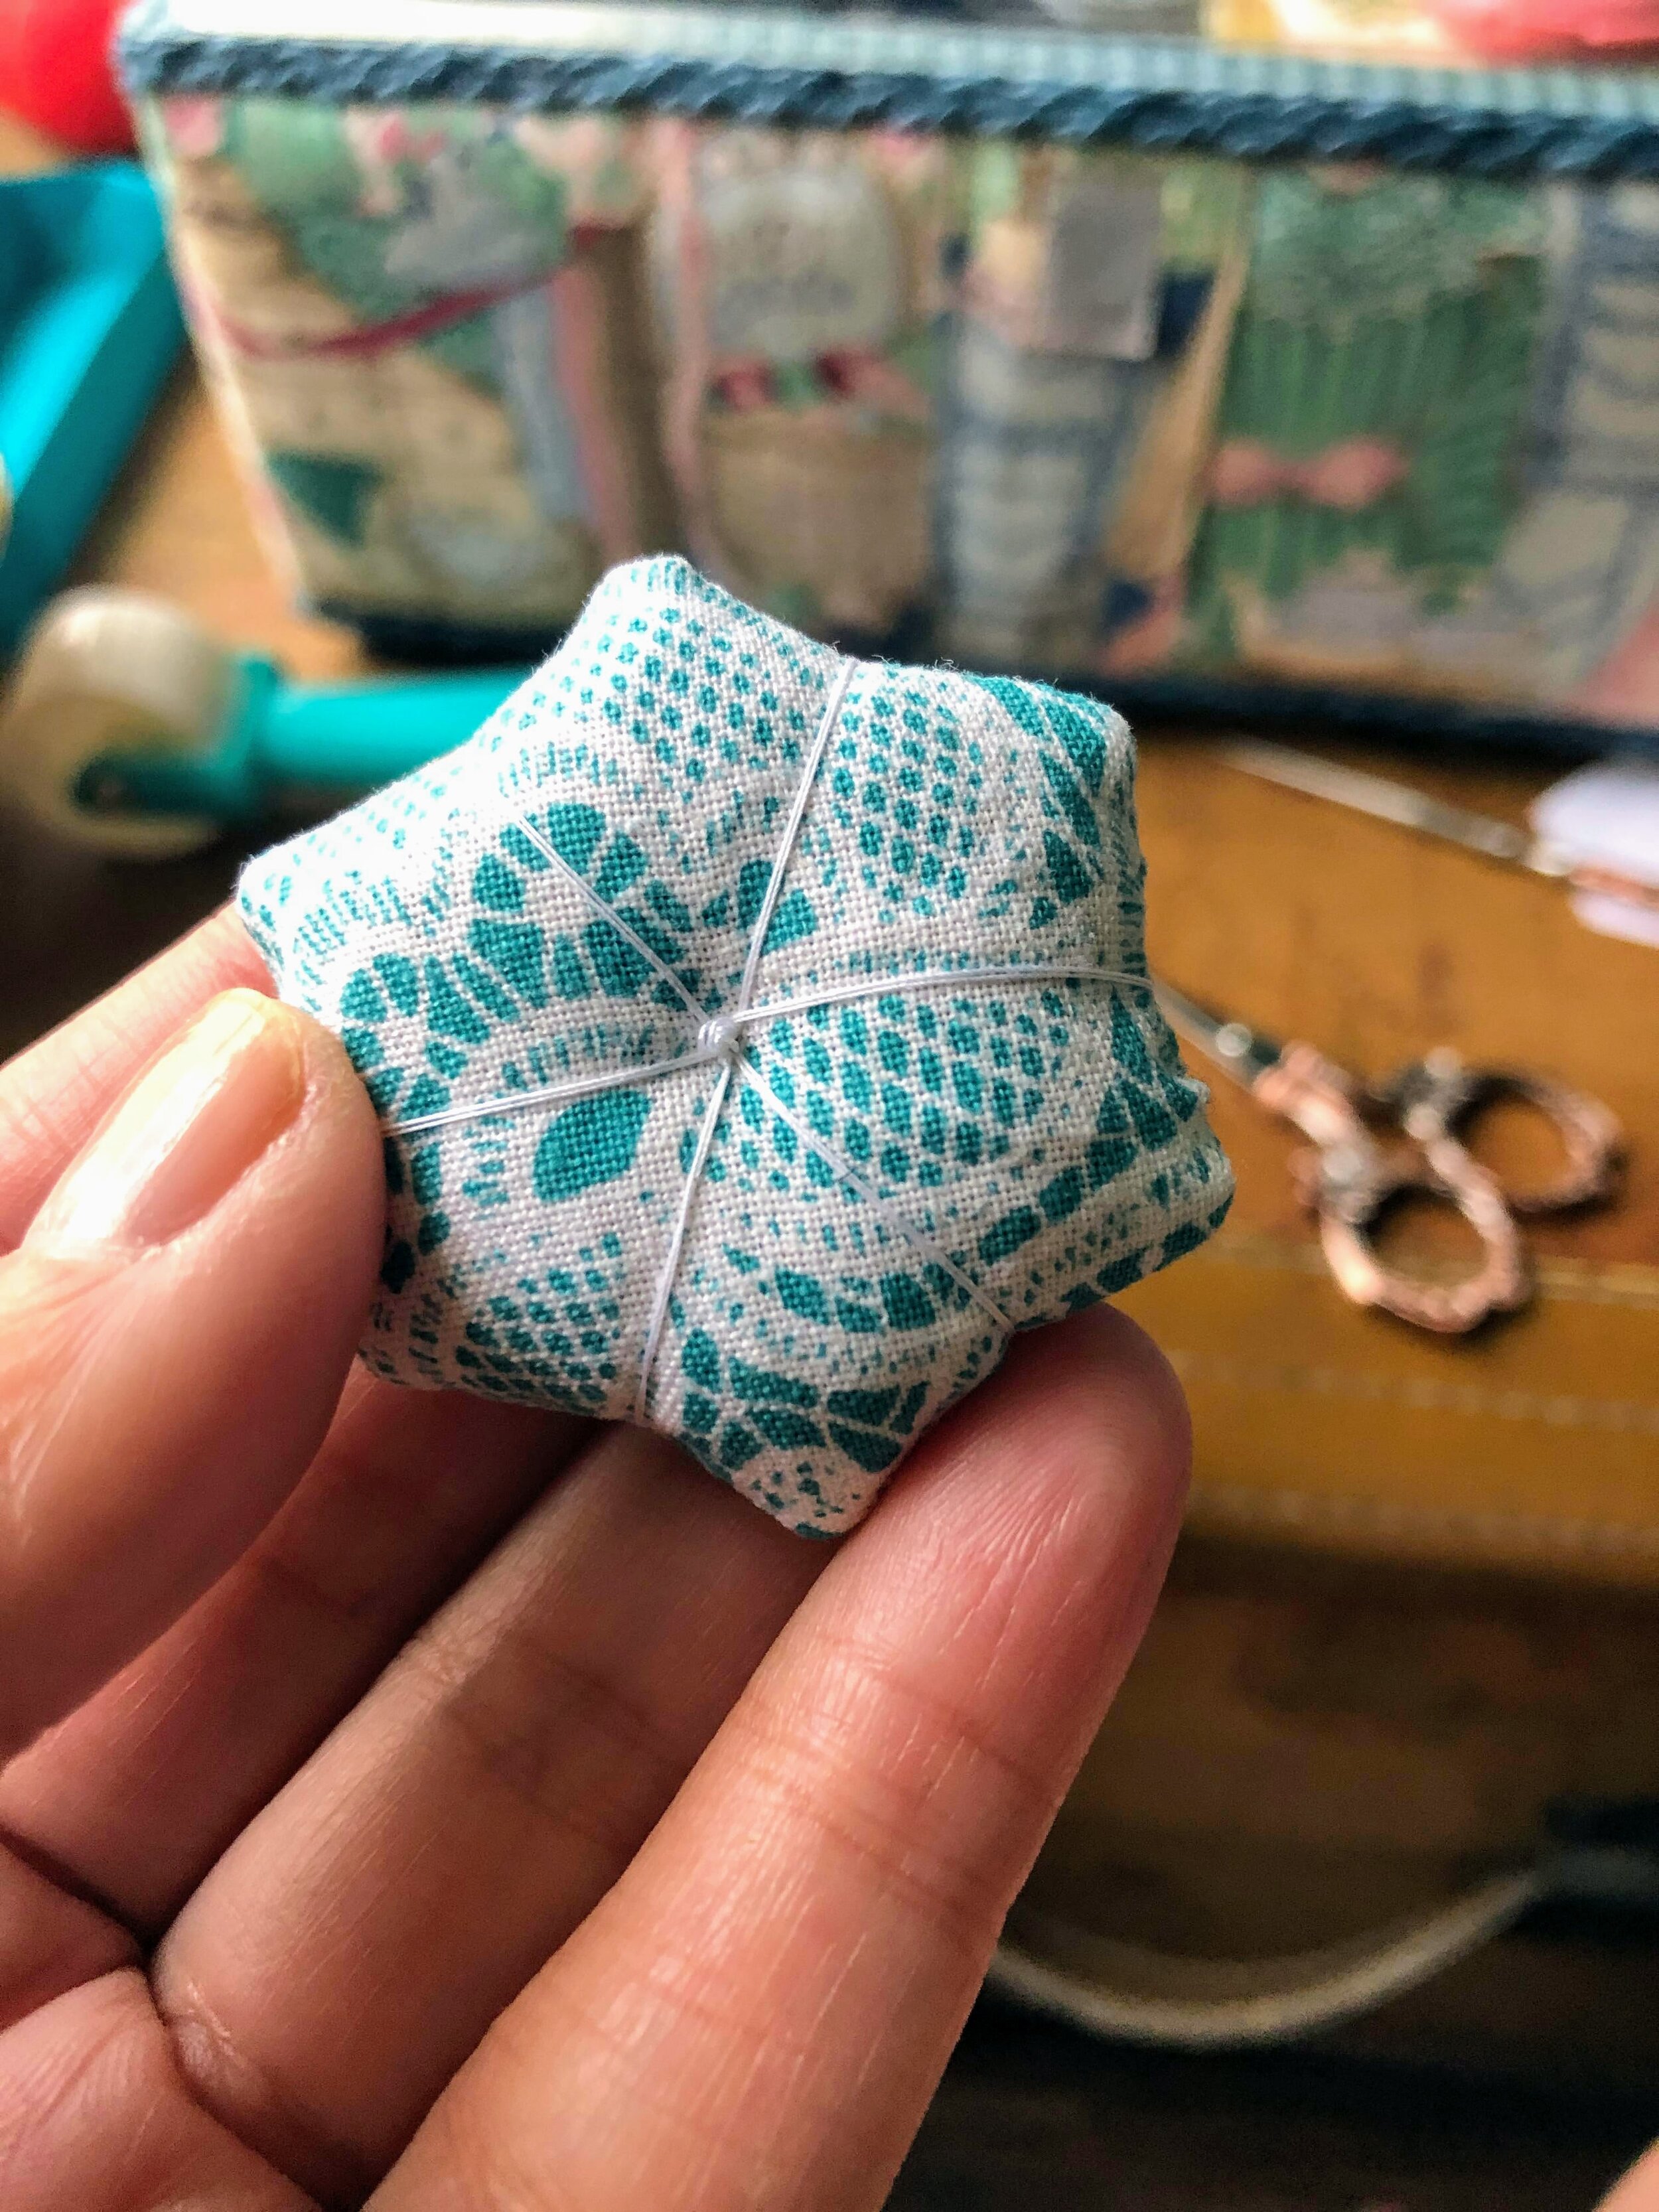
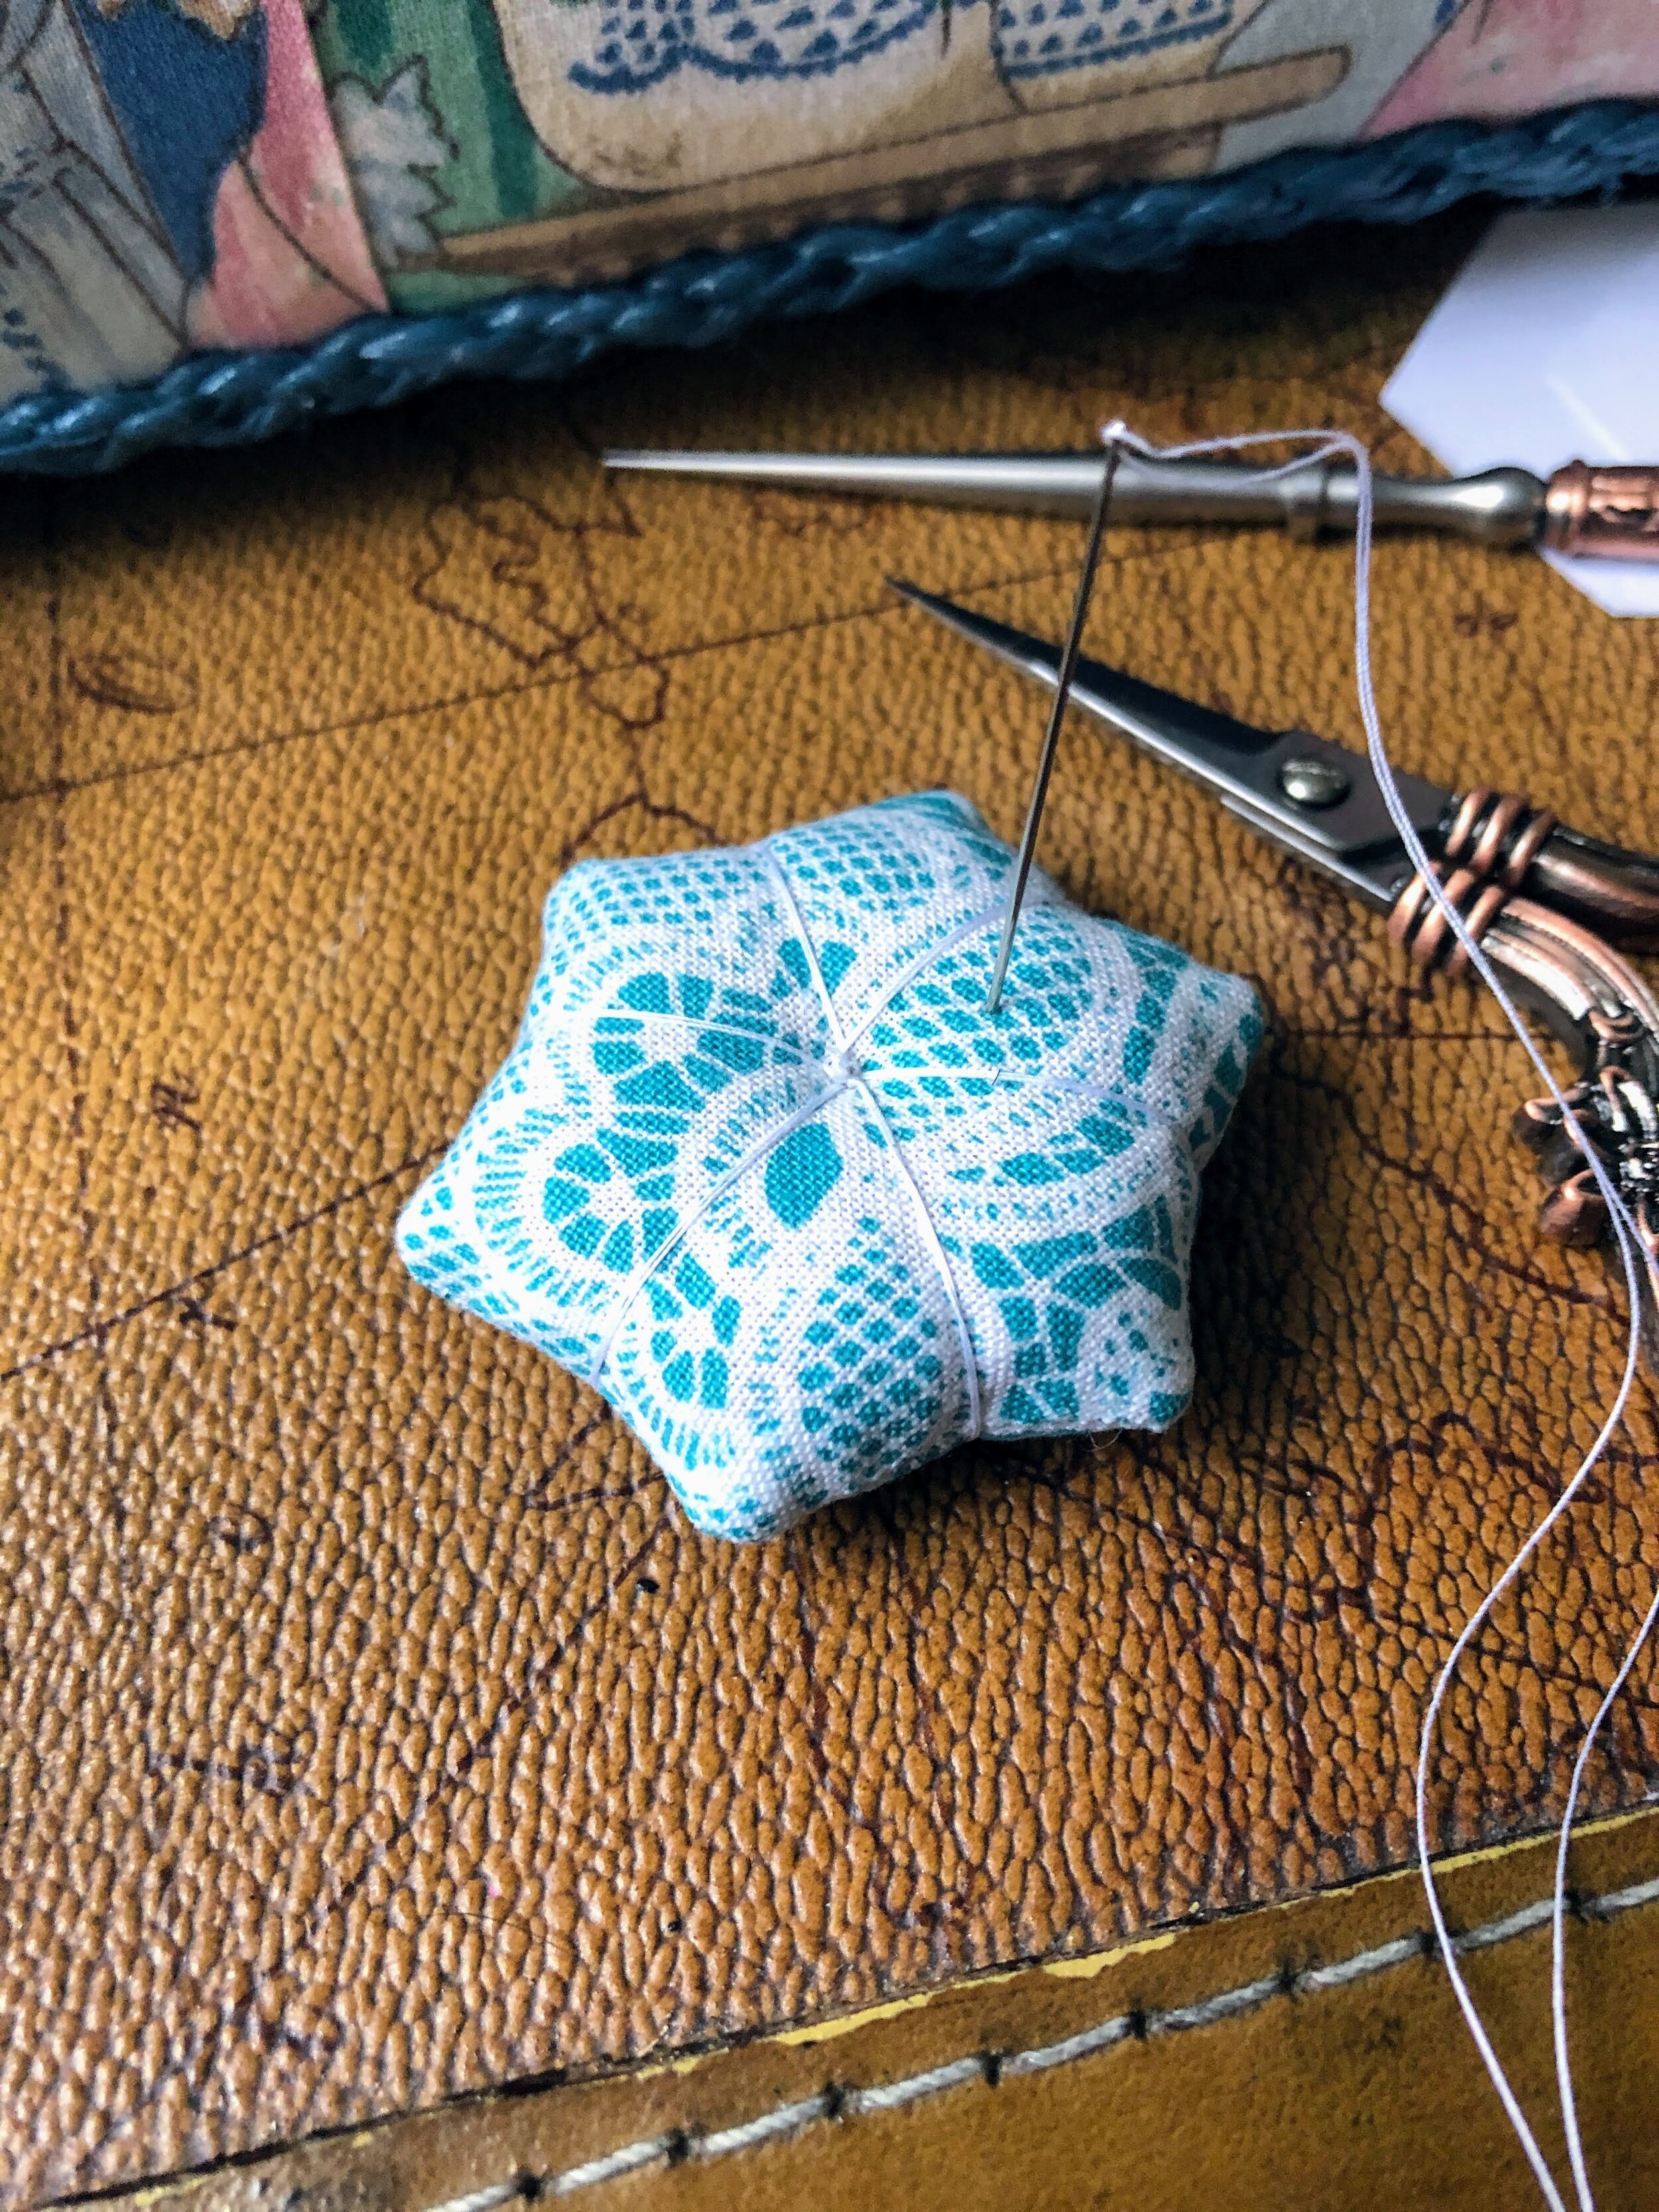
I’ve been spending time sorting and laying out some larger projects that I will be working on through the end of the year. While the planning and organising part of projects is necessary and something I enjoy, the downside is that I’m not actually completing projects. Getting everything planned, organised, ordered, and picked up takes a lot mental space. I’ve been able to add more to my larger EPP projects, which is great, but also not anything that can be marked complete. I have found a lovely local group for charity quilting and I have been in the process of working through patterns and sizing and fabrics - I’m really excited to get to share that when there is more to share than piecing graph paper layouts. I really wanted something that was quick and useful that would be something I could mark as complete, hence a small EPP pincushion.

There are so many pincushion tutorials on the internet. They’re all lovely and cute and range from quick and easy to drawn out and complex. I’m virtually drowning in EPP hexies at the moment and I wanted something small to keep in the sewing box. My sewing box does have a small pincushion attached inside the lid, but it’s filled with polyfill. I wanted something that was a bit more sharpening for my actual sewing needles. I’ve made a small hexie needle book, but that’s not nearly as useful when I’m actively using my needles. I thought I would share my little pincushion with you today.

All in all, this project took me about half an hour to complete using things I already had on hand. It is really nice to complete something small and useful for my sewing kit. What are some other small projects you have been working on?

Monetizing One’s Hobbies

I’ve been debating making a coloring book for a while now. It seems simple enough: make line art and publish. I don’t have to write text, I don’t have to think up a complicated plot, I don’t have to even render anything. Simply make line art and publish. There are plenty of online resources that offer to assist with self publishing a book, many of them free to make, only taking a small percentage of the sales themselves. I wouldn’t have to find a publisher or convince someone that my art is good enough for a coloring book. Sure, I would have to self promote, come up with a catchy title and/or tag line, and design both a front and back cover, but that can’t be too difficult, right? 


If you’ve followed the Instagram account and read some of the blog, you know that I dabble in art. I’ve thought about monetizing this and other hobbies in the past, but I have complicated feelings about doing so. 

F11670B1-B735-48A3-85AB-854C4D7C9D71.png
3987E163-8DAA-4EE3-BD42-7449818DA929.jpeg

I used to bake quite a bit, and found it very enjoyable. I’d make cookies, cakes, scones, cupcakes, brownies, lemon bars…so many different sweet treats. I got a lot of satisfaction from making desserts for people and seeing someone’s face light up as they bit into sugary scrumptiousness. It was suggested many times that I open a bakery or a catering business where I could peddle my desserts for money, but I knew in my heart of hearts that if I did I would hate baking. It would suck all the fun out of it. This was proven to a degree when I agreed to make all the birthday desserts for my work. Each month I would ask the birthday person what dessert they’d like. I felt strongly that as adults, many of us don’t get to ask for fun things like specific birthday treats. We get a store bought cake, which is nice enough, and everyone says pleasant things, and it’s forgotten immediately afterward. I wanted to make each person feel special, seen, and valued by offering them exactly what they wished for in a dessert. The first year was fun, it was like taking tiny, free commissions. Eventually I started getting actual commissions and was paid for several cakes and cheesecakes. At that point, I lost interest. It became a chore. I couldn’t get out of it. I couldn’t have a baking slump, it wasn’t allowed. I couldn’t take a break because my creativity was waning, it wasn’t allowed. I had to measure up to expectations, and I despise expectations when it comes to my personal time. And hence - my feelings about monetizing something I used to enjoy.

I don’t bake very much anymore.


I’ve dabbled in this with my art. I’ve played around with commissions in a very small way; one of my dear friends needed a logo for her business and I agreed to do my very first commission. I was nervous since I wanted to make sure she was satisfied, and I didn’t want to say no as she’s a very important person to us. She was patient and lovely and ended up liking what I came up with, a success on all counts. Afterward, I opened up commissions on Kofi and, to my delayed delight, received no commissions whatsoever. In retrospect, I’m so glad no one asked me to make anything custom. I’d lose my mind. I just got out of an art slump that lasted months. Can you imagine being pressured into making things when feeling uninspired? Why should I do that to myself? 
57D0B329-CE60-446B-A684-42EC5AC69797.png

This takes us back to the coloring book idea. I feel like I’m treading a dangerous path. No one is asking me for this, so it’s not a commission. No one is expecting anything, so there’s no external pressure. There is the threat of internal pressure, judging myself for how easy the pictures are to color and making calls about the so called “quality” of my work. This is an easy trap to fall into. I’m already quite hard on myself to make work of a certain “standard.” I’ve found over the last couple days, since breaking my art block, that if I change up the style then I do not feel nearly as much pressure to make things bigger and better, but the coloring book is going to be in a pretty consistent style, as you can see with the images I’ve placed in this blog. Can I make enough drawings to create a whole-ass coloring book???

Lastly, monetizing one’s hobby requires self promotion. Even if I come up with “enough” (whatever the means) pages that are satisfactory to myself, I’ll need to tweet about the book, I’ll need to blast it on IG, I’ll need to promote on Facebook. I could consider a TikTok. That seems like a lot of work that I don’t really want to put in. I enjoy the blog because it’s an easy place to put my thoughts. We don’t have a lot of readers right now and that’s ok. We’ve created an intimate, small, comfortable corner of the internet where we can throw our voices to the wind and expect nothing in return. If I have to start promoting, that brings expectation. That brings pressure. That brings the potential for disappointment. Do I want to bring that into my life? I really don’t know.

For now, I’m going to keep doodling. Maybe I’ll make enough for a coloring book, but maybe I’ll abandon the idea completely and just enjoy making art for art’s sake.

Have you thought about monetizing a hobby? Tell us about it in the comments!


Stories on Grief

We all have stories that govern our lives. Some are stories that we tell ourselves. Some are stories we inherit from our families or the culture in which we were raised. Either way, they are things that inform our guilt, our façade, and our actions. Sometimes it’s easy to identify the stories we tell ourselves. We tell ourselves stories about who we are – an artist, a chef, a father, an aunt. Those are often stories about what gives us an identity, and often, there is an actual narrative of how we got there. Other stories are more subtle – how we define success, what being “good” means. A lot of times these stories are intertwined with cultural expectations or religious ties. Often when I’m feeling guilt or inadequacy, these are the stories that I have to address.

IMG_9116.jpeg

We are not islands. We have relationships with those around us, and often our interactions and intentions can become distorted when viewed through the lens of another person. This isn’t bad – it’s simply what happens because our experiences vary. It’s the point of open communication. July has been a month to recuperate, regroup, and reset; it’s been easier to accept what is and give myself the space to rest. I’m thankful that I’m in a place of resting right now because in the last two weeks of July some pretty heavy things happened in my personal life that circle around change and grief. This restful space has given me time to slowly unpack some of my own stories around grief.

If any of these things had presented themselves five, or even two, years ago, I would be a mess – my brain would be swirling with big emotions, misplaced guilt, and I’d be in serious danger of relapsing into maladaptive coping behaviours. Now I see when these big emotions happen and acknowledge them for what they are without having the immediate need to squash them so that they can’t affect me. Previously, my immediate response would be to disassociate. My childhood was tumultuous, and I learned quickly that emotional responses only created more drama in the household. This followed me into adulthood, and it made even small emotions feel very big. Being able to feel and identify my emotions has been a long journey, and it’s been rough.

Grief is a big feel that is pretty all encompassing. It brings up a lot of things that maybe you thought you’d dealt with long ago. What I’ve also found is that grief is something that we as a culture do not actively deal with. We treat grief as if it’s something to cause shame and to be done in isolation. We cover grief with platitudes of, “It’s going to get better,” “I’m sorry,” or “Everything happens for a reason.” We do not acknowledge its necessity and shame those who outwardly grieve. Grief, when left to fester, can cause fear and anxiety, which causes one to isolate more, and then turns into a vicious cycle. The reality is that grief is uncomfortable, and the only way to alleviate that is to let it ride its course. When confronted with another’s grief we try to let it slide away instead of simply being there with the person as a shared witness. I’ve been asked a lot recently what to do when someone else is grieving because of my past, and fairly recent, experiences.

Here’s what I often end up telling people:

  • Acknowledge the grief, and don’t apologize. Unless you are the direct cause of the grief, you are not the responsible party, and, therefore, don’t need to be apologizing. Apologizing doesn’t acknowledge the grief. As silly as it may sound, acknowledging that the situation is crap is important.

  • Don’t try to “fix” it. There is literally nothing anyone can do. Instead, allow yourself to simply be there with the person. Reaffirm how crap the situation is as they need it. Let it be silent as they need it. I know that people often asked me what they could do, and frankly, that was wildly frustrating because there wasn’t much anyone could do. It made me feel guilty and uncomfortable because they just wanted to help. What would have been more helpful was that person acknowledging that the grief was there and that they would be there. Greif causes us to sit quietly with our own thoughts, and sometimes it just needs that quiet space with another person standing witness.

  • Let them vent and affirm their actions. Grief is messy. It’s like a roller coaster – one moment it’s silent and the next it’s loud, and the next it’s questioning every choice made. As witness, it’s okay to cry with them, be silent with them, and affirm the questions. They know they did what they could. Stating the obvious, or rehashing is looking for that affirmation.

A lot of times grief brings us back to stories we tell ourselves. In our grief we question our actions and there is guilt. When the guilt comes, we have to look at why we feel guilt. Personally, I’ve found that the guilt is often misplaced and intrinsically tied to what Becky and I (affectionately) call Dysons. They are the “shoulds” in our lives. Think: I should have been more ____________ (affectionate, caring, successful, a better partner, etc). Shoulds suck. Dysons are vacuums, and vacuums suck, hence, Dysons. The reality is that we all do the best we can with the tools and skills we have. Will you always make the best choice? No. Do you acknowledge that? Yes. Then there is grief. This is why grief is so important. It helps us acknowledge the things in our life. It helps us acknowledge our actions. It needs to be seen.

In our modern culture, we don’t give grief the space it needs. We have removed grieving rituals and ask those grieving to hide it. We act as if it doesn’t exist. We cover it with purchases and food and drink. I propose that instead, we allow grief to be a time of compassionate care. Often those who are grieving aren’t in the headspace to care for themselves. As witness, you can’t take the pain, but you can help them help themselves.

  • Ensure they are able to take care of basic needs. This is why meal trains exist. The person grieving may not eat a lot, but the point is that it’s something they no longer have to worry about. I’ve also found that making sure that there are plenty of tissues and water constantly available is important. Fold a basket of laundry, load their dishwasher, or take out the trash. These are everyday basics that still need to be done, but aren’t a high priority at the moment.

  • Encourage them in self-care. Sometimes, that’s really just encouraging them to take showers, put on day clothes, etc. Having moisturizers and lip balms for chapped noses and lips can be helpful. I also like having cooling face masks available. Crying always makes me puffy, so I imagine it’s the same for other. Encourage them to engage in hobbies or games they enjoy. If they want to snuggle in blankets, encourage it. Self-care is very important. When you care for the physical body, it makes taking care of the mental space easier.

  • Encourage normalcy. The reality is that immediate grief is heavy and large. Normal routines or work check-ins can be comforting. Grief is altering. It’s a type of permanent change, and change is hard. We crave our normal routines and habits. Acknowledging this is okay is important. Our stories can sometimes tell us in those moments that we weren’t enough because we want that normalcy. The reality is that having that bit of normality is necessary so that we can process our grief and move through it.

Grief is powerful. While painful, it can connect us to those we love. By allowing grief to have space, we give ourselves the space to connect with each other in meaningful ways. For the one experiencing the grief, they are allowed to be vulnerable and to receive comfort and care. For the one standing witness, it allows them to give comfort and care by standing watch over the space. We are allowed that space to connect and bond. It shows that we are there when things are hard as well as when things are easy. I don’t know that grief ever goes away – it doesn’t change actions – but it does change. It becomes less acute. It holds less of a grip. I encourage you to examine the things that need space for grief. Allow it to happen – it’s a real thing! Allow yourself to connect and accept it where it’s at. You can’t move past it until you acknowledge that it’s there. I think that at end of the day, it’s a peaceful feeling – something that makes you feel a bit more complete.

Onion and Cider Soup (Plus EXTRAS!)

I save recipes in my Google Docs. Like a dragon that hoards treasure, I find a neat looking recipe in a cookbook, or on a random website, or in one of my friends’ personal repertoire, and I steal them away into my online repository. Many of these recipes have never been made, probably at this point nearly half, and there are delights such as Whiskey Lucky Charms Ice Cream, Pumpkin Spice Truffles, Honeyed Duck Breasts, and Scallion Herb Chickpea Salad. This Onion and Cider Soup has languished untouched in my collection of recipes for over two years, and I decided that this sad streak would end today.

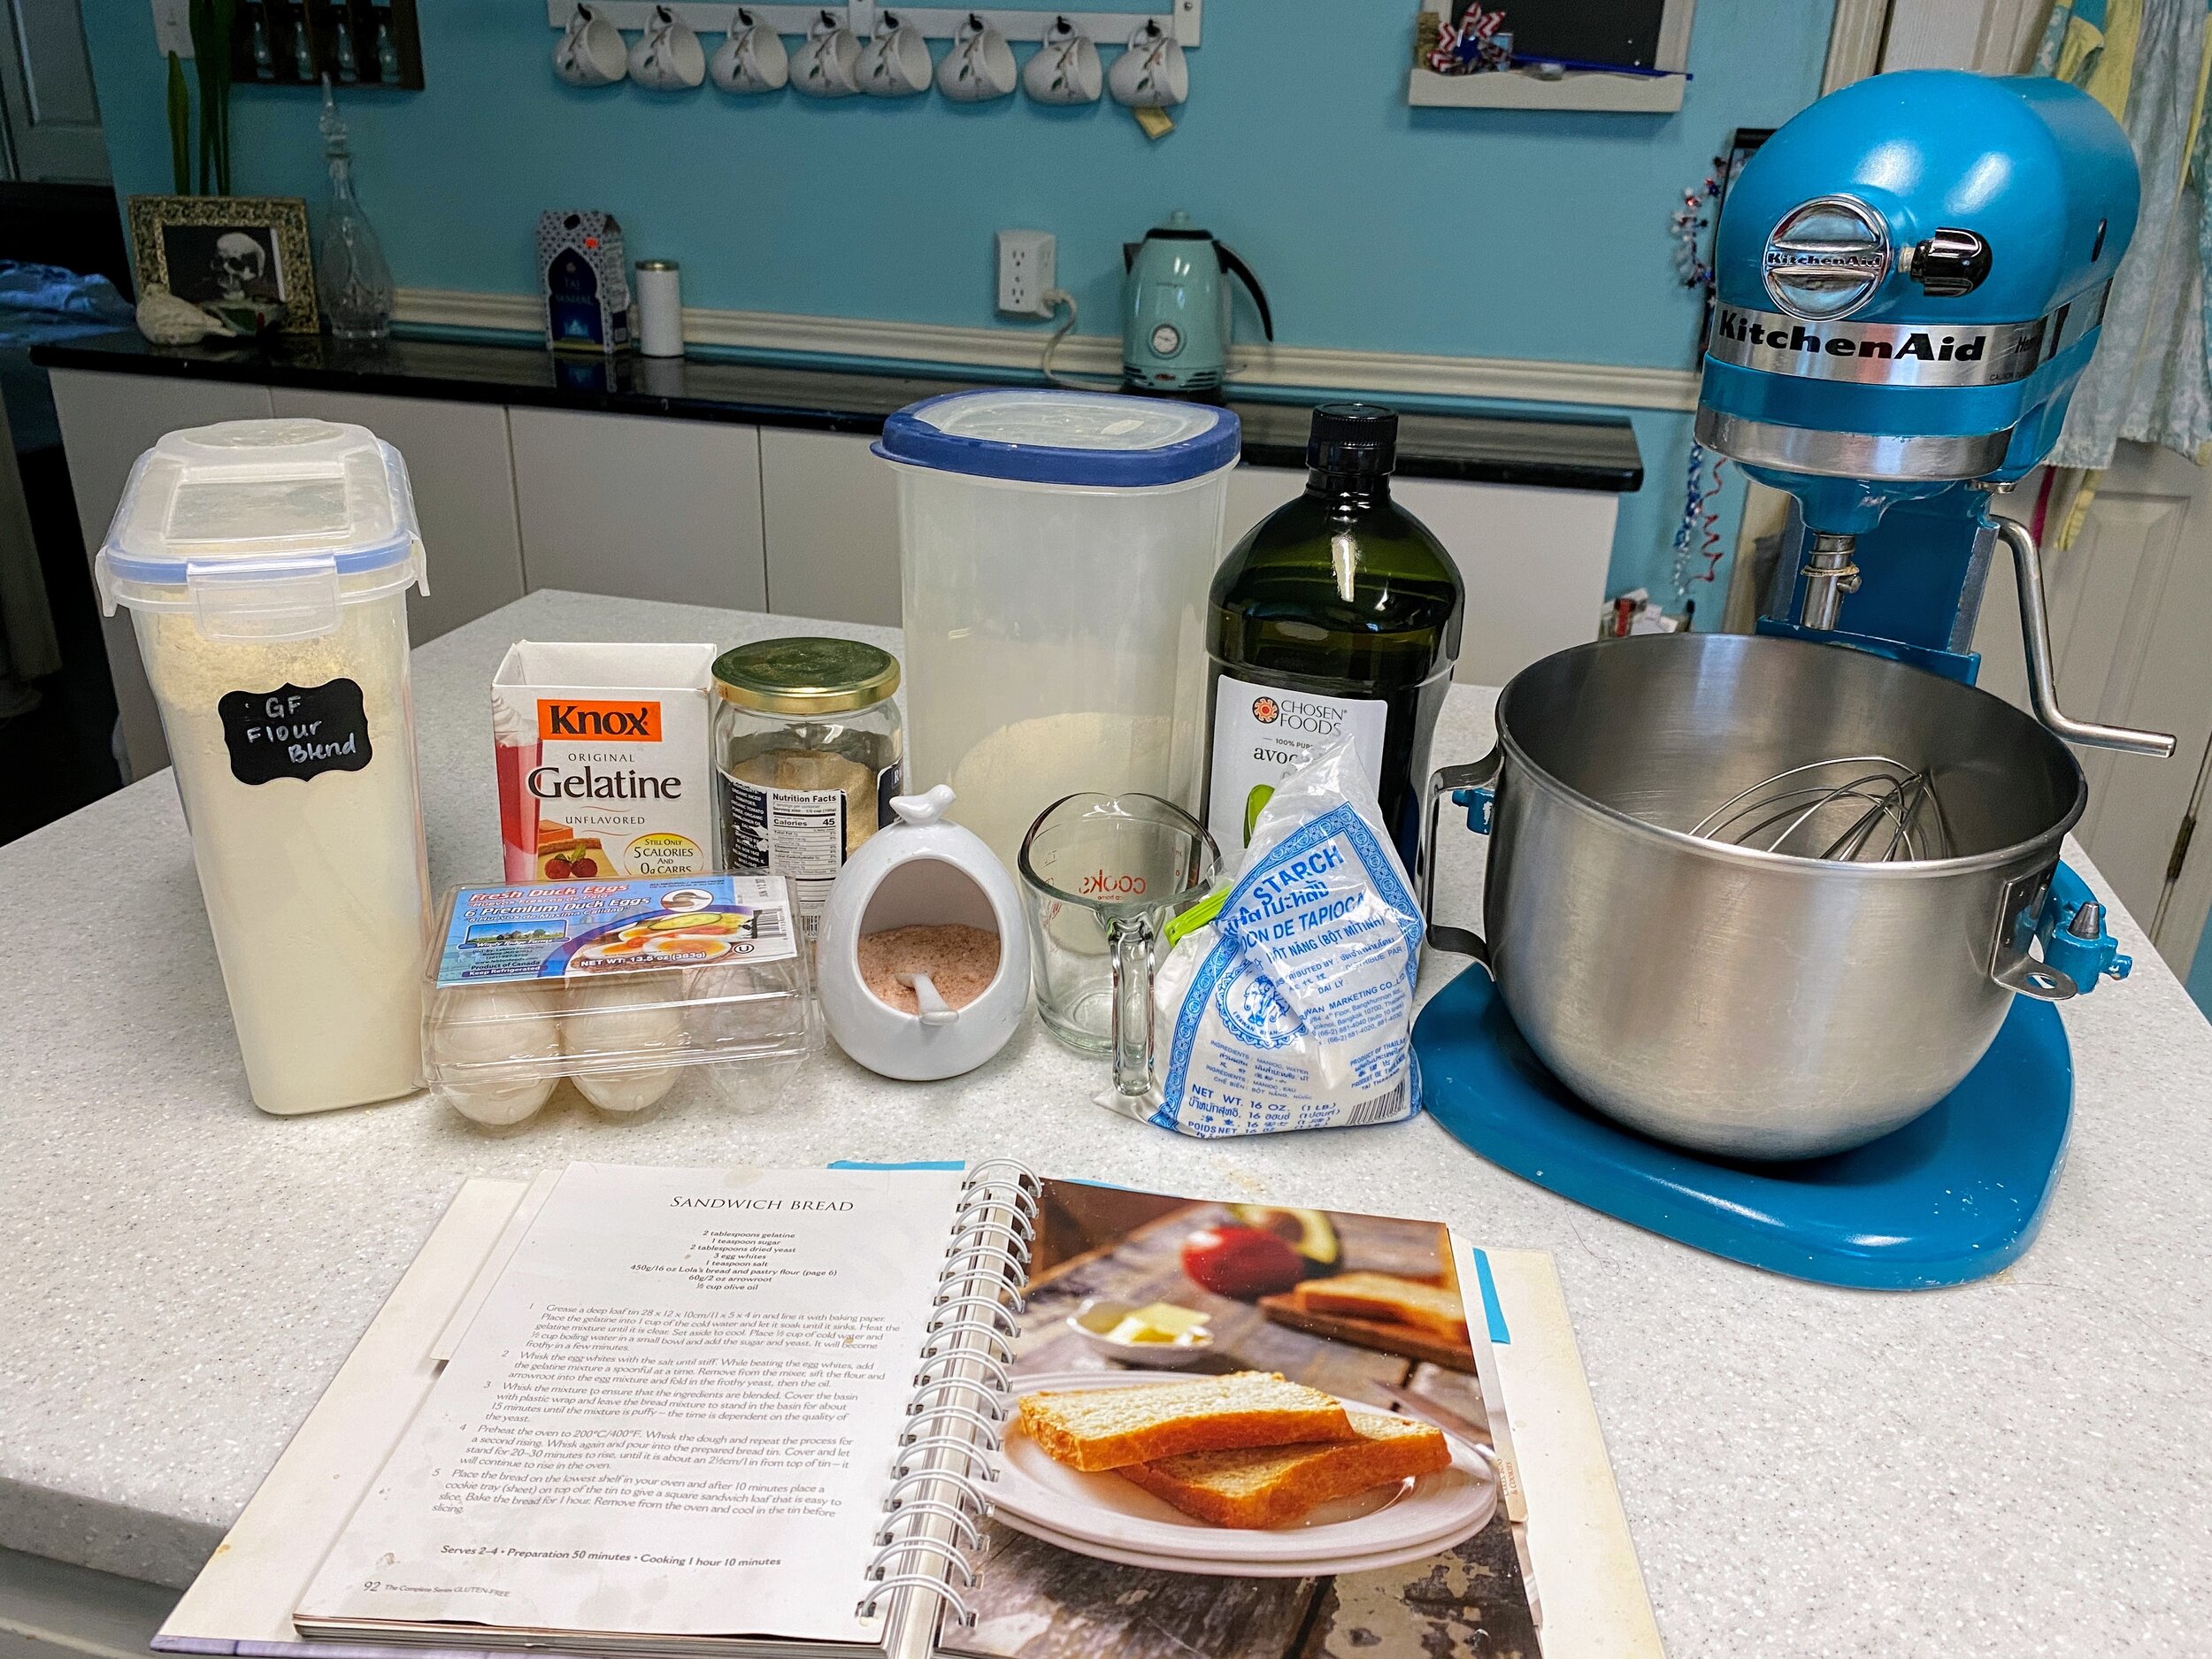
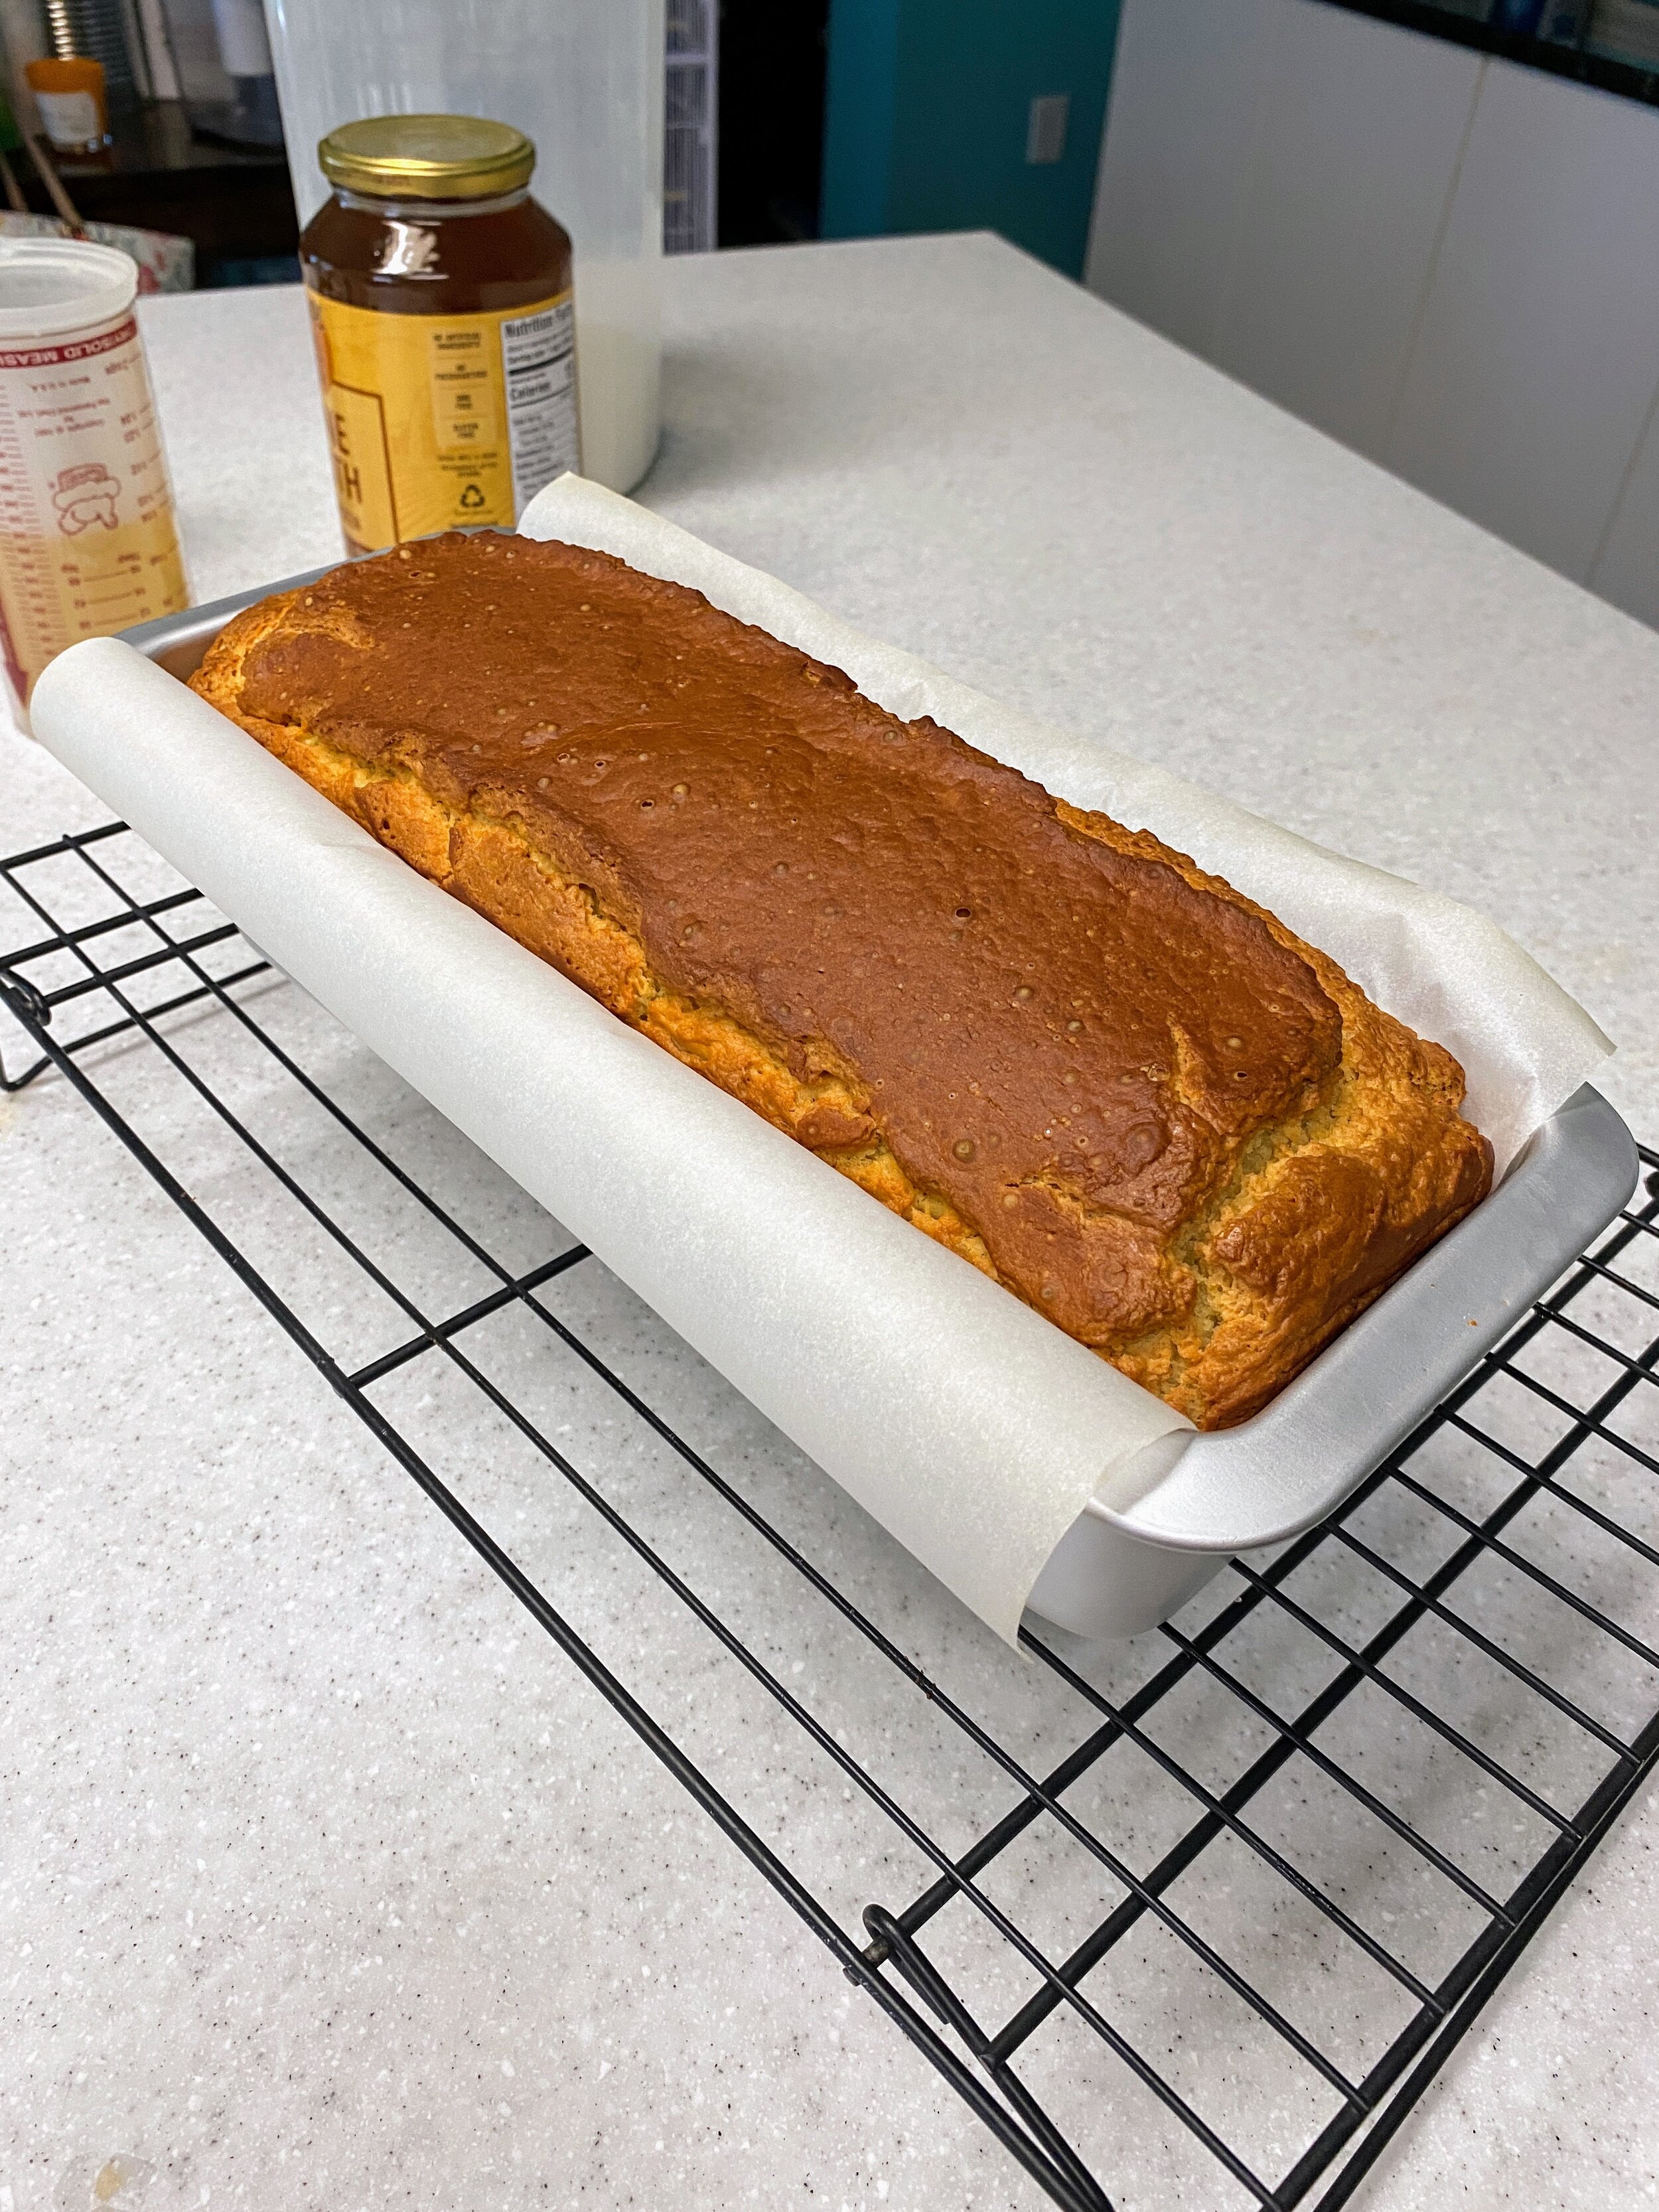
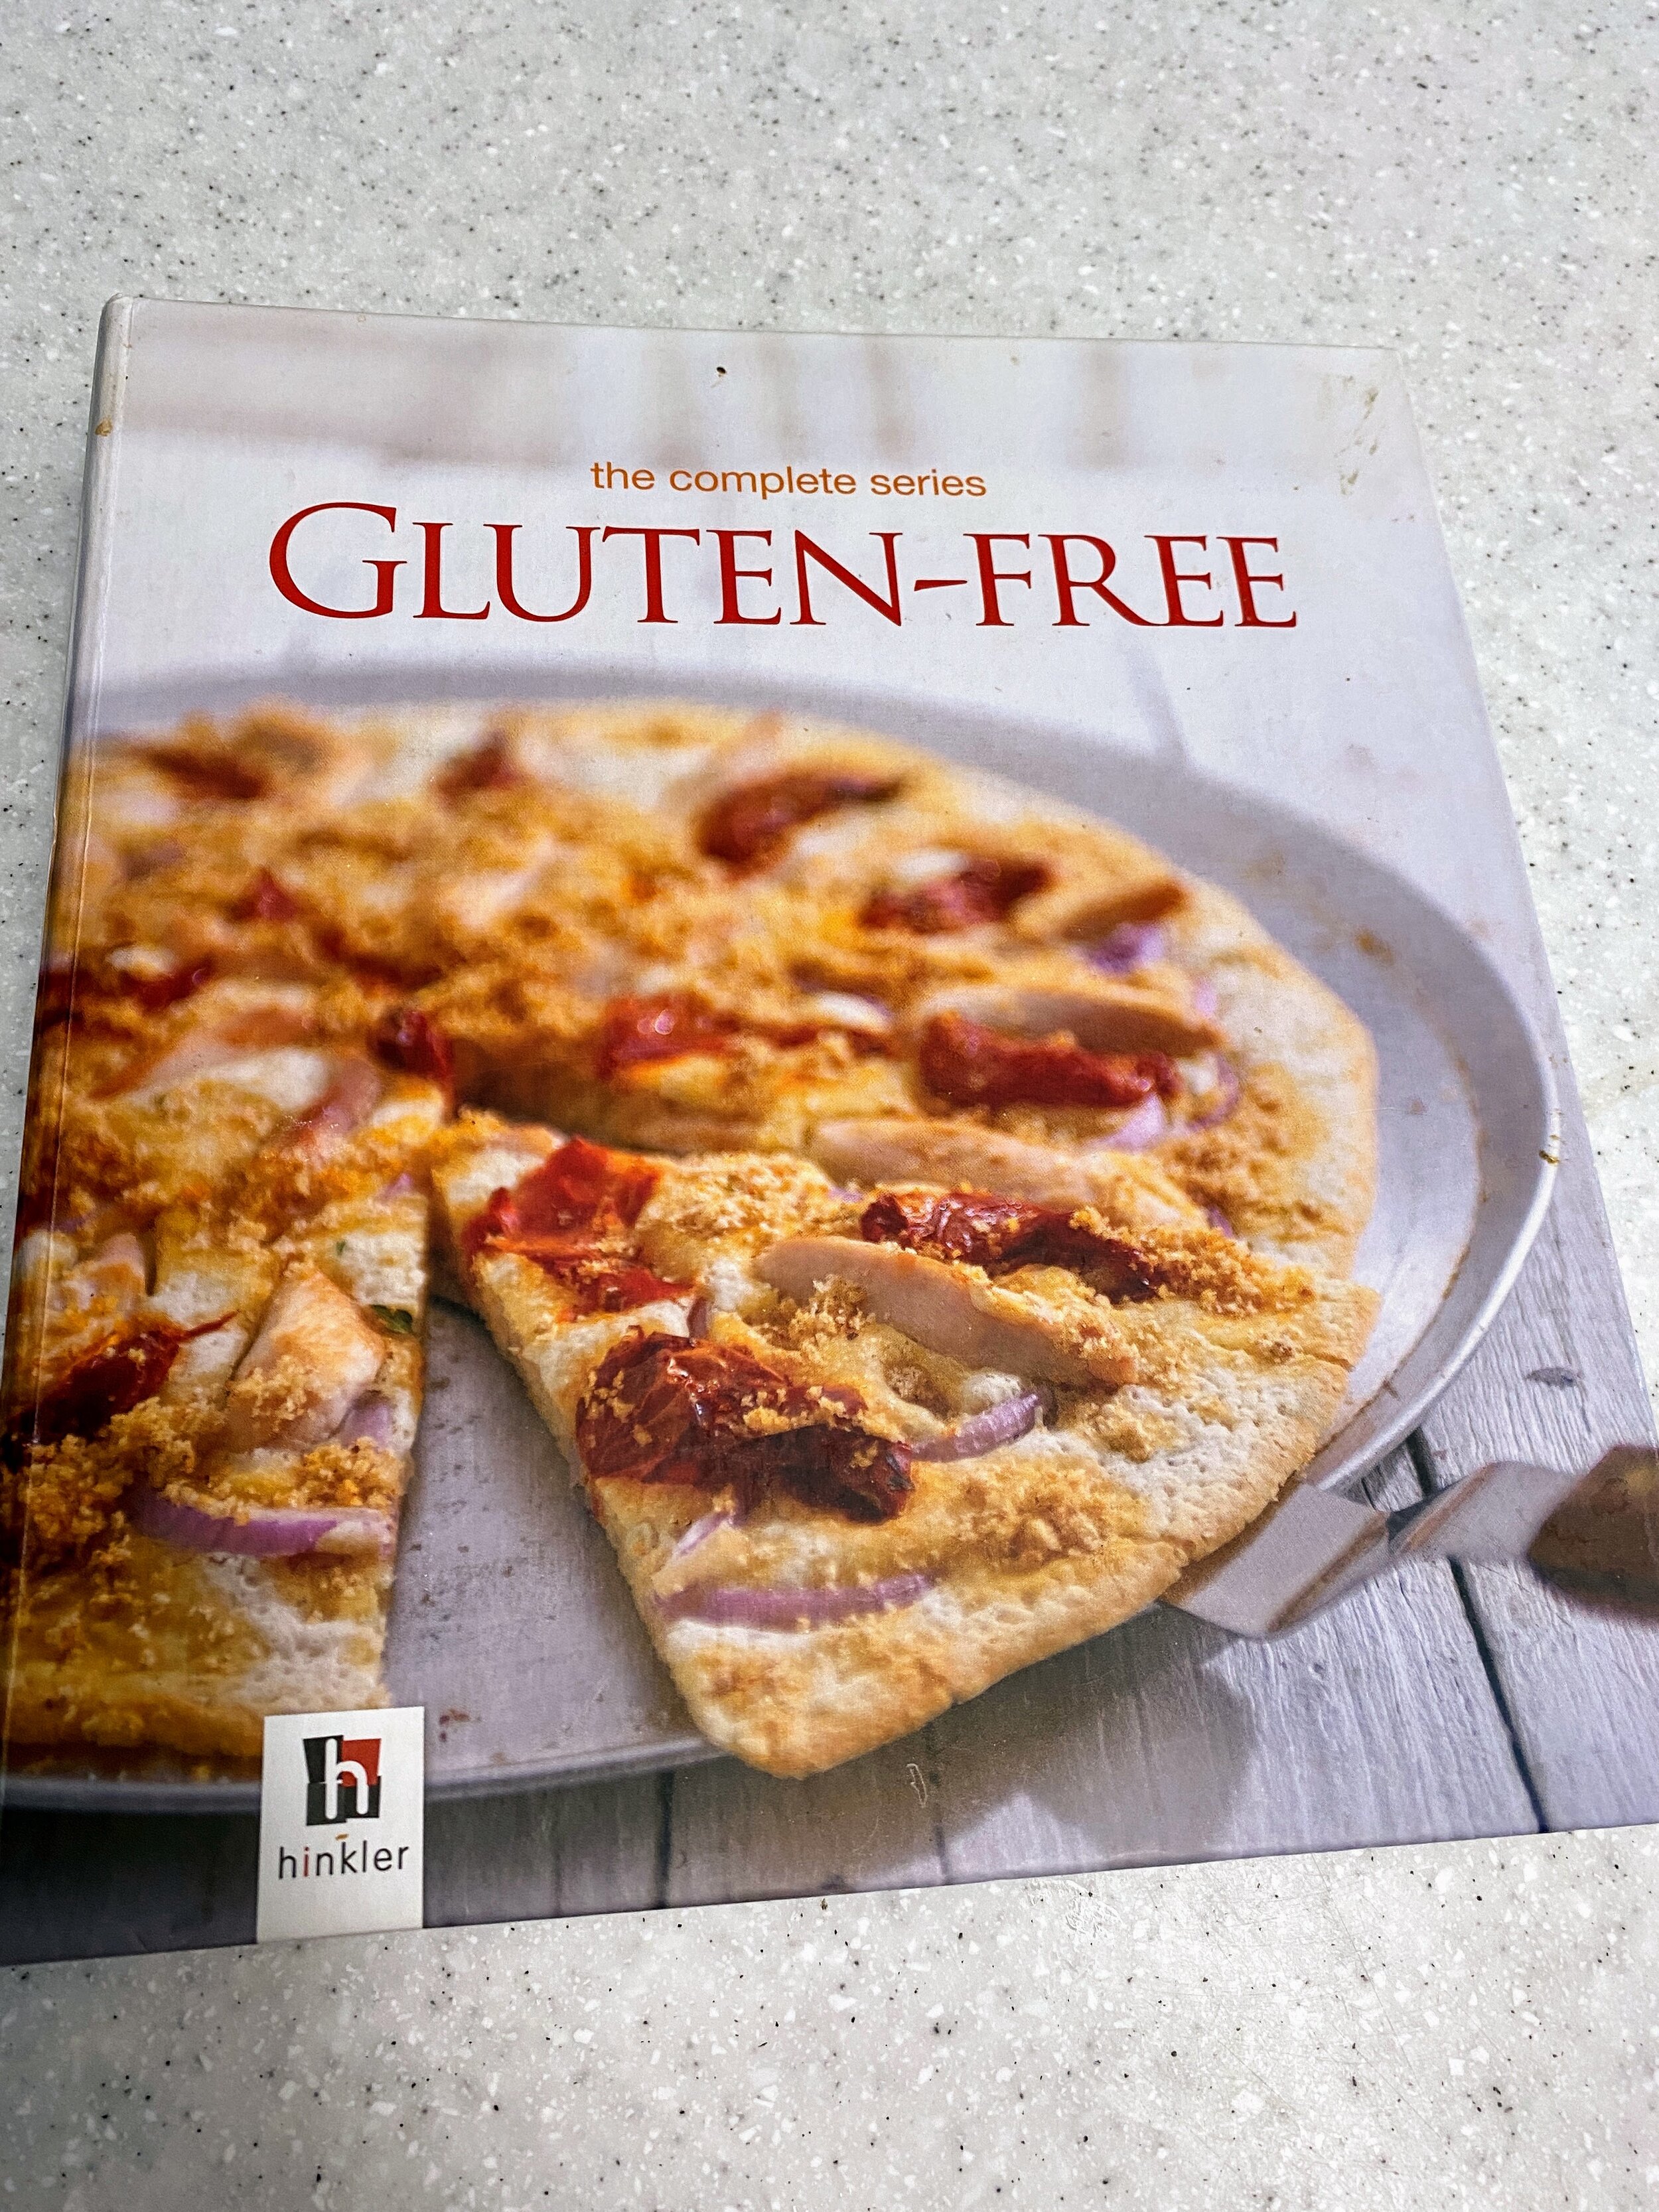
You will be delighted to discover that this is actually three recipes in one; the original O&CS includes toast so it was necessary to make bread. To make bread, I needed to put together a Gluten Free flour blend to boot. So….. three recipes! The basis for our bread recipe came from a lovely book called “Gluten-Free: The Complete Series;” we have modified it fairly heavily to fit into my allergies, but it still turns out really well.

Let’s get into it :D


Ingredients:

Gluten Free Flour Blend:

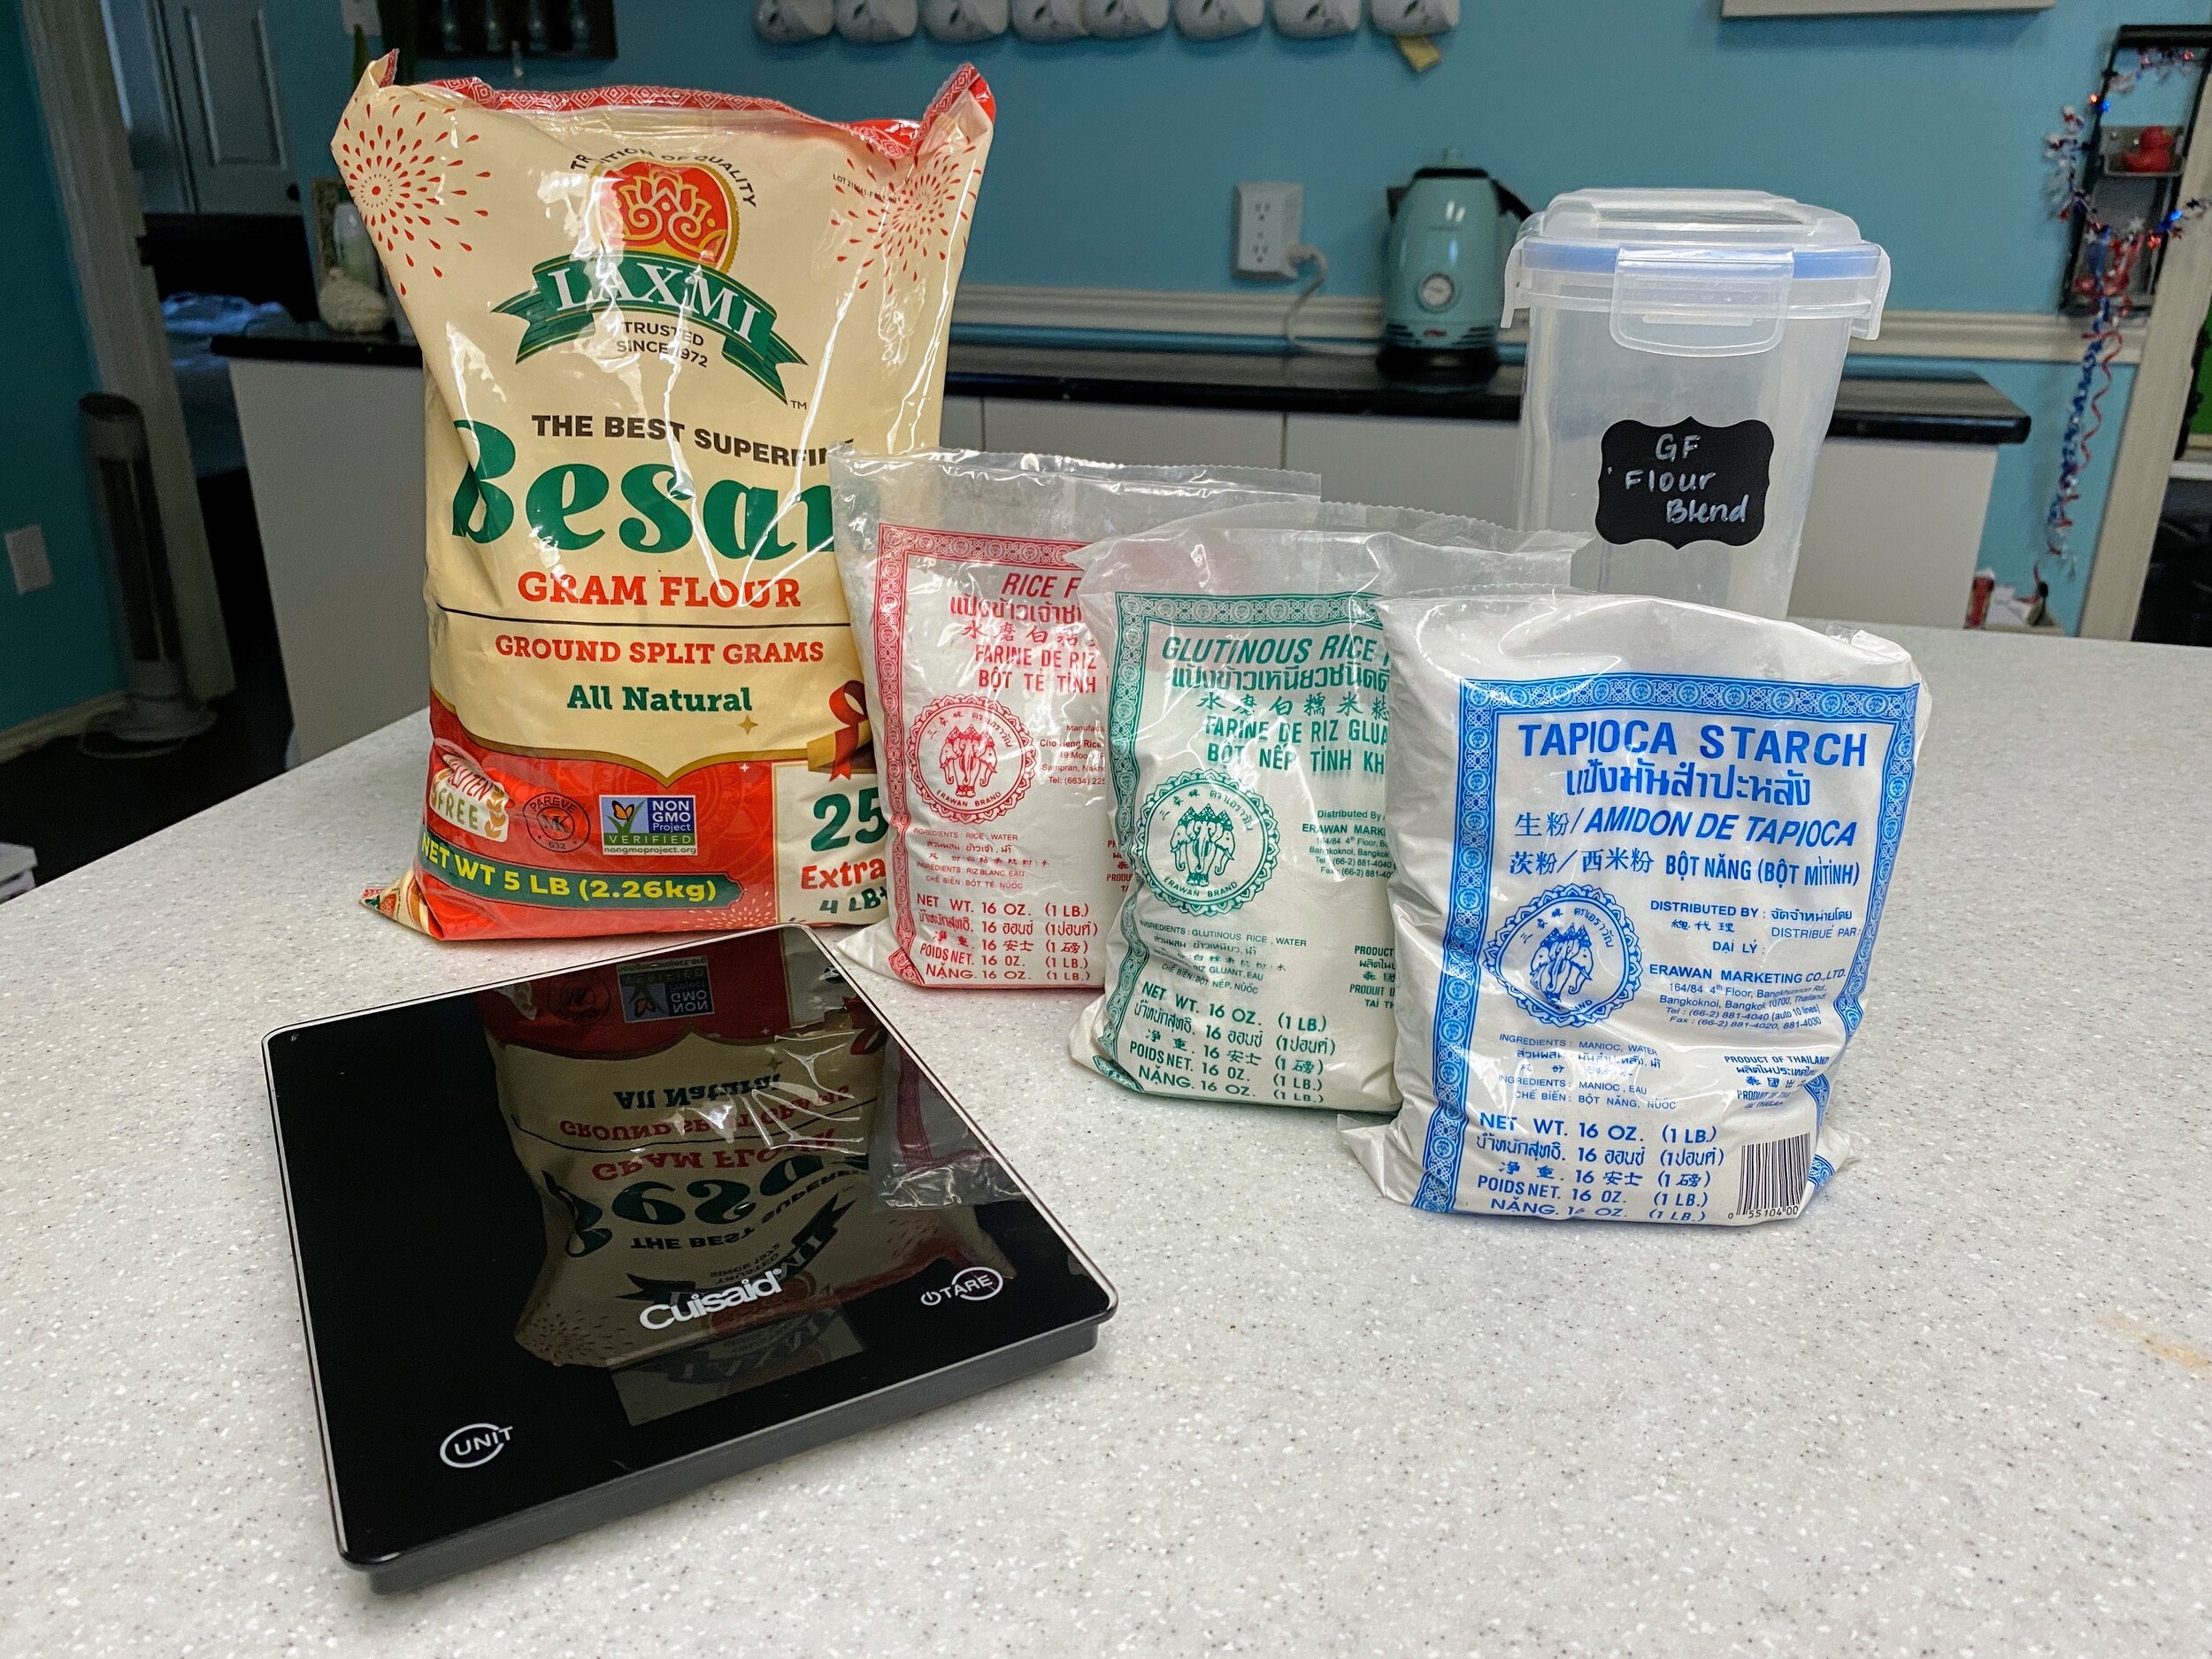
  • 400g Superfine besan

  • 400g Rice flour

  • 200g Glutinous rice flour

  • 200g Tapioca starch

Bread:

  • 2 Tbsp Gelatin

  • 1 Tbsp White sugar

  • 2 Tbsp Dried yeast

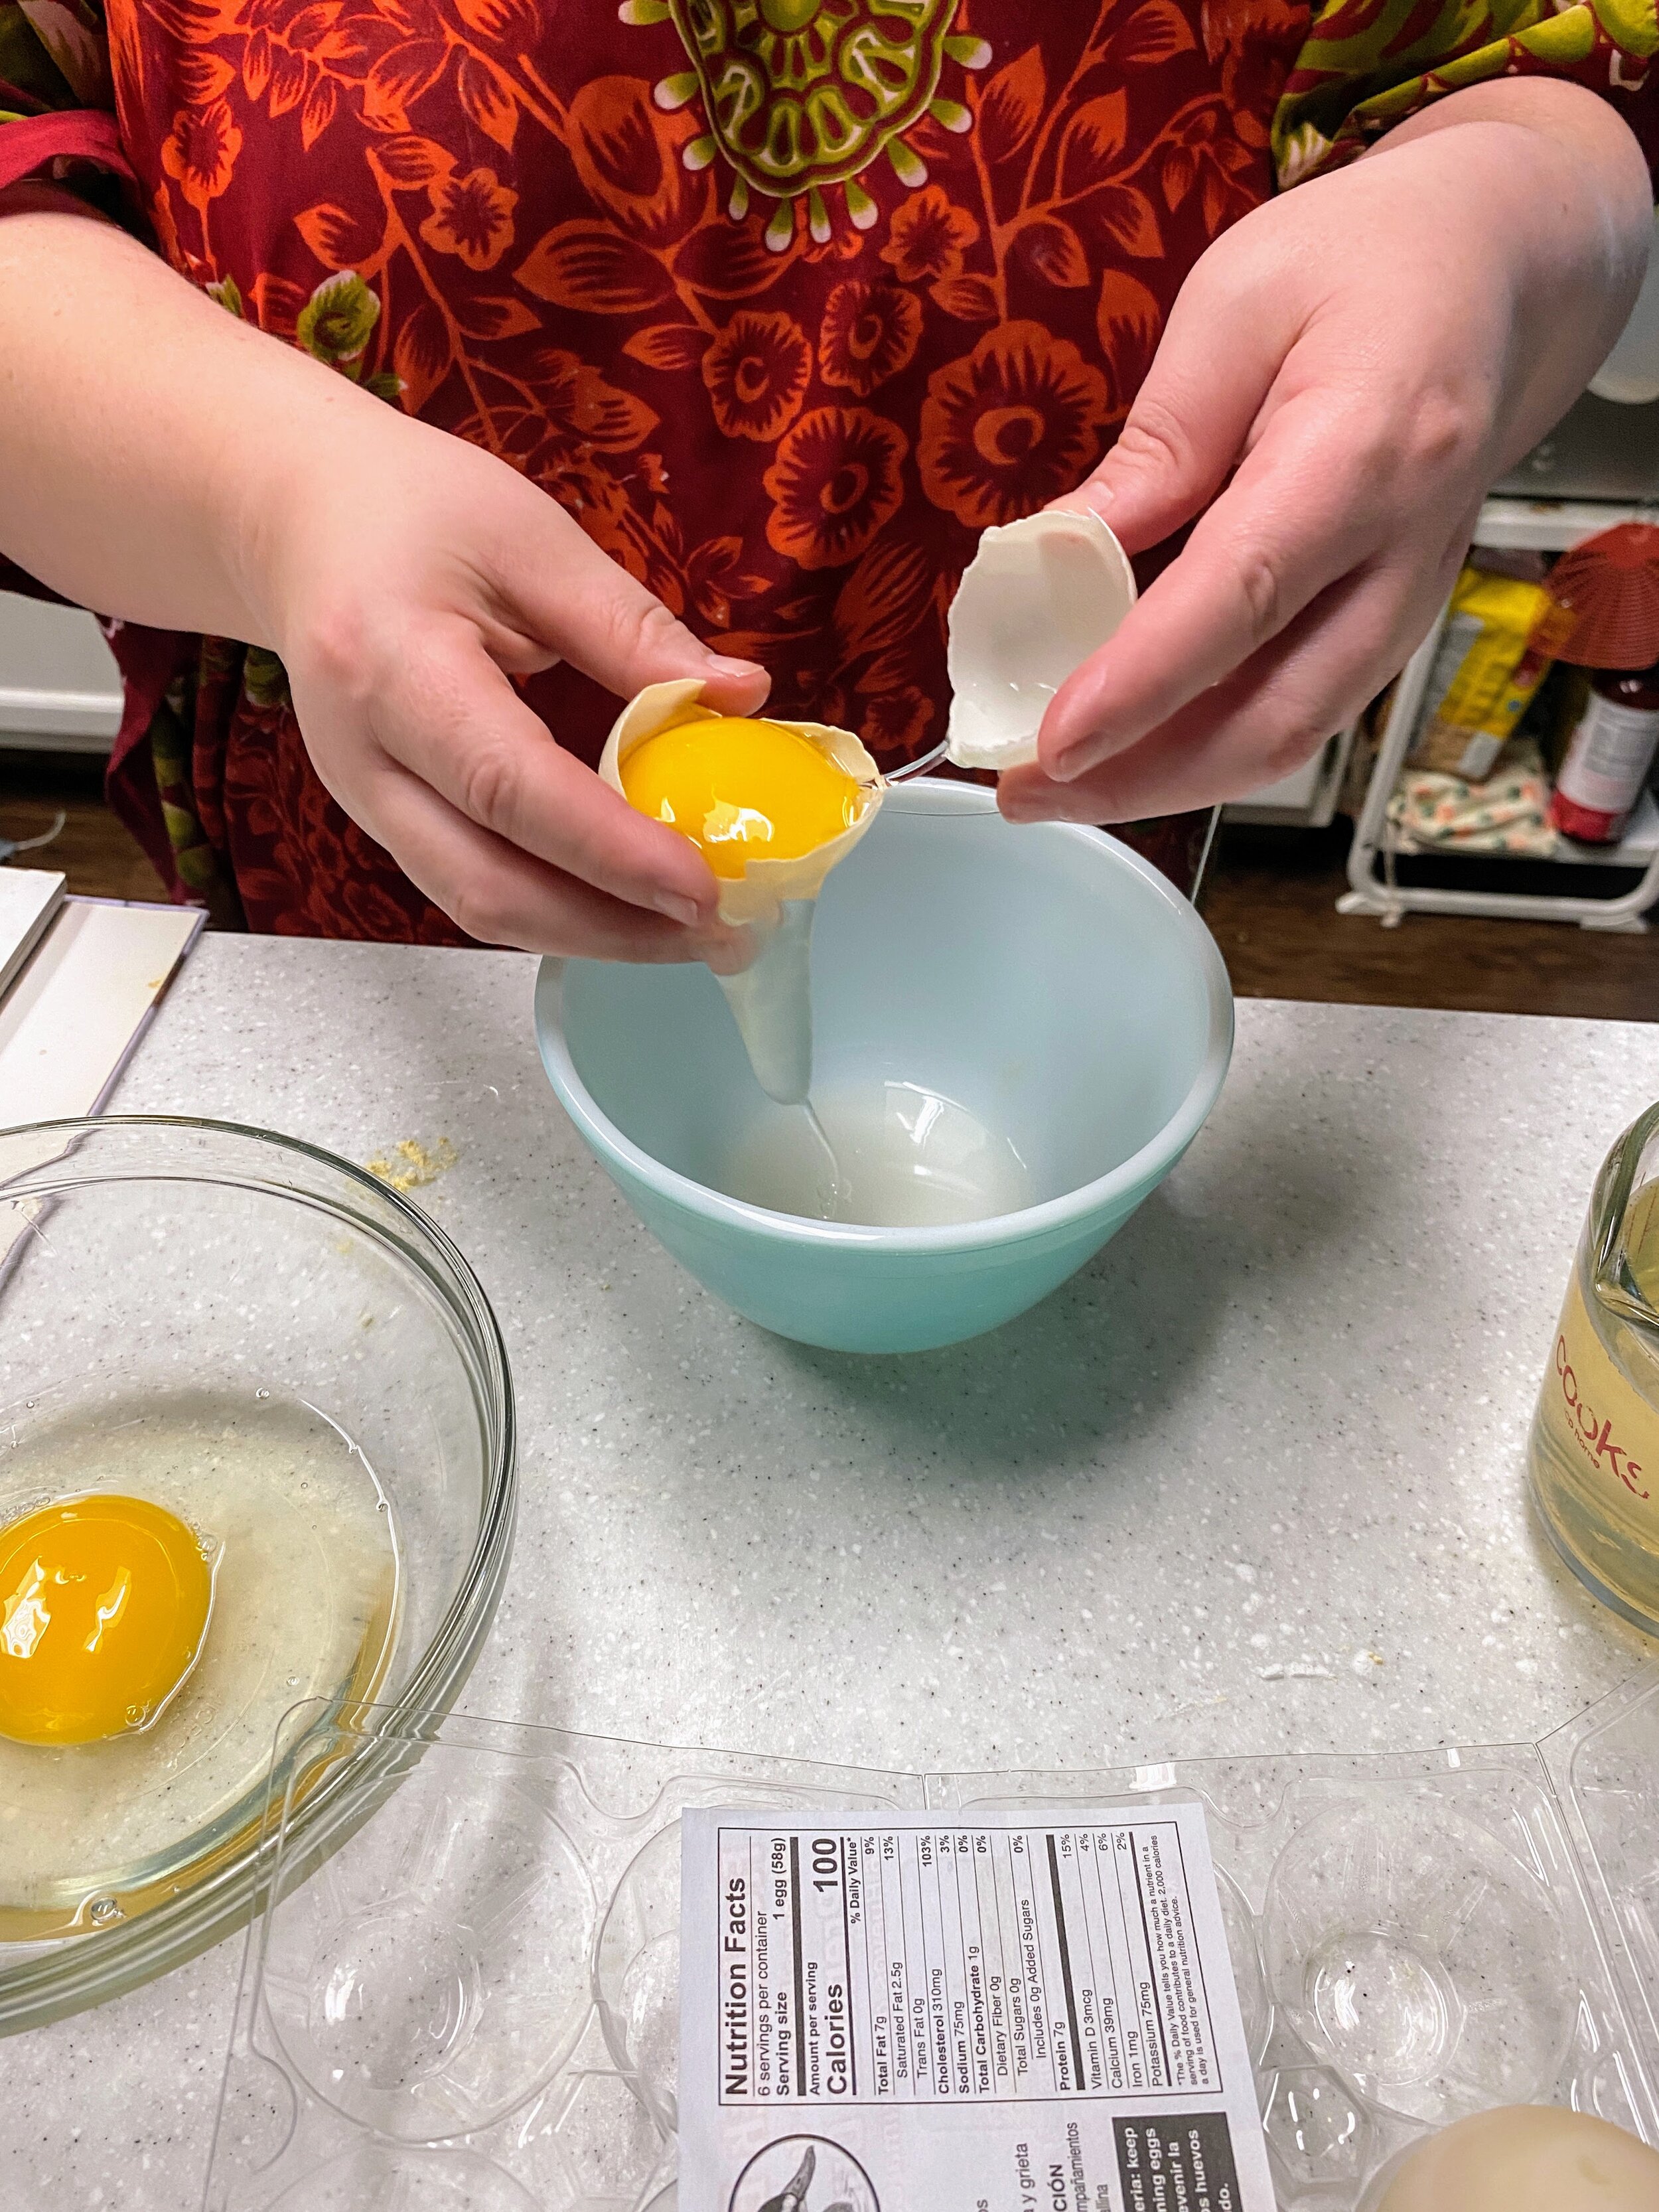
  • 1 Whole duck egg

  • 2 Duck egg whites

  • 1 tsp Salt

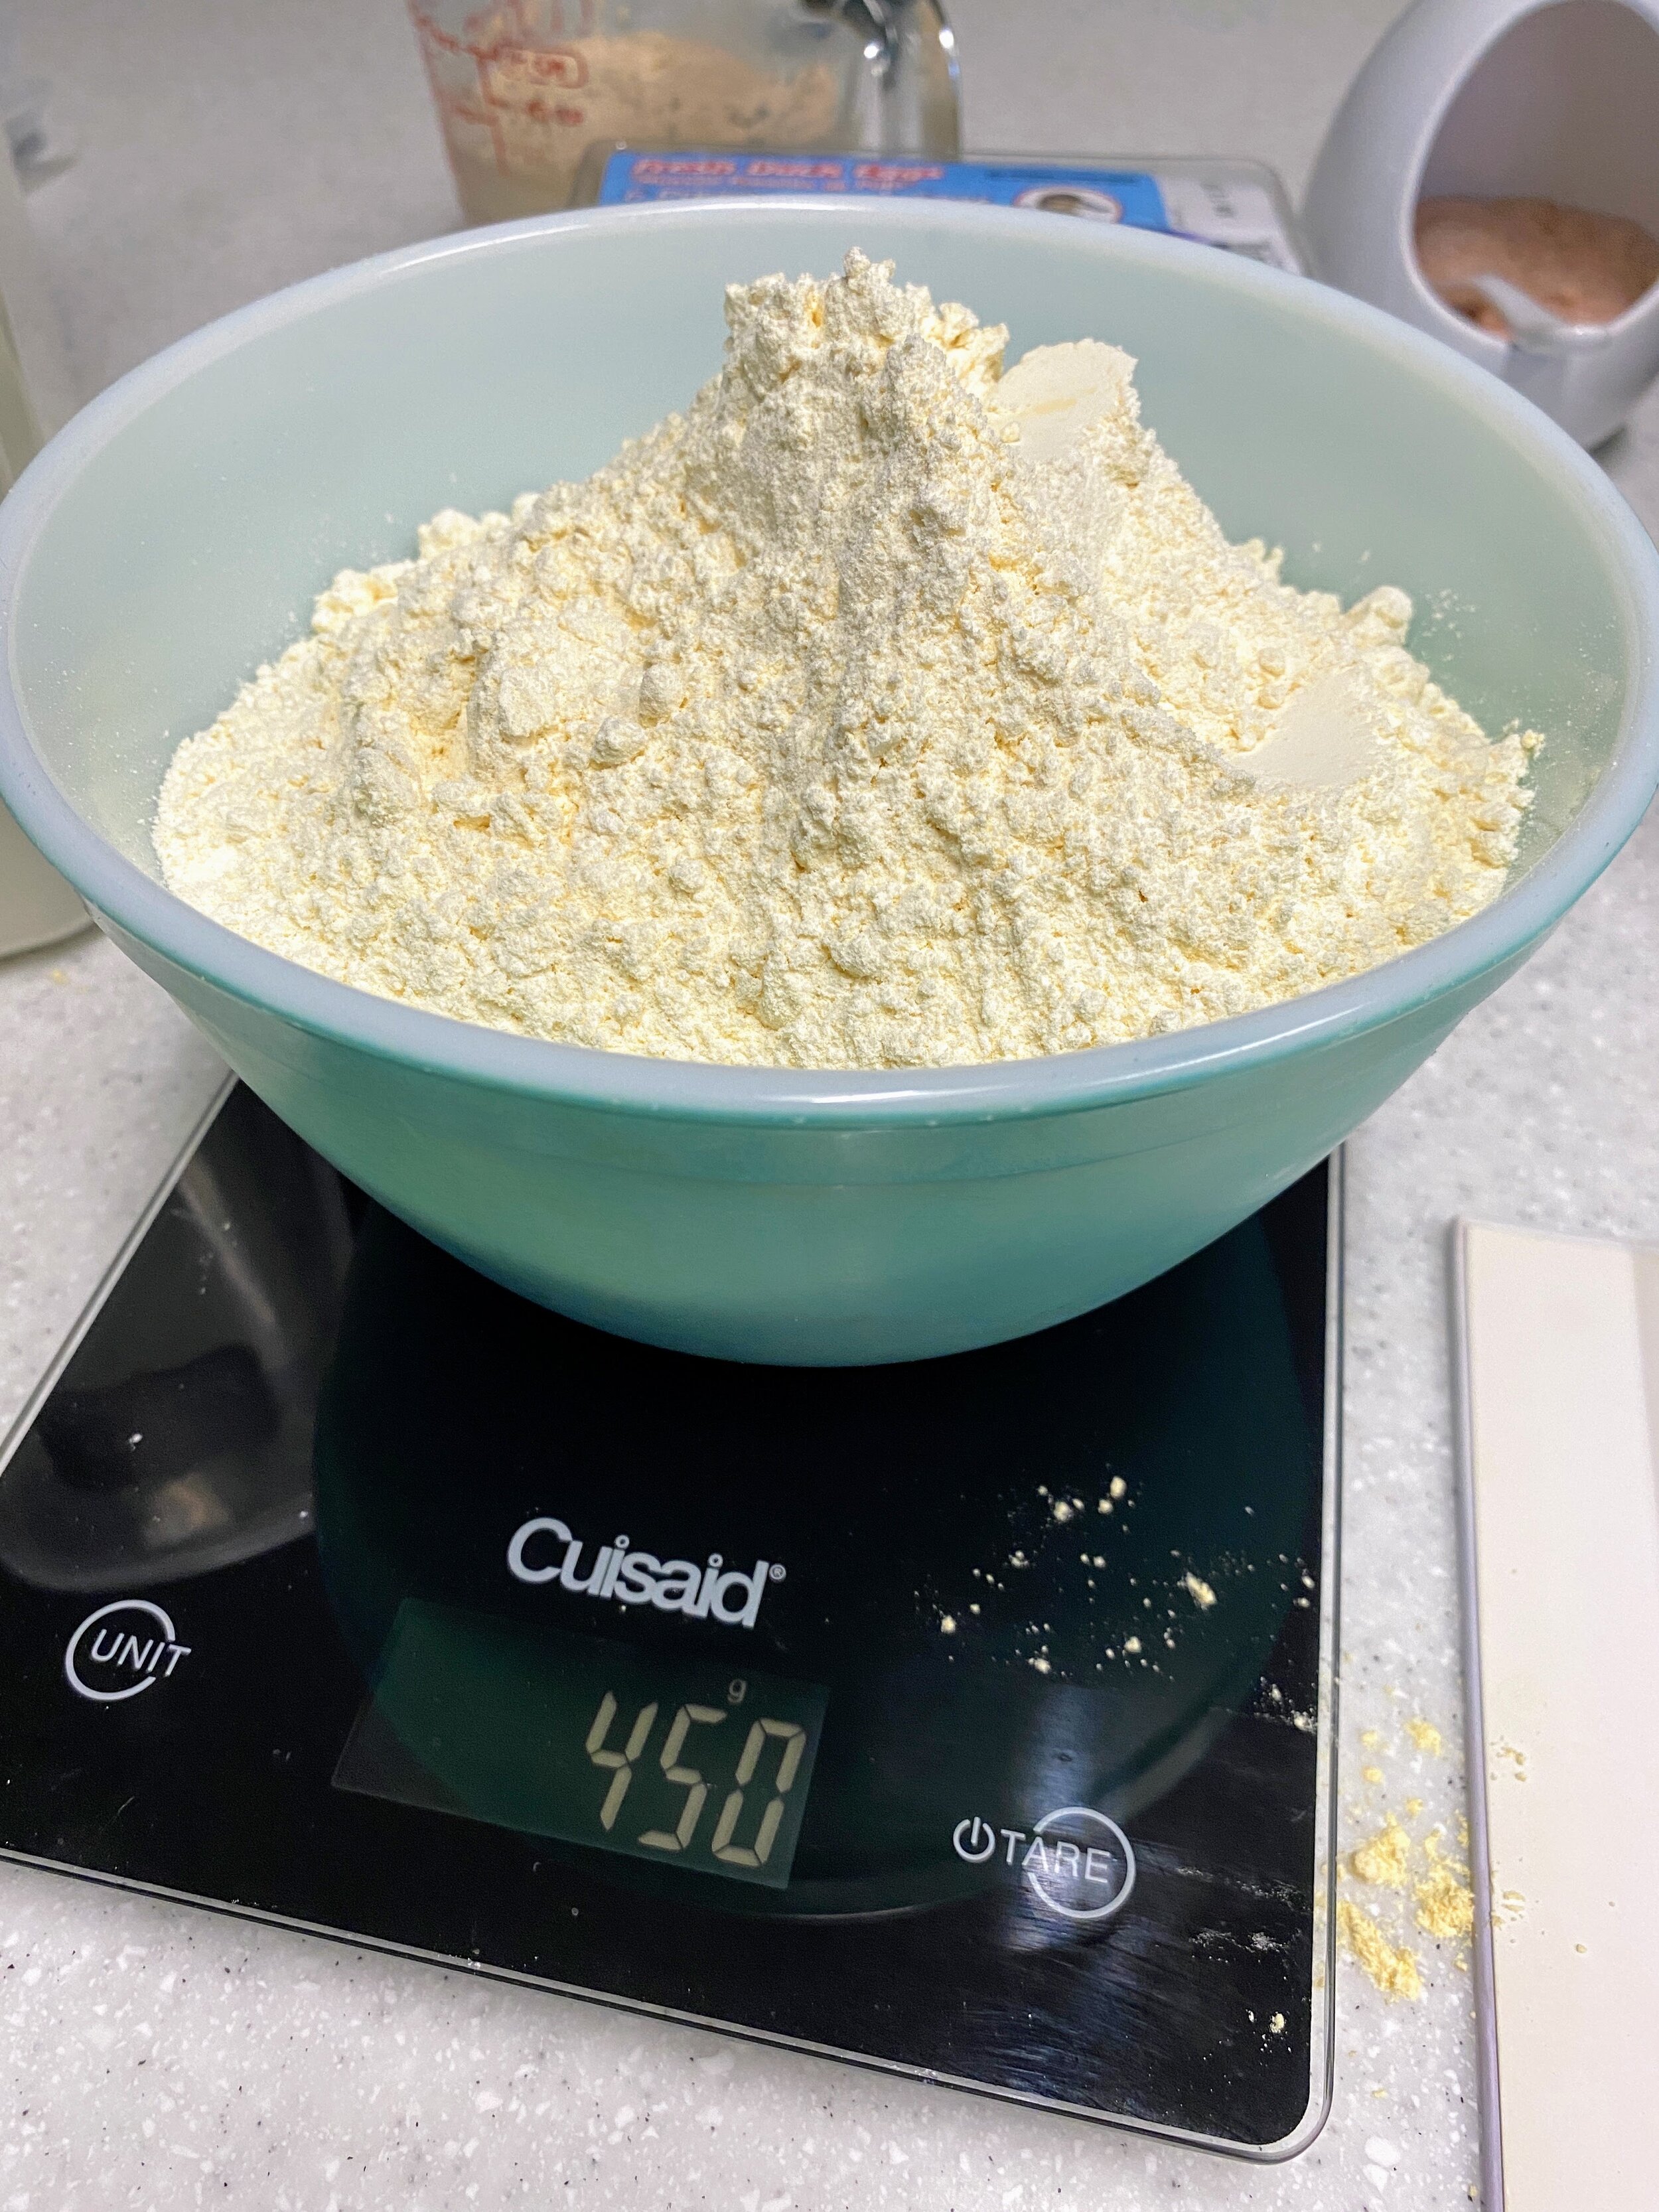
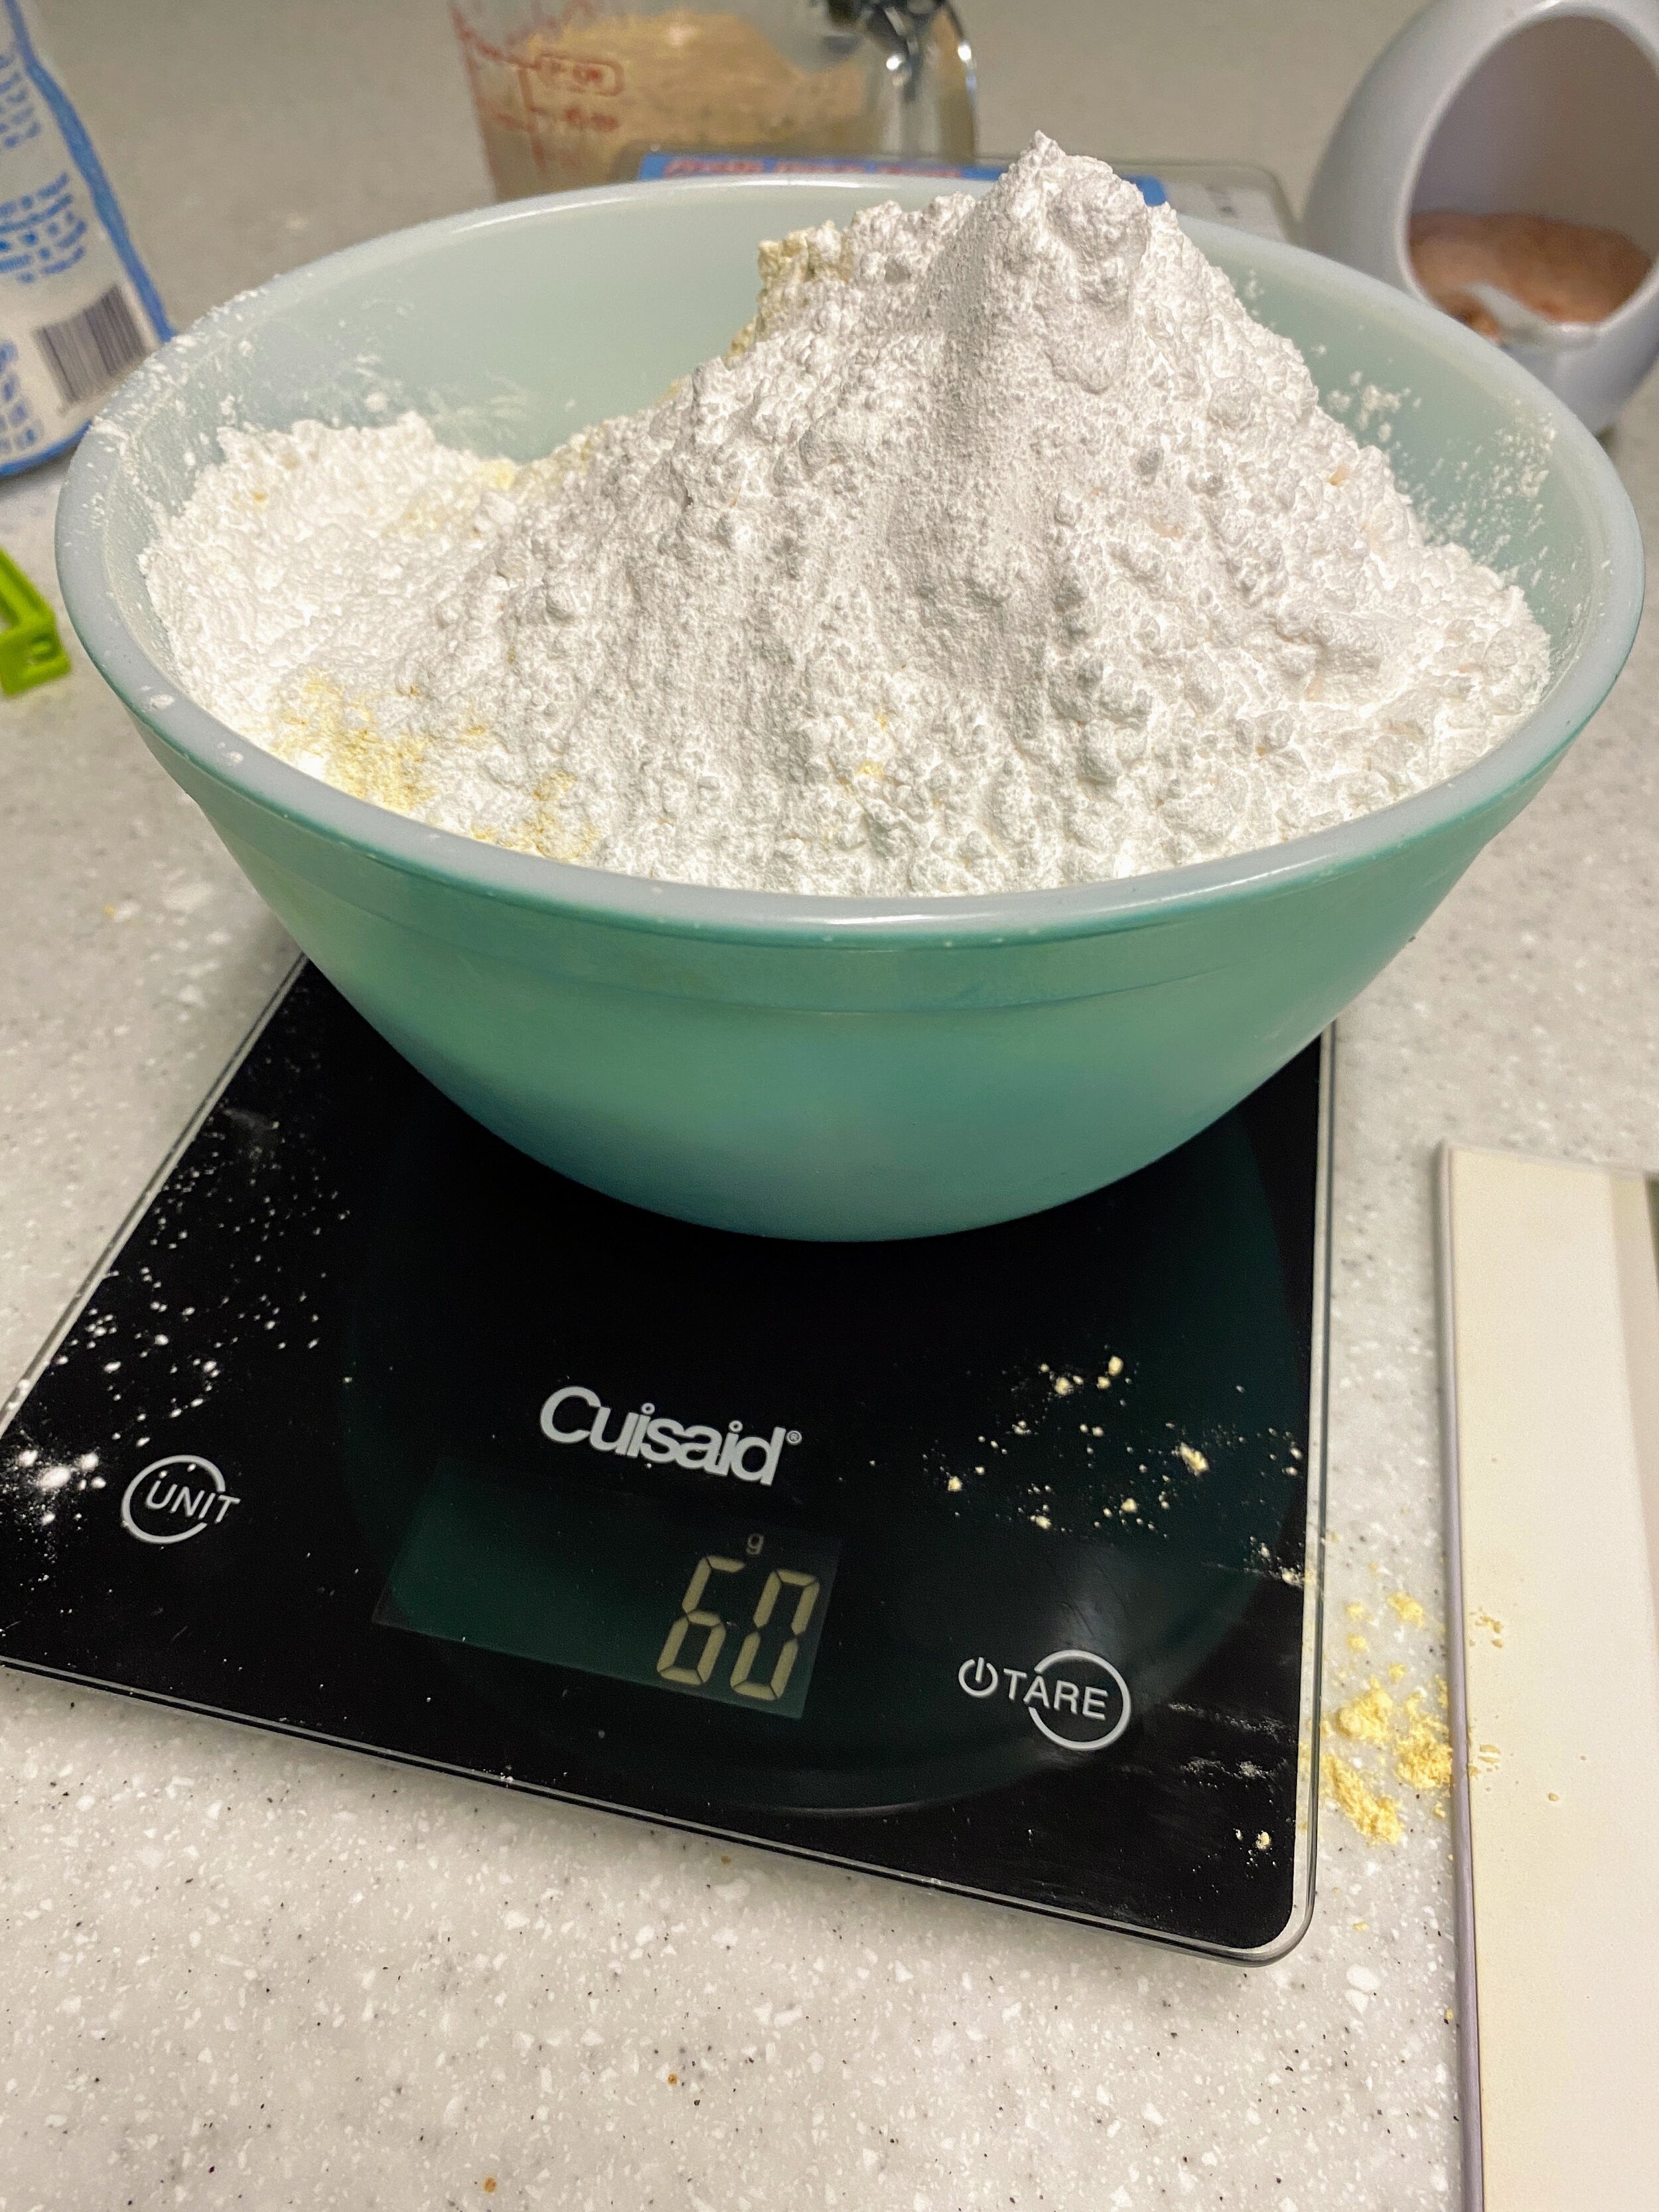
  • 450g Gluten free flour blend

  • 60g Tapioca starch

  • ½ cup Avocado oil

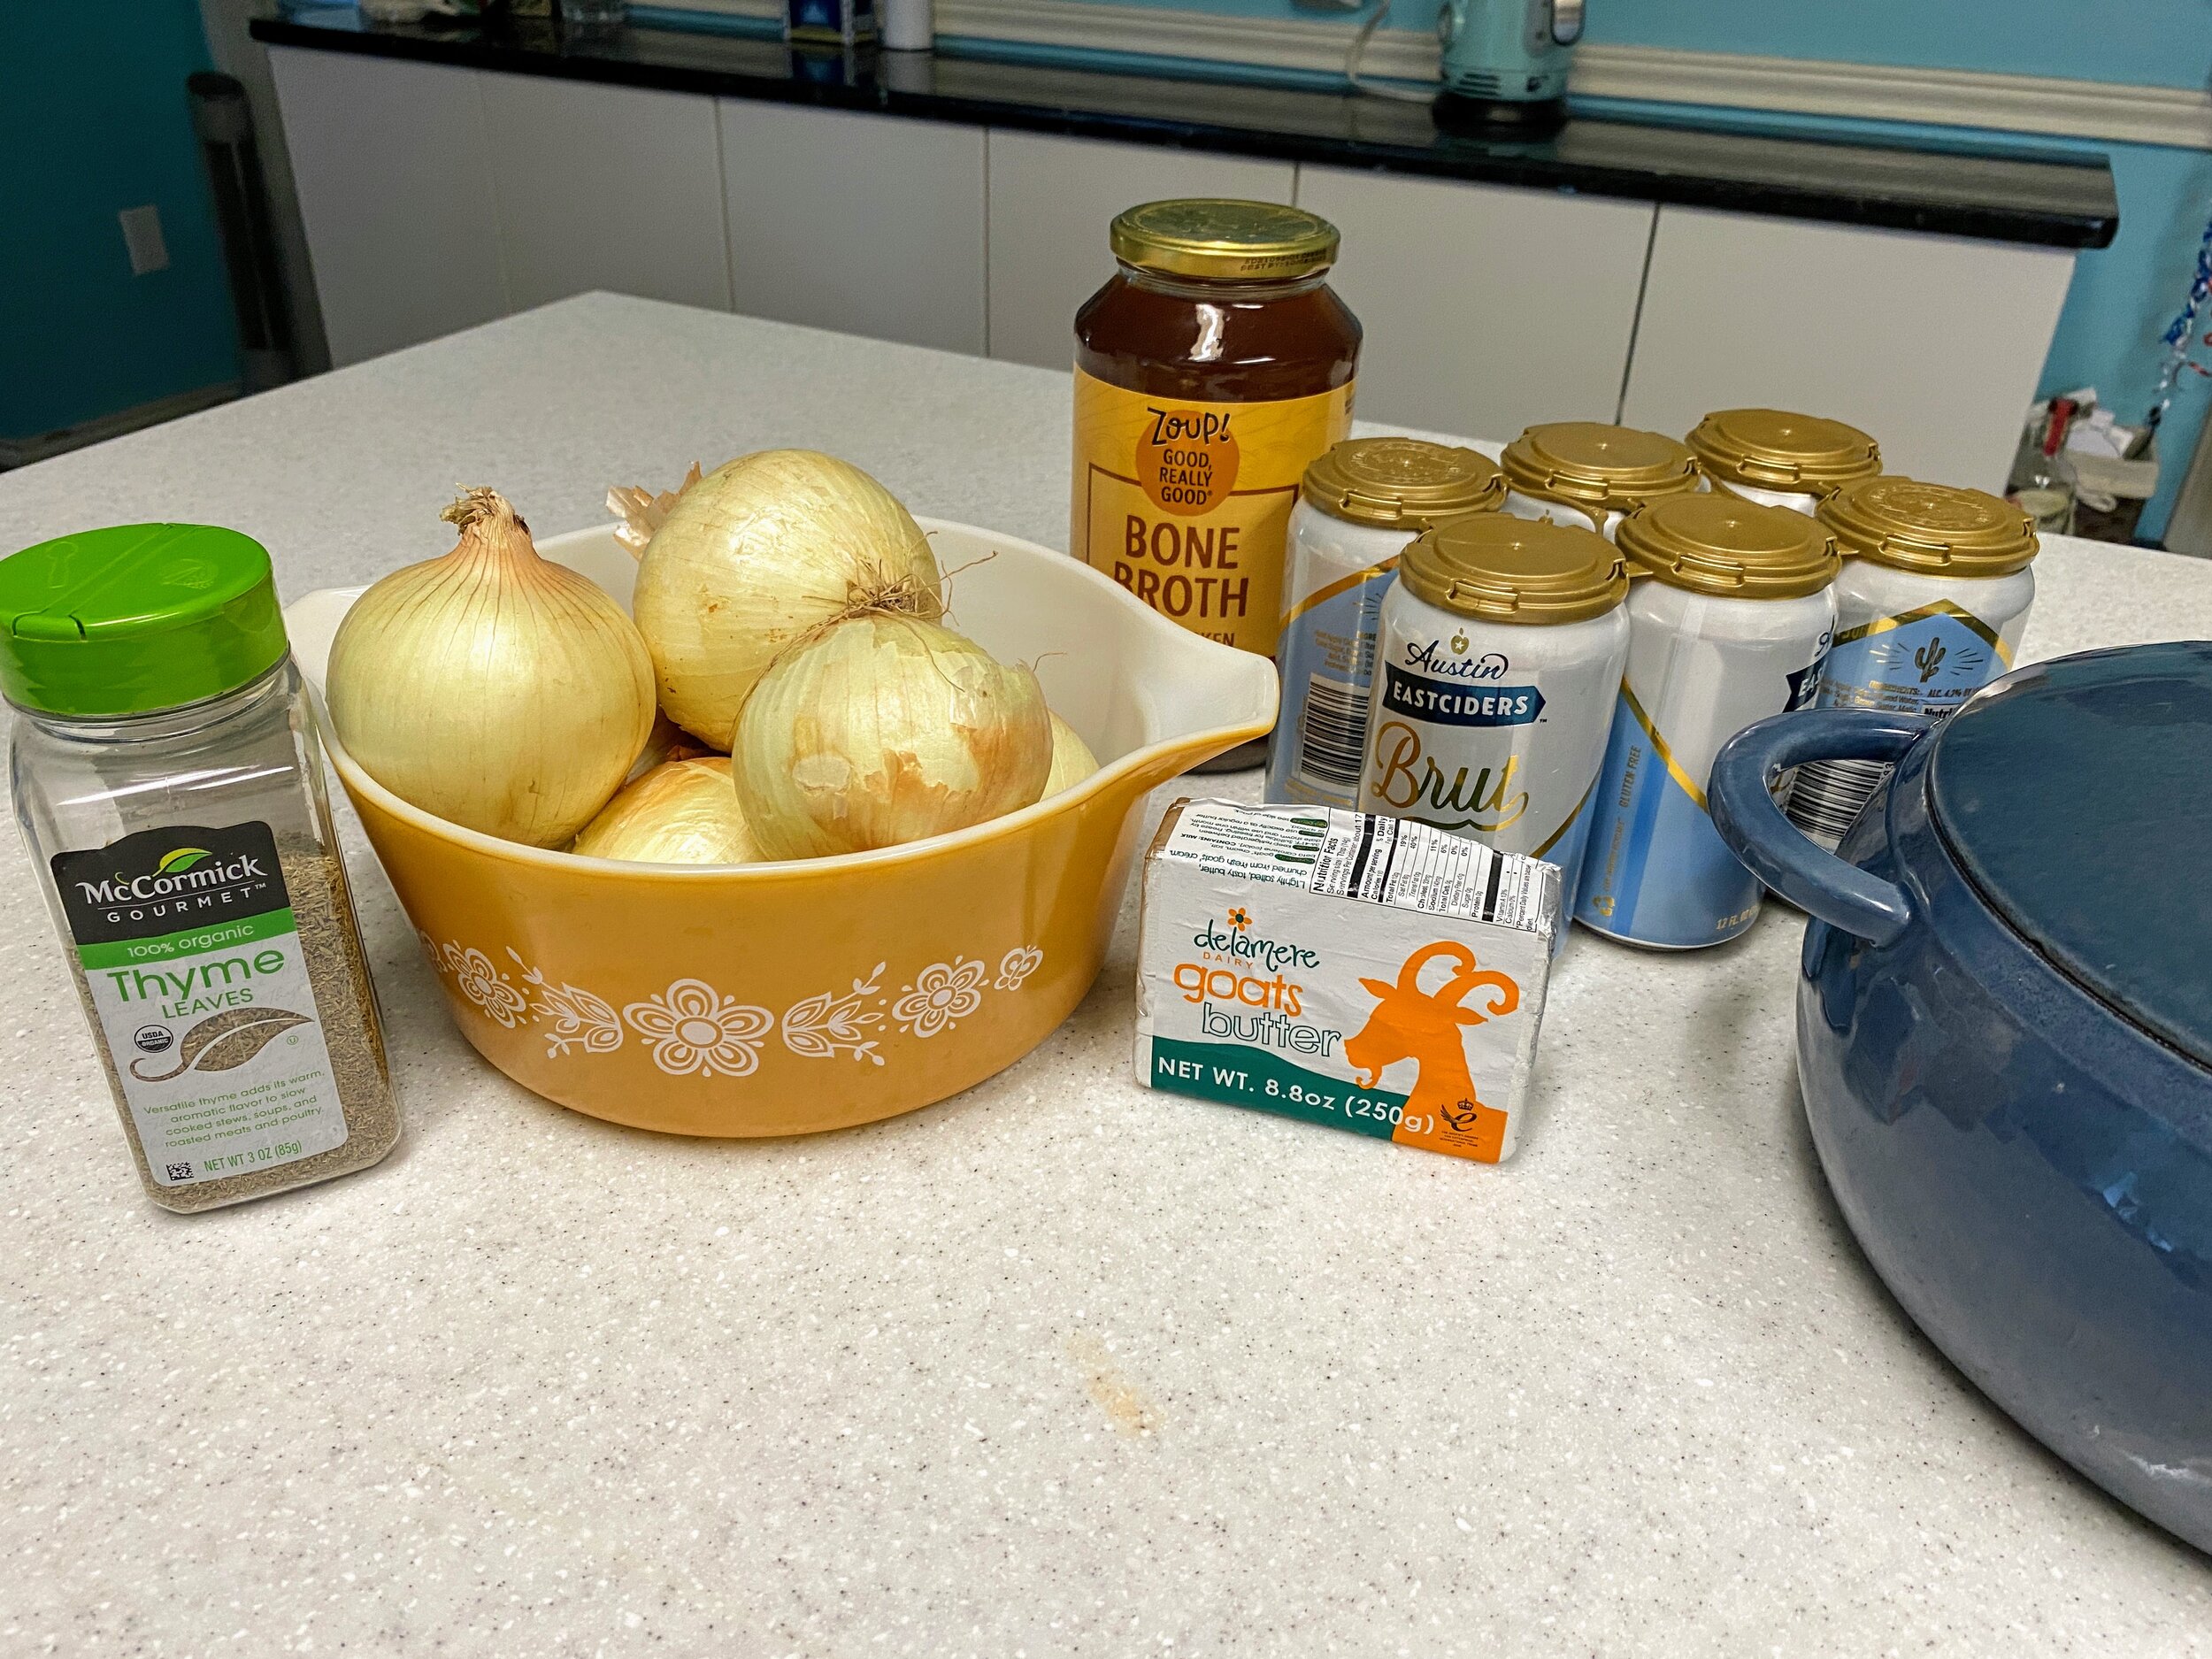
Onion and Cider Soup:

  • 115g Salted butter

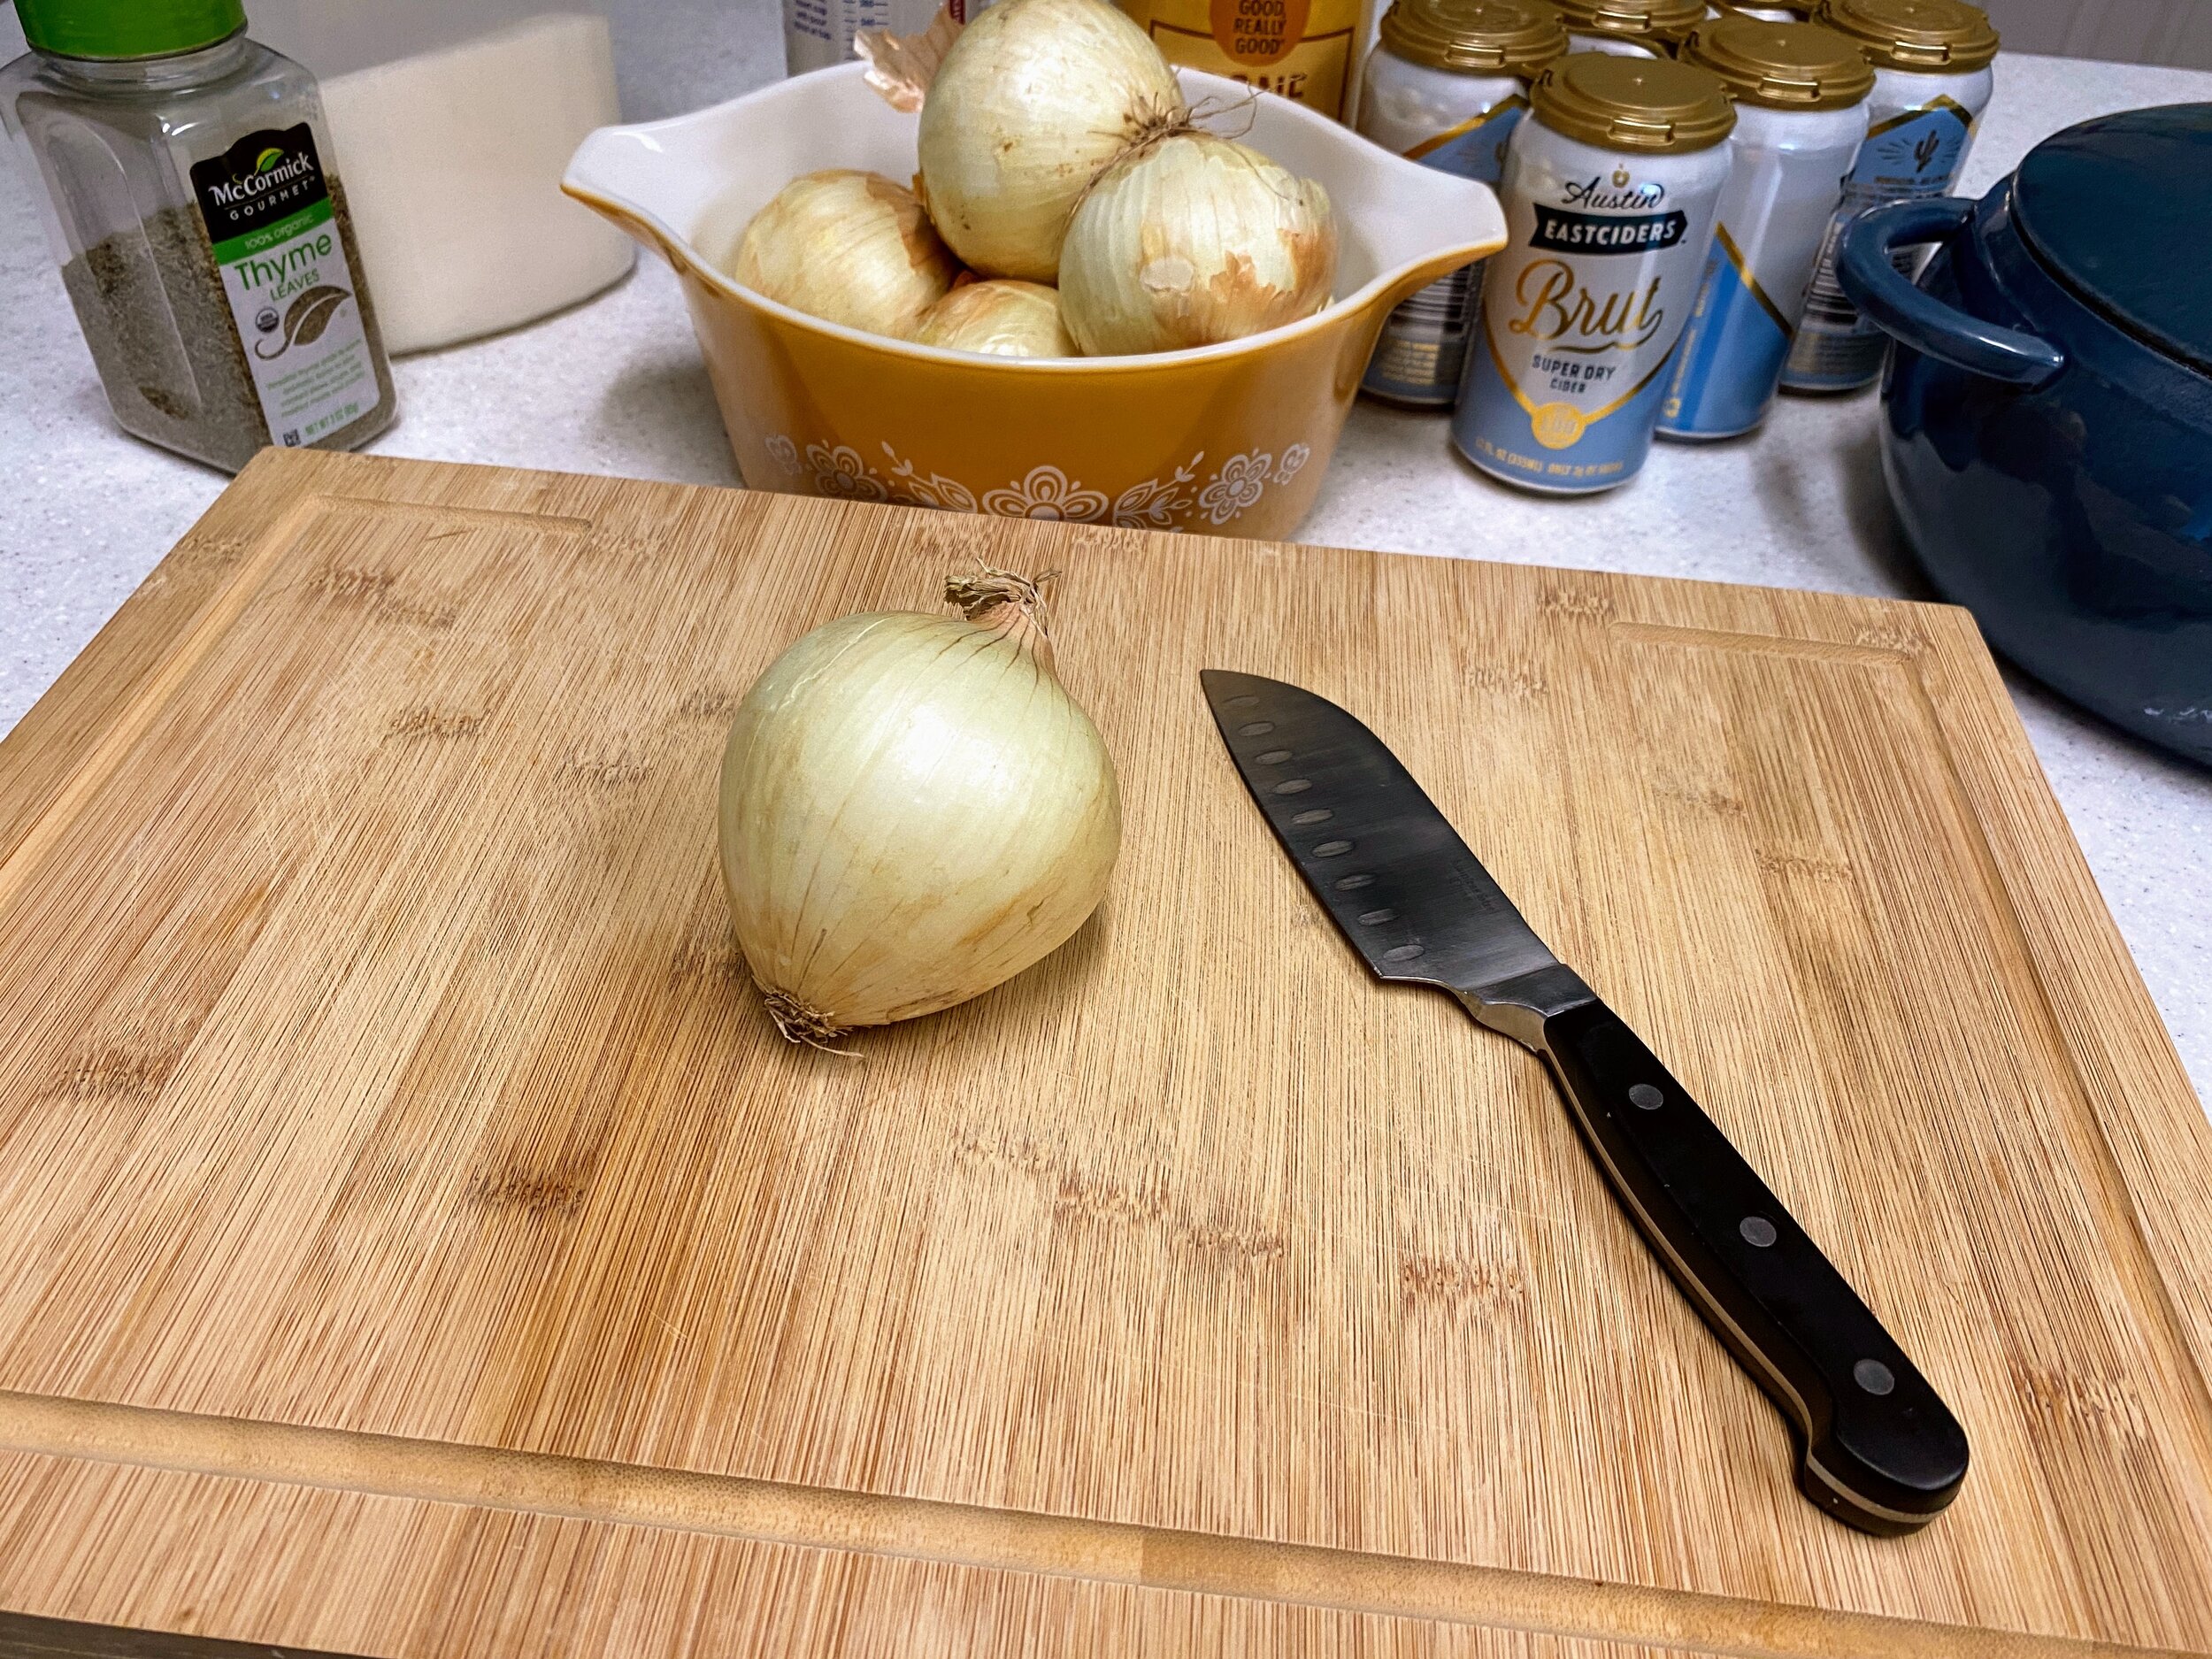
  • 3lb 5oz Onions, finely sliced

  • 1 Tbsp Sugar (optional)

  • 250ml Dry cider

  • 2 Pints Chicken bone broth

  • 3 Sprigs Fresh thyme leaves

  • 2 Slices Toasted bread

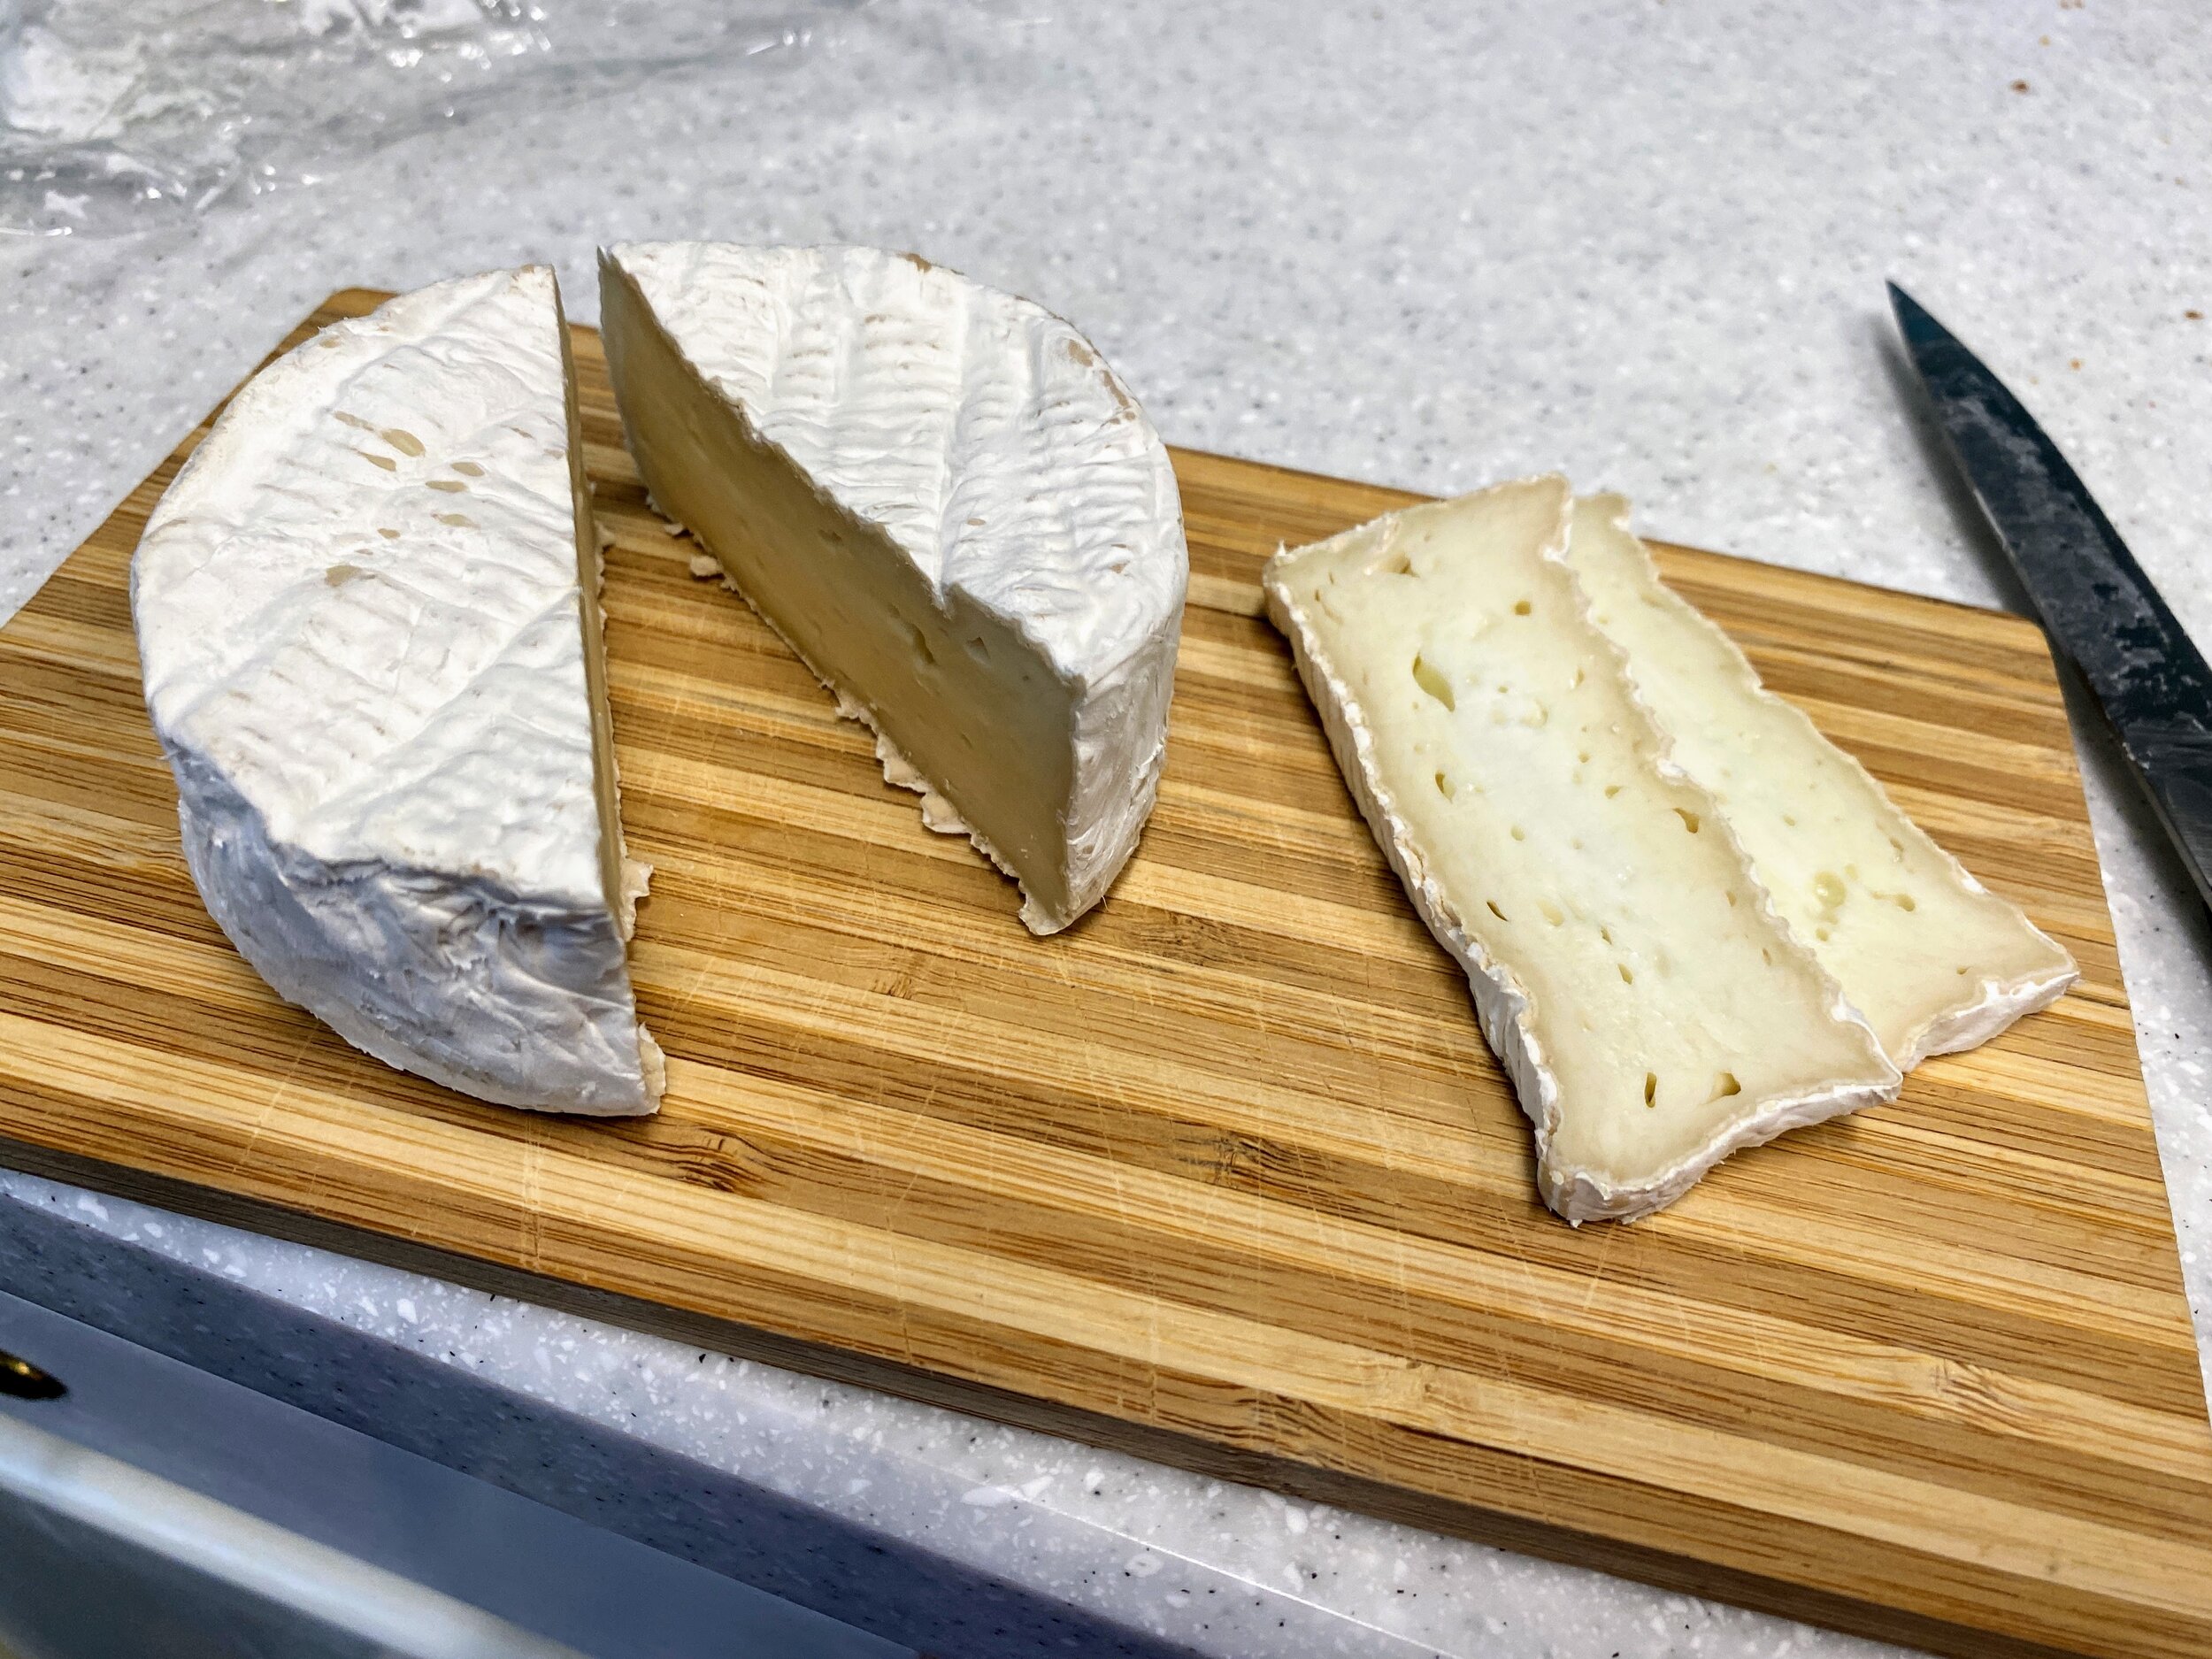
  • 1 Goat Brie

  • 15g Melted butter


Instructions for Flour Blend:

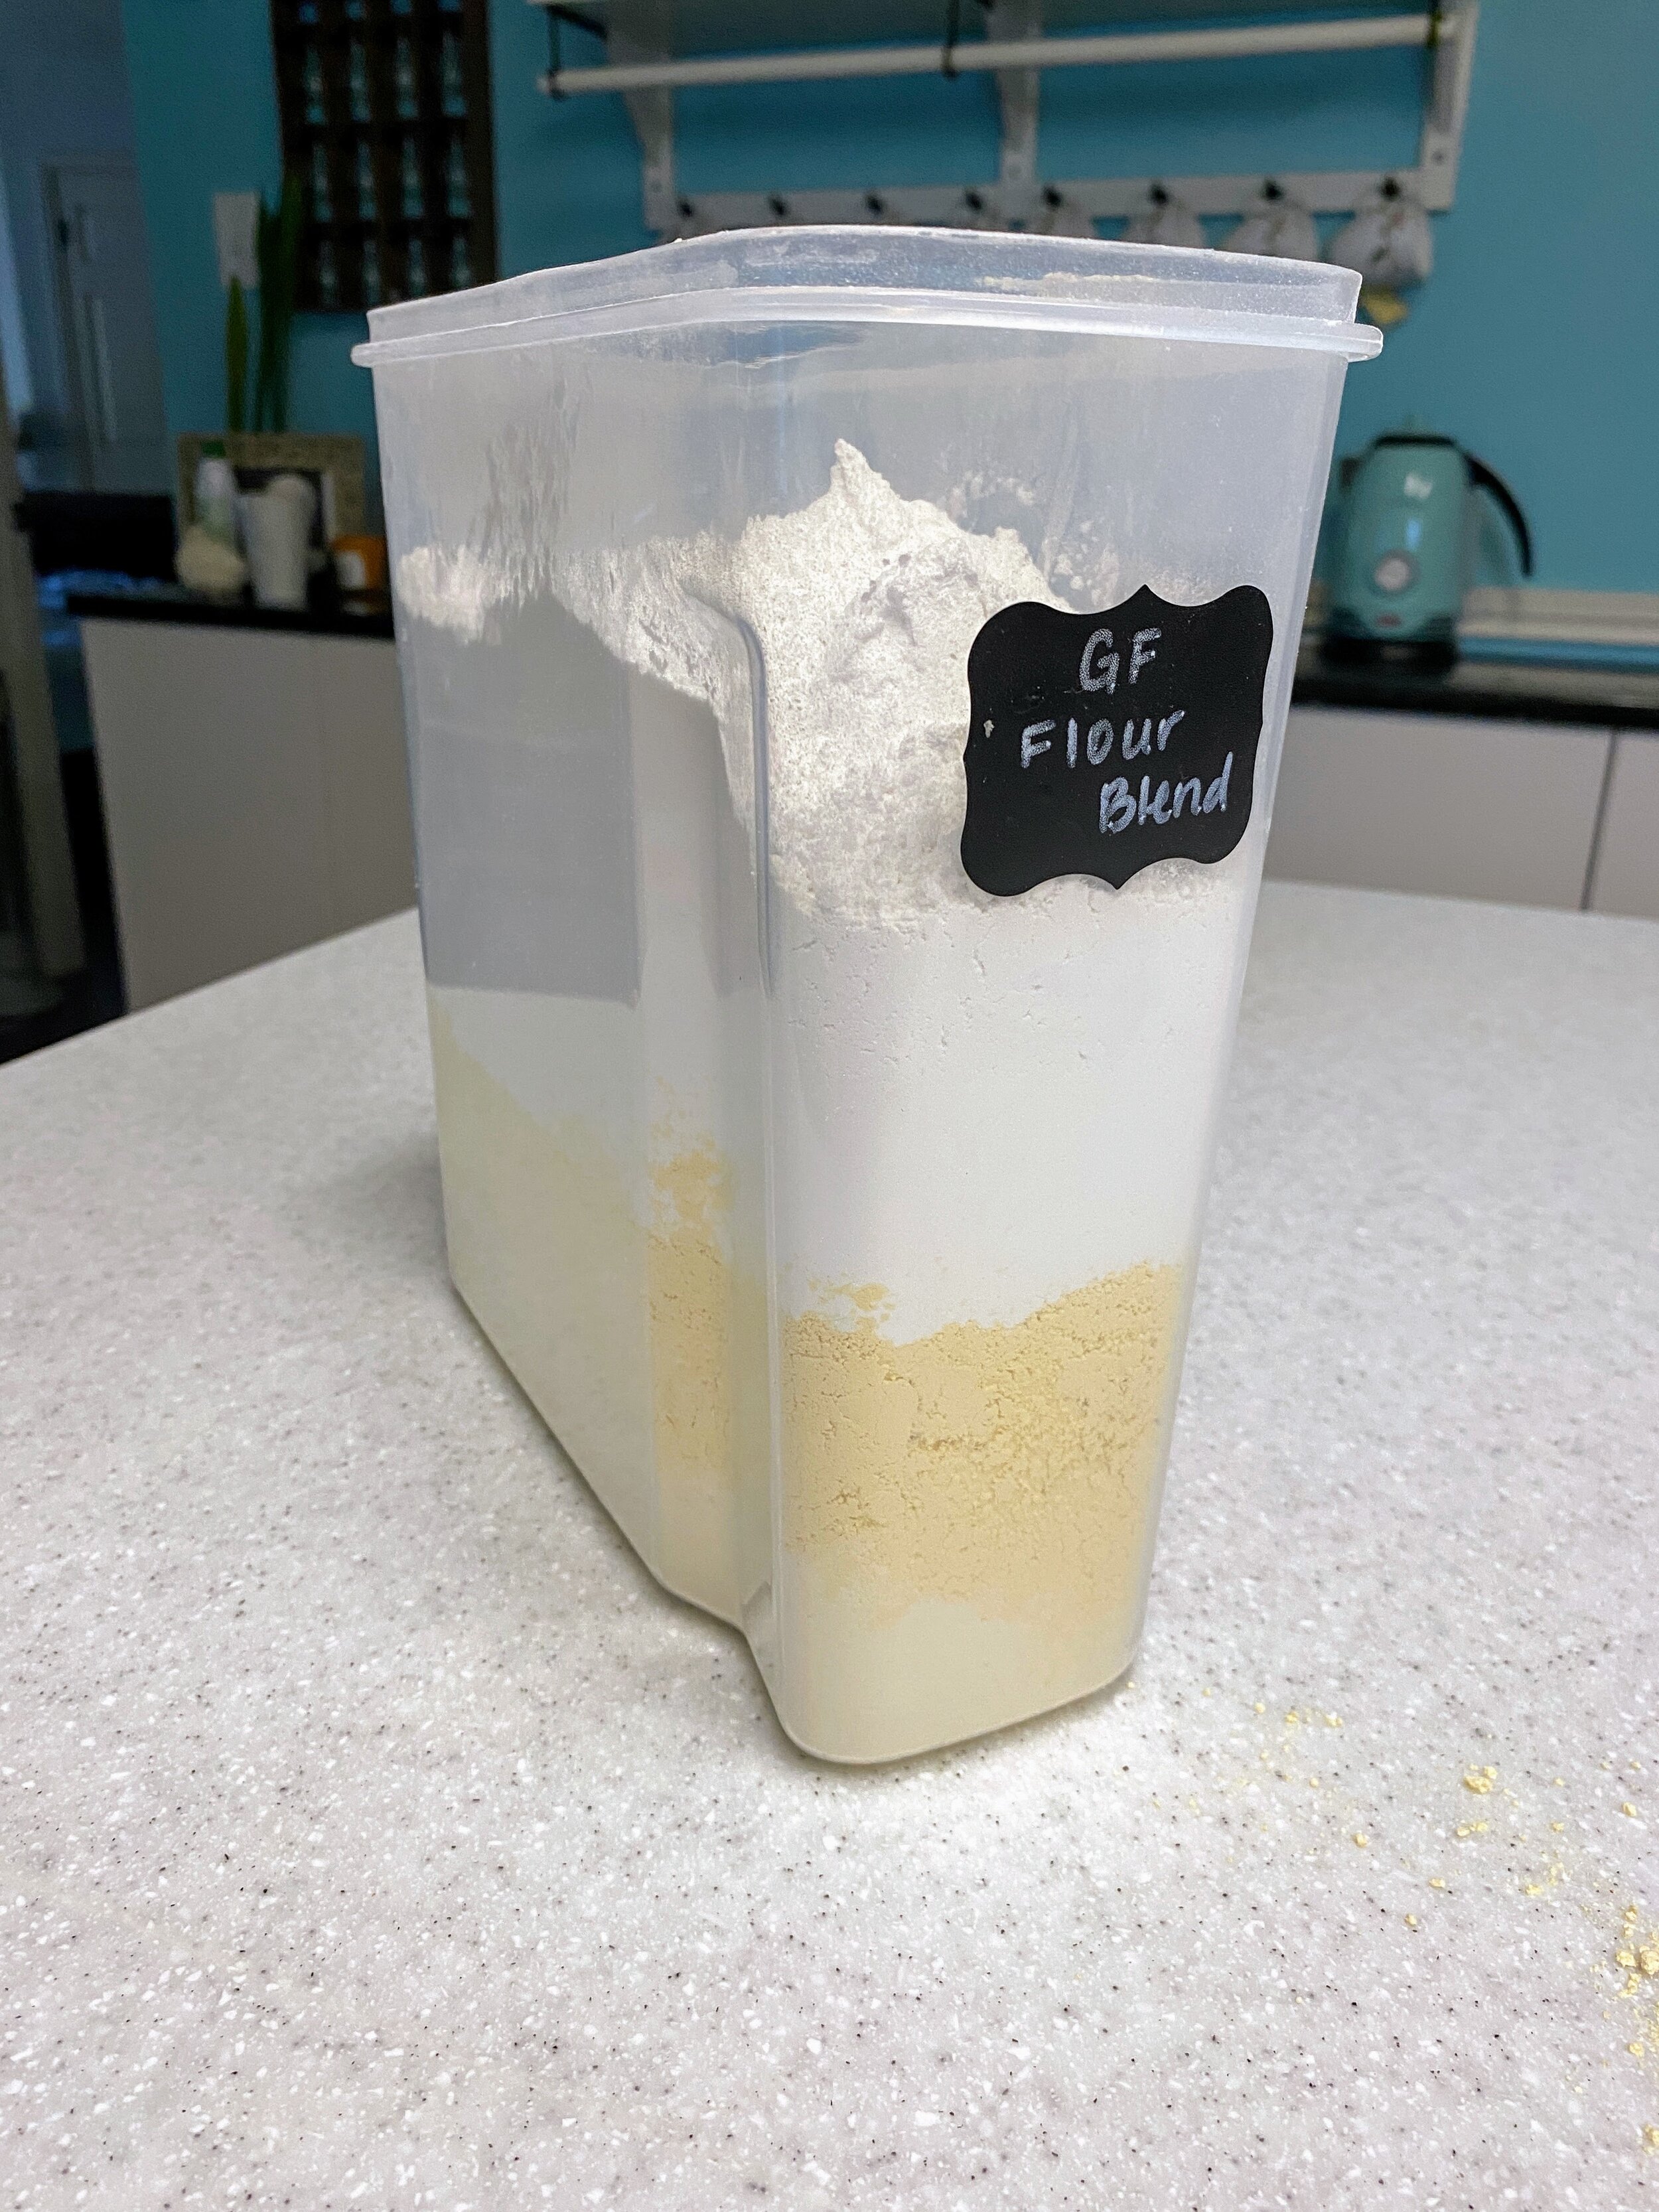
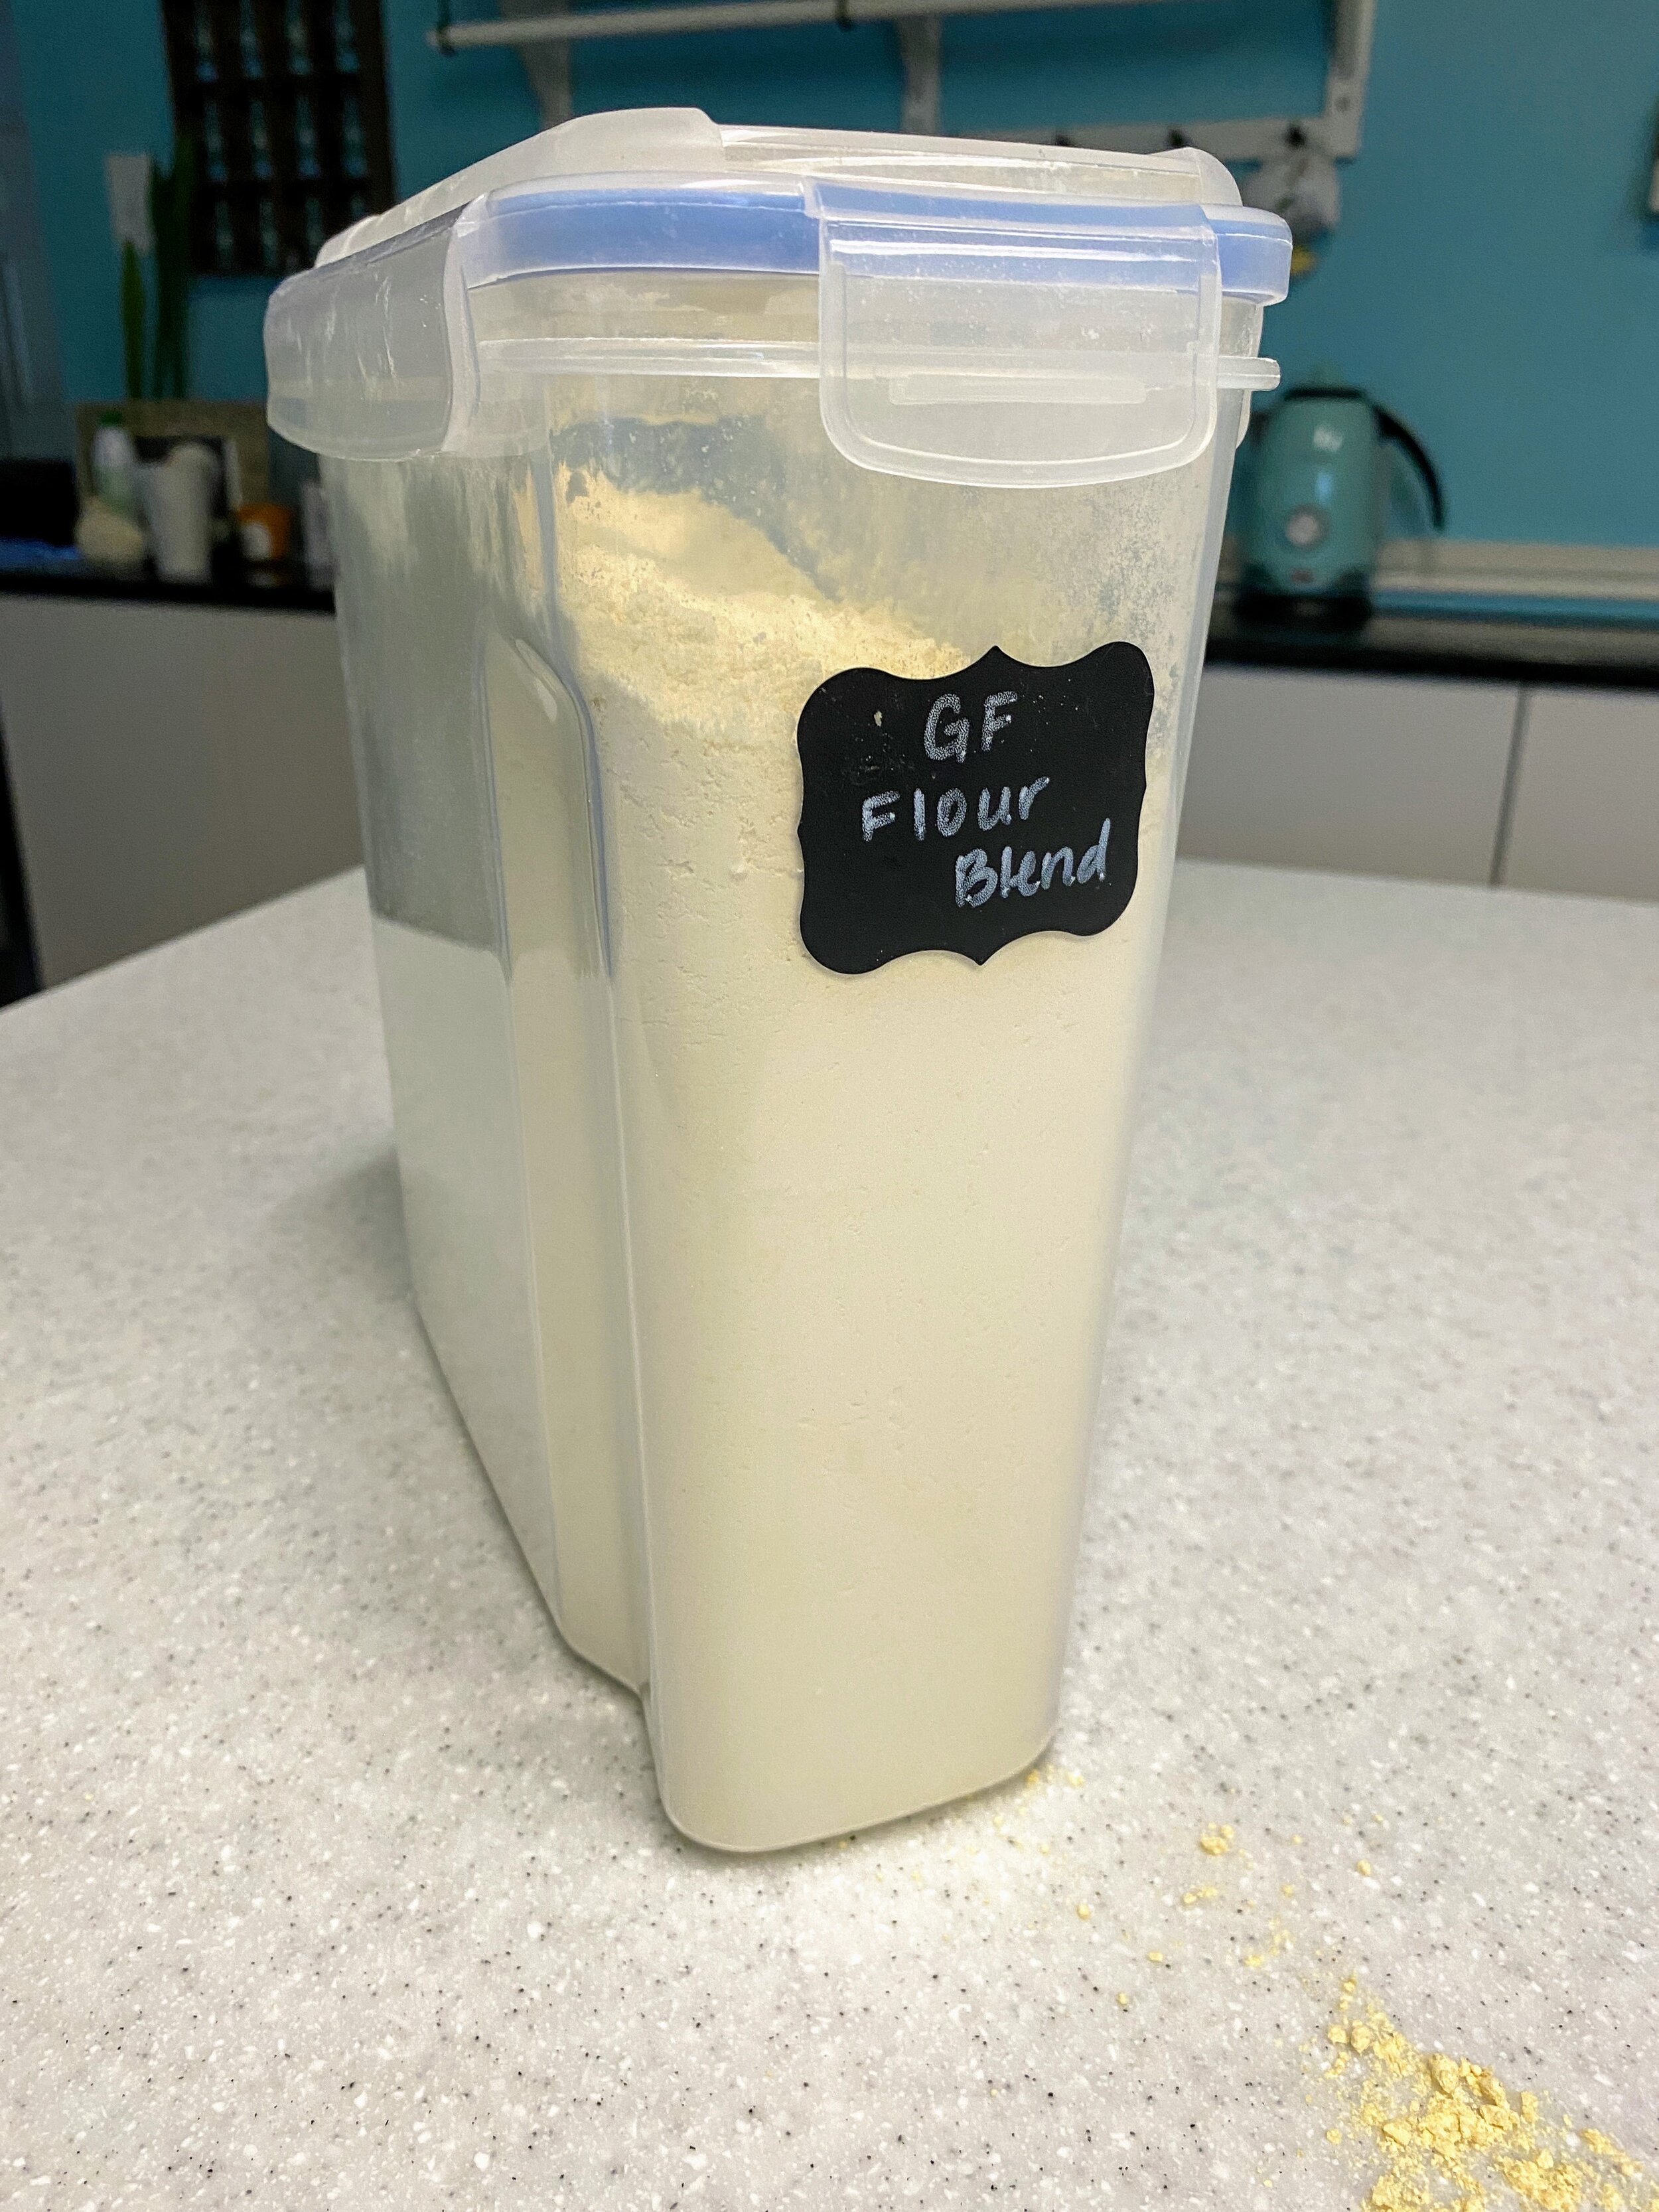
  • Measure out the denominations of ingredients and mix together thoroughly. 

    • We have this delightful plastic tub with a strong seal that we use for the gluten free flour. Once the flours have all been put in, we seal up the container and shake it until everything is uniform. It’s easier than using a spoon or a whisk which can be really messy. 


Instructions for Gluten Free Bread:

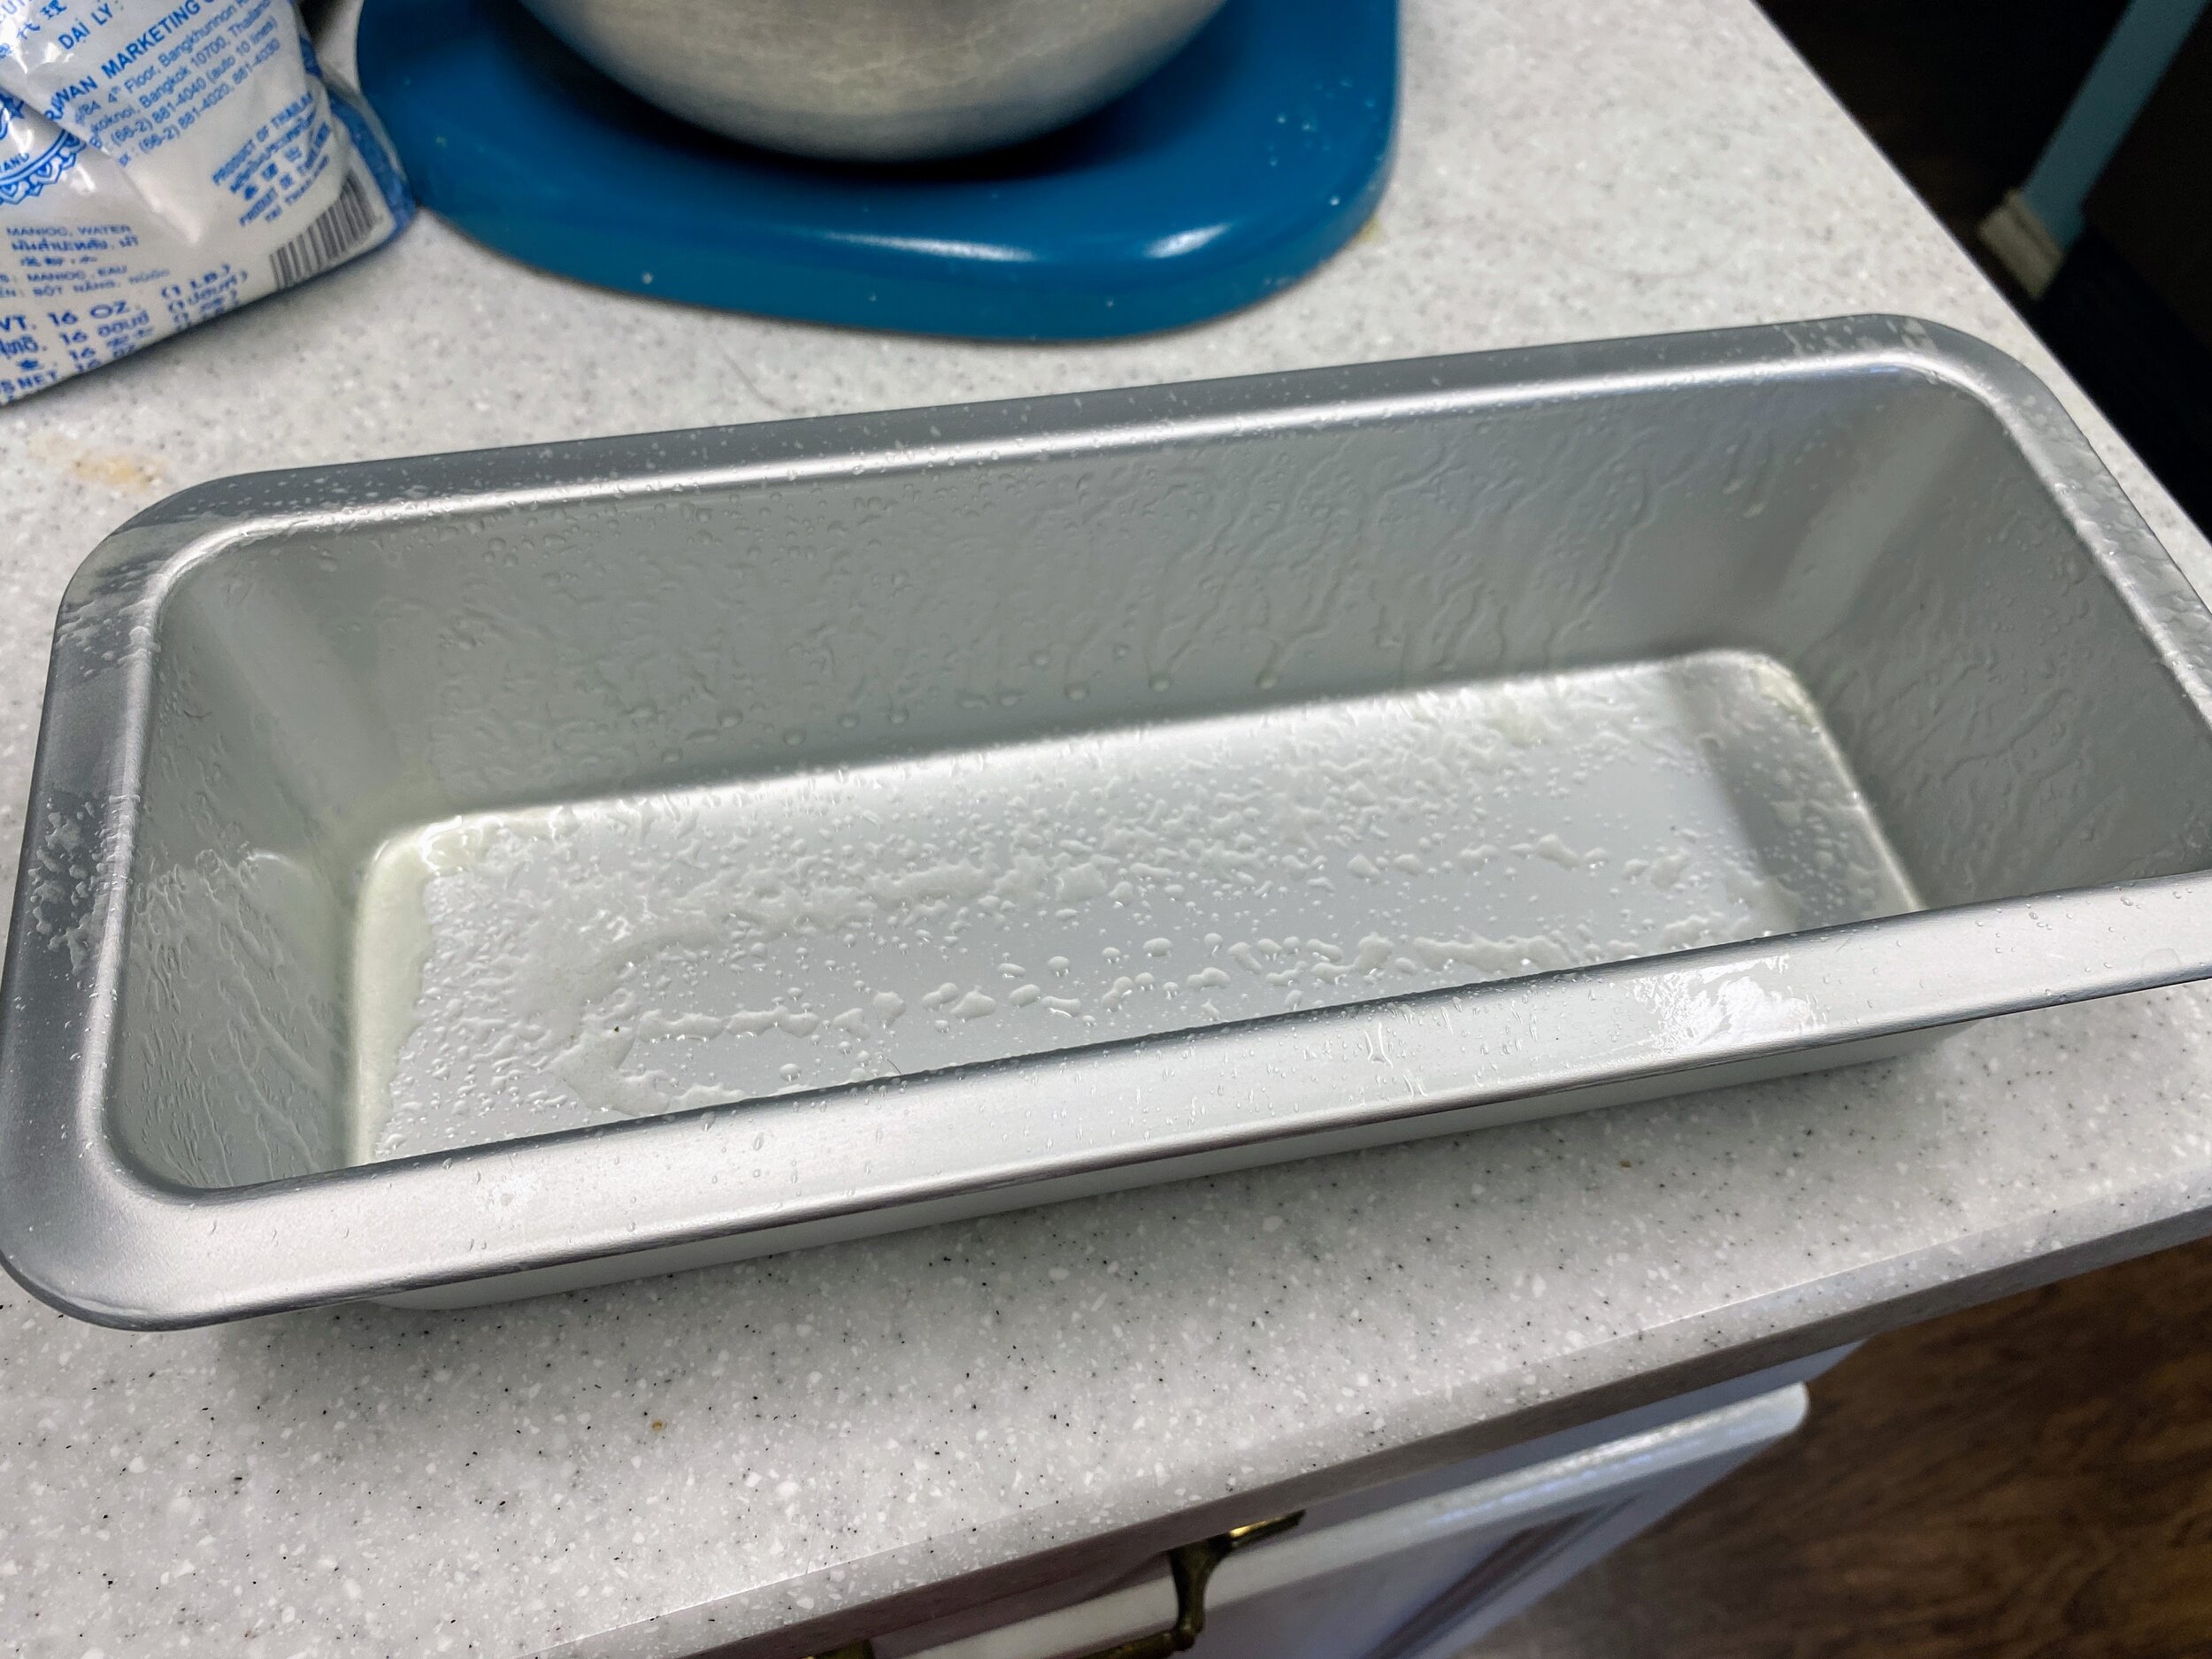
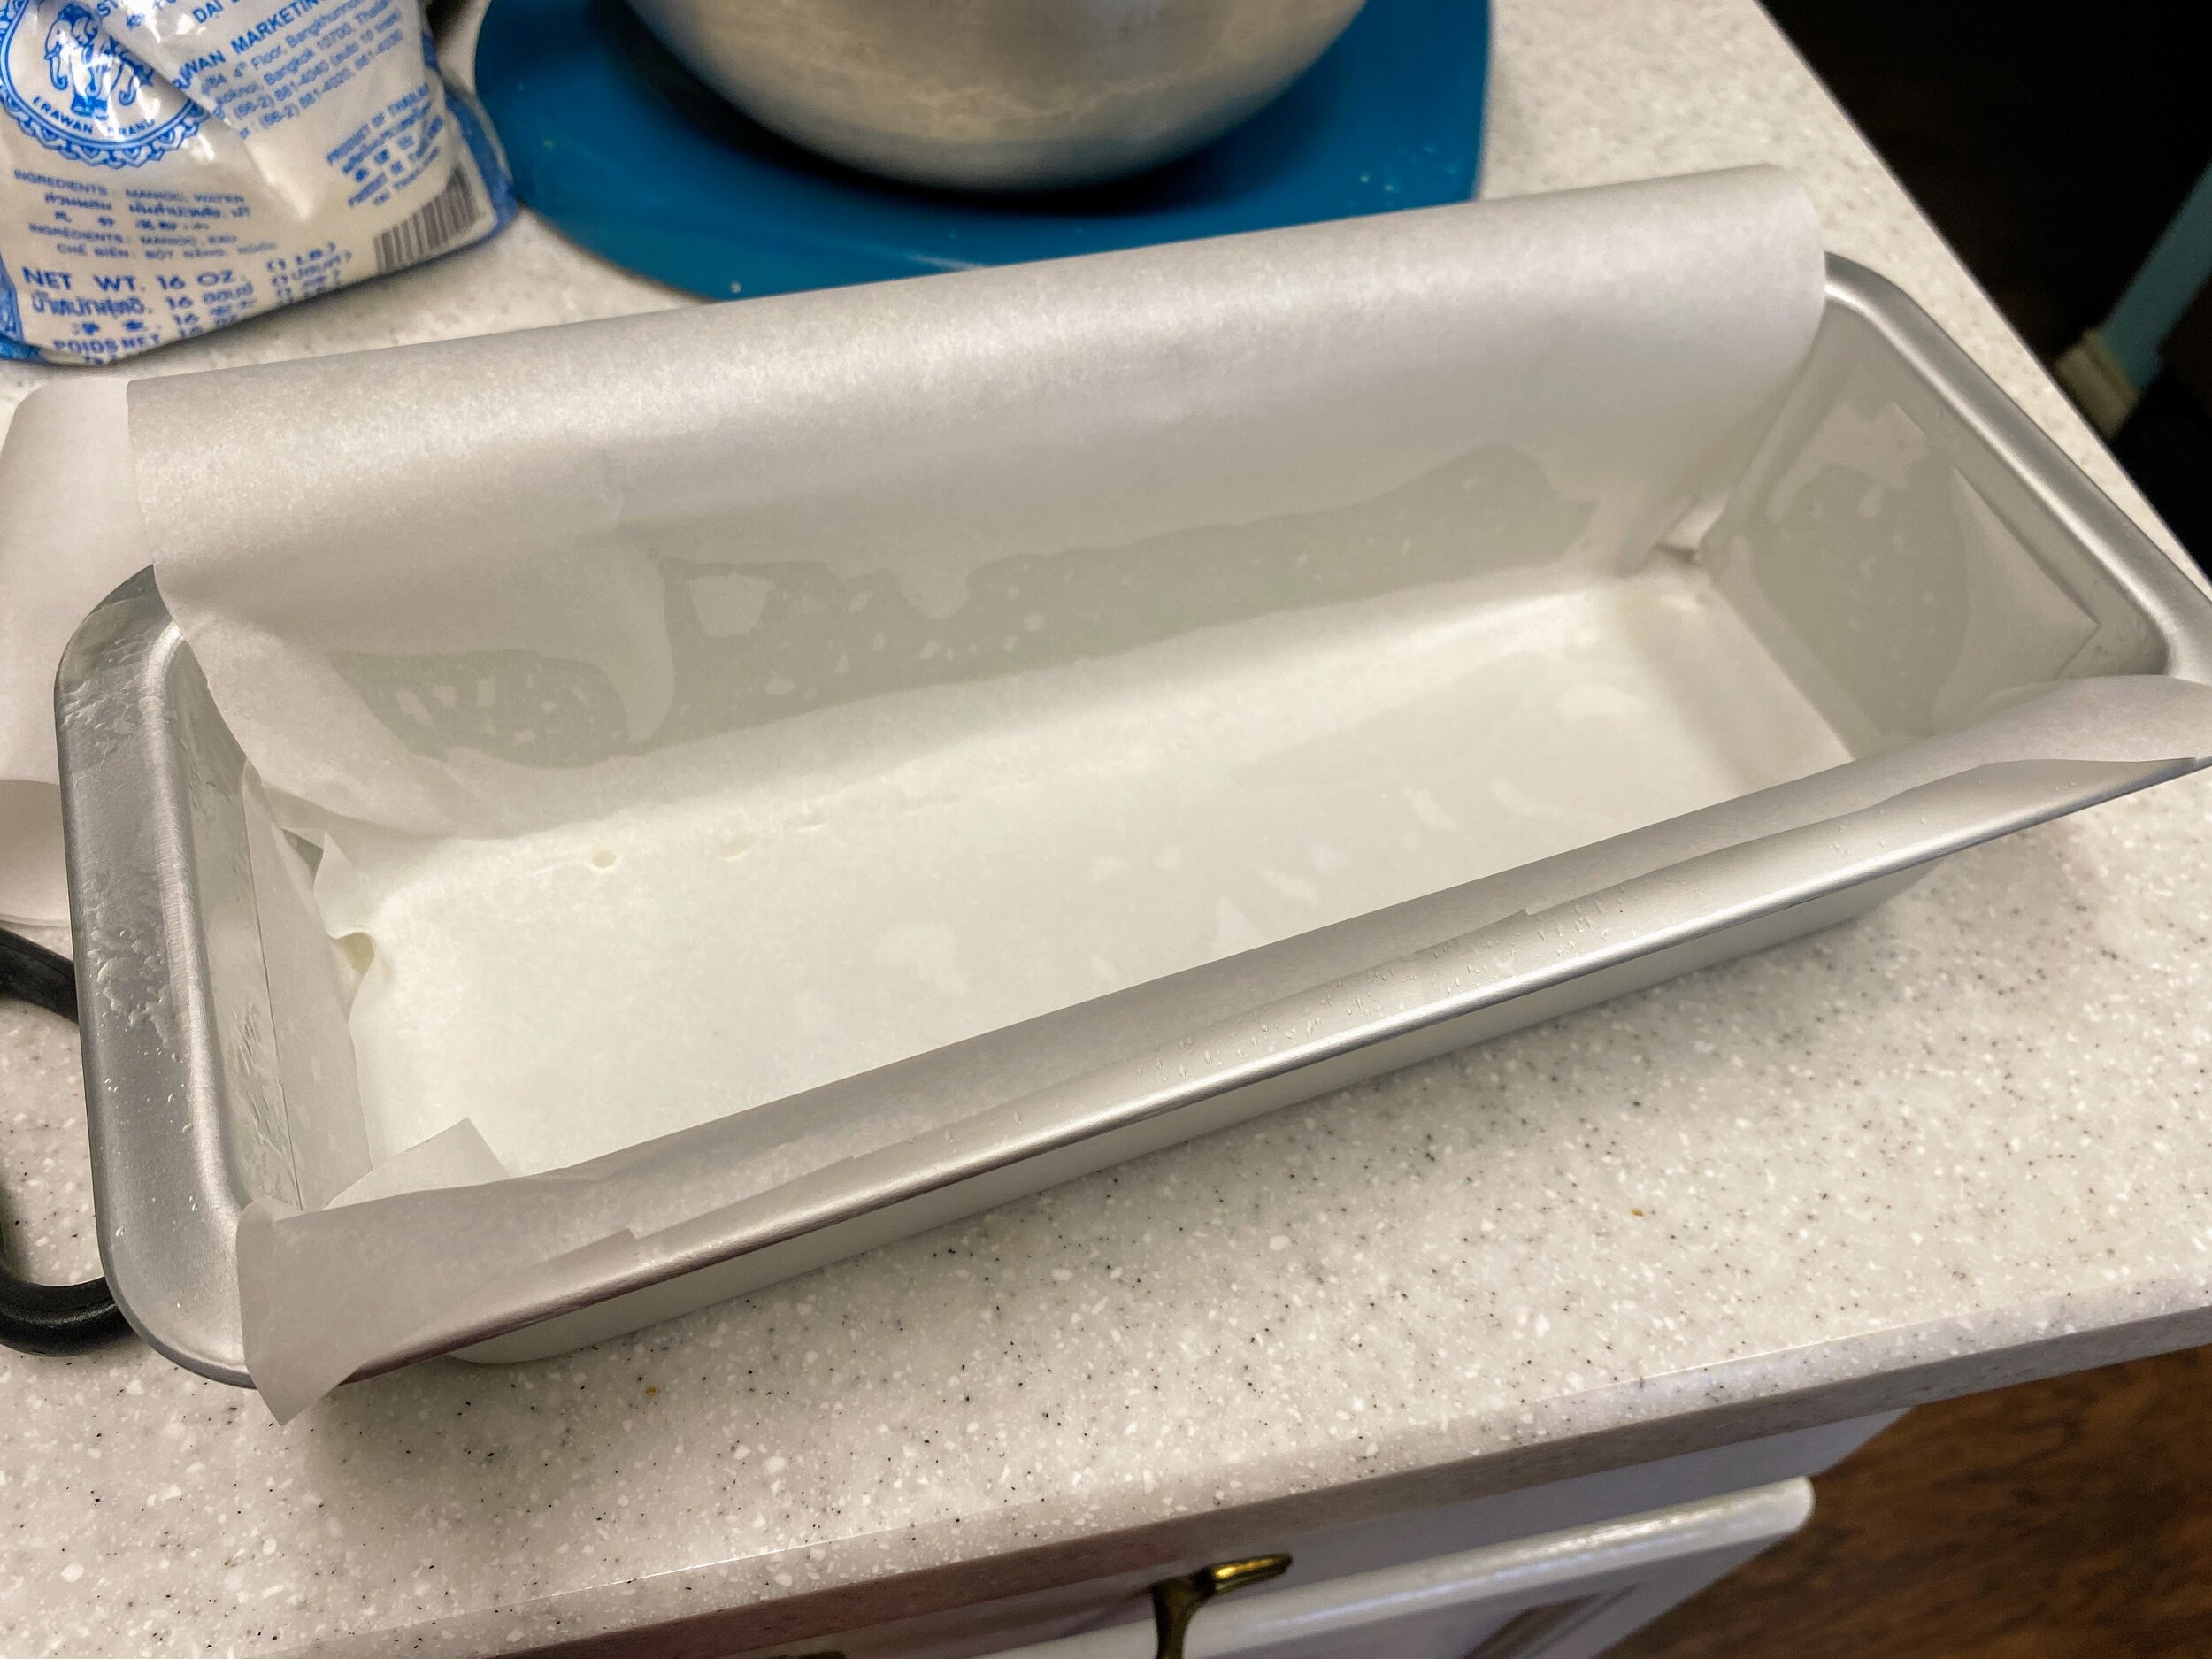
  • Grease a loaf tin (11in L x 4in W x 3in D) and line with parchment paper.

    • We chose a different shape of loaf tin on purpose for this recipe. I’ve found that a lot of gluten free breads that we’ve made don’t rise very well in the middle if the batter is too deep/thick. This tin is longer and more shallow which gives it a much better rise.

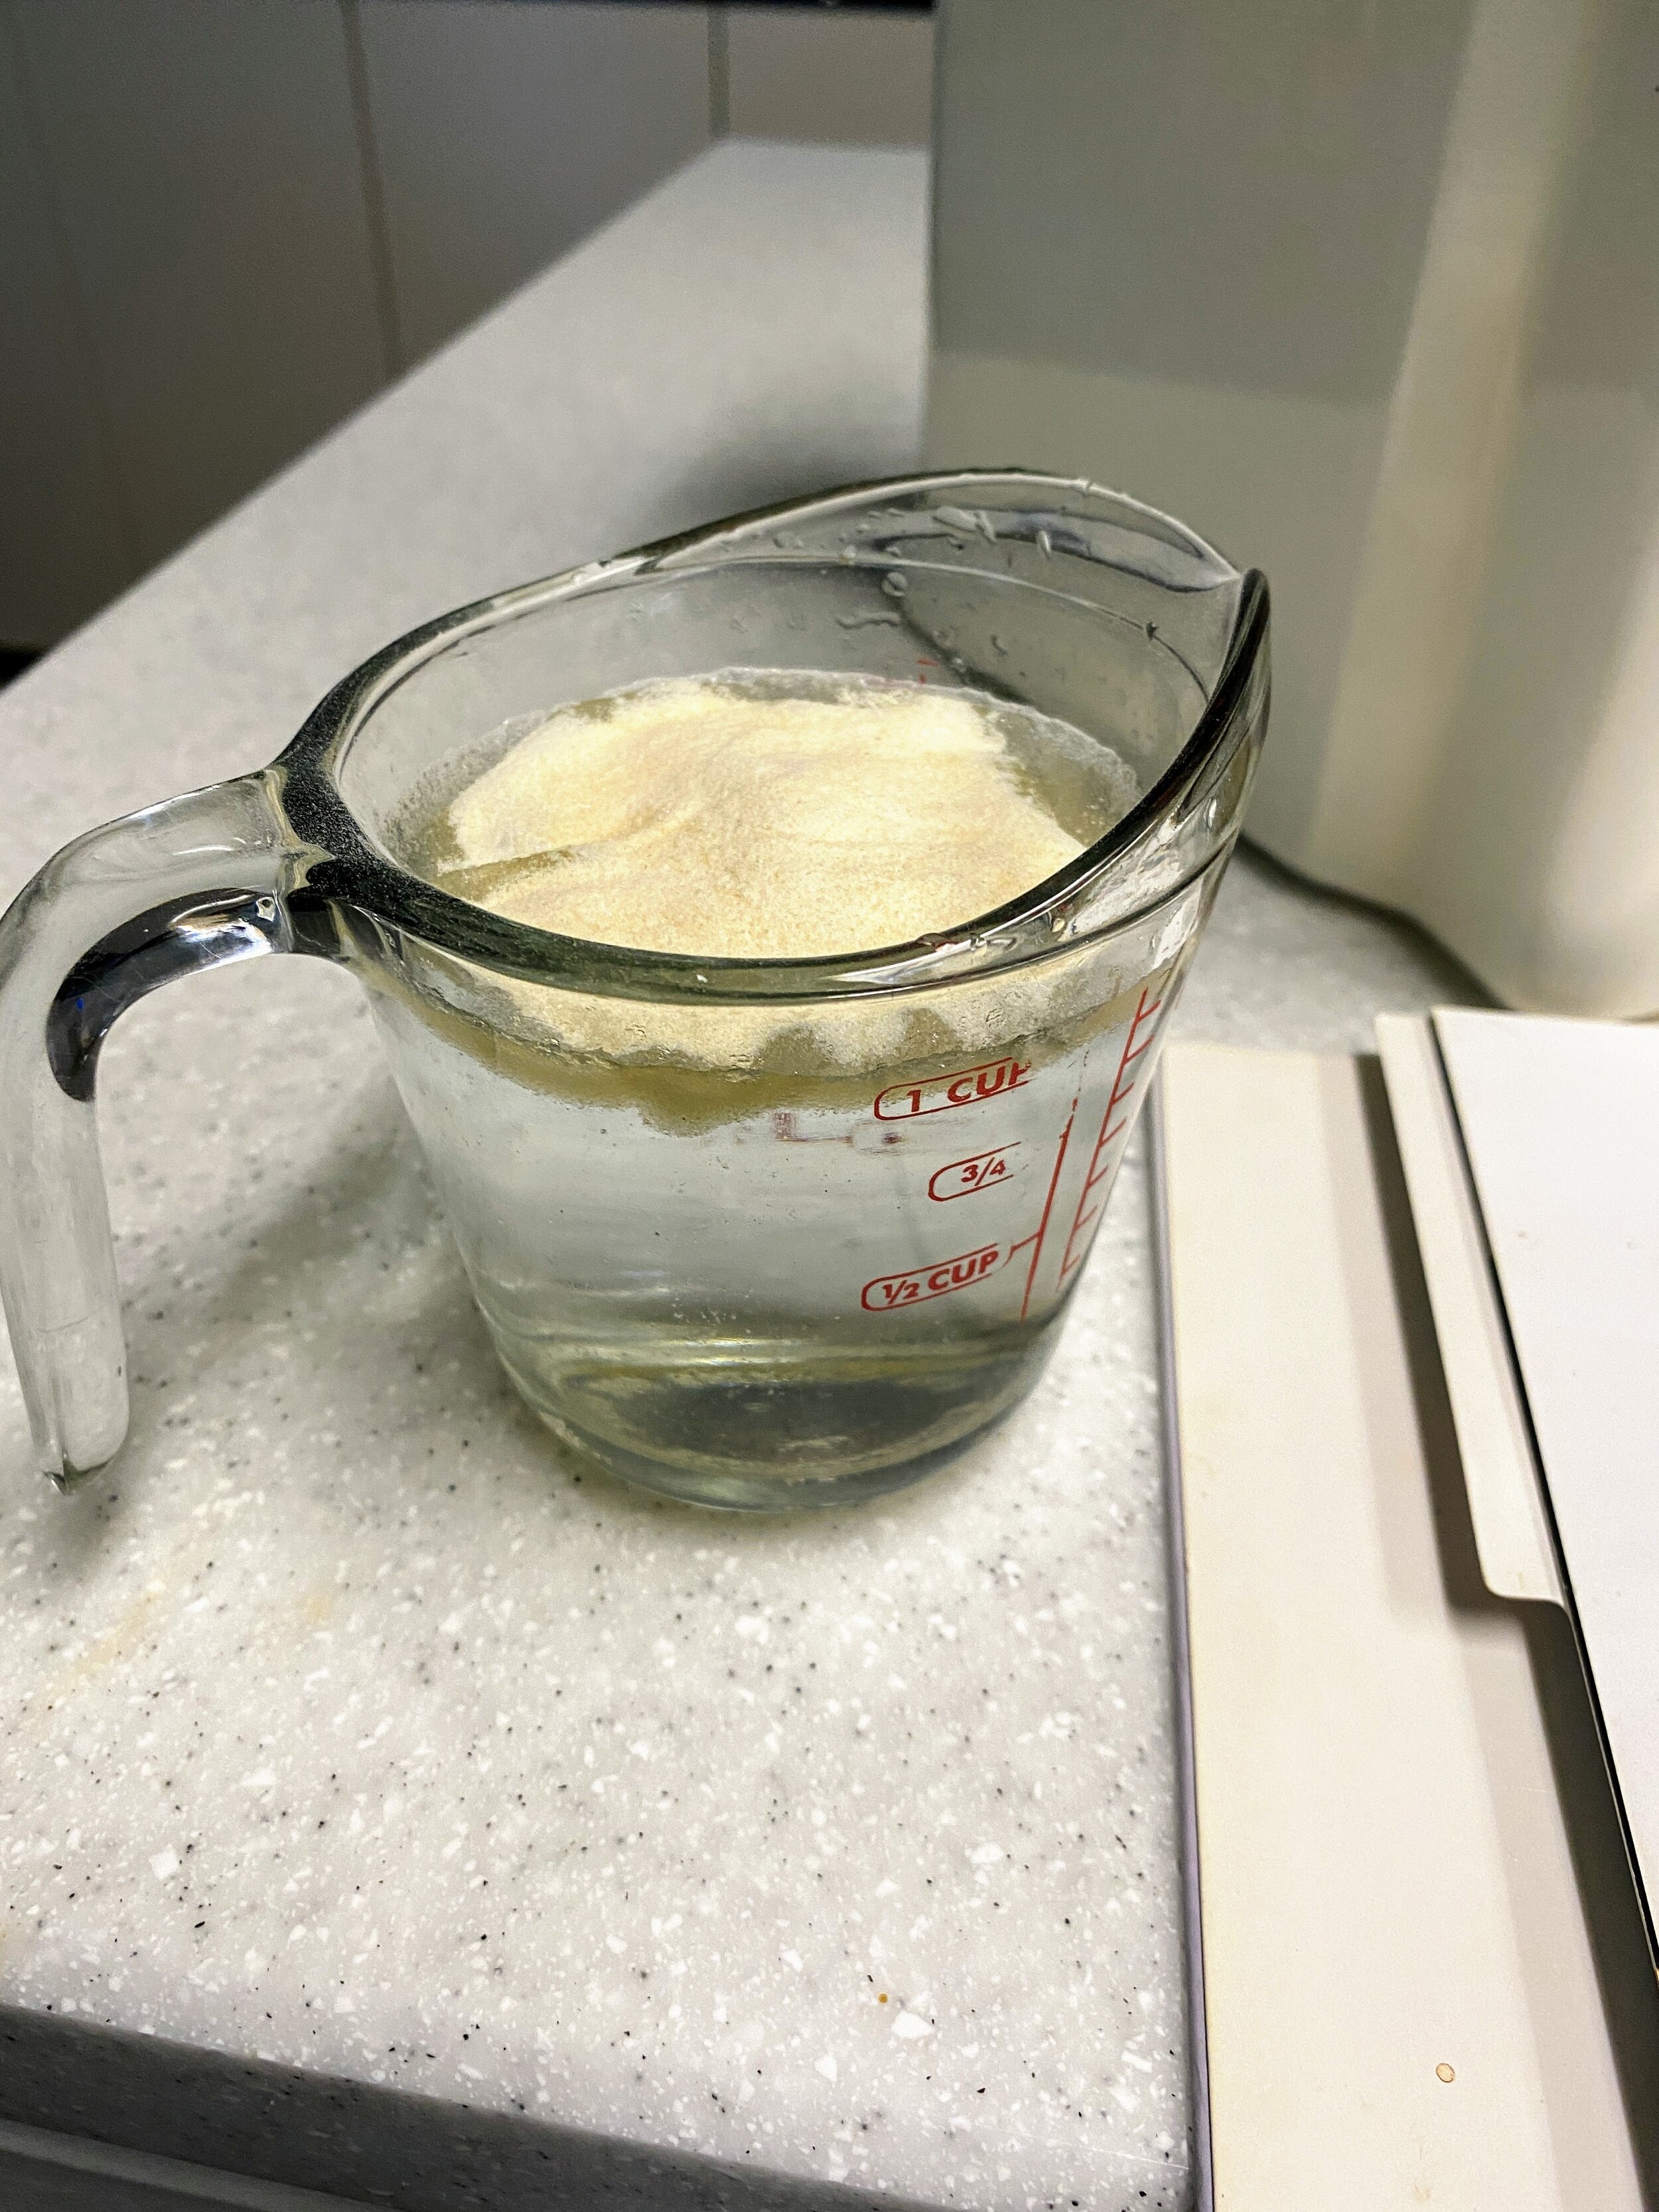
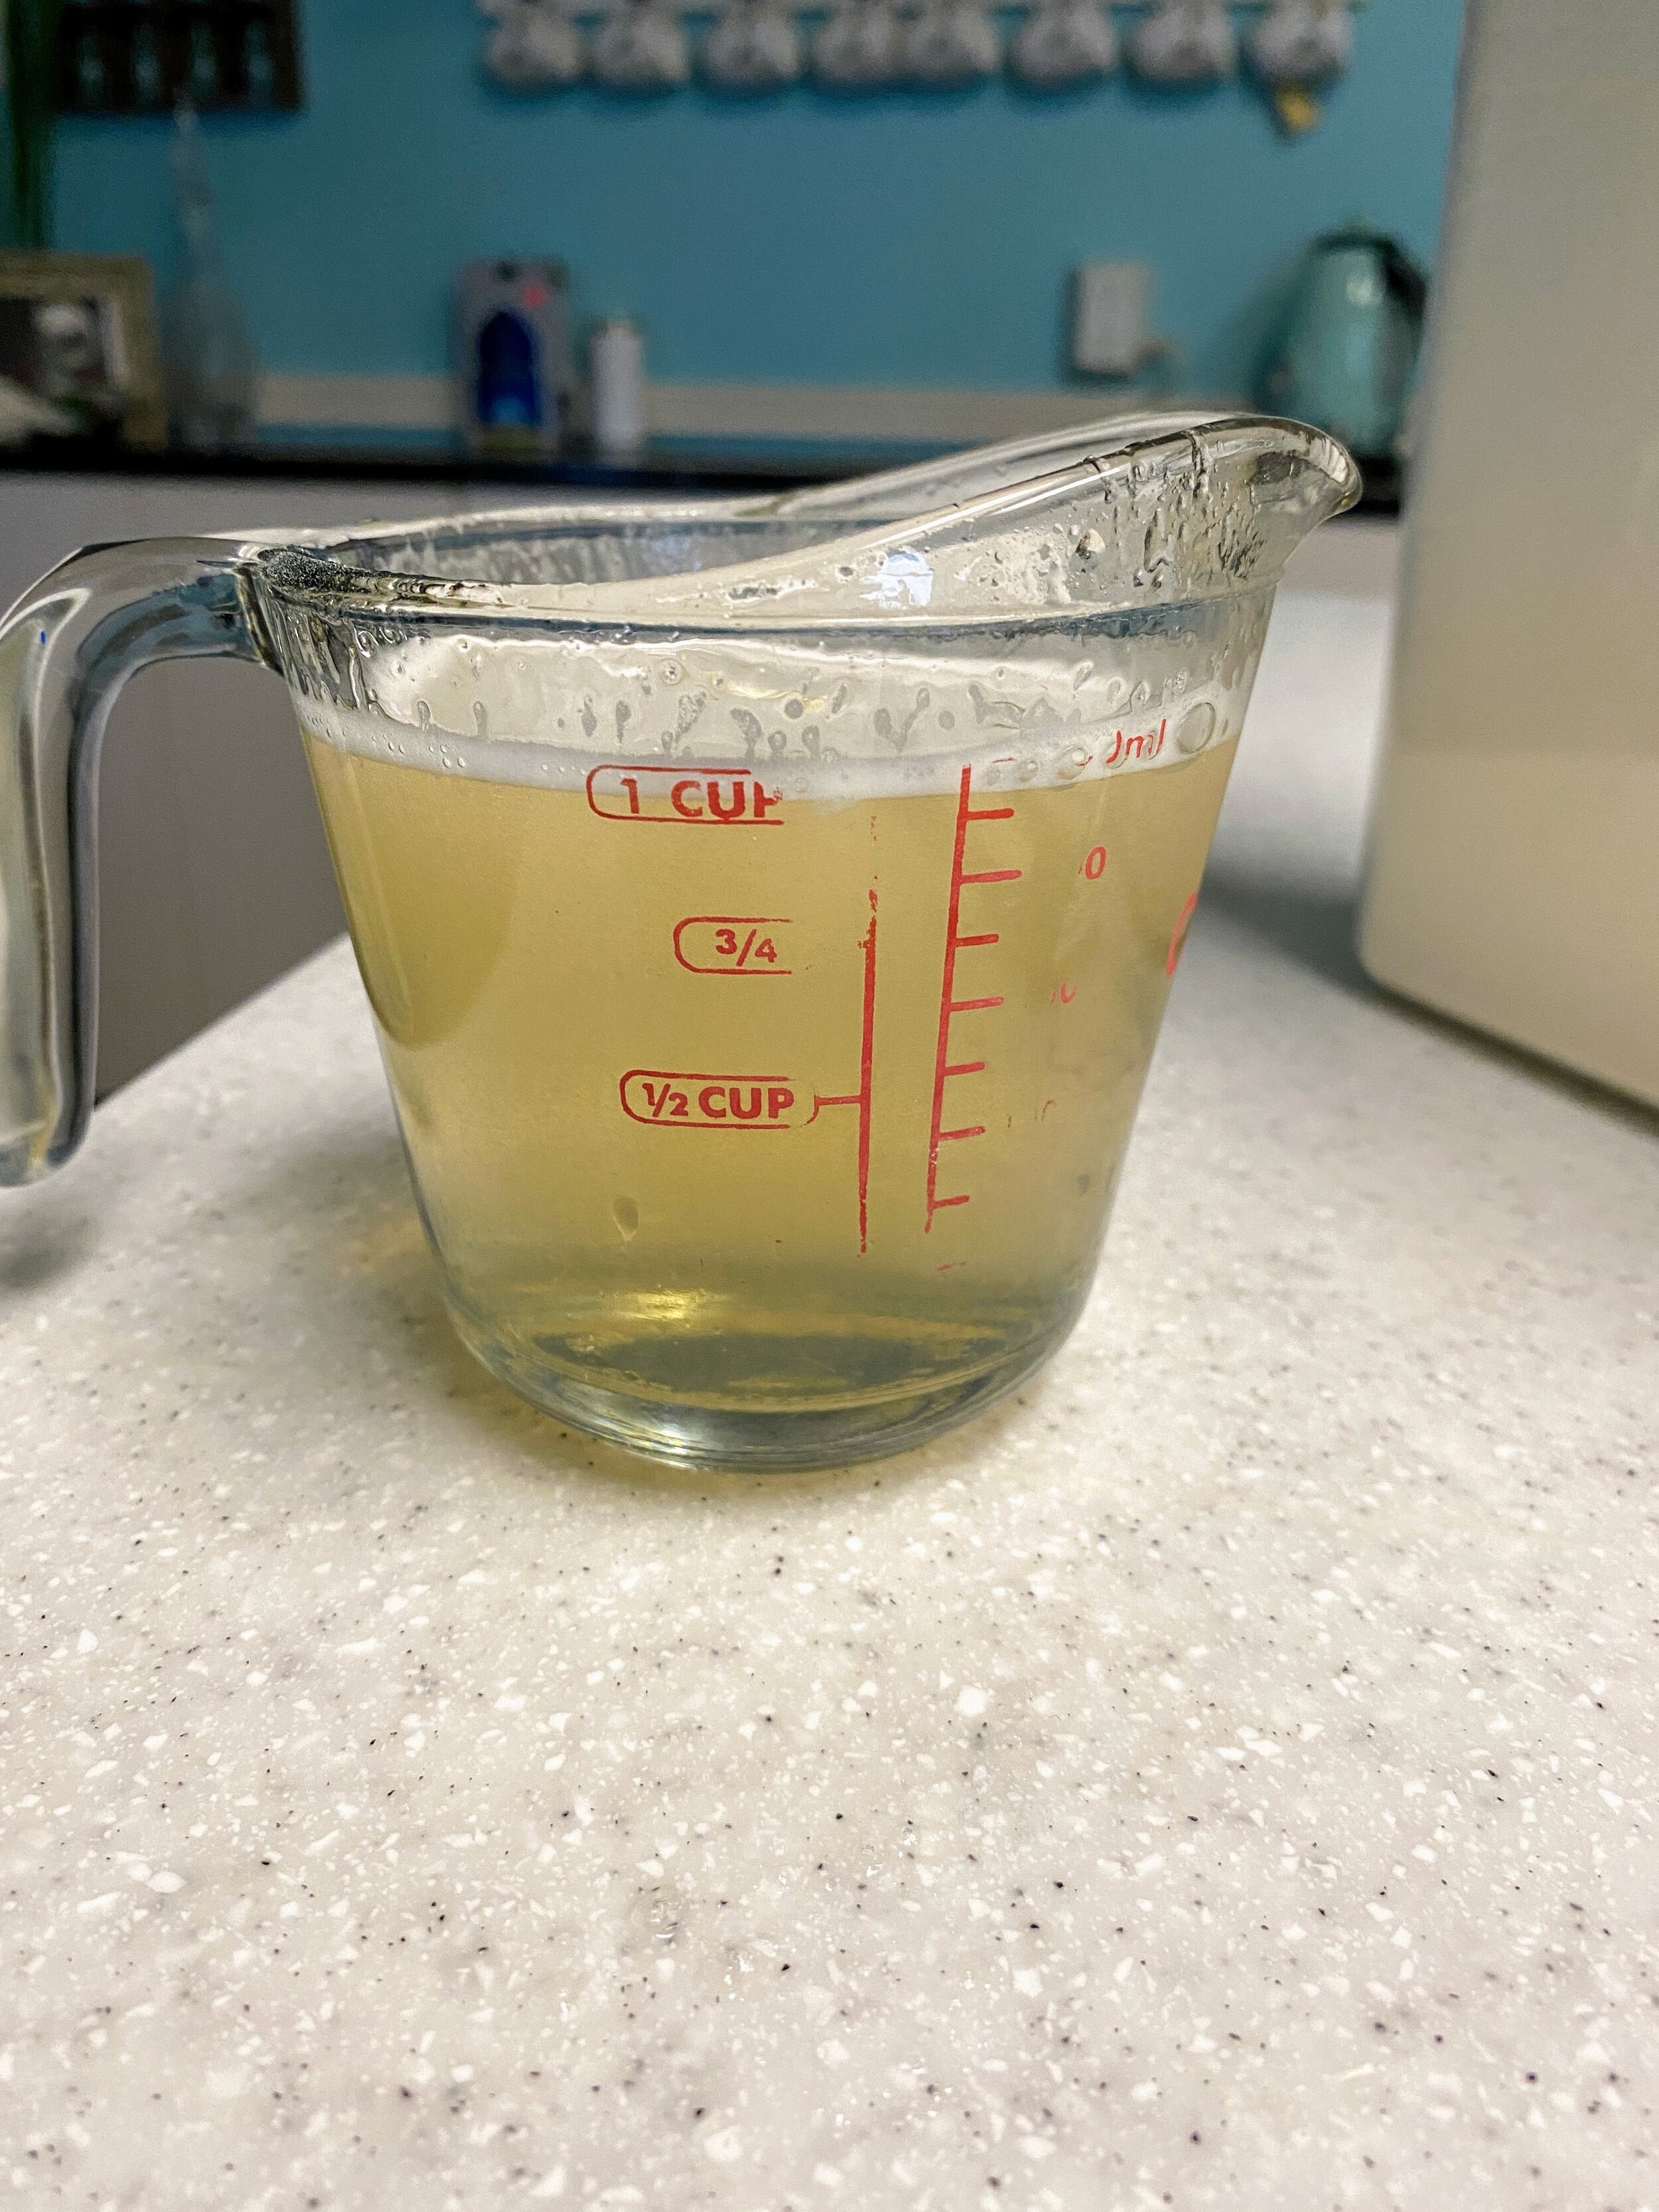
  • Place the gelatin into 1 cup of cold water and let it soak until it sinks. Heat the gelatin mixture until it is clear. Set aside to cool.

    • I recommend doing this first (hence its location in the recipe!) as the gelatin mixture has the ability to scramble the eggs used later if it’s too hot when combined.

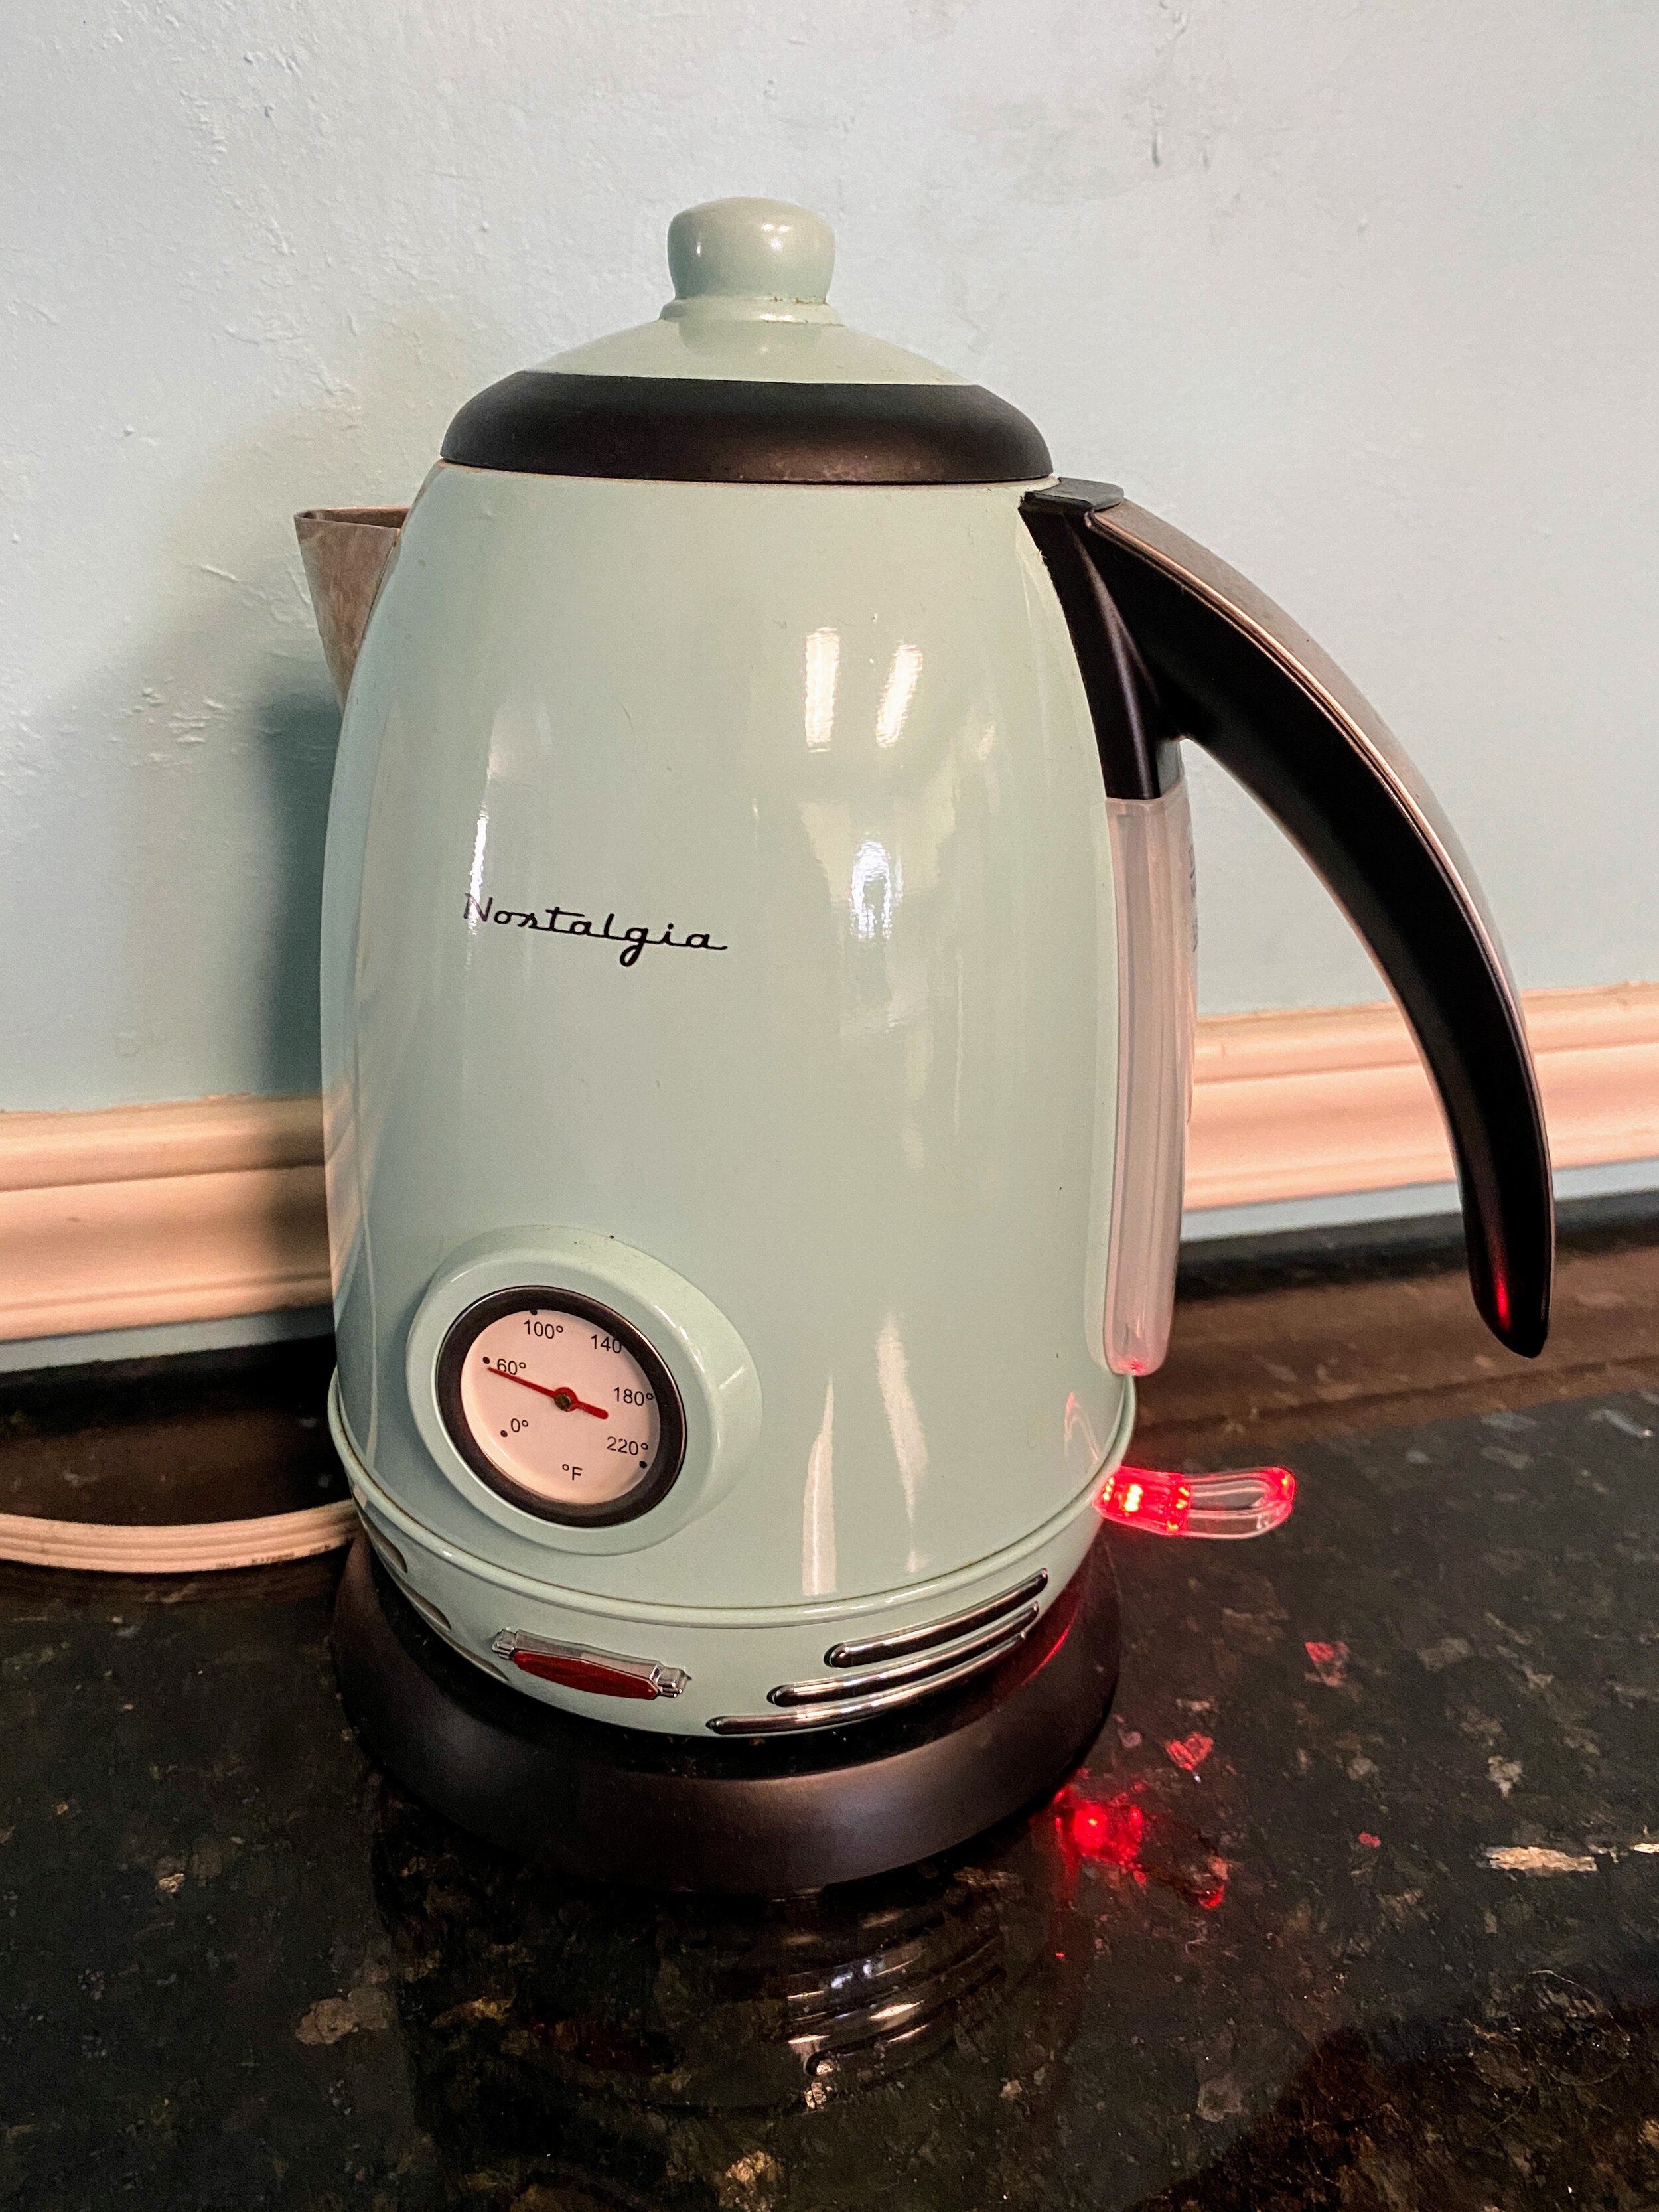
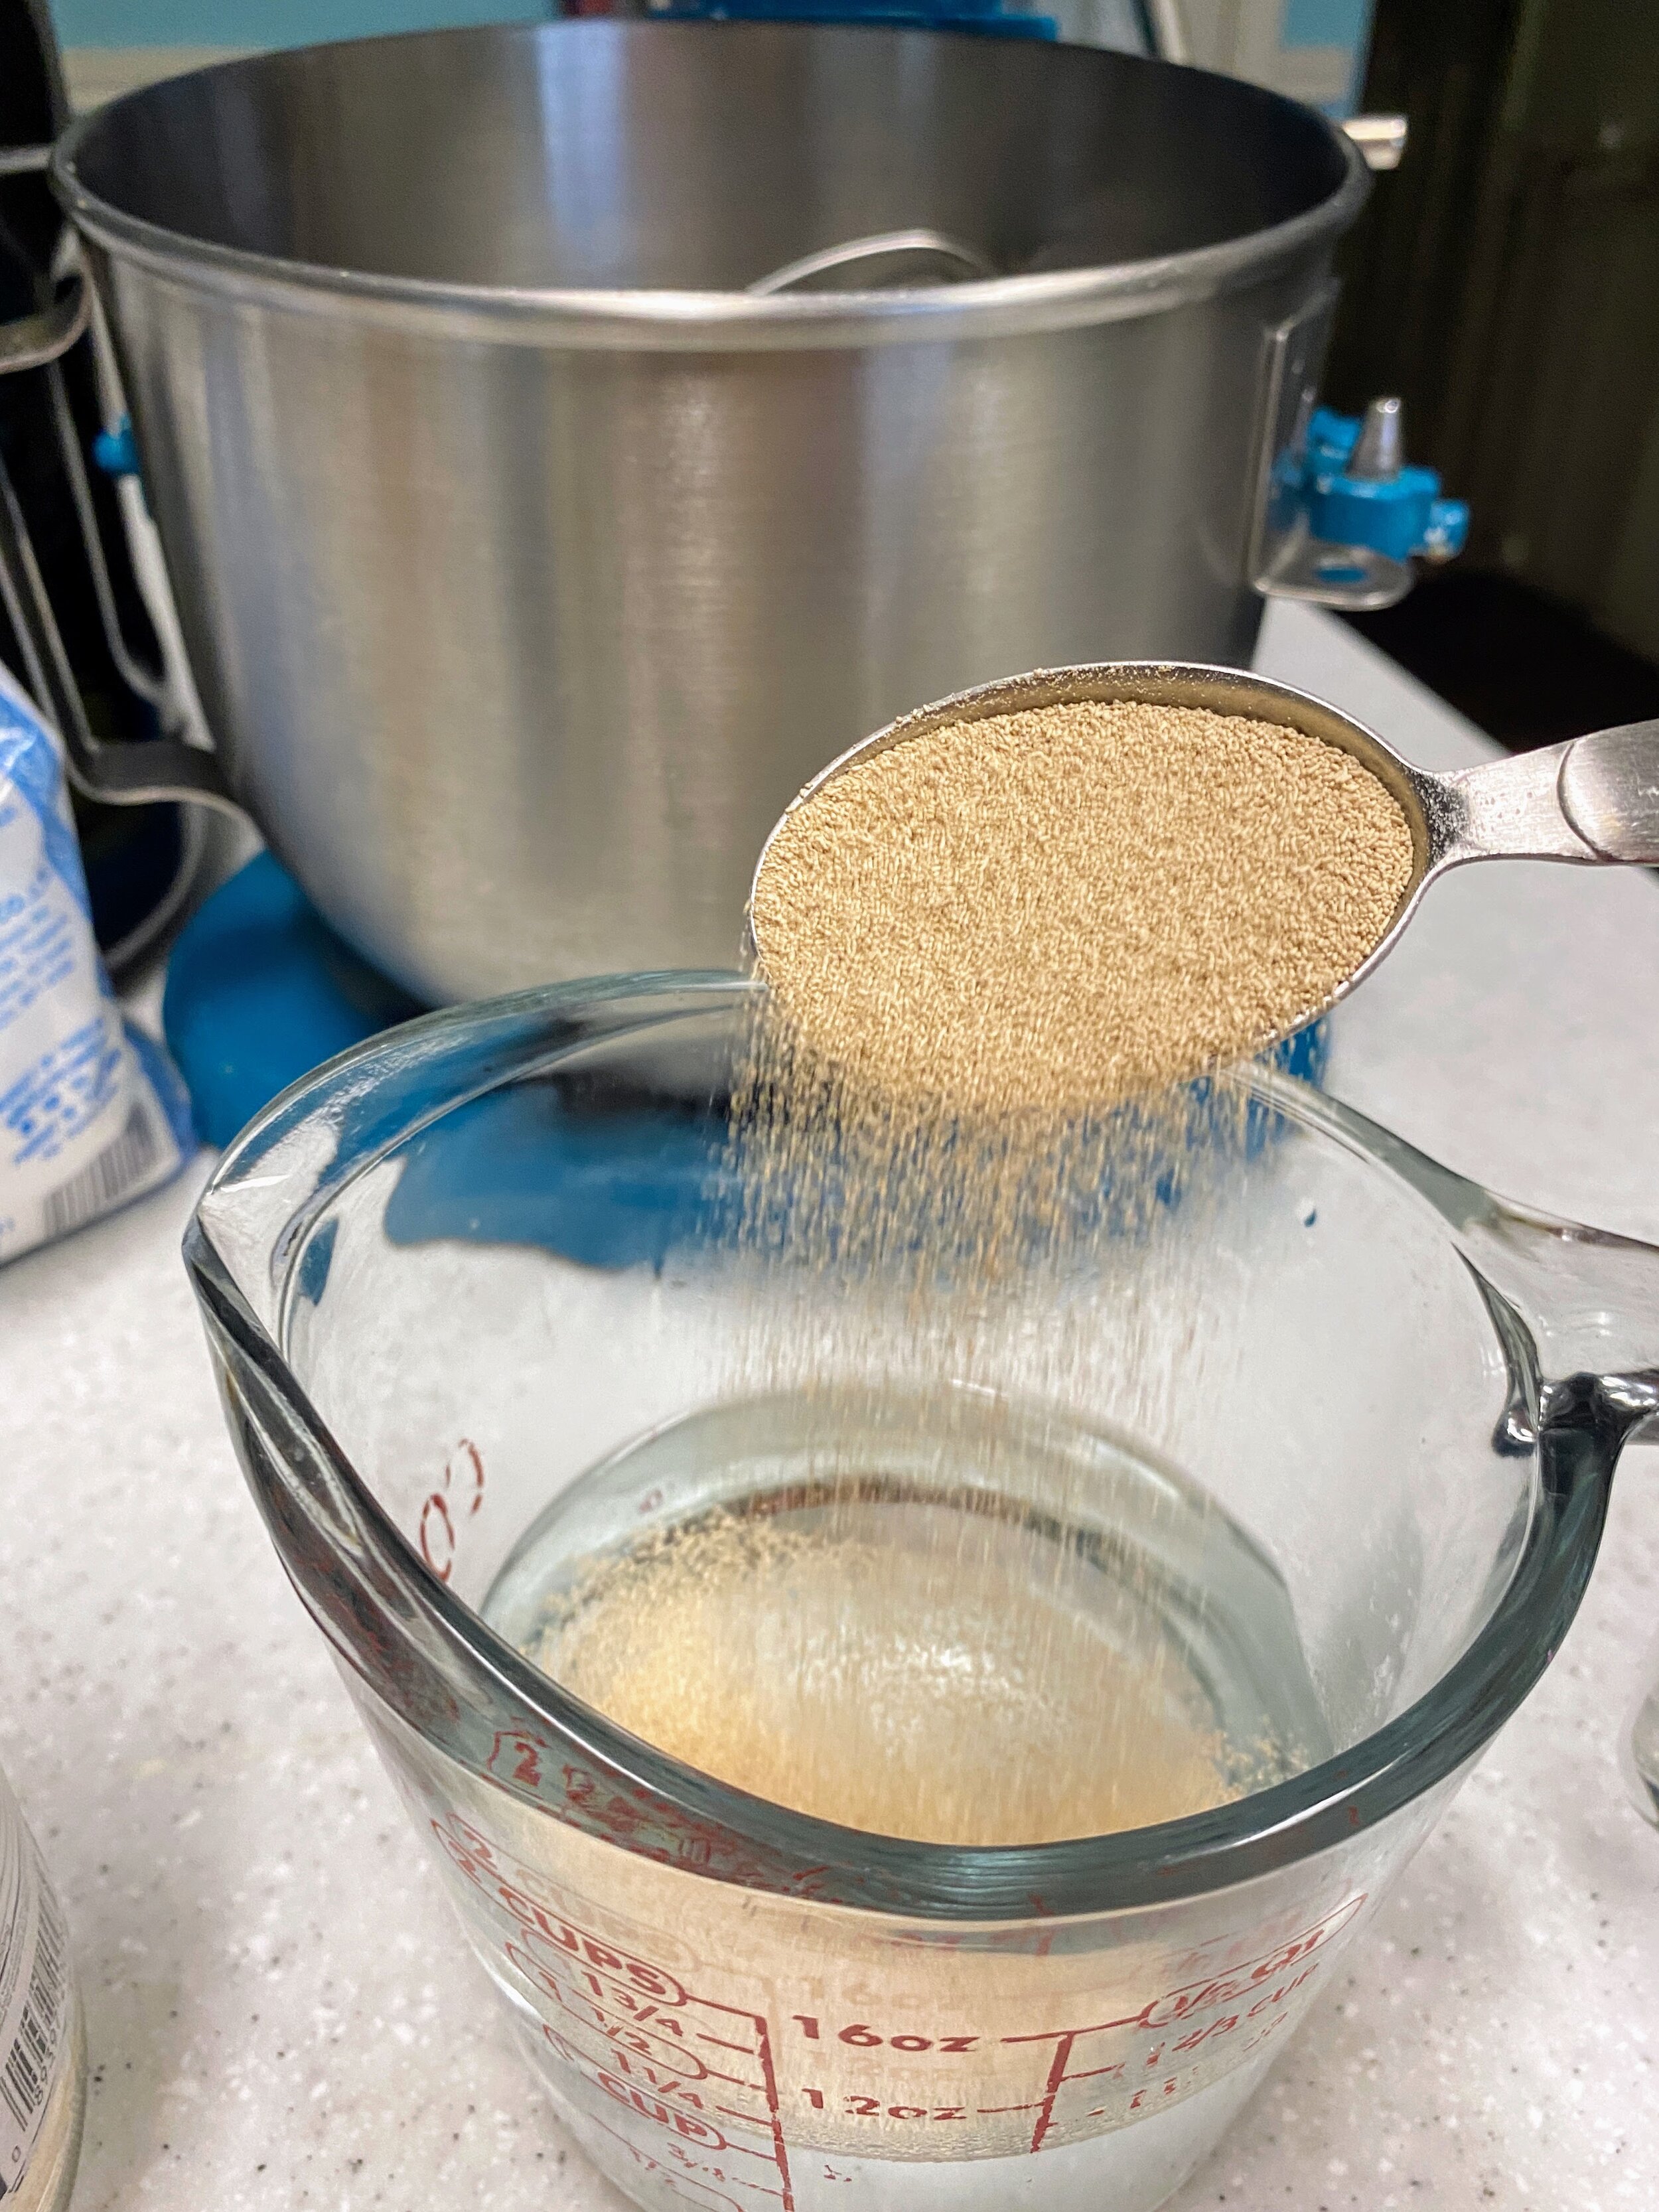
  • Place ½ cup of cold water and ½ cup boiling water in a small bowl and add the sugar and yeast. It will become frothy in a few minutes.

    • With this step make sure that the water isn’t super hot. You should be able to comfortably put a finger into the water; if it’s too hot this will kill the yeasty boys and you won’t get any rise in the bread.

  • Combine the gluten free flour and tapioca starch in a bowl. Whisk together until the tapioca starch has blended.

    • Definitely combine these two dry ingredients before adding them to the wet so the tapioca starch ends up evenly distributed.

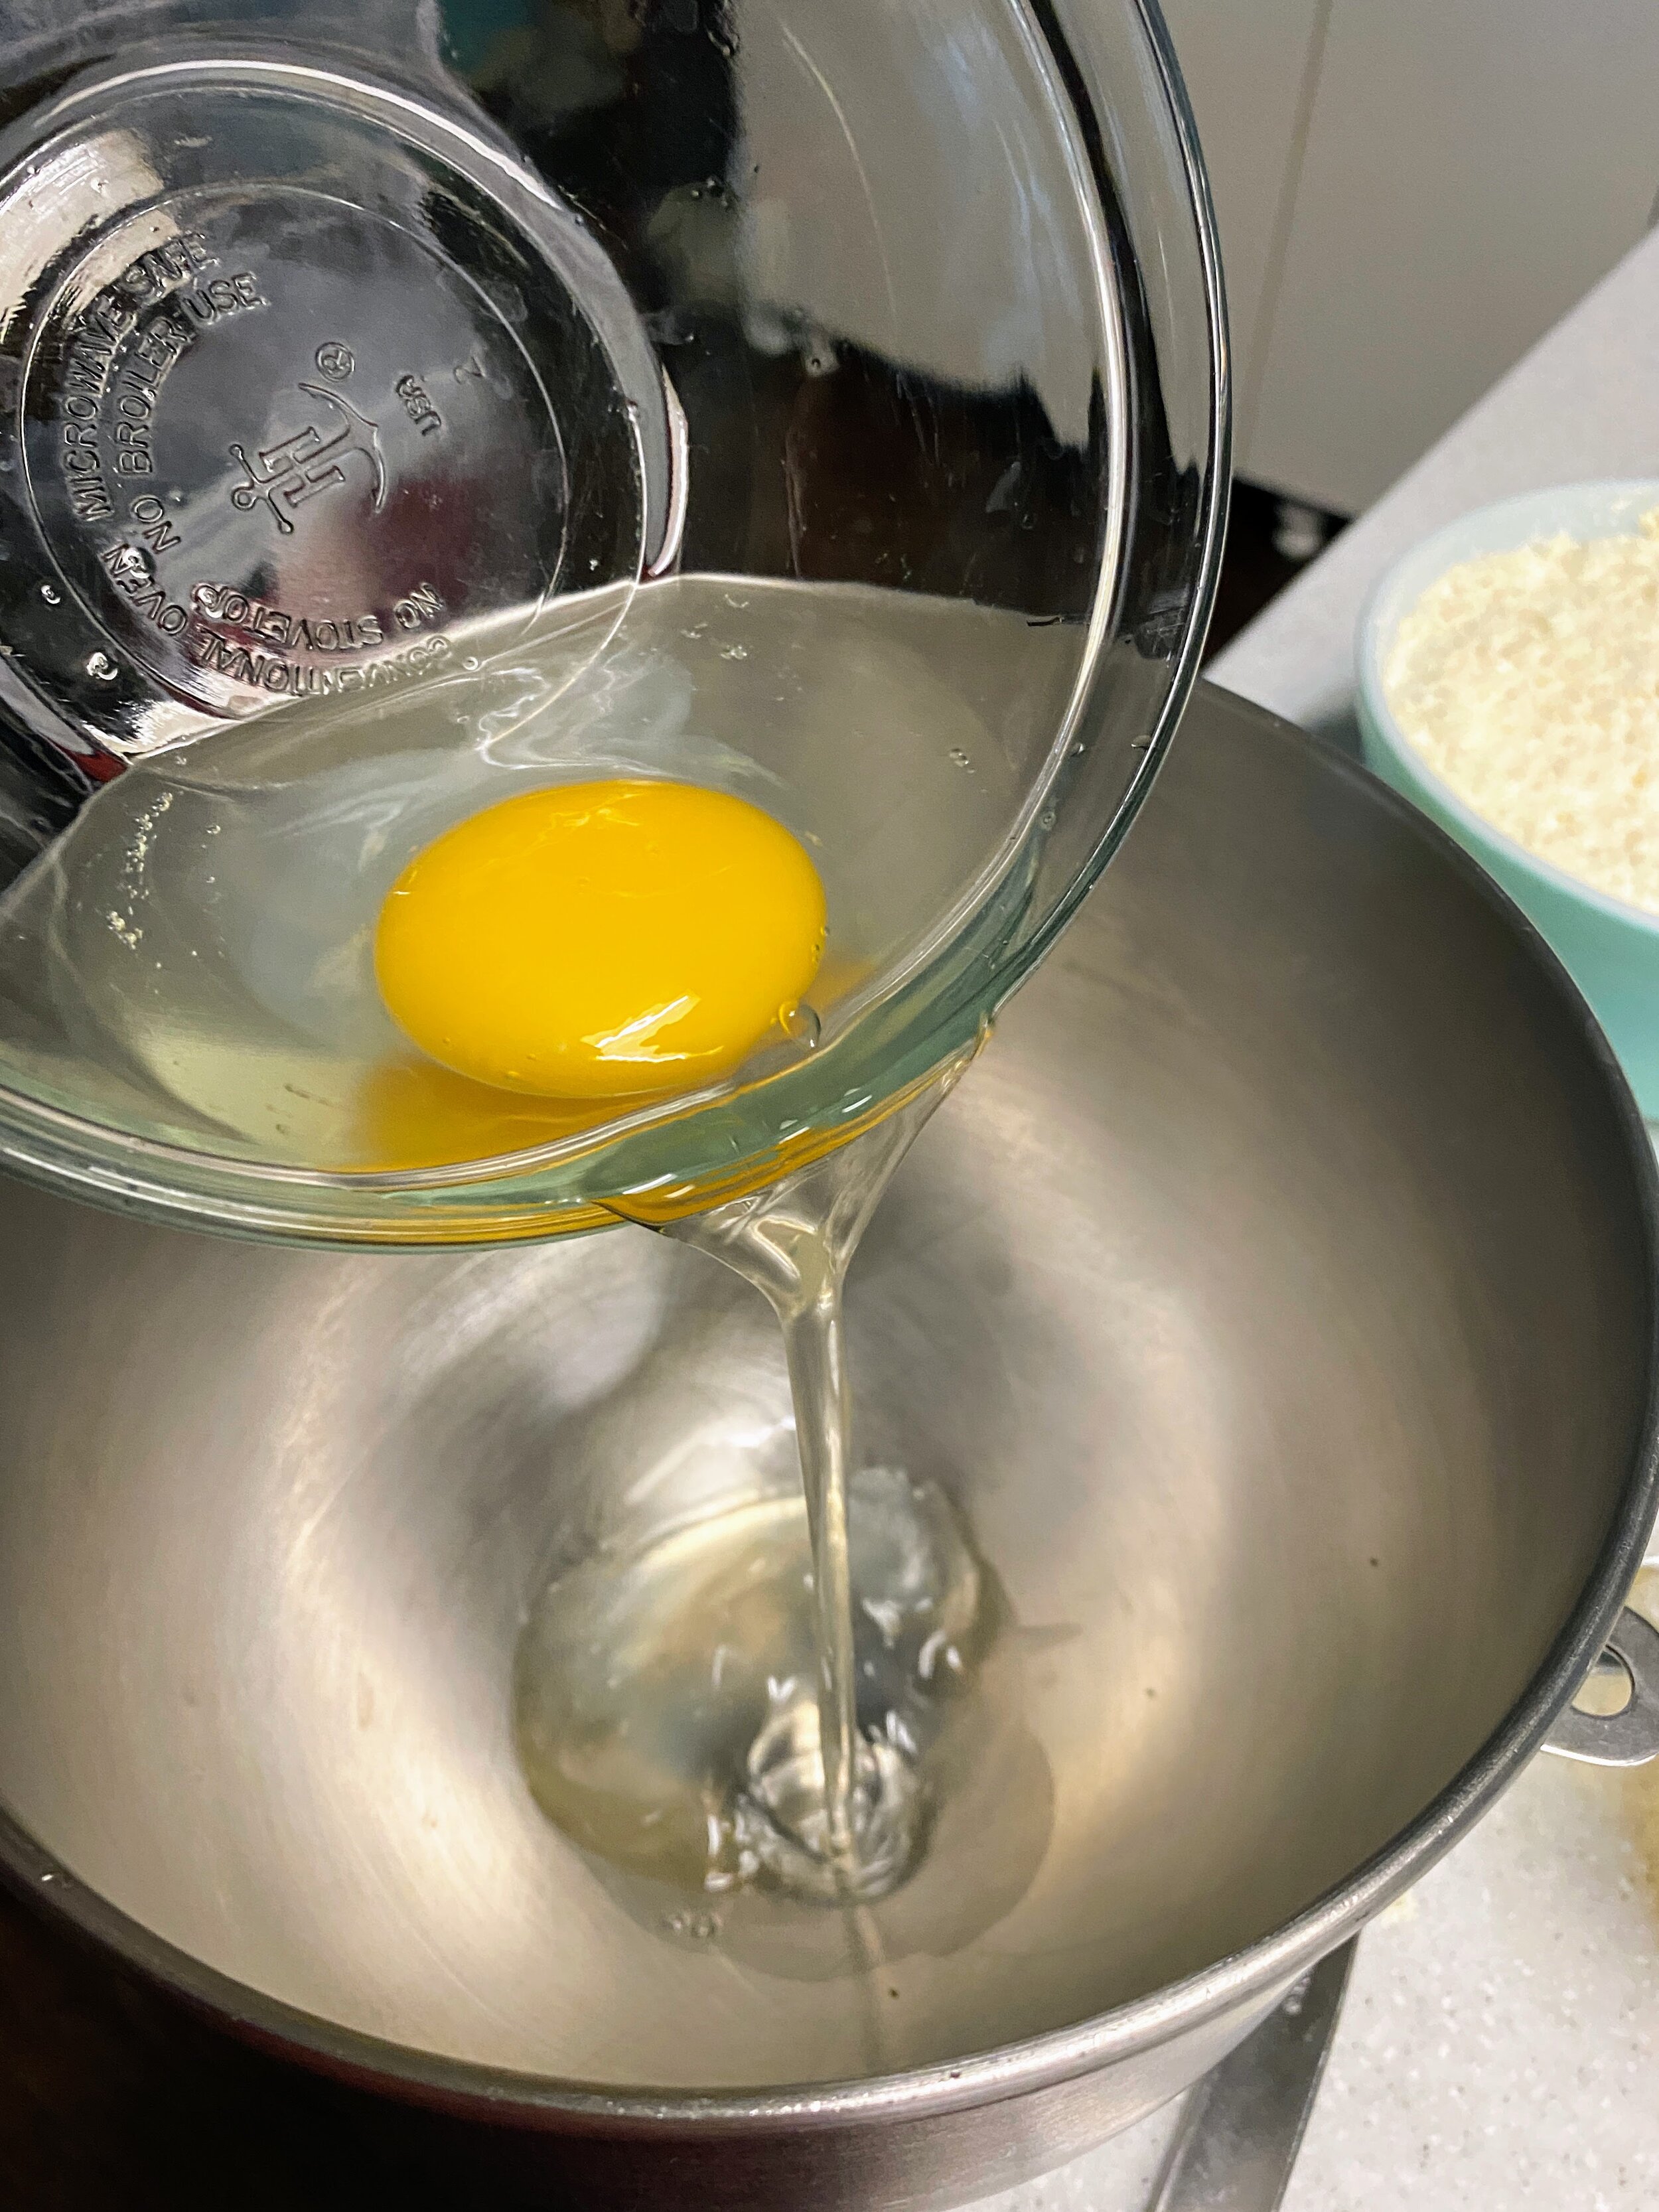
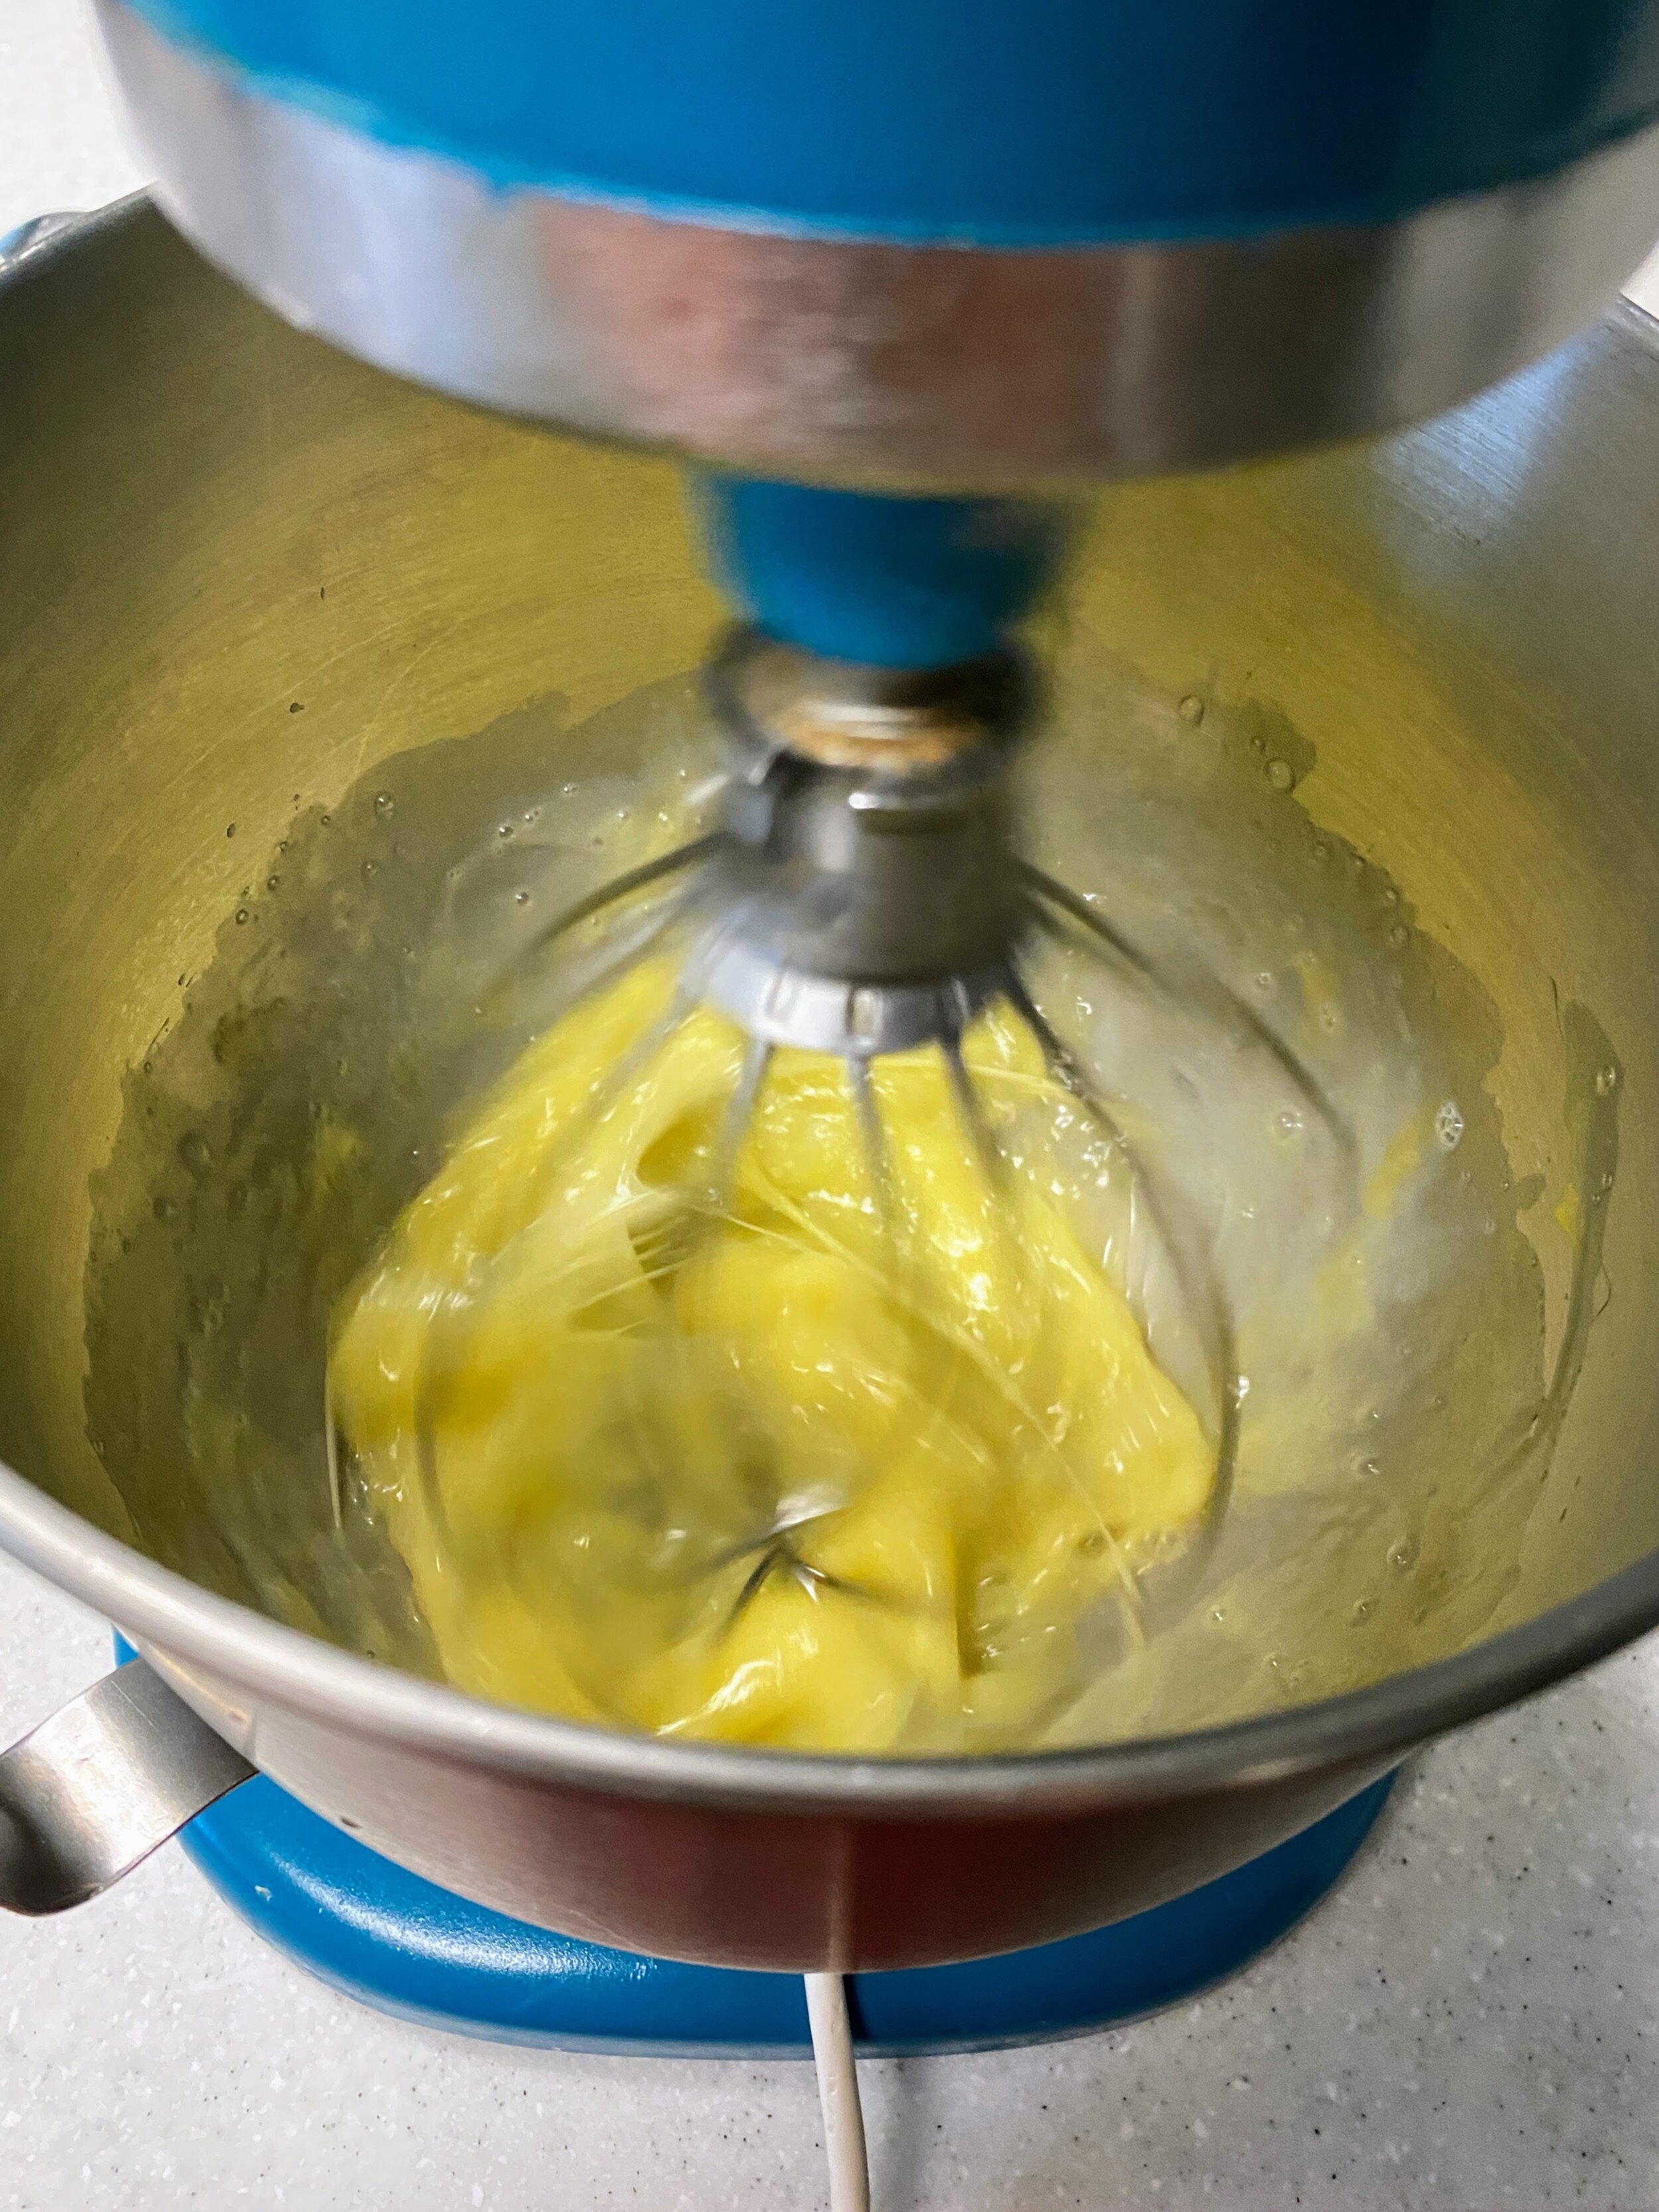
  • Whisk the egg and whites with the salt. While beating the egg, add the gelatin mixture a spoonful at a time. 

    • The actual recipe used in the book calls for three egg whites, rather than one whole egg and two whites, and suggests whisking until stiff. With the addition of the yolk you will not be able to get the eggs to be stiff however you’ll be able to achieve a very strong froth. This is a-ok. Also, adding the gelatin a spoonful at a time is VERY important since the gelatin mixture is not going to cool particularly quickly. You don’t want to end up with scrambled jello eggs.

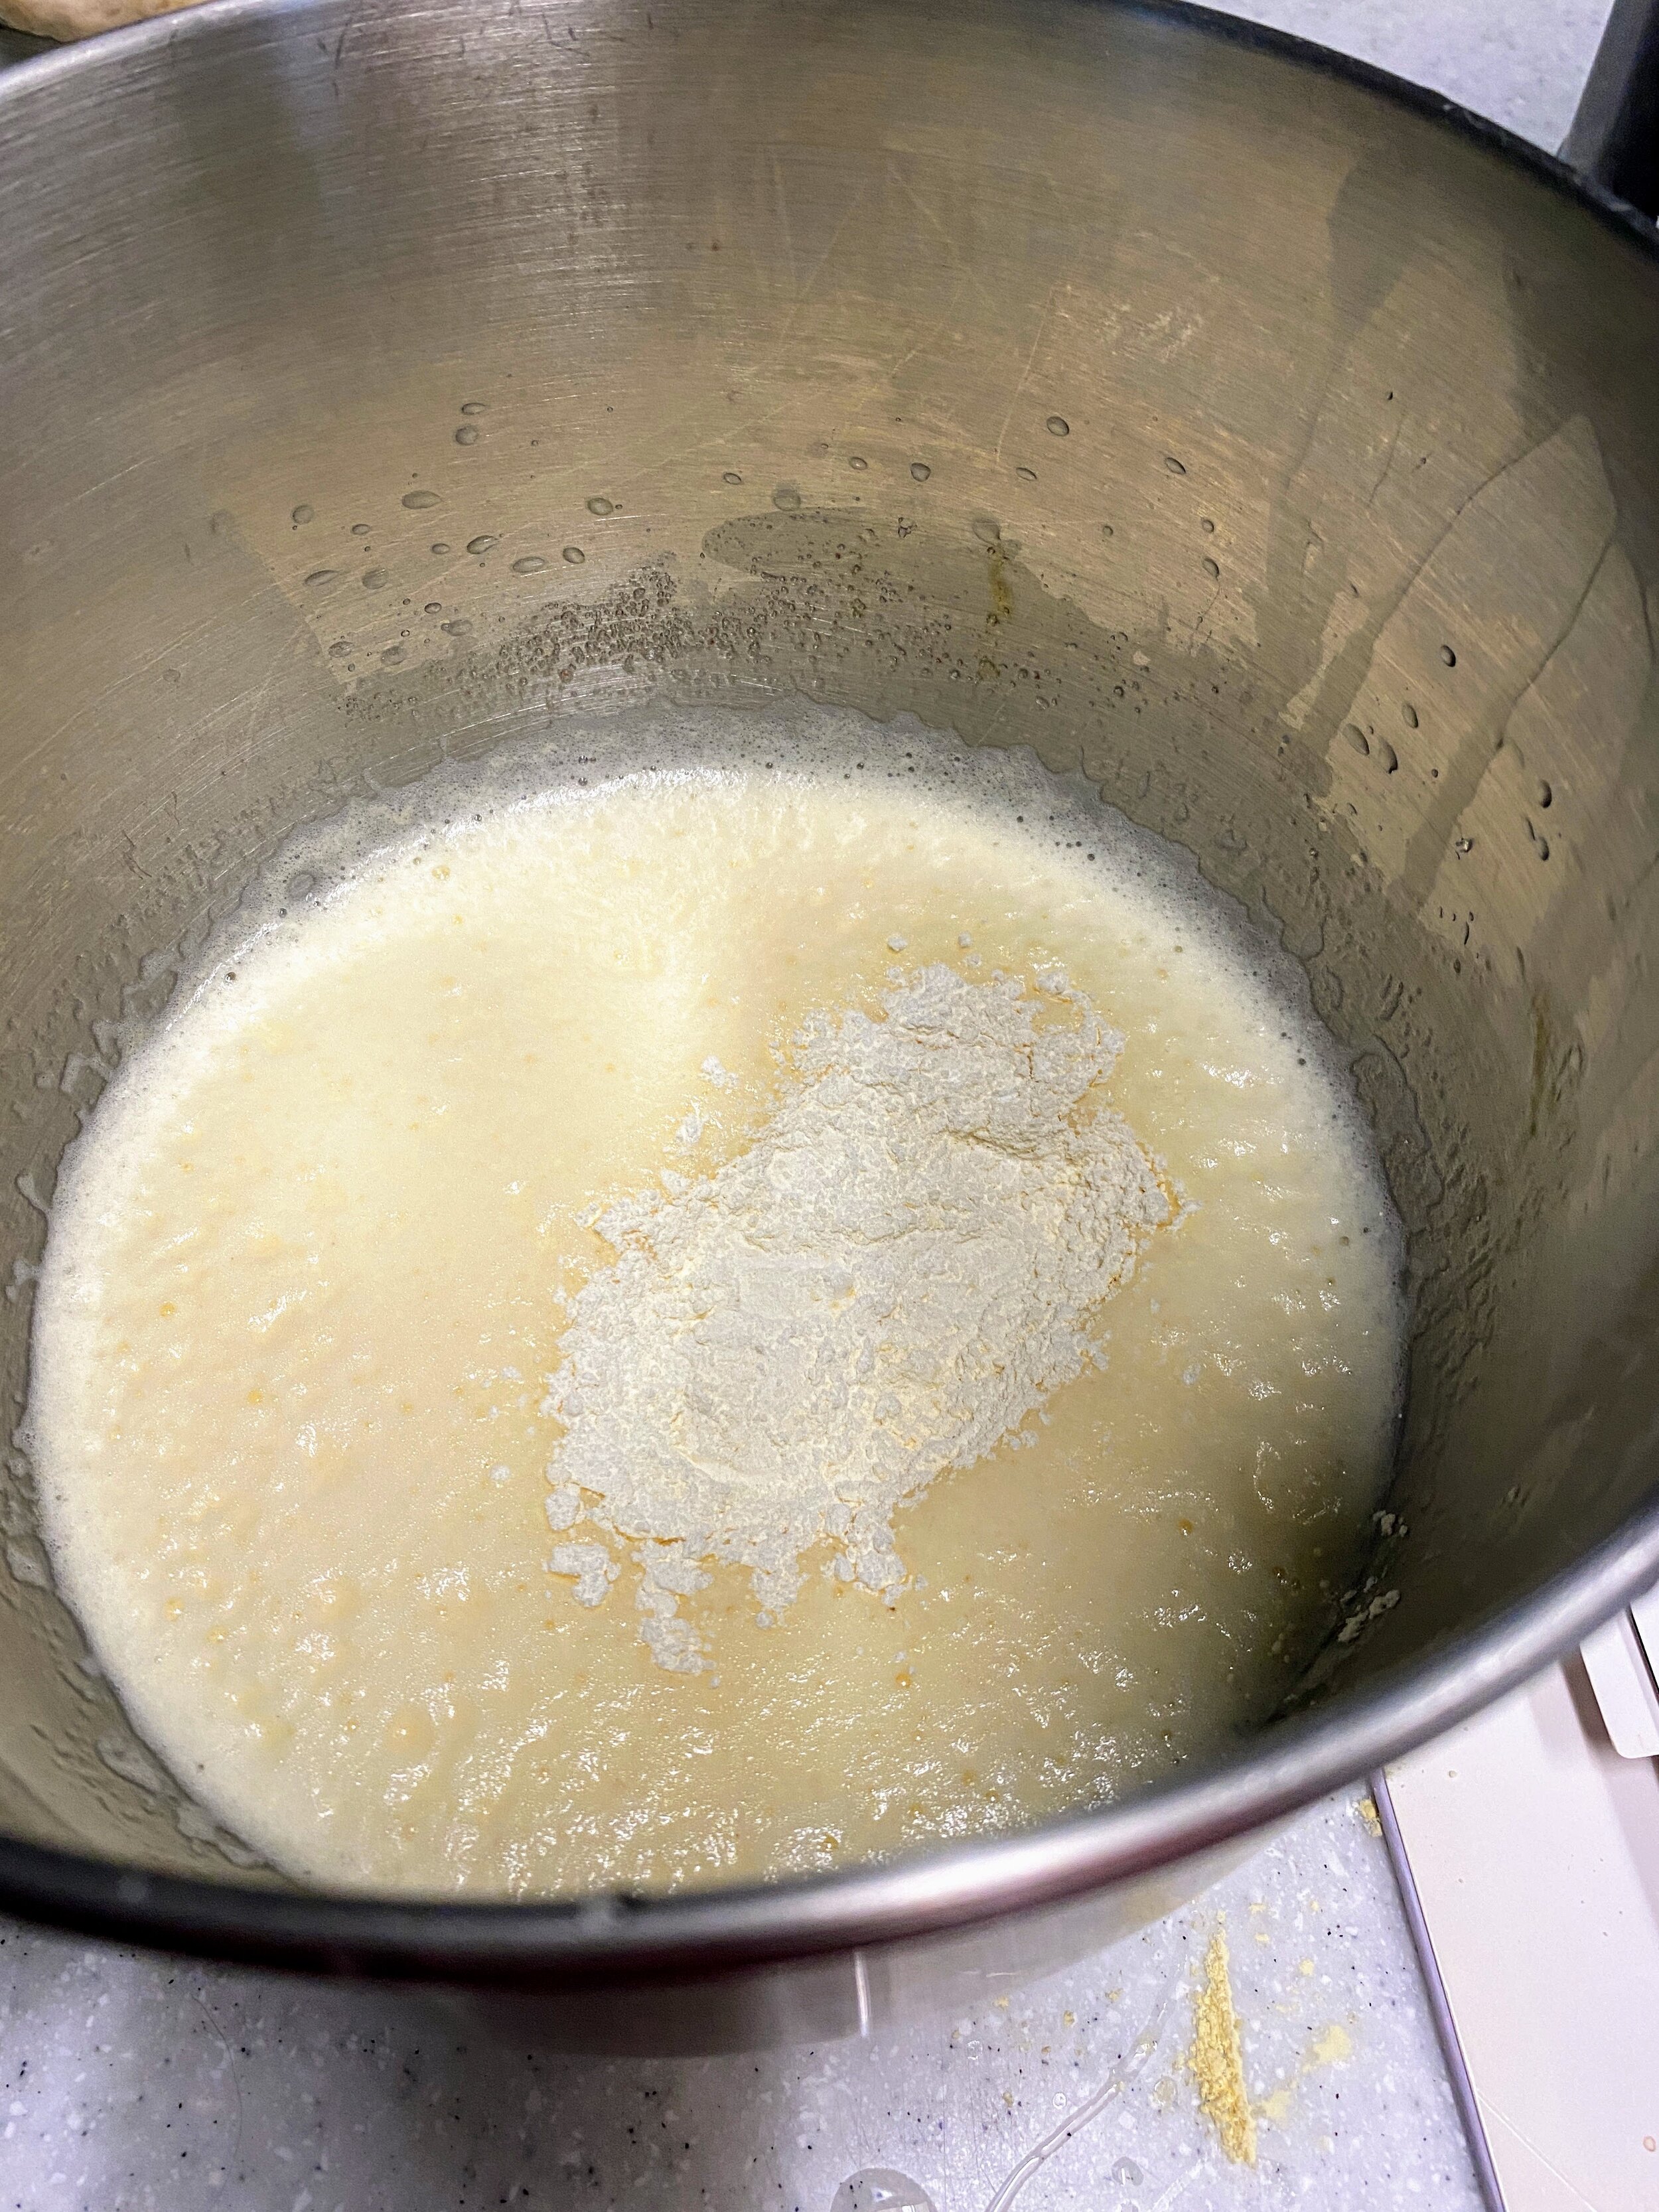
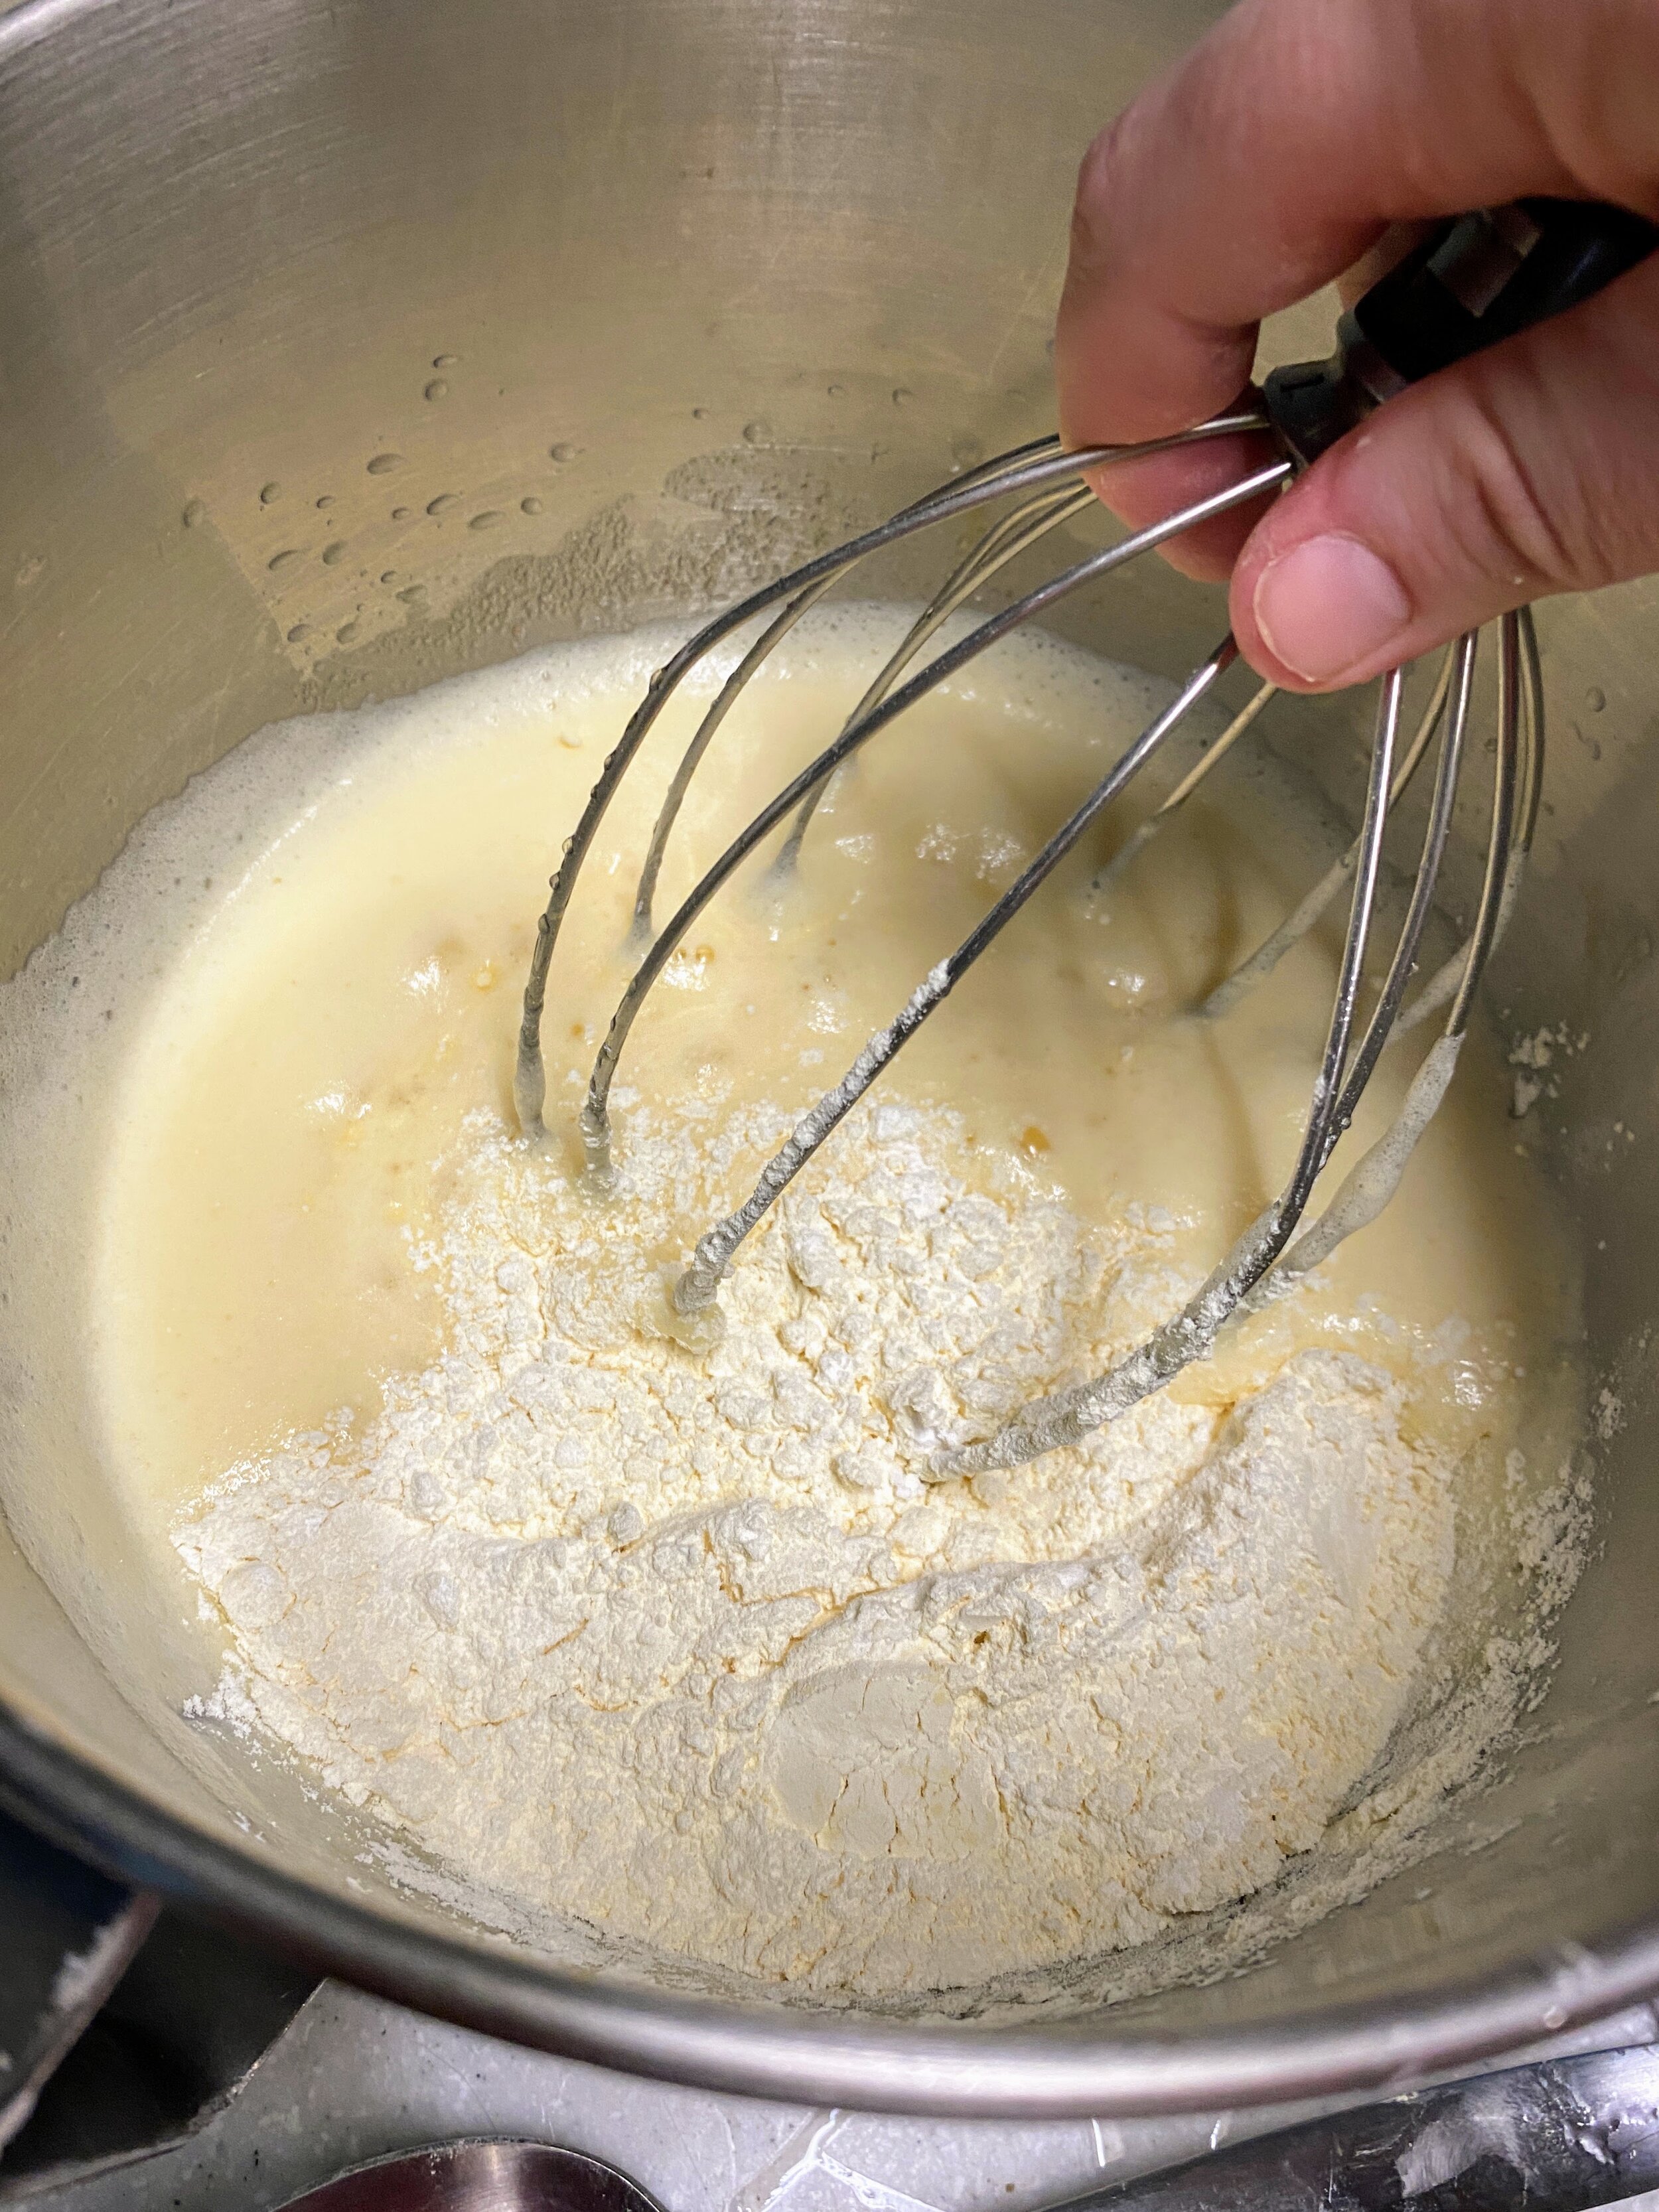
  • Remove bowl from the mixer. Slowly add the flour and tapioca starch mixture to the egg mixture, whisking each fourth of the flour.

    • This will get very thick as you mix; the next step will loosen everything up completely.

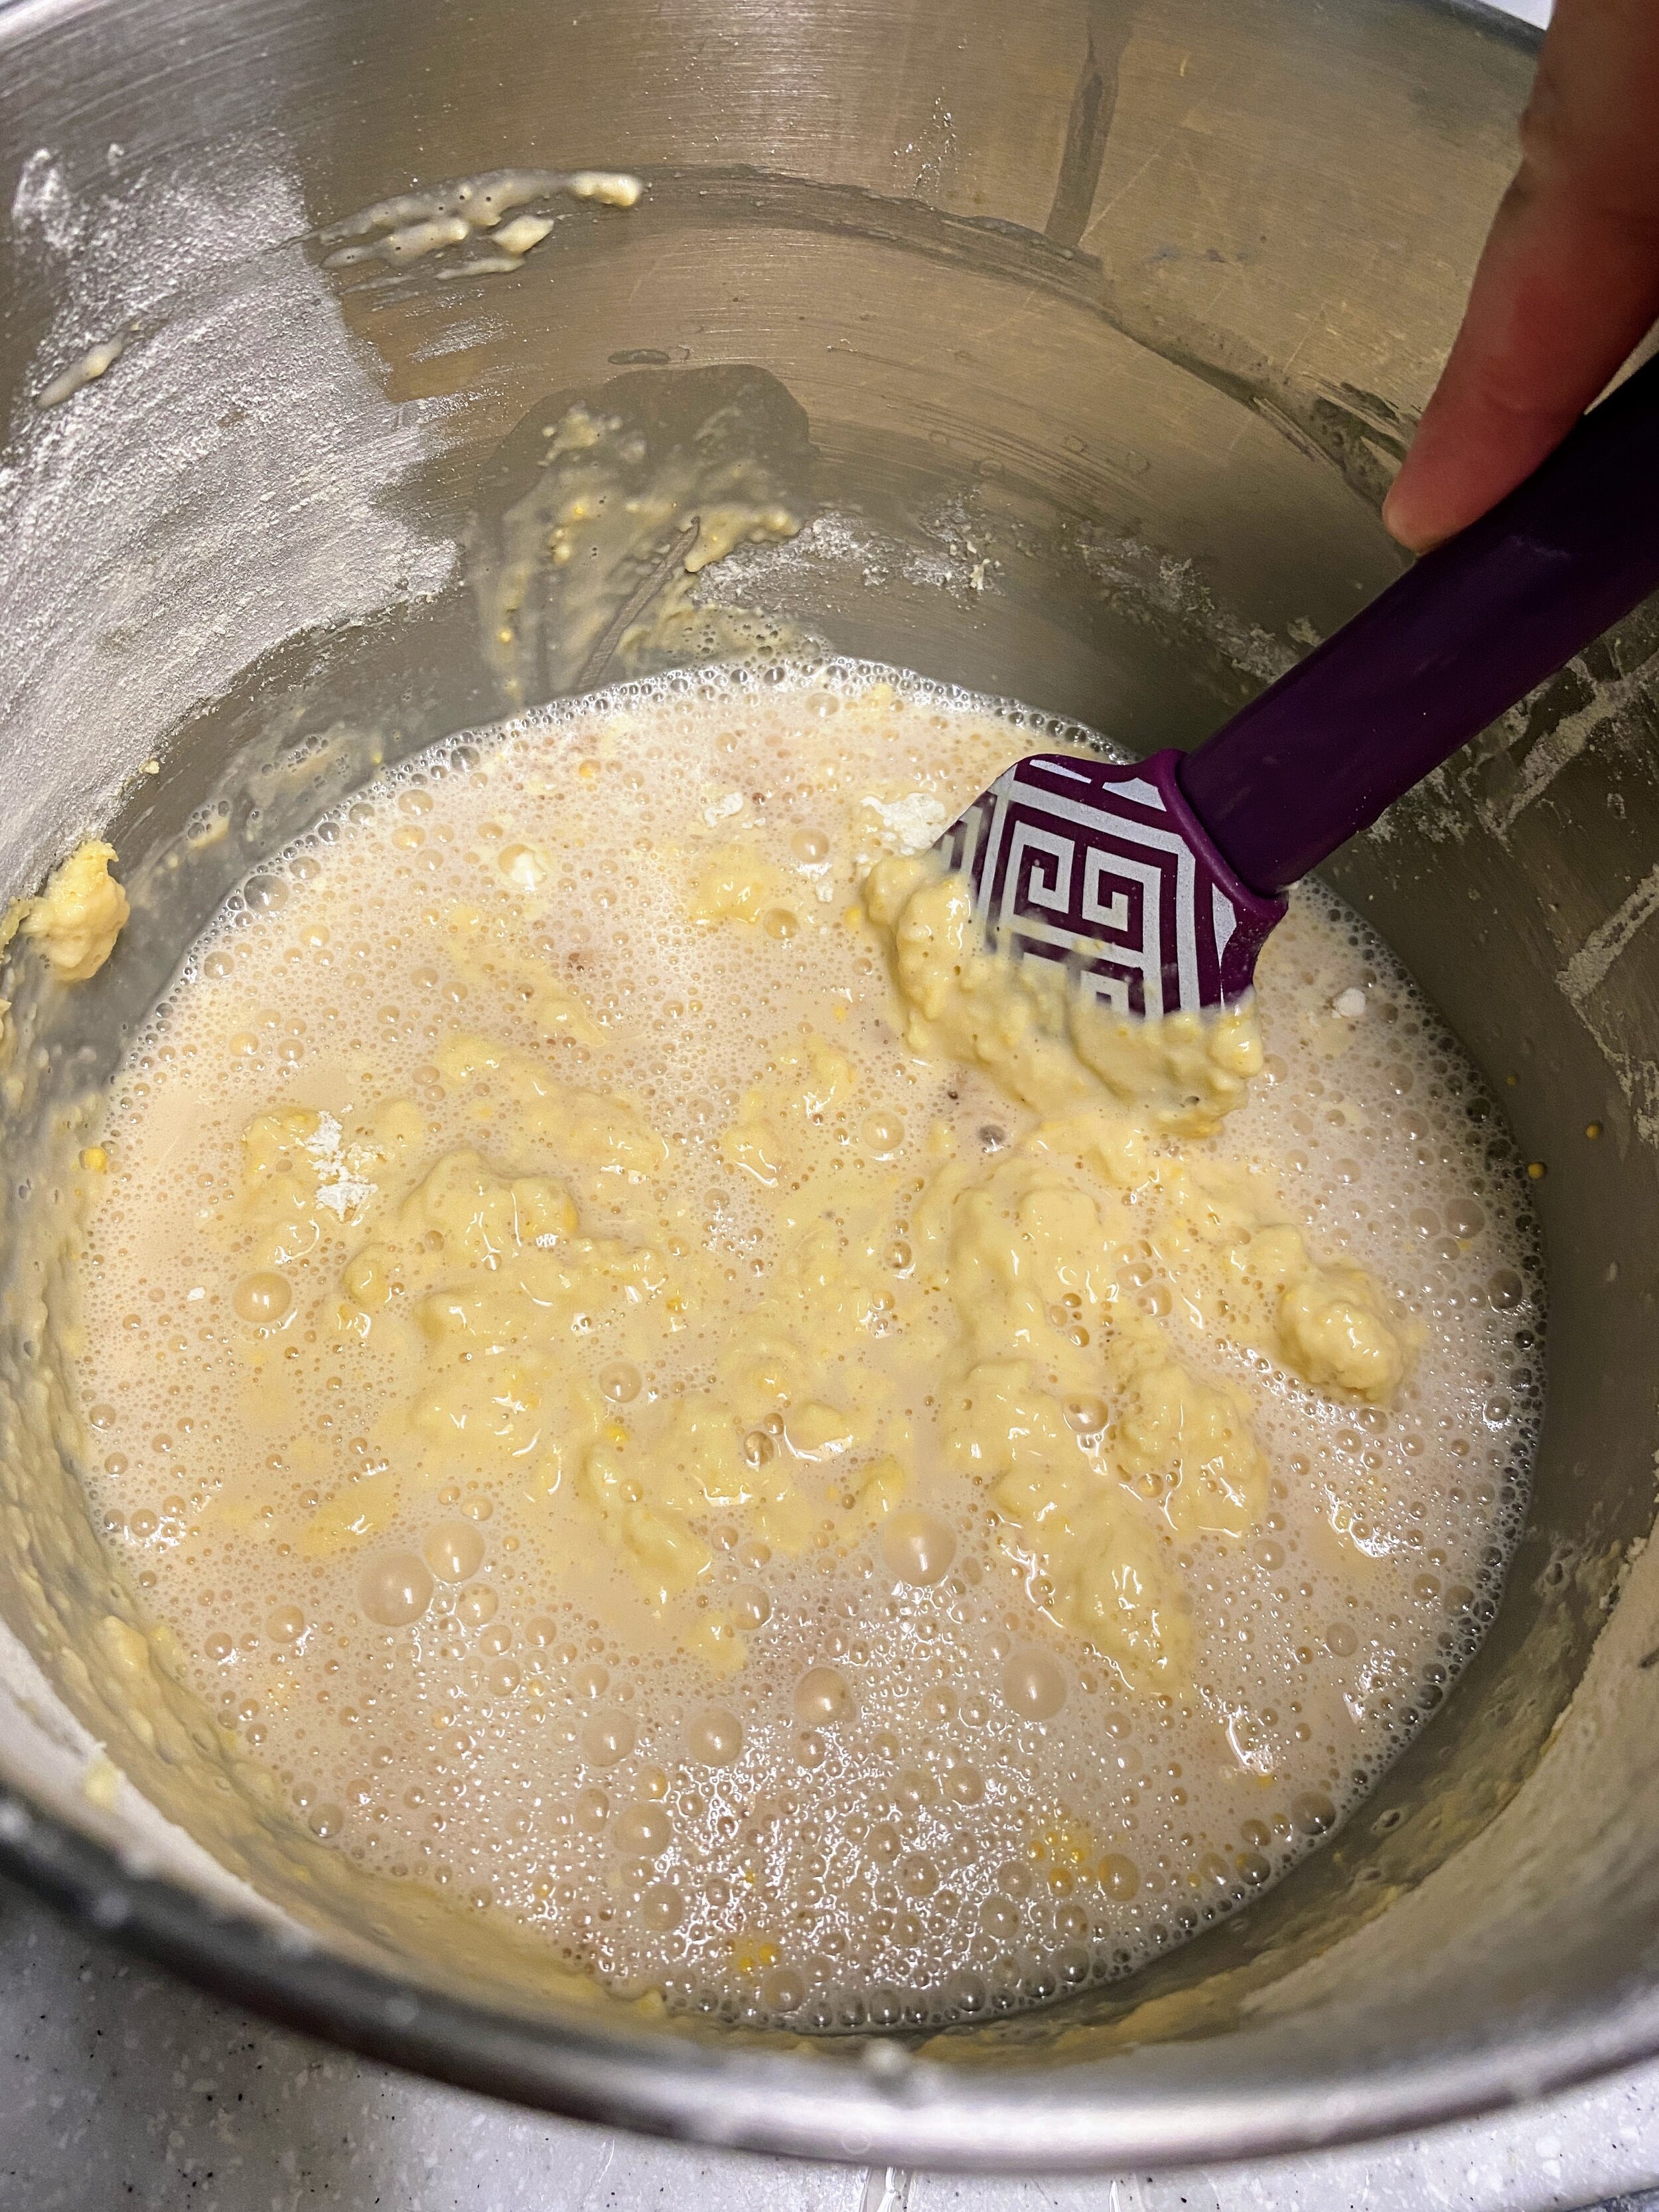
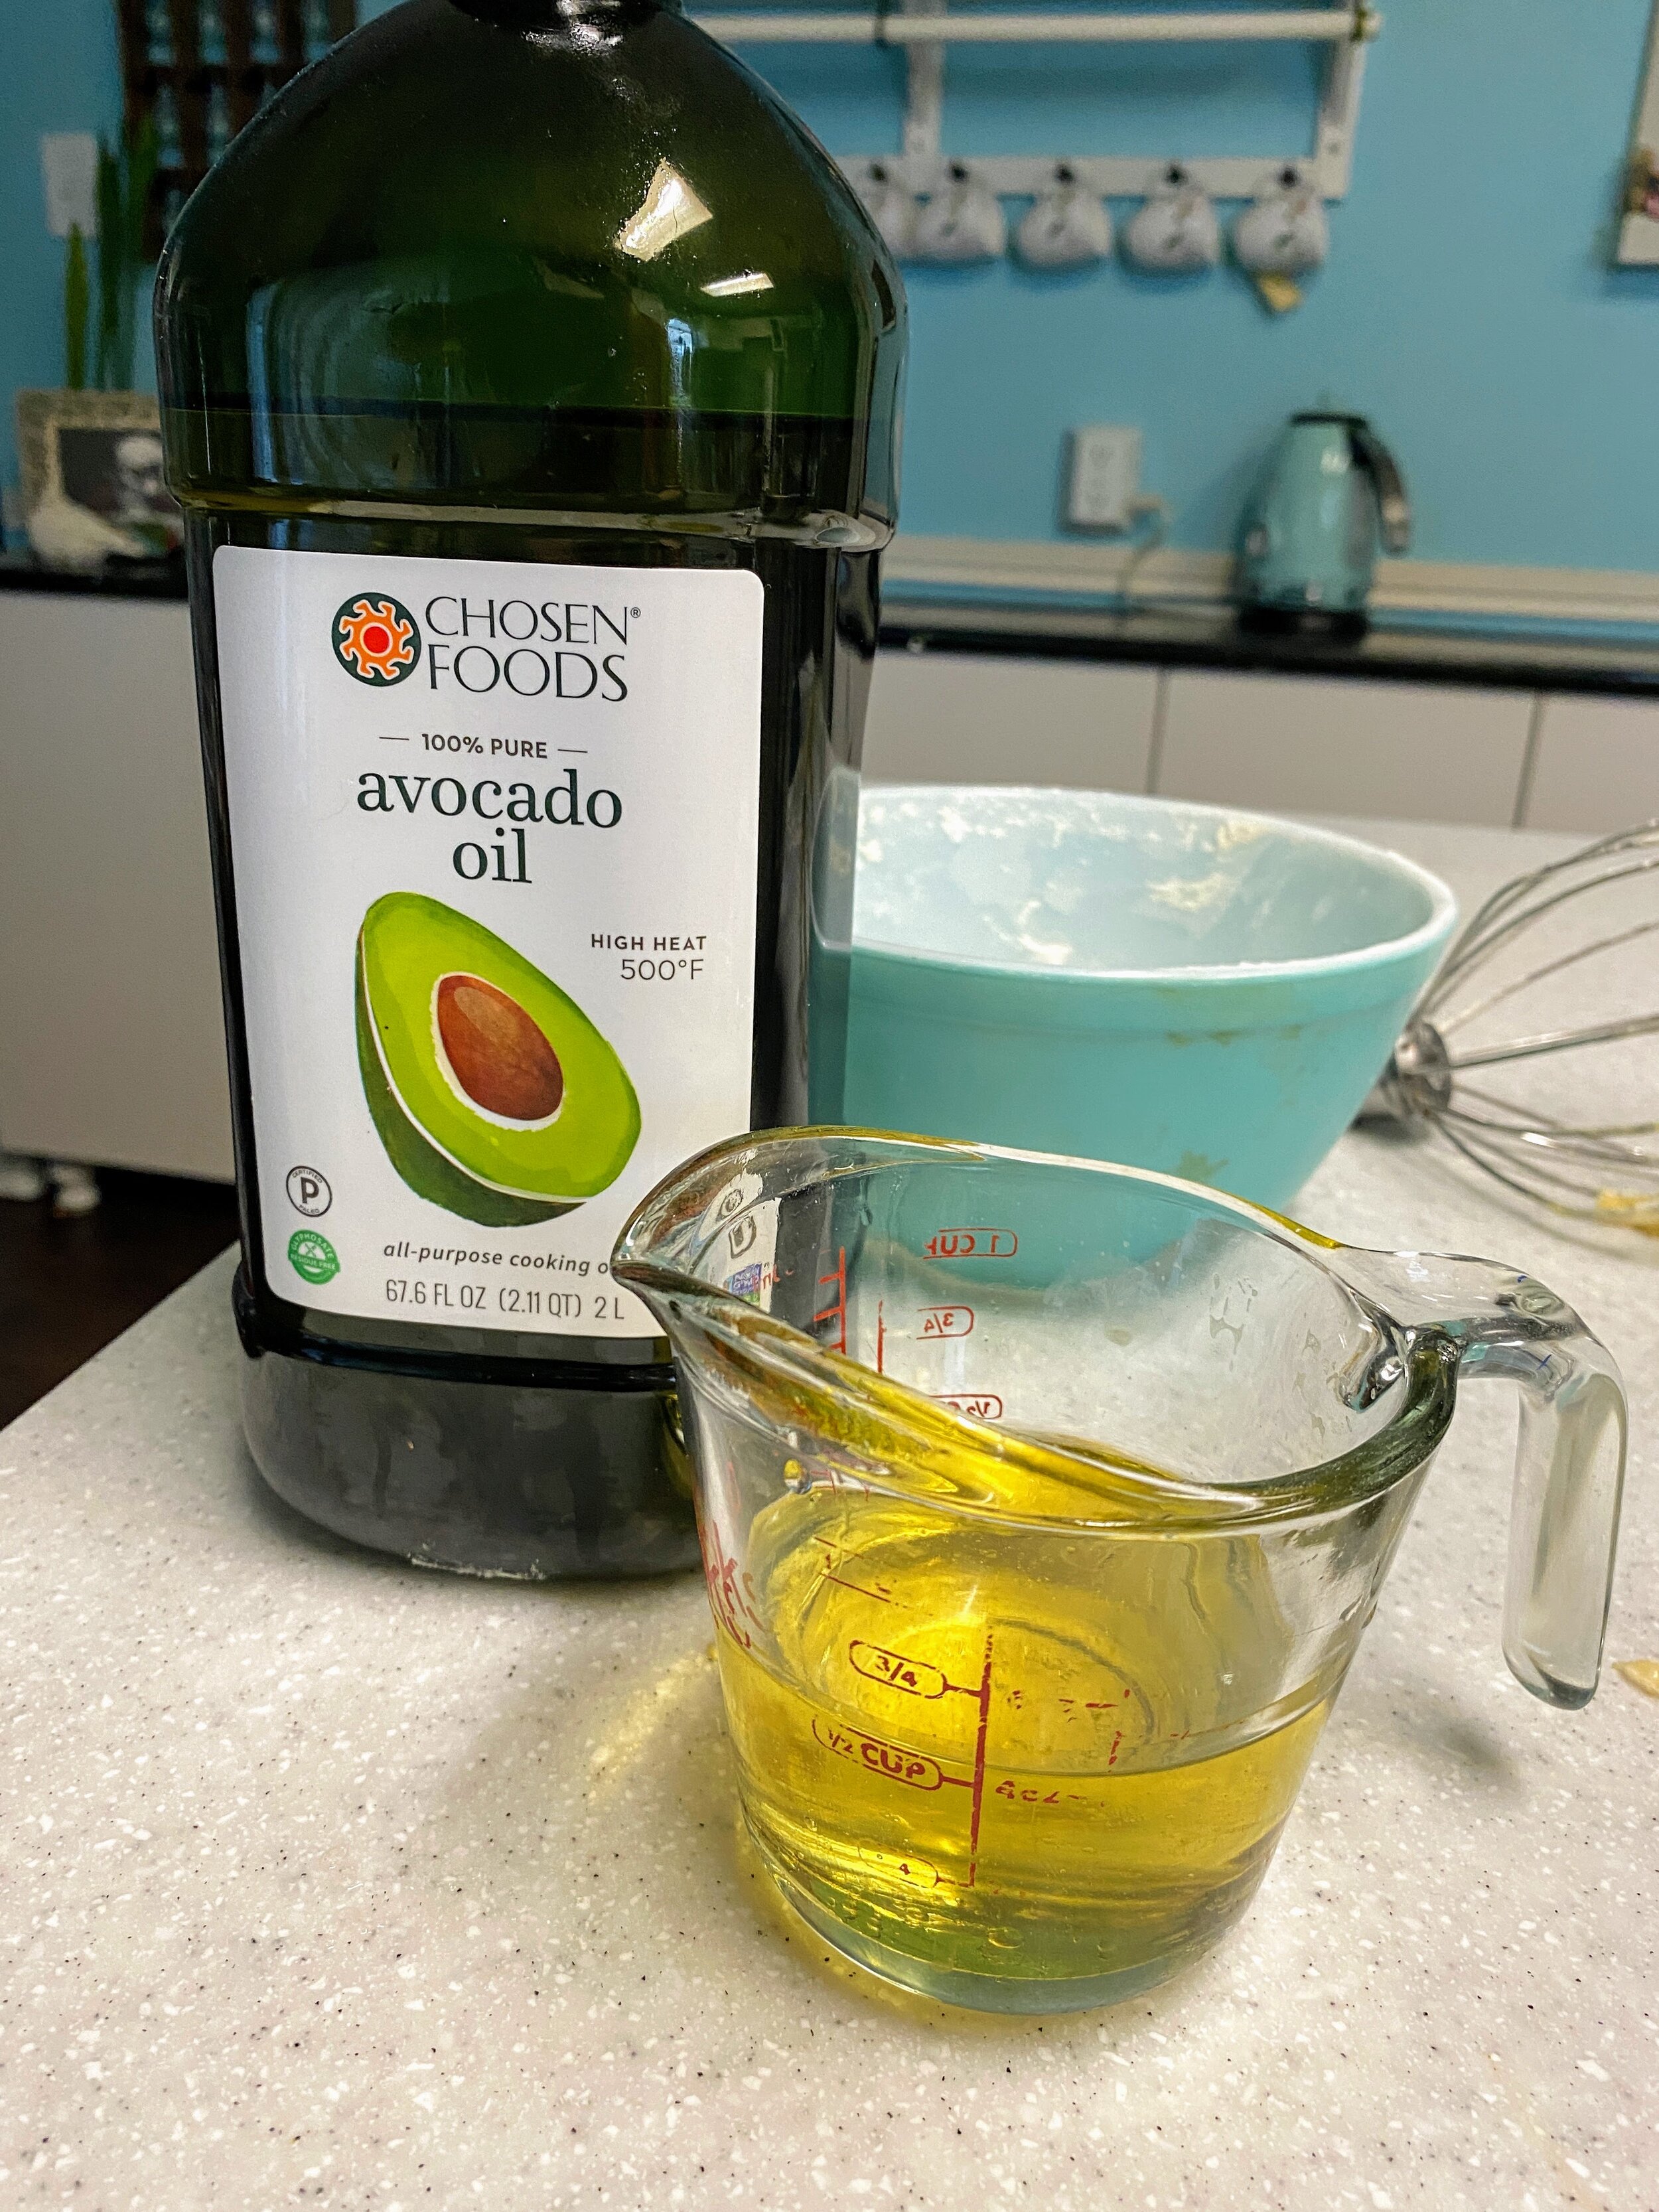
  • Fold in the frothy yeasty boys, then the oil.

    • The mixture will be hella lumpy at first but don’t panic. Use a gentle folding motion again and again until the oil and yeast are fully incorporated. 

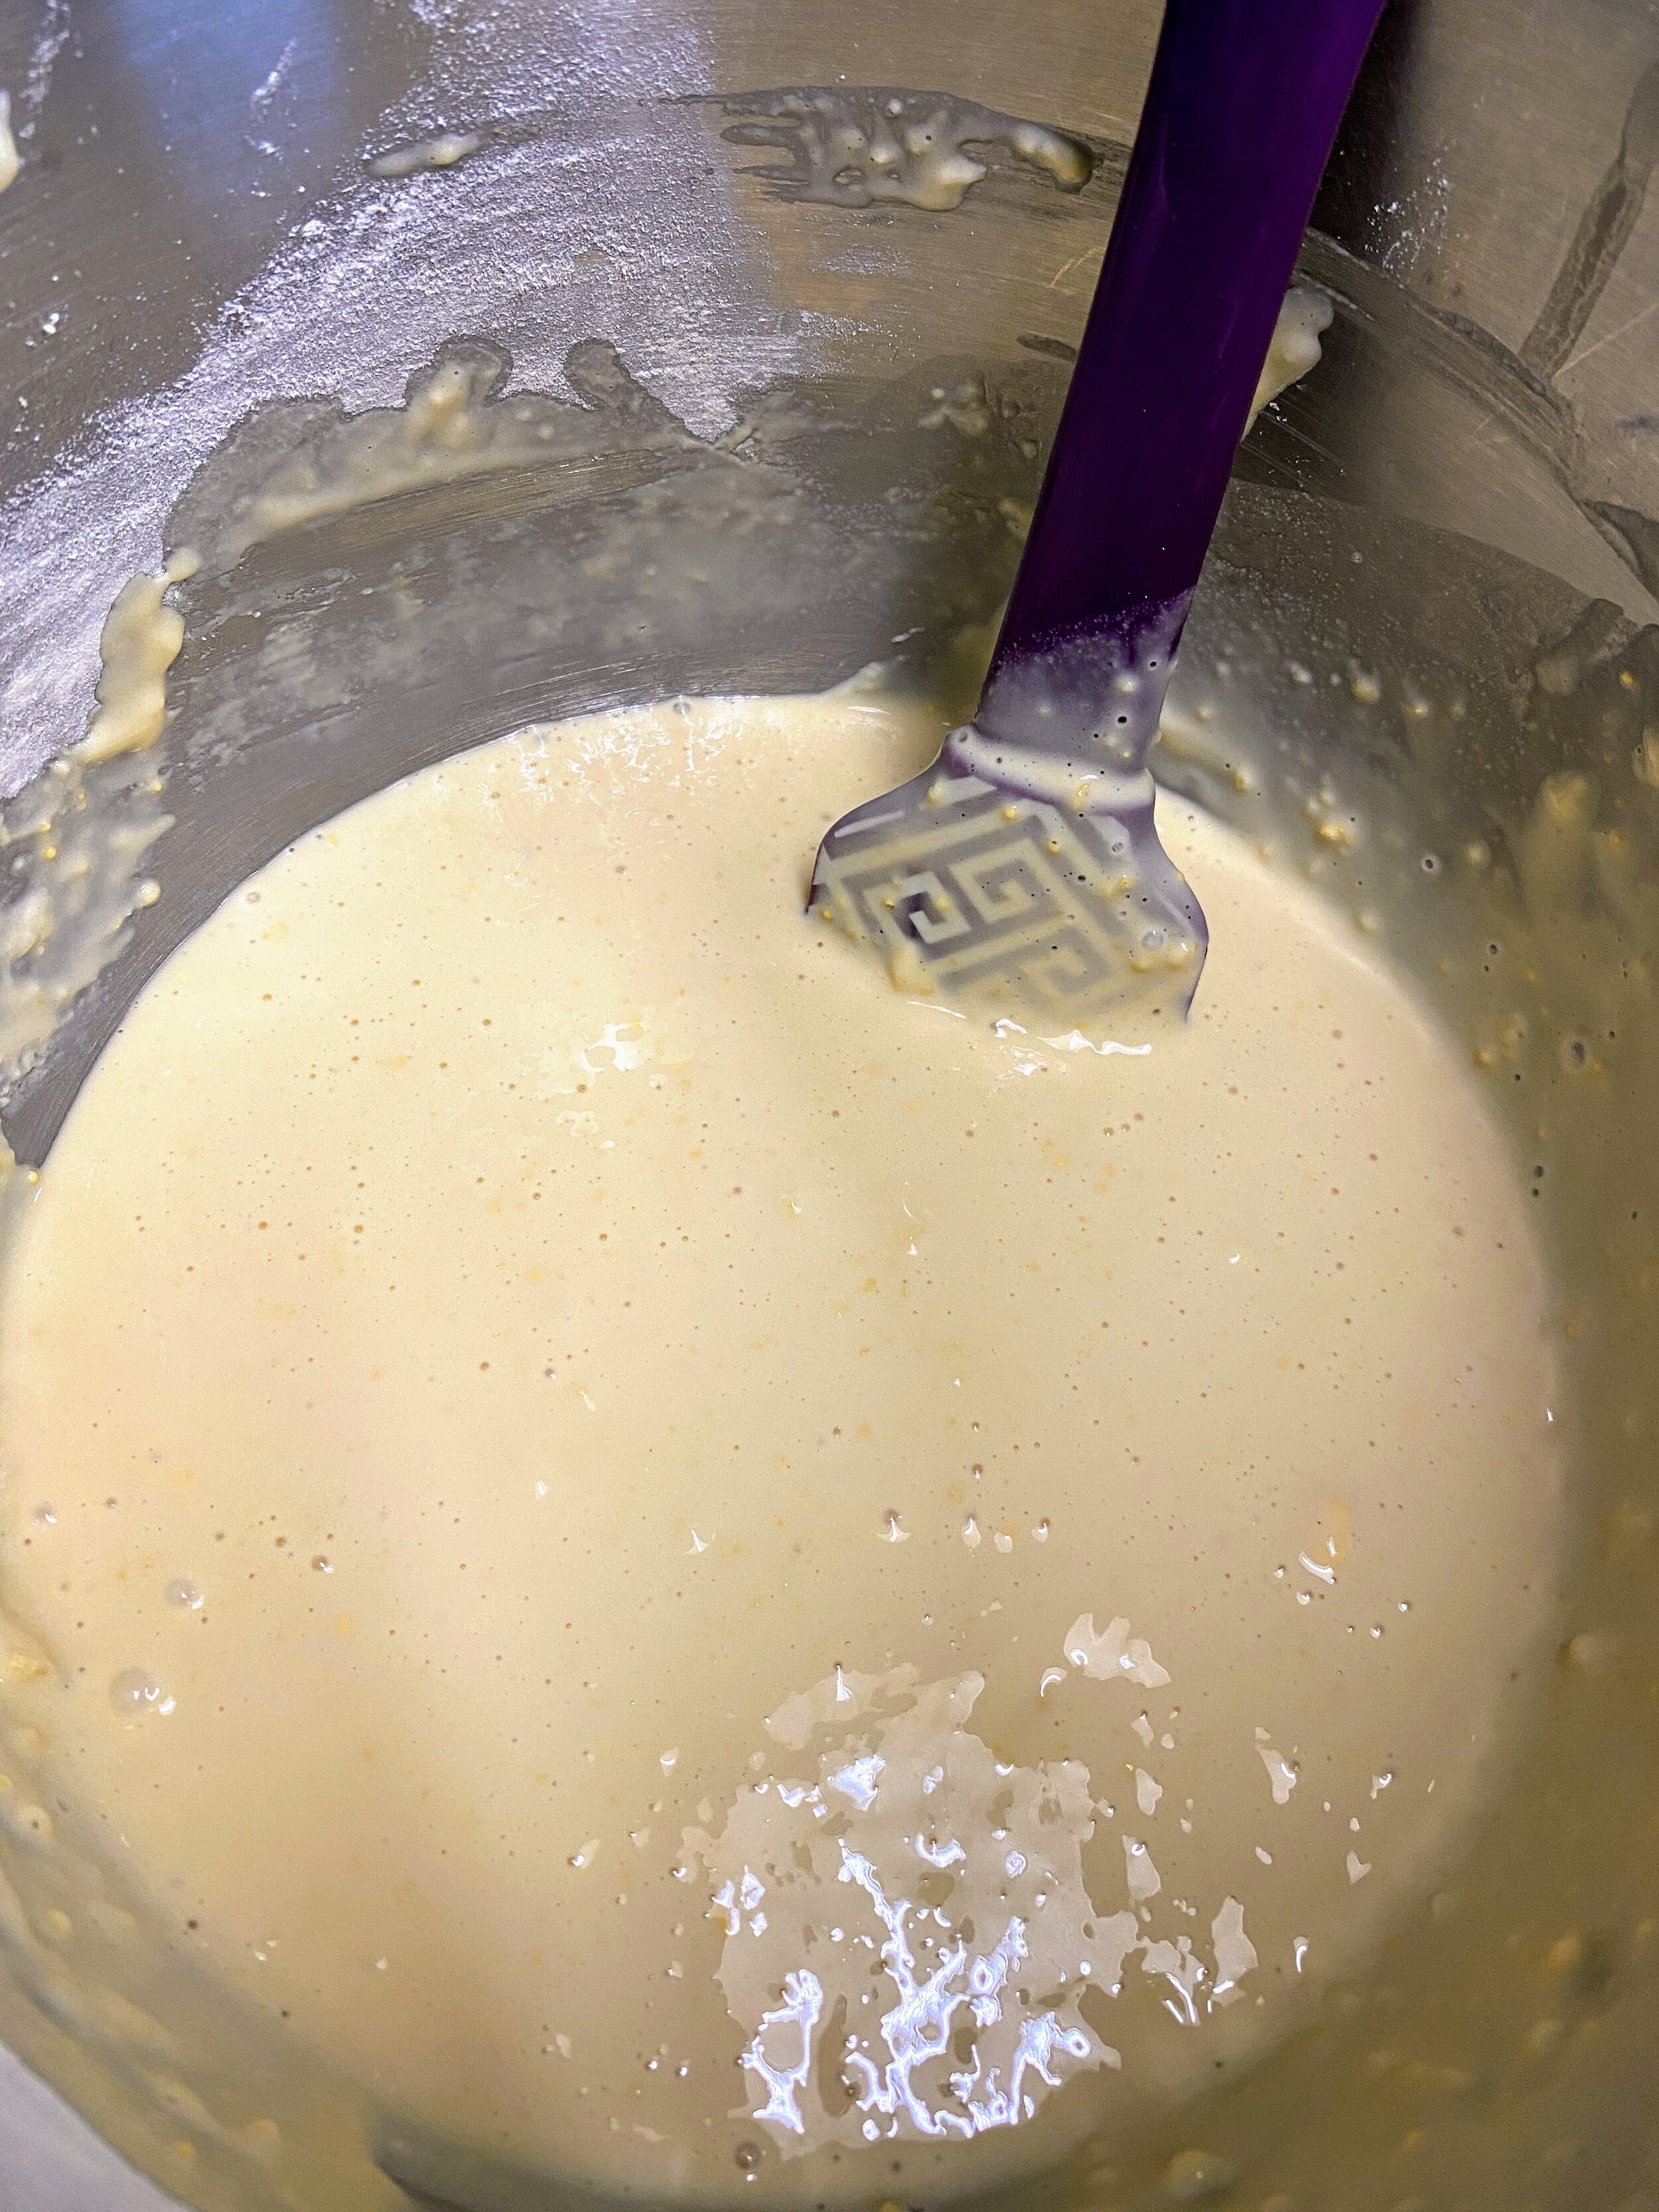
  • Once fully incorporated, whisk the mixture to ensure that the ingredients are blended and preheat the oven to 400 degrees Fahrenheit.

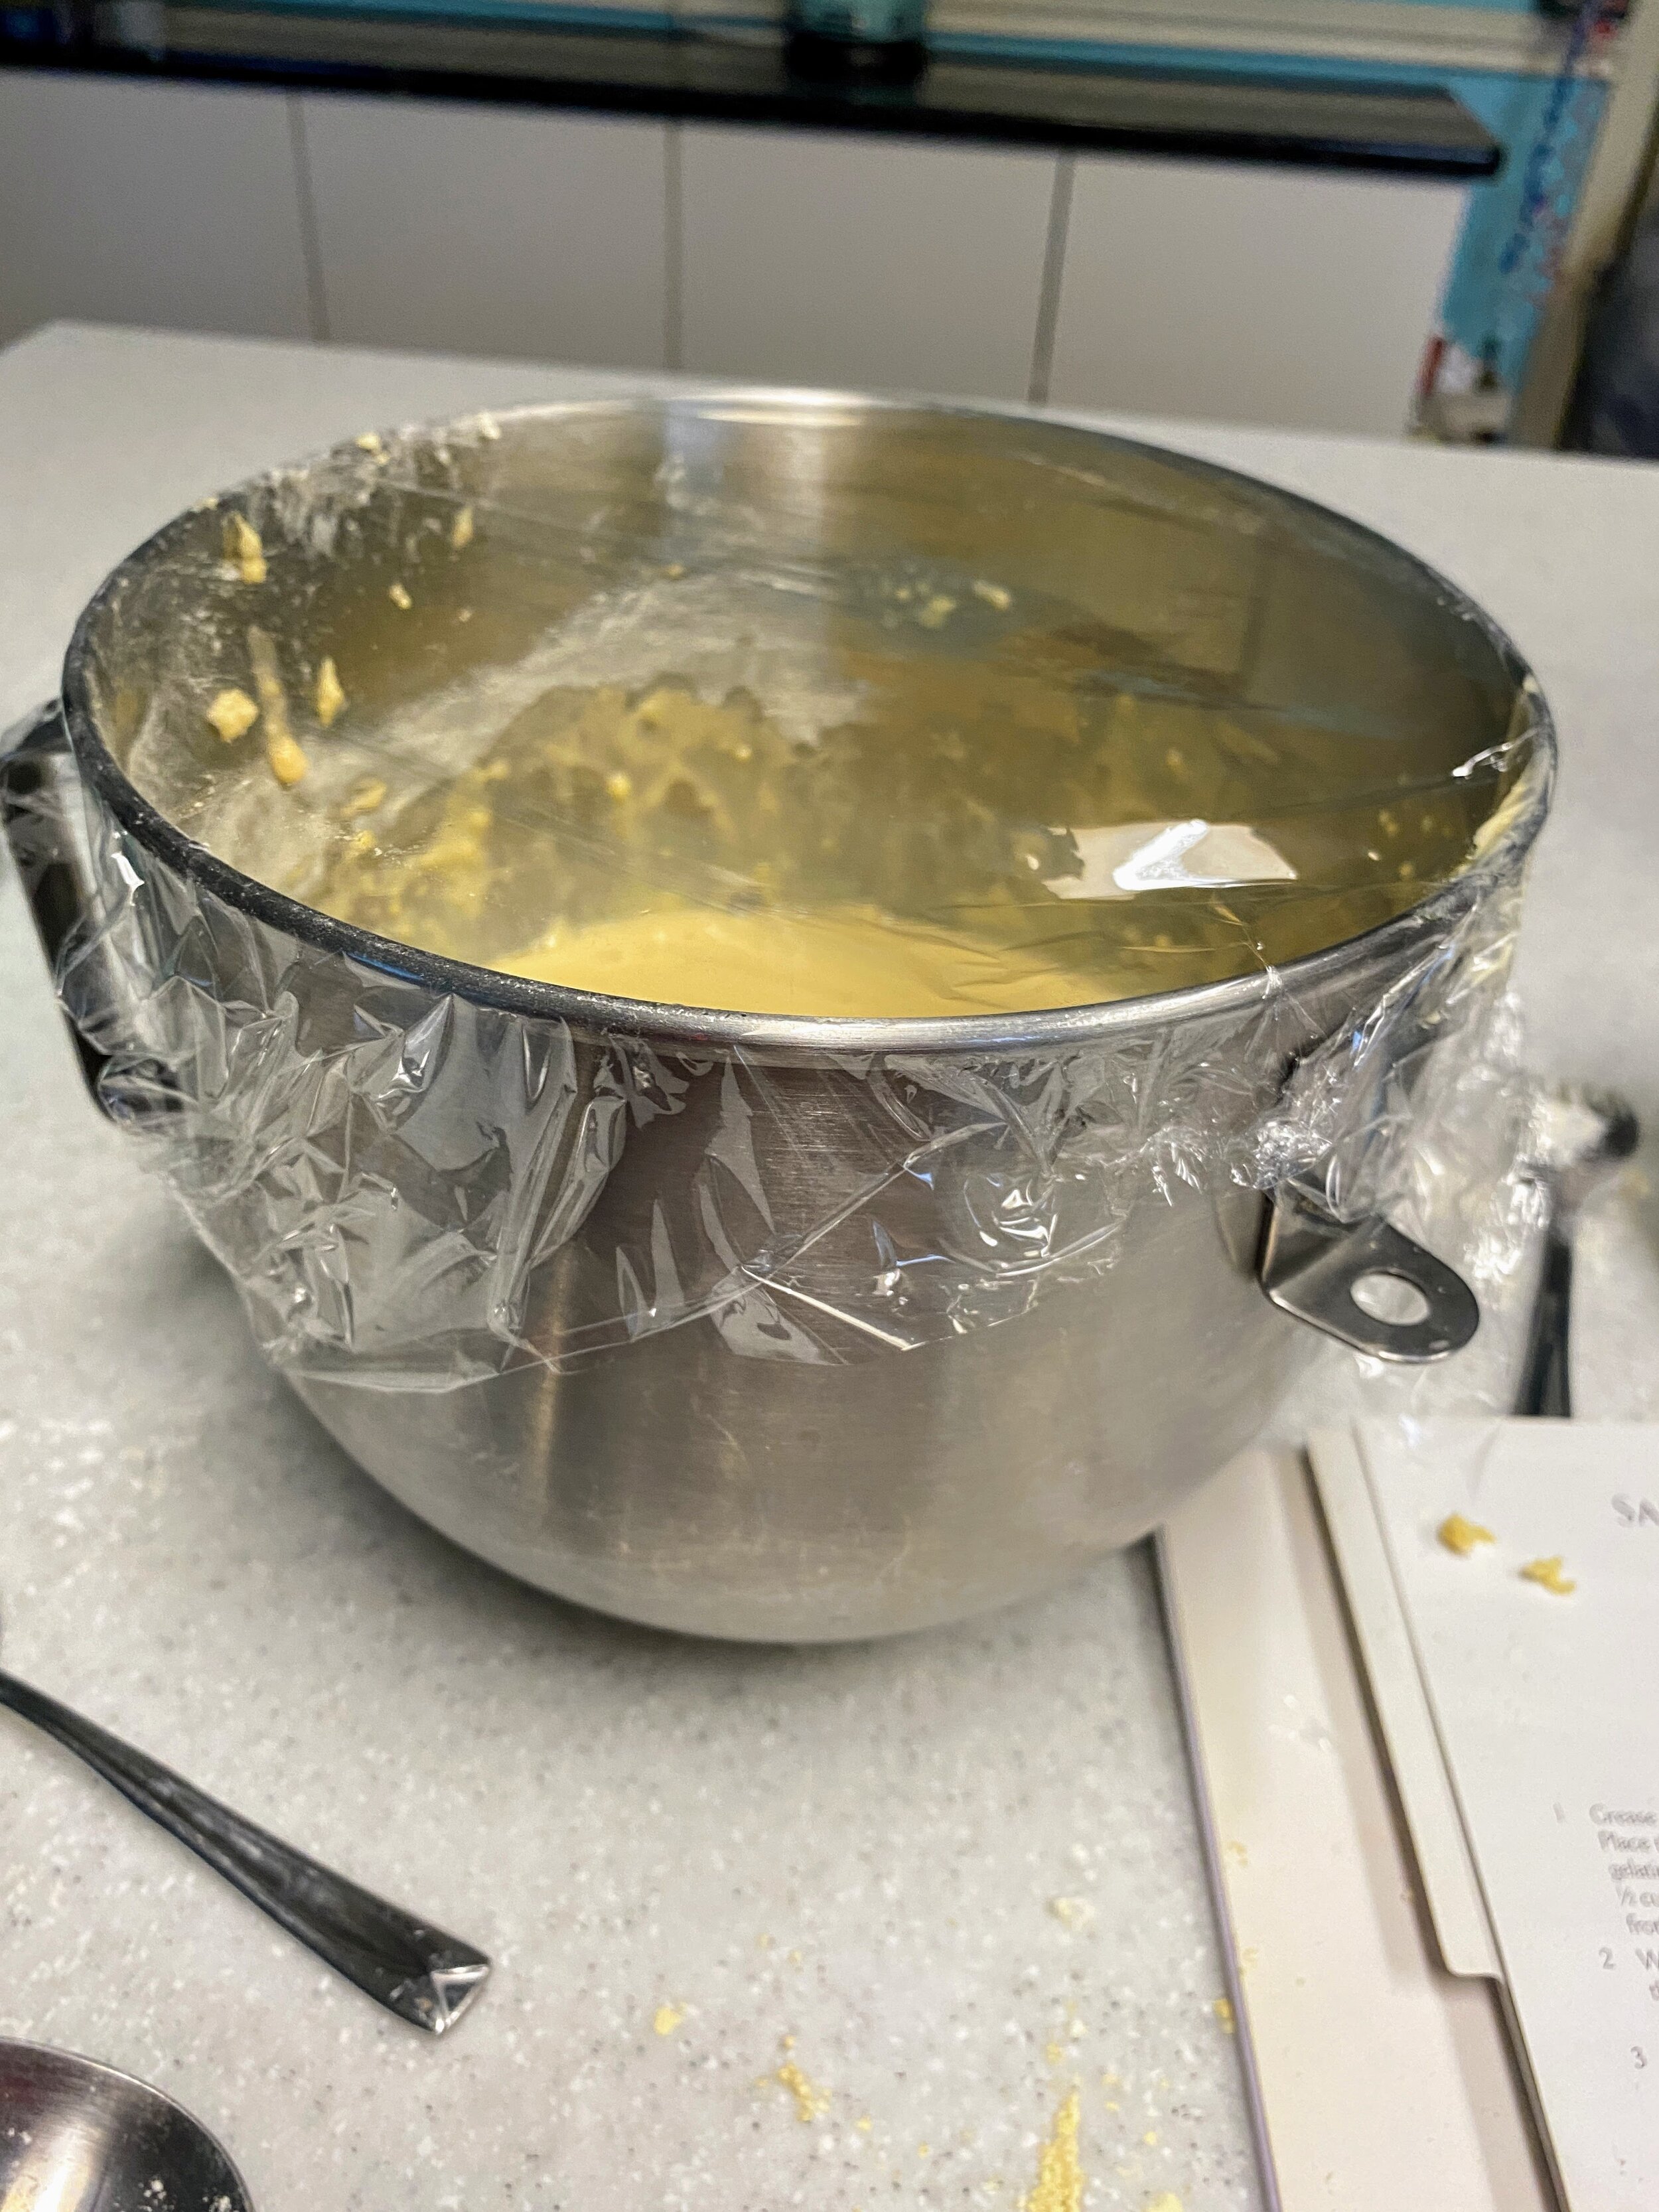
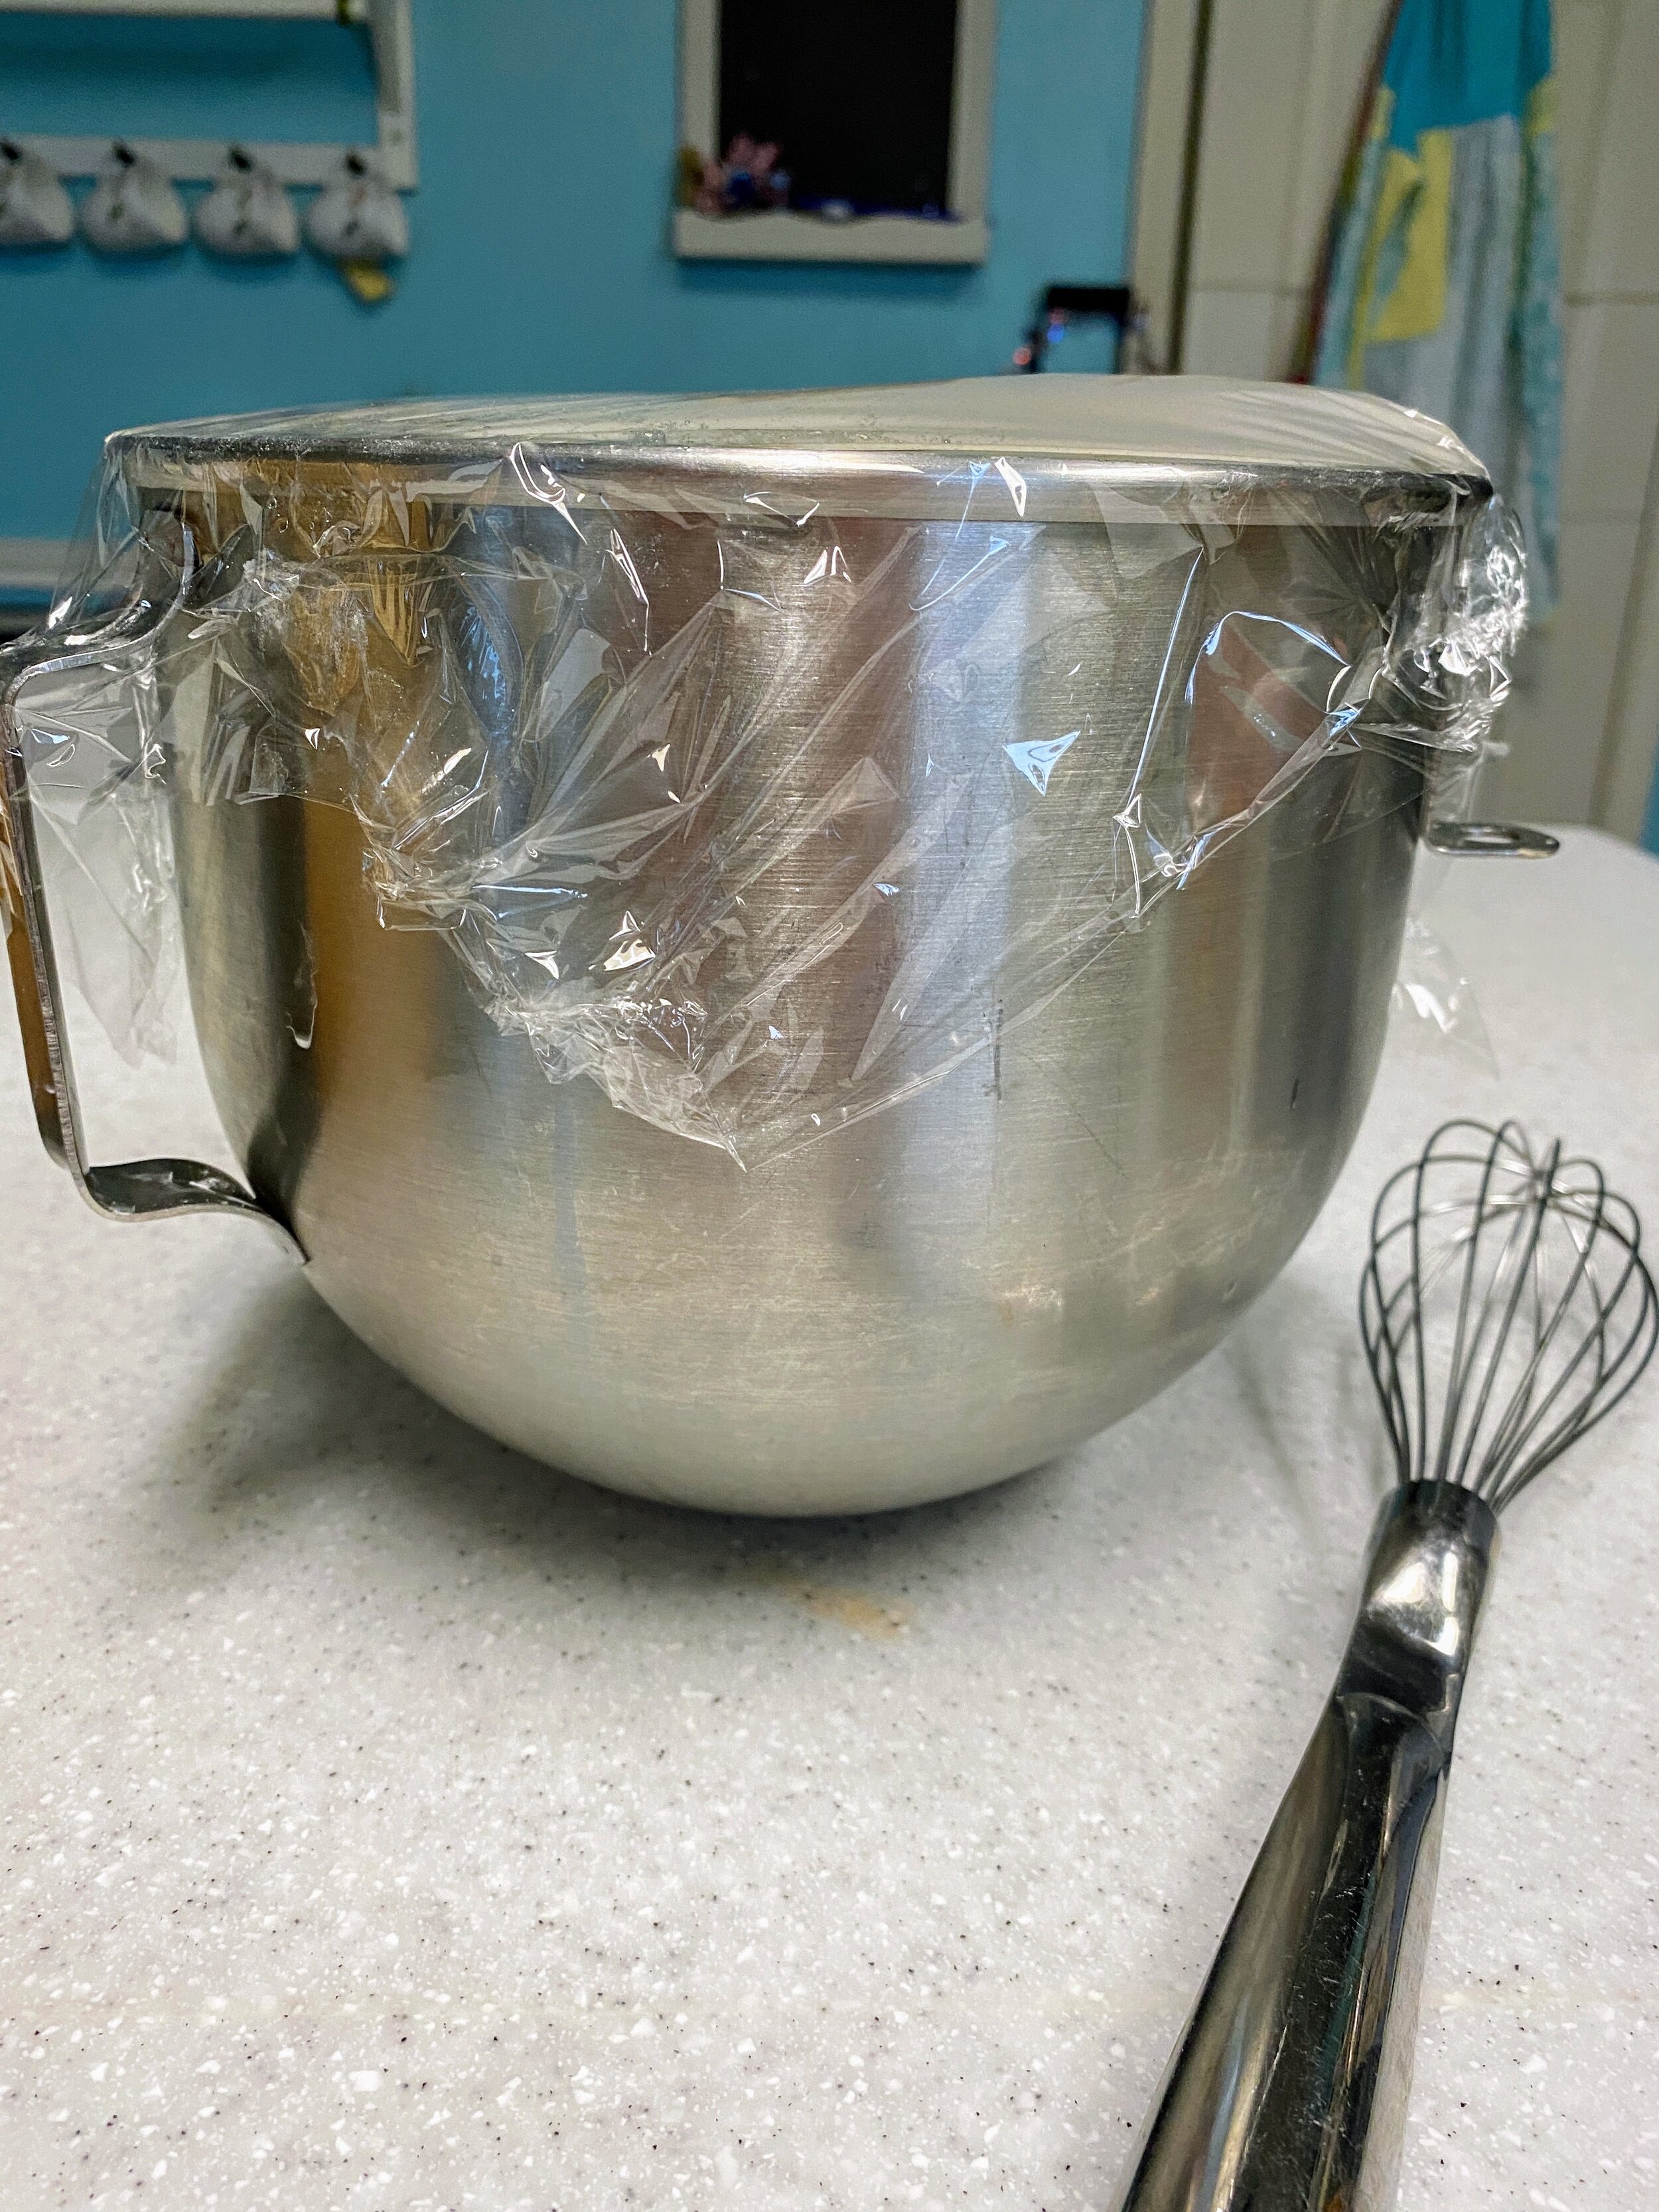
  • Cover the bowl with plastic wrap and leave the bread mixture to stand for about 15 minutes. Don’t be surprised if there isn’t a notable change in size. Resting the batter is important though. It gives the yeast time to work.

    • There won’t be as much rise as you’d think. The oil retards the rising but especially with the residual heat from the gelatin mixture you’ll absolutely have some puffiness happen.

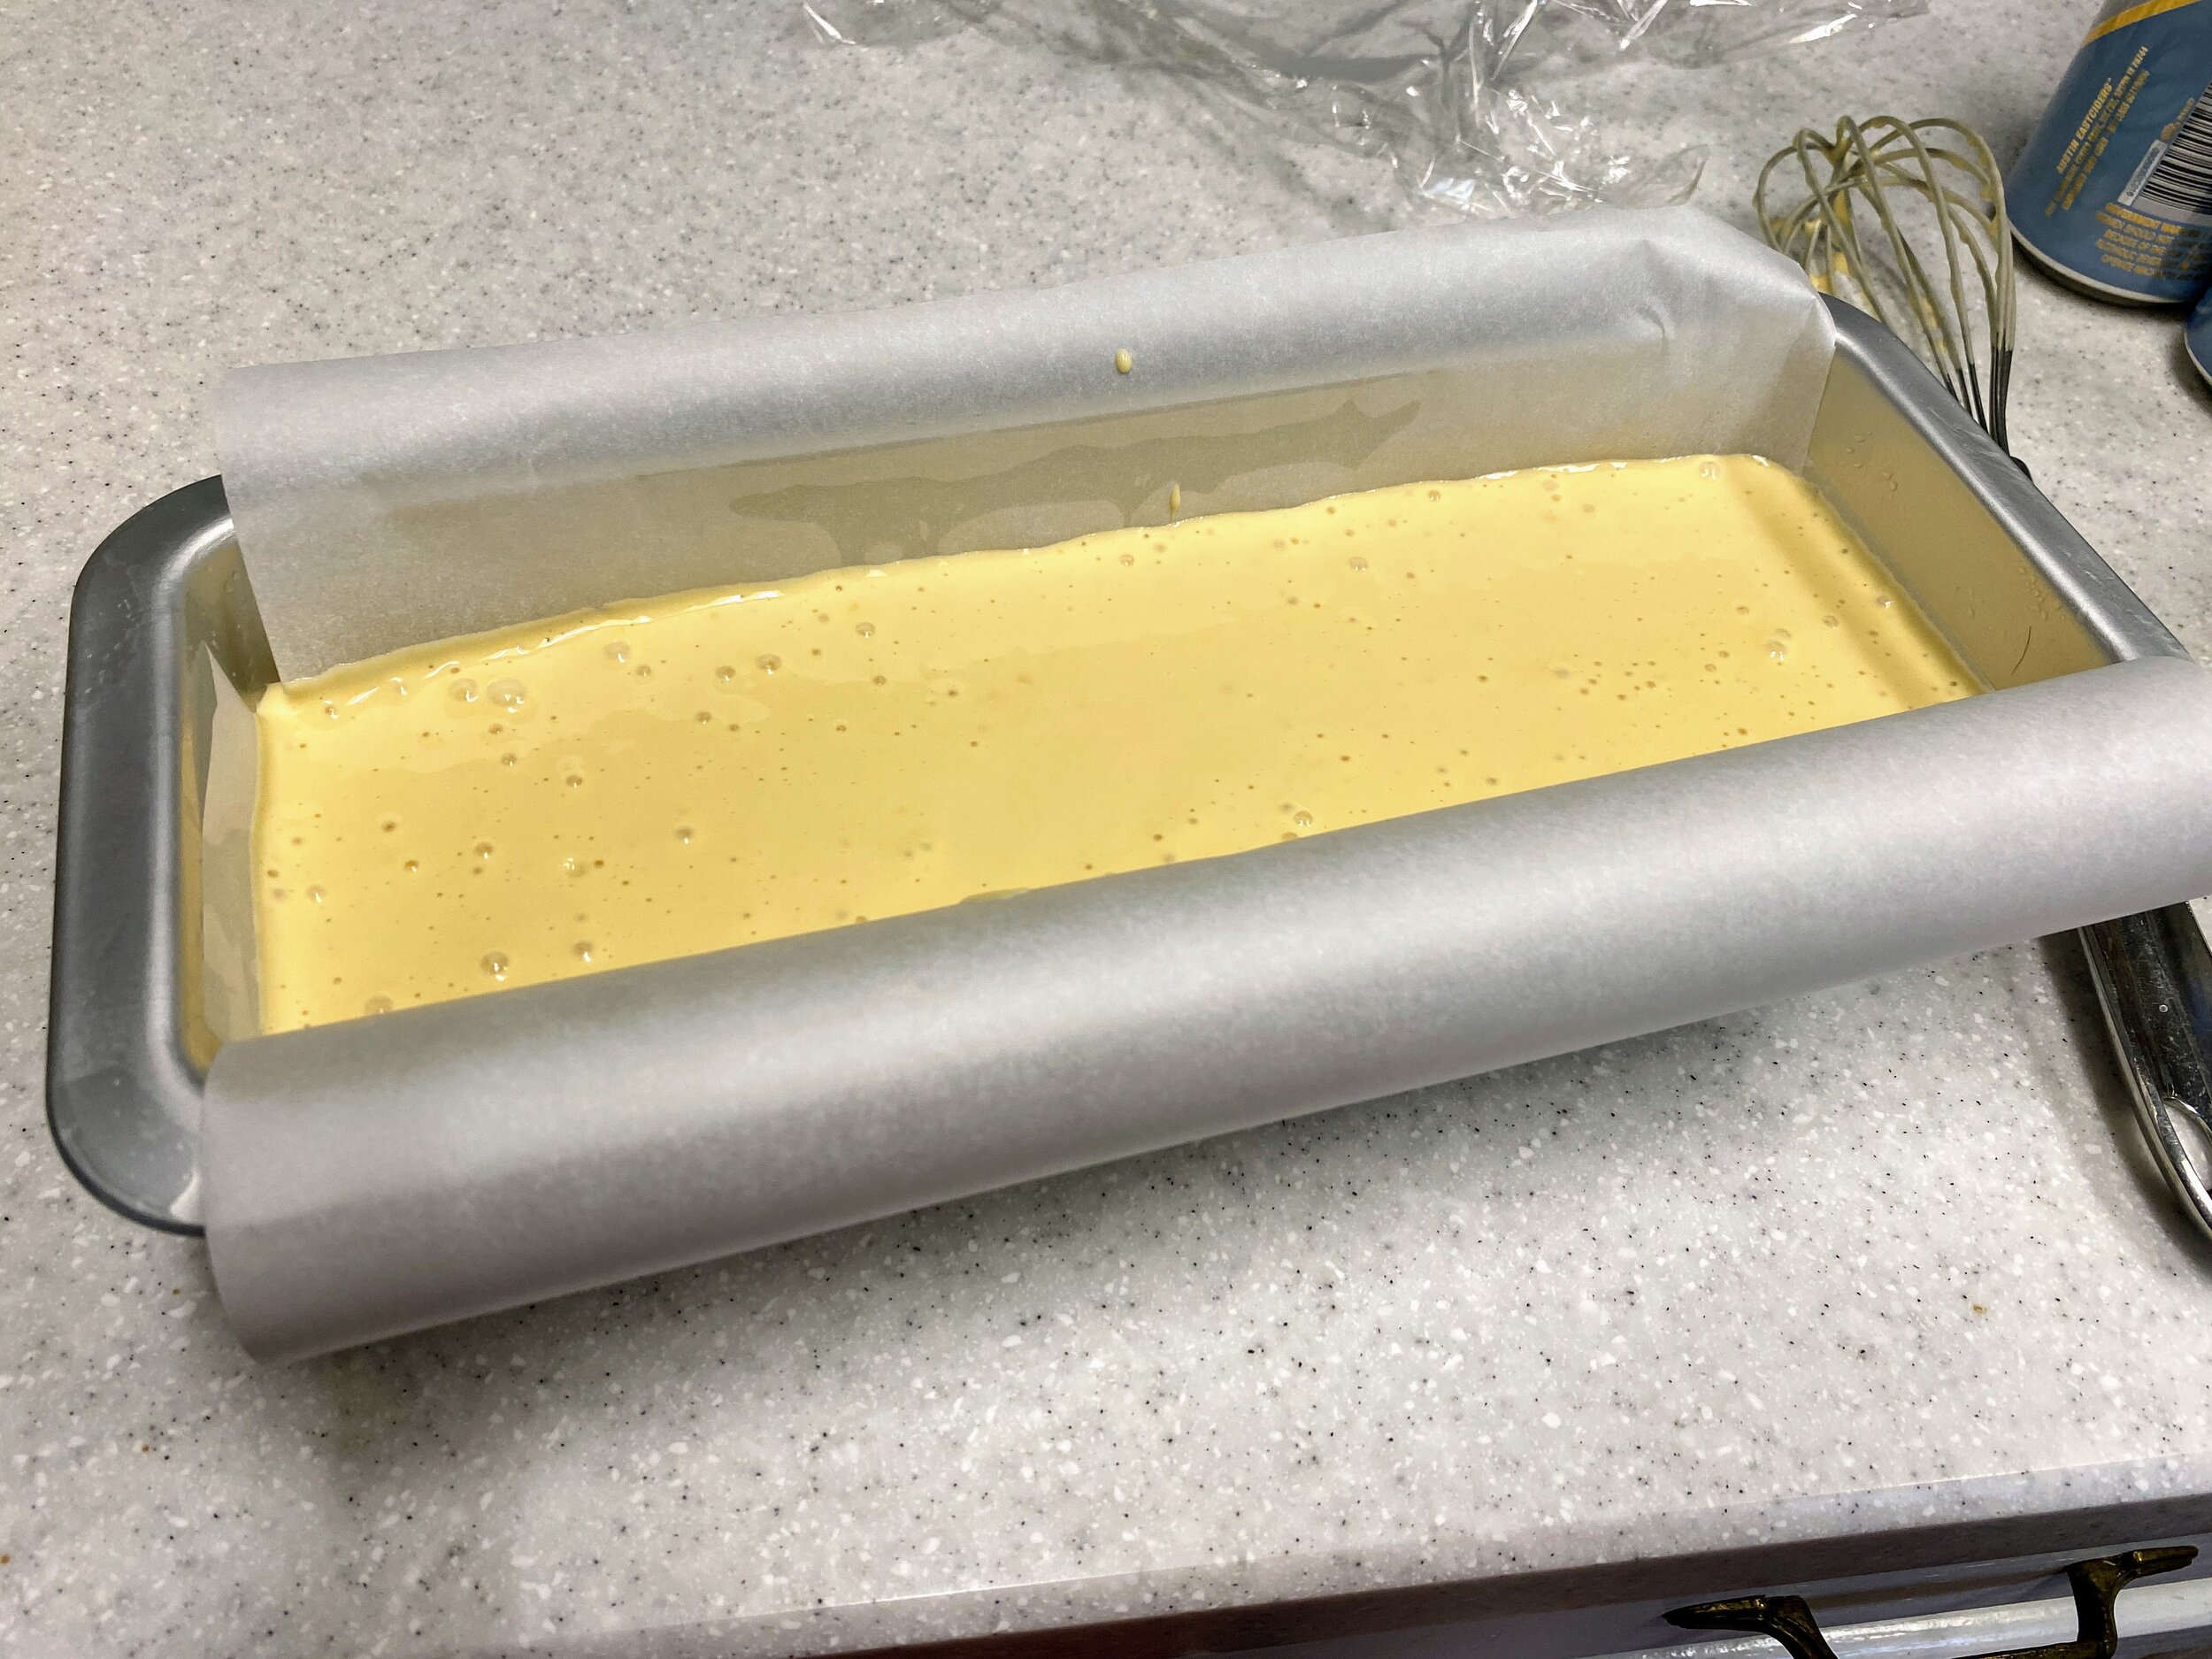
  • Whisk the mixture once more and pour into the prepared bread tin. Place the bread on a lower shelf in the oven and bake for 50 minutes. 

    • You’ll know the bread has finished baking when you tap on the top of the loaf, and it sounds hollow all the way across. You can use a wooden spoon to do the tapping; it’s very satisfying. 

  • Remove from oven and cool in the tin before slicing.


Instructions for Onion and Cider Soup:

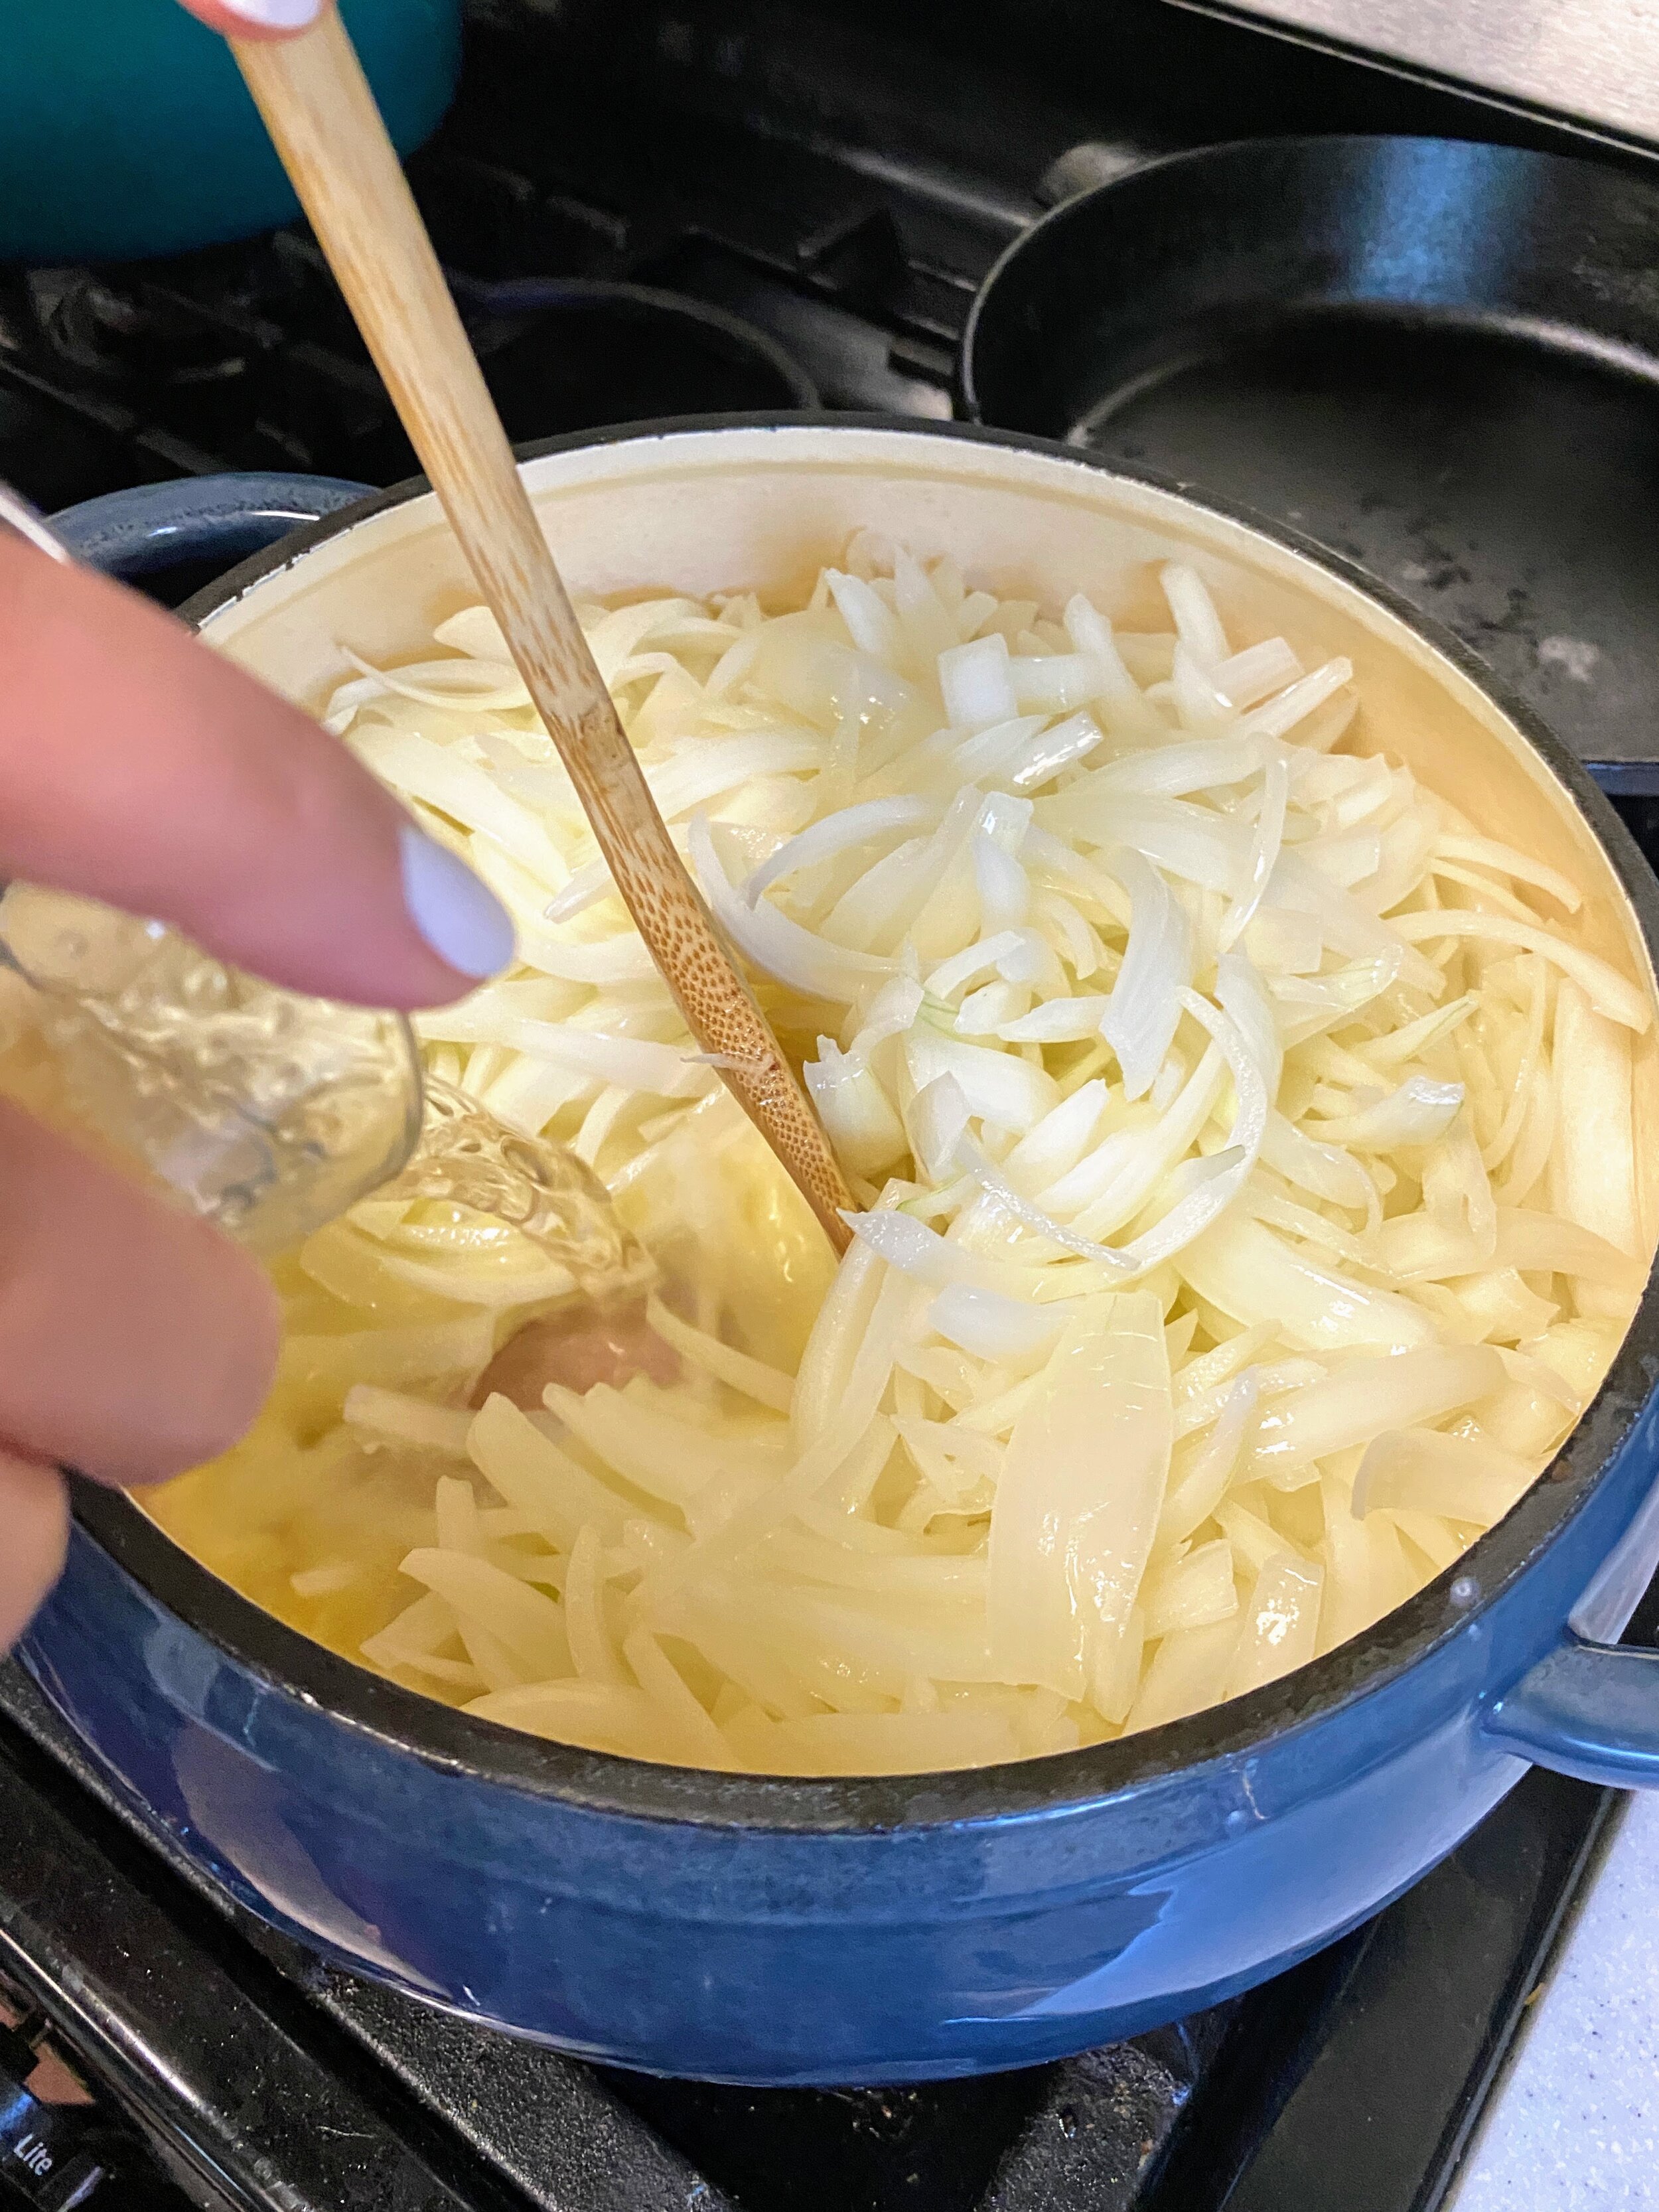
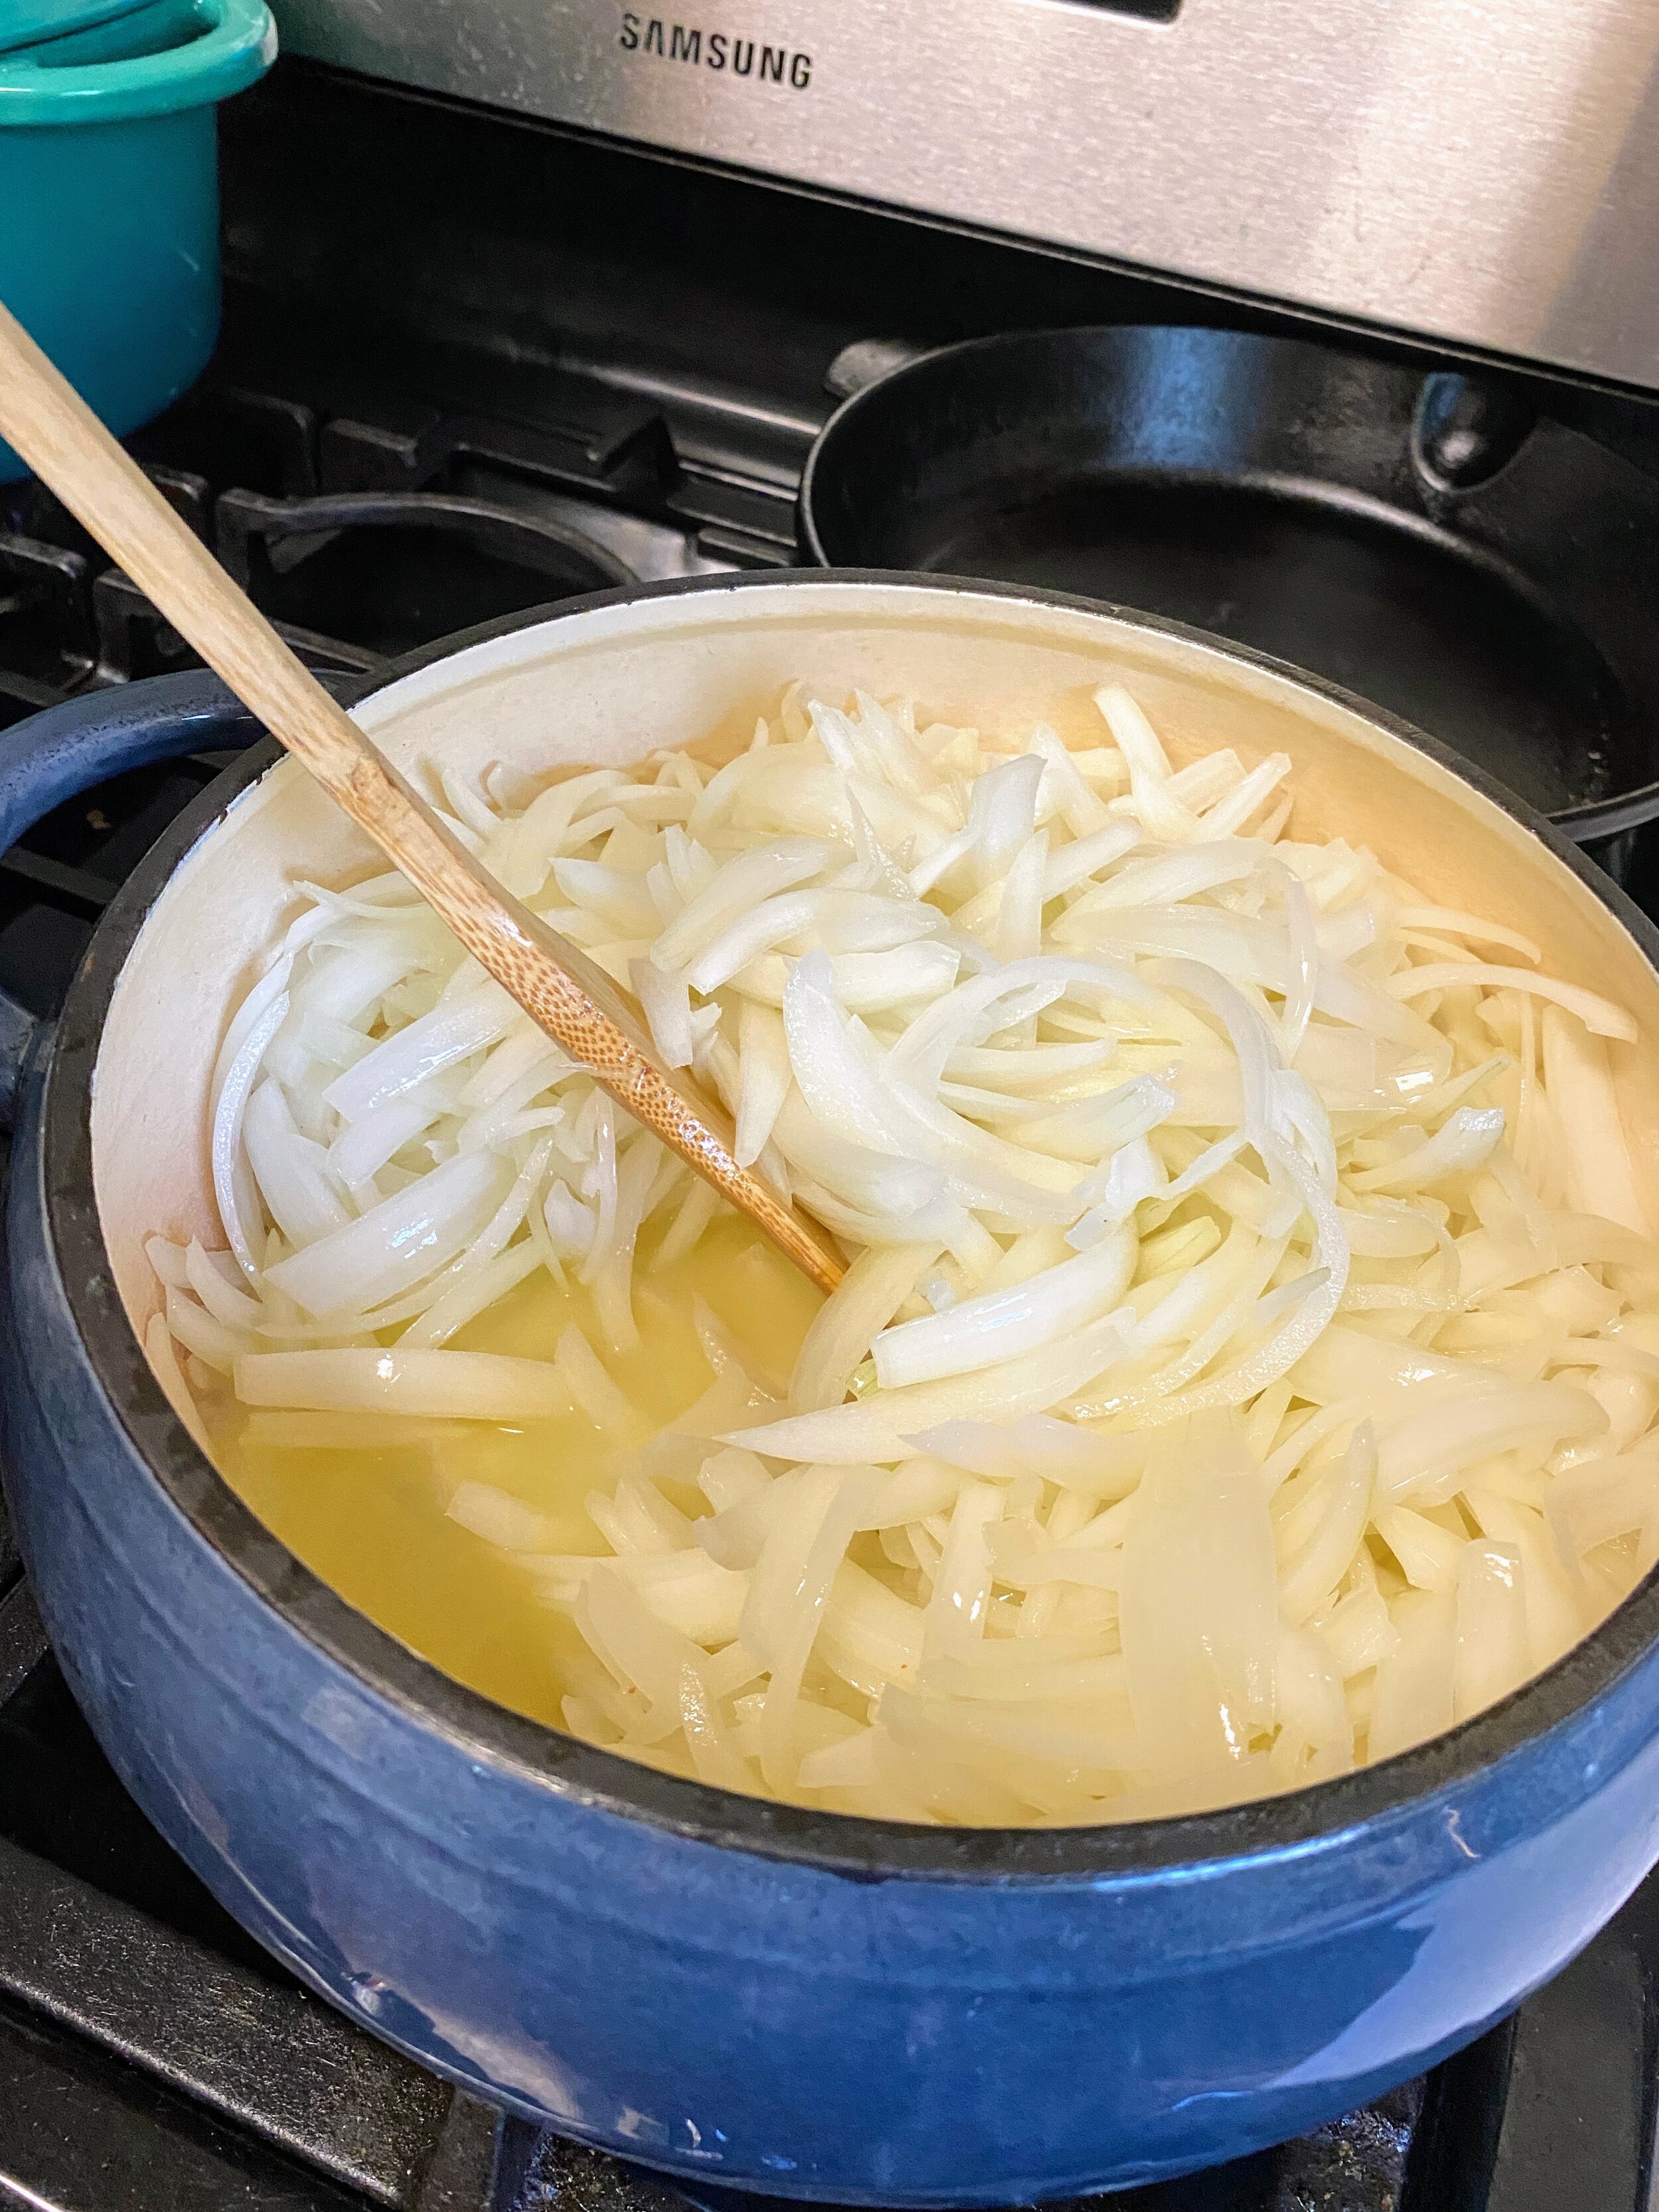
  • Melt the butter in a heavy bottomed saucepan and add the onions. Sauté them gently, turning them round in the butter, until they start to soften. 

    • This was my very first experience with caramelizing onions so this was a bit of a mystery. I will say, the combo of butter and onions together is a god-tier smell.

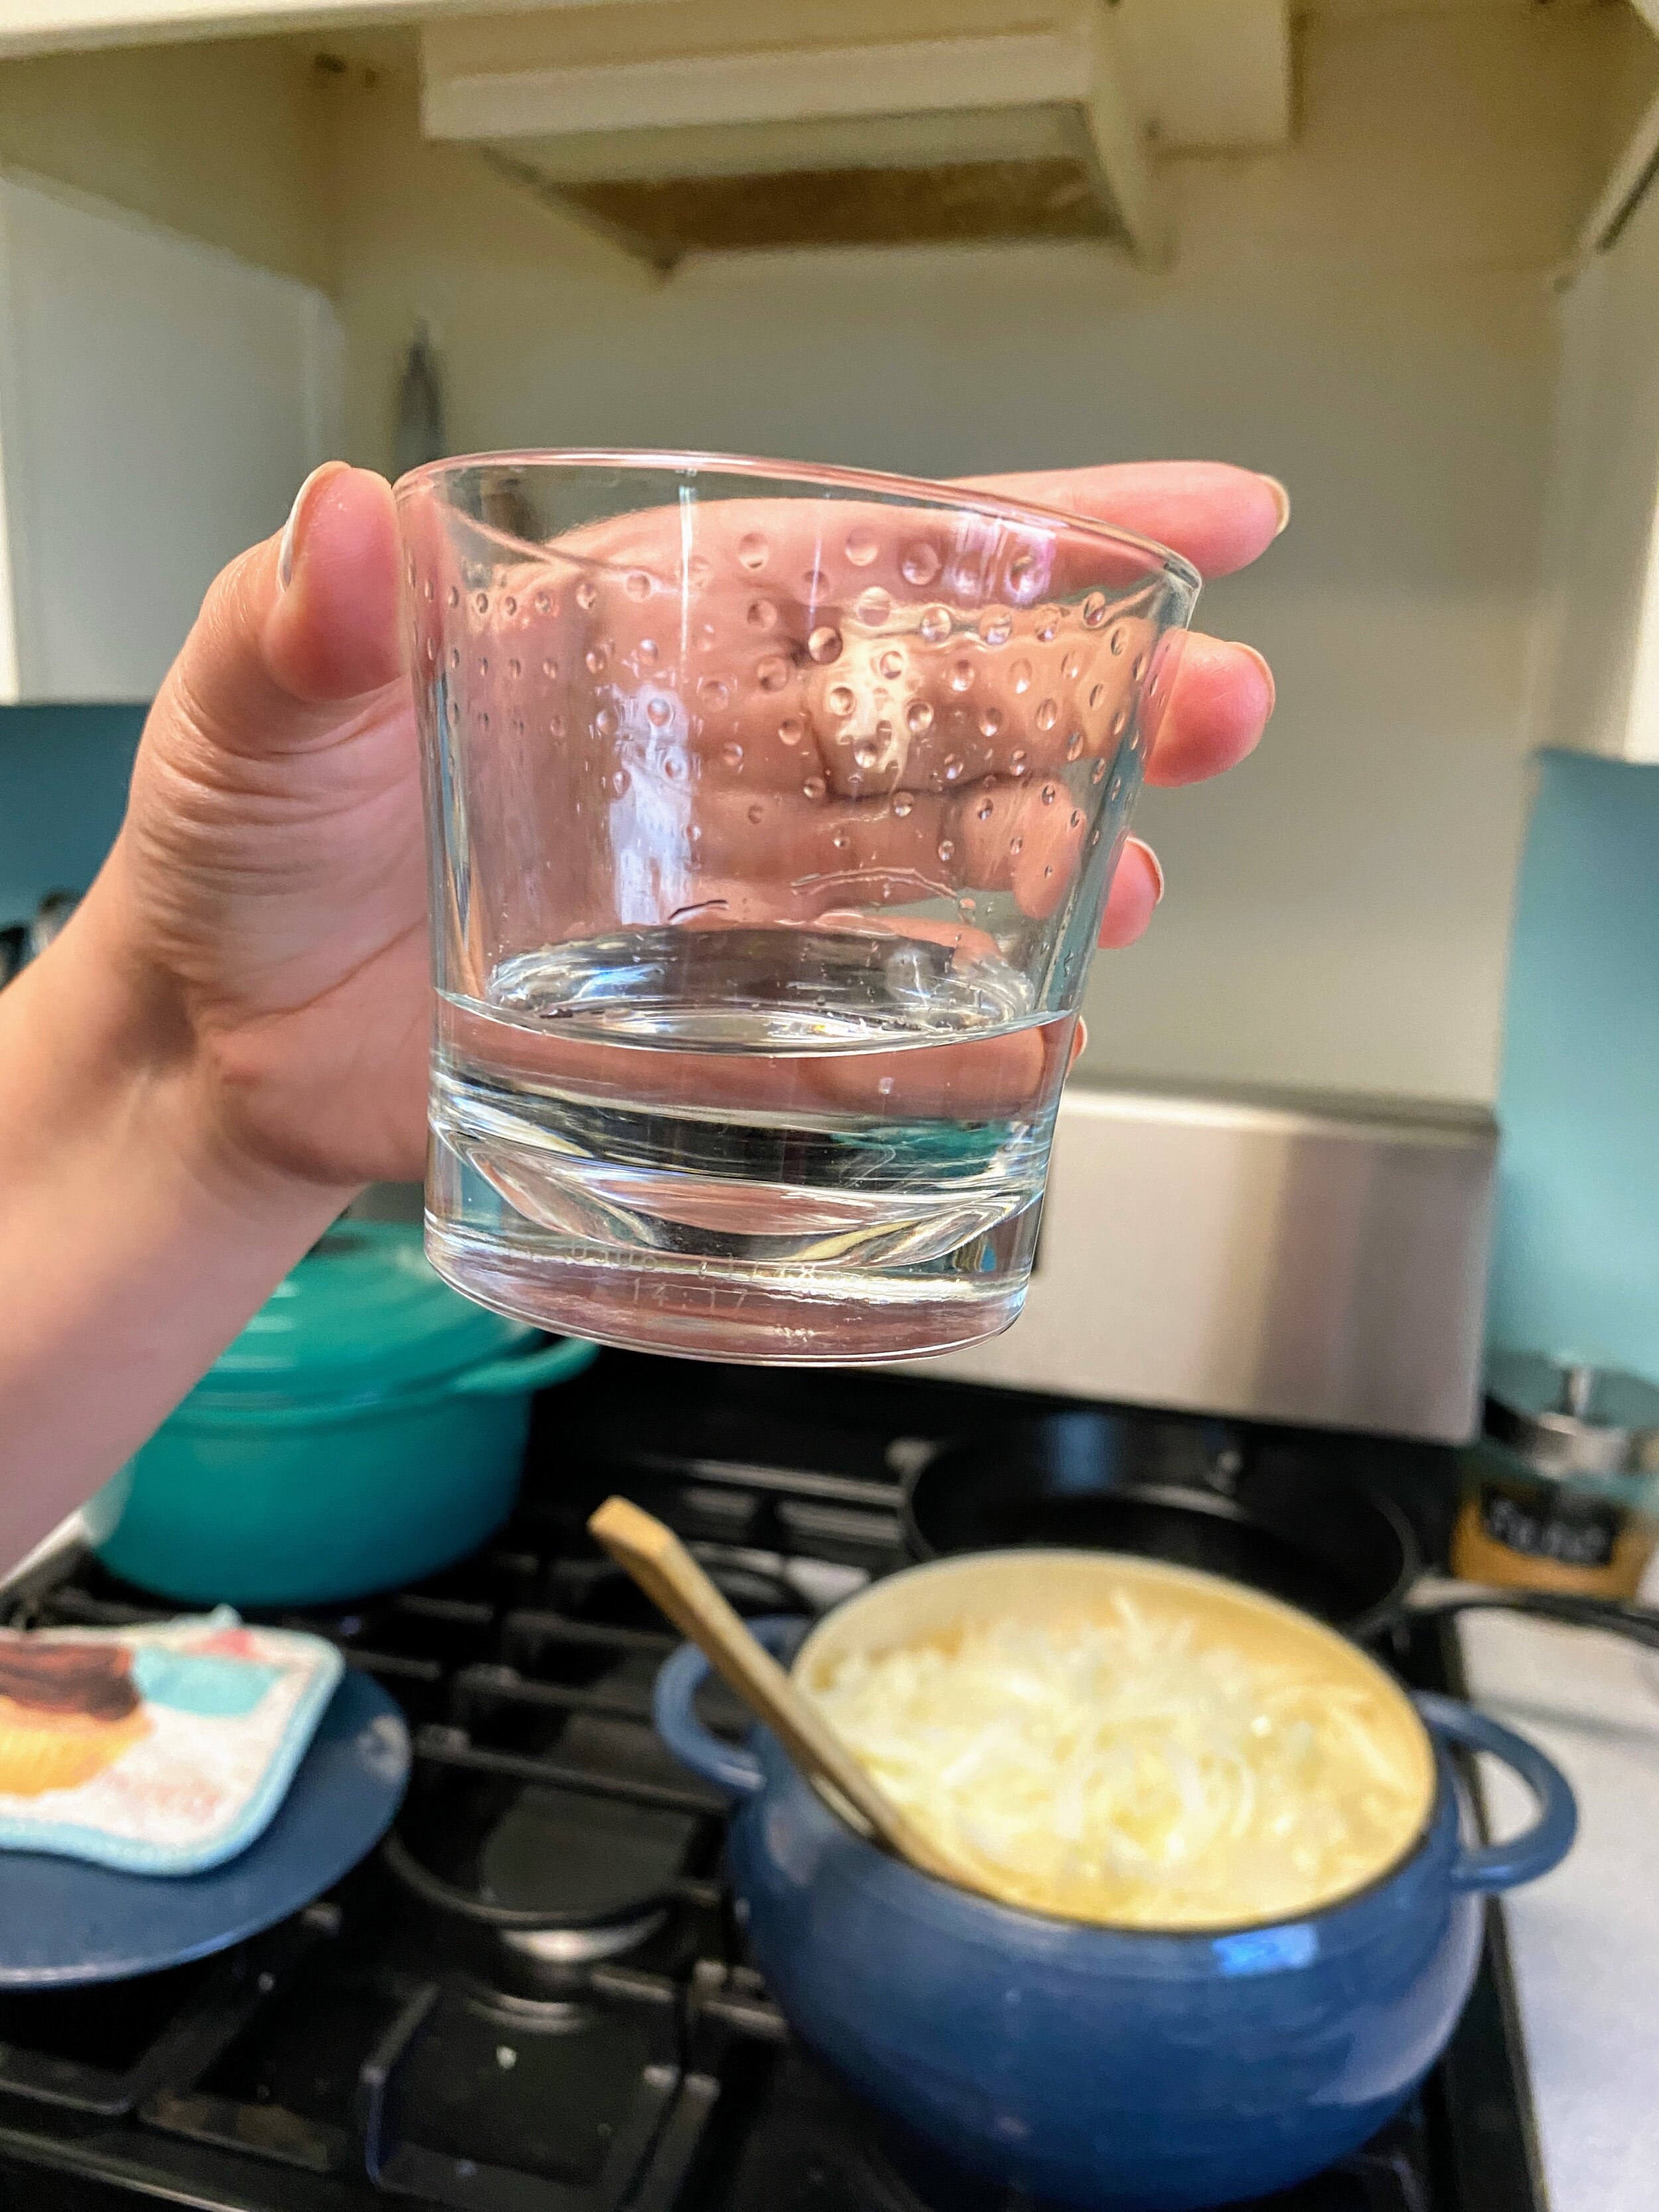
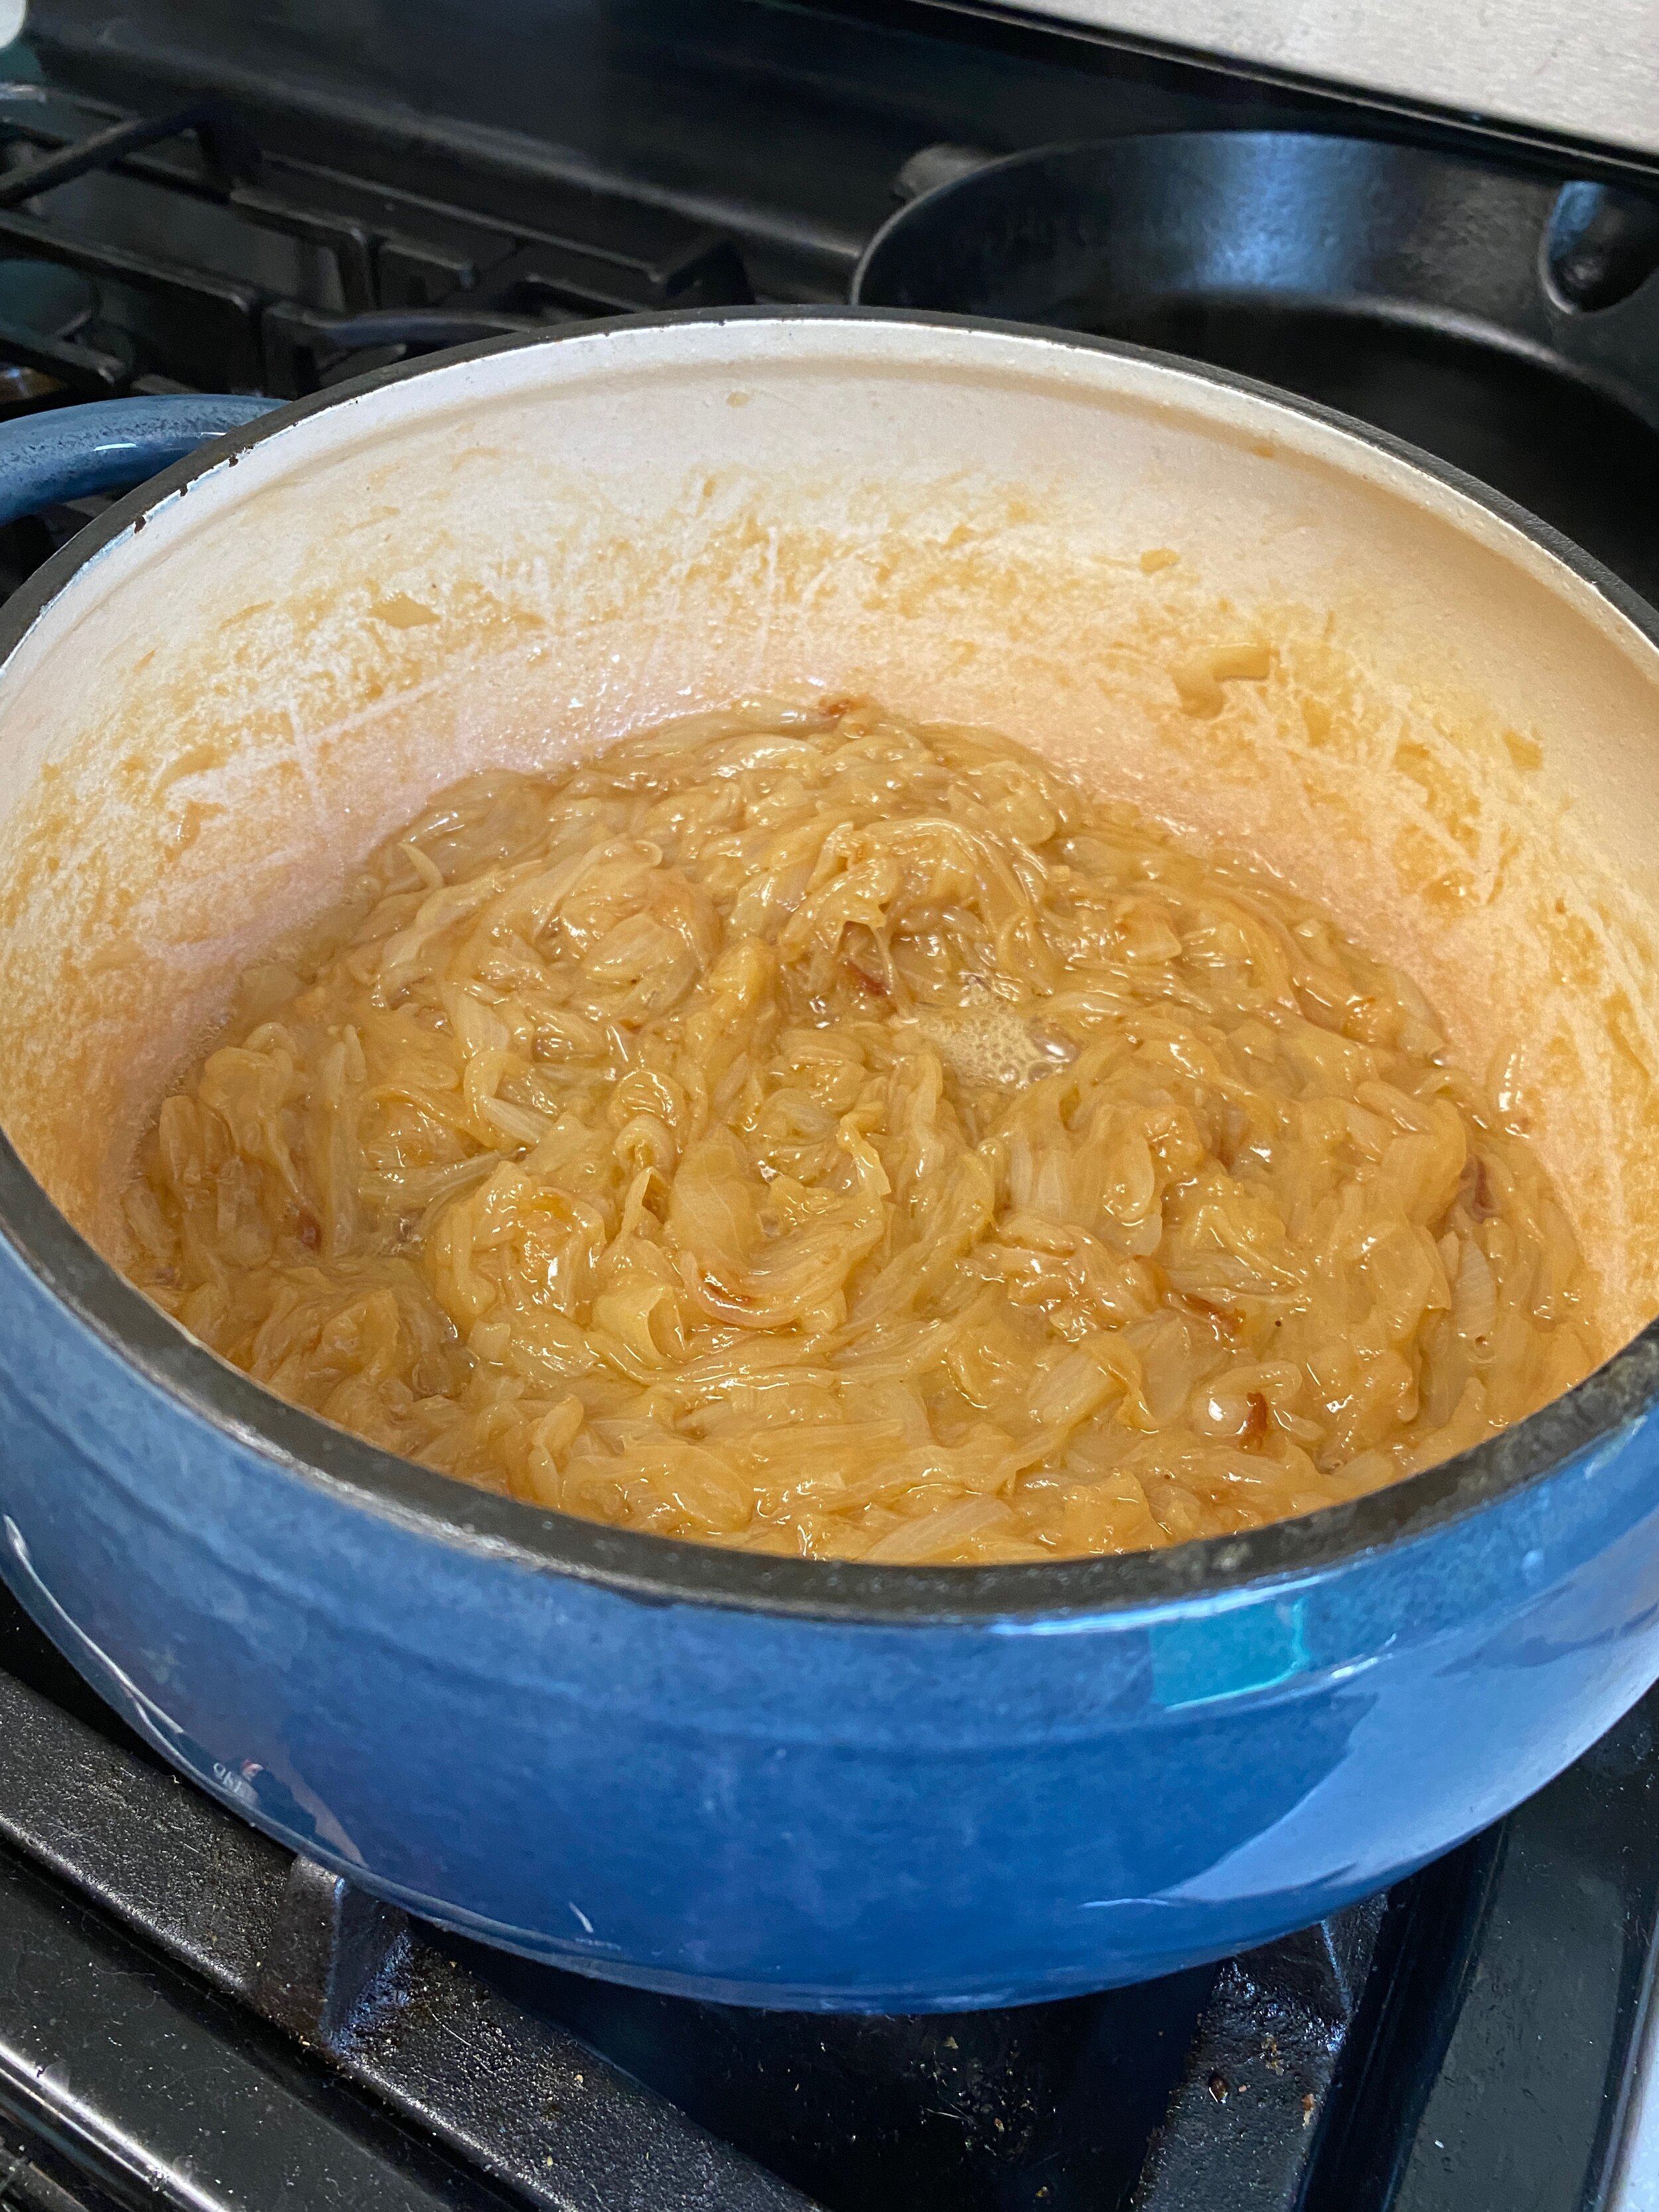
  • Add a splash of water, cover with a lid, and sweat the onions until they are very soft and start to caramelize. This can take up to 50 minutes. 

    • You will need to add a splash of water every so often and turn the onions over in the buttery juices. I don’t recommend adding as much water as I did during this time. When the recipe says a “splash” of water, we’re talking about an ounce or so at a time. Especially if you have weepy onions like me, you’re not going to need a lot of water. If you add too much water the sweating process will take significantly longer. The recipe says 50 minutes but I ended up sweating these for an hour and 20.

  • Take the lid off and turn the heat up to medium so that the juices can evaporate and the onions caramelize. 

    • If the onions are not caramelizing well you can add the optional sugar, but before you do so, let it go by itself. You’re looking to have the vast majority of the water gone. Once this is uncovered you’ll need to monitor it much closer. It will burn in a split second when you’re not looking. 

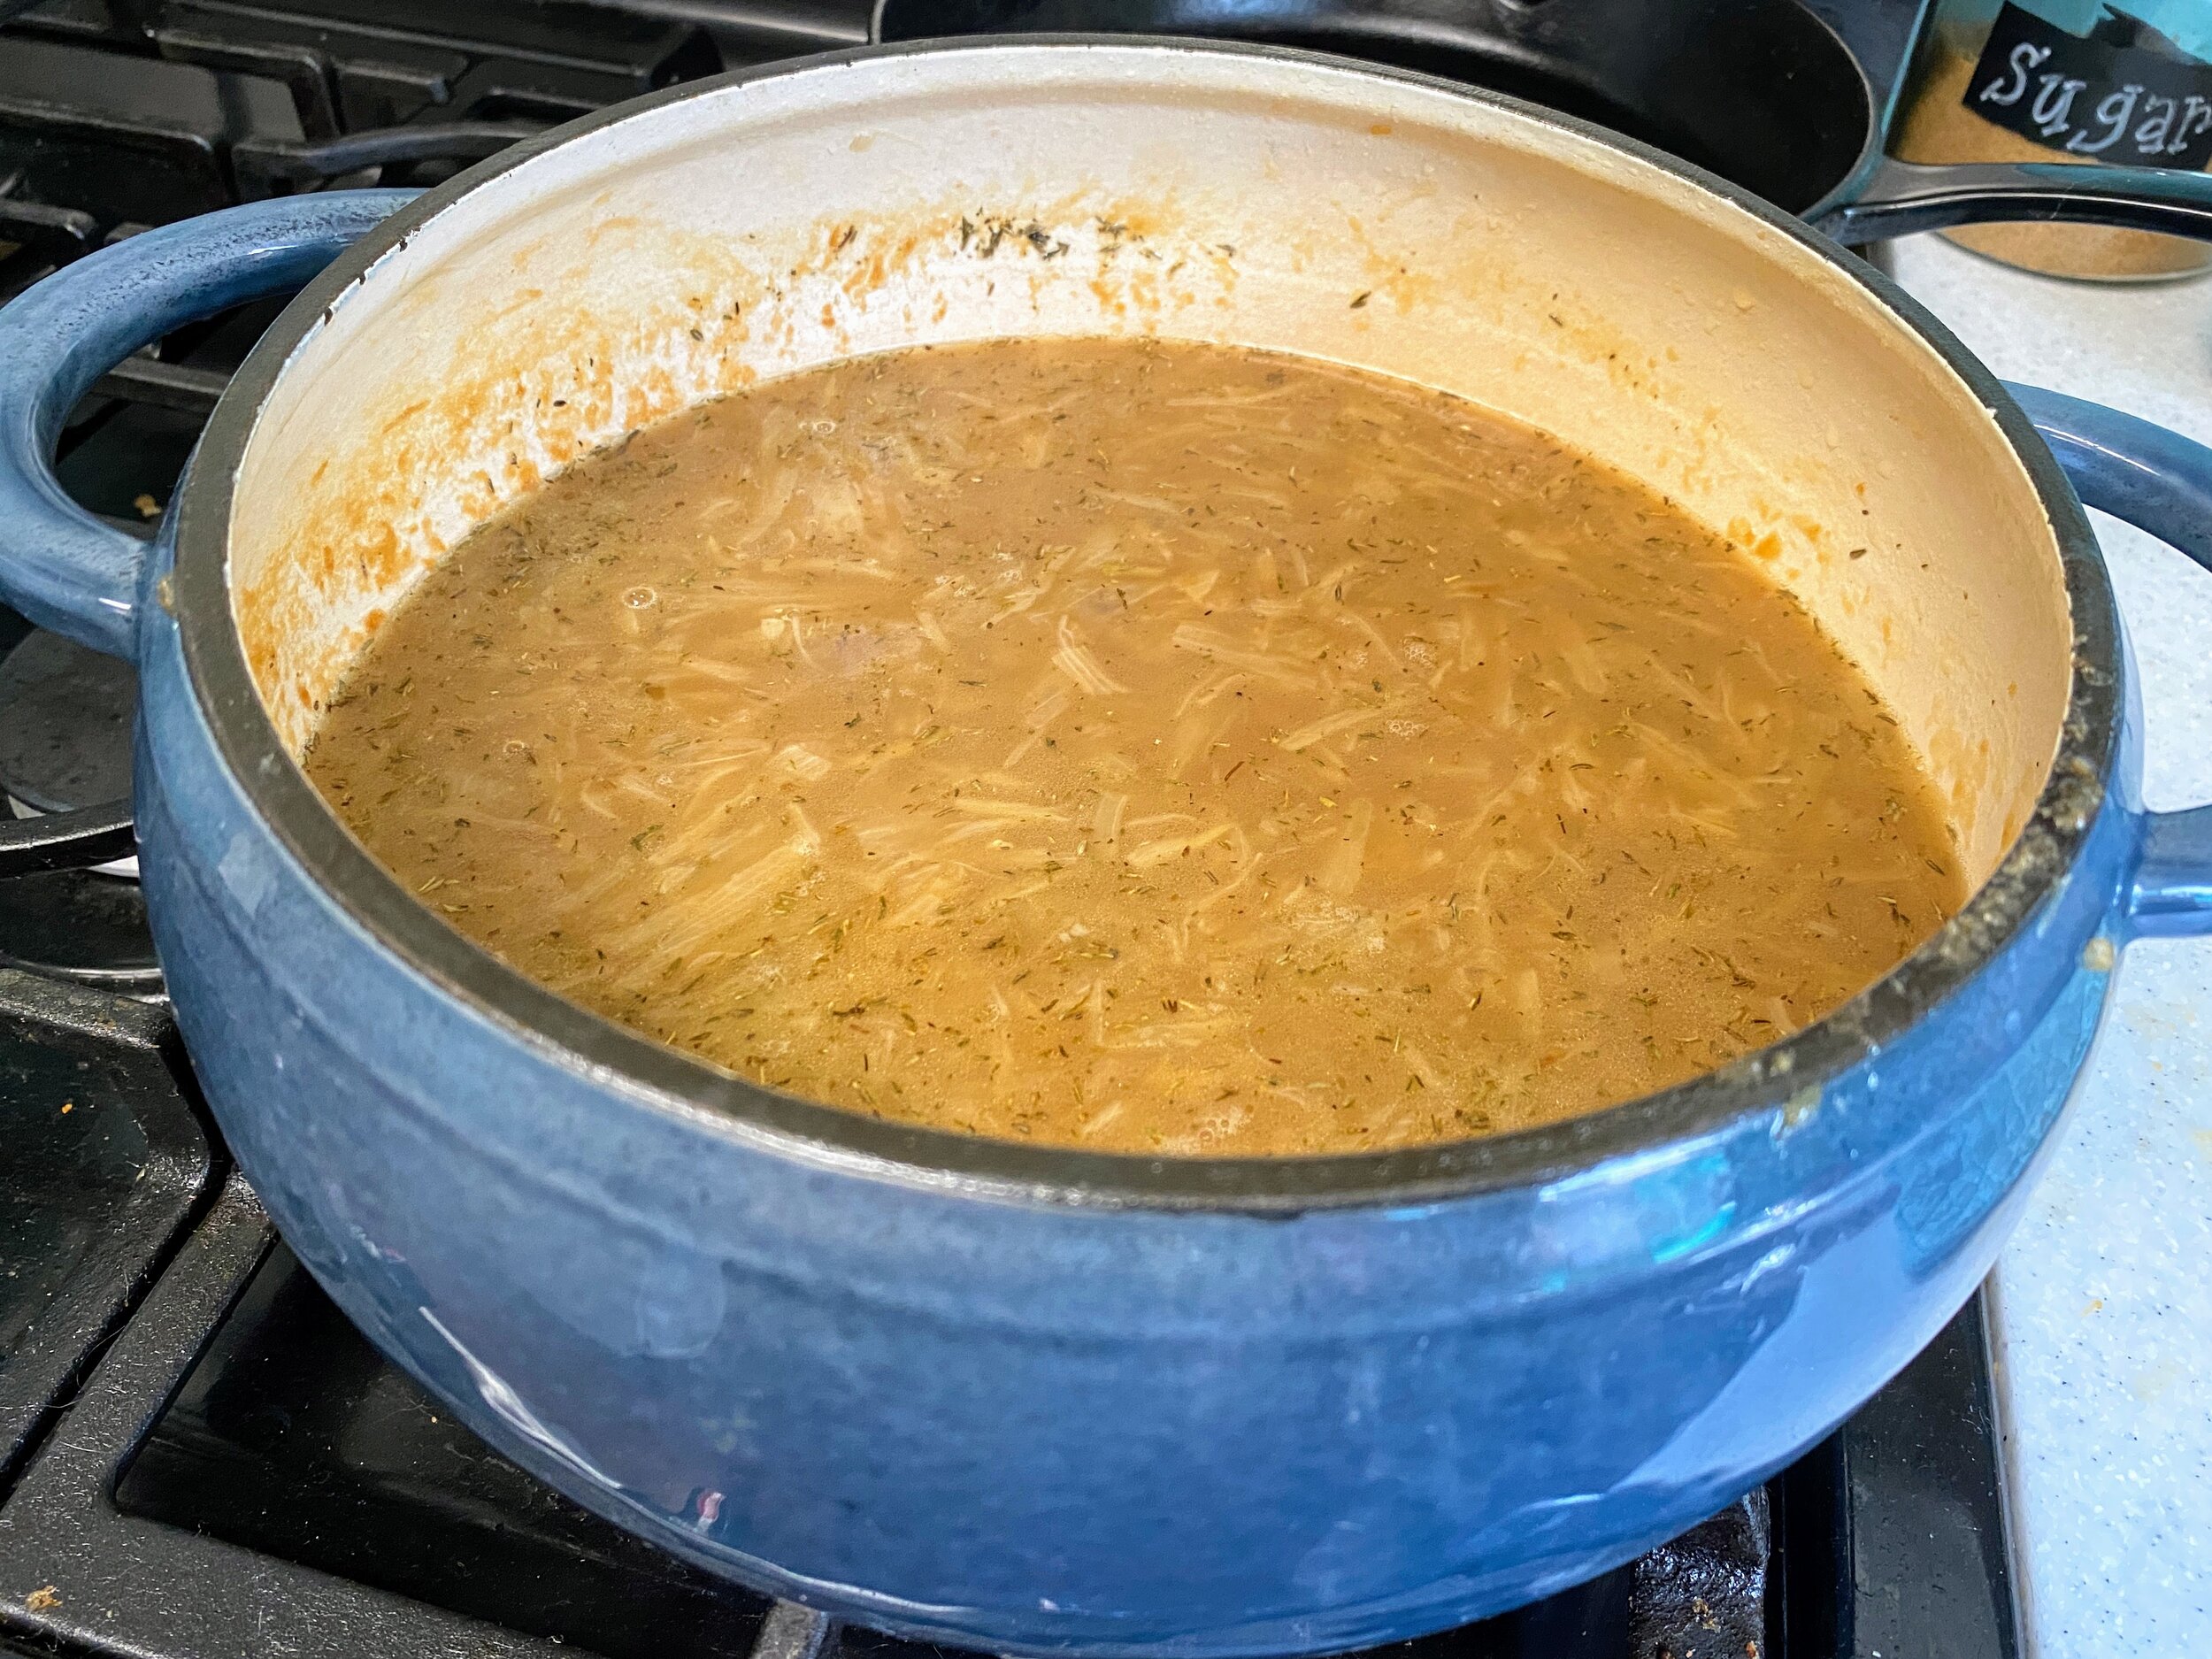
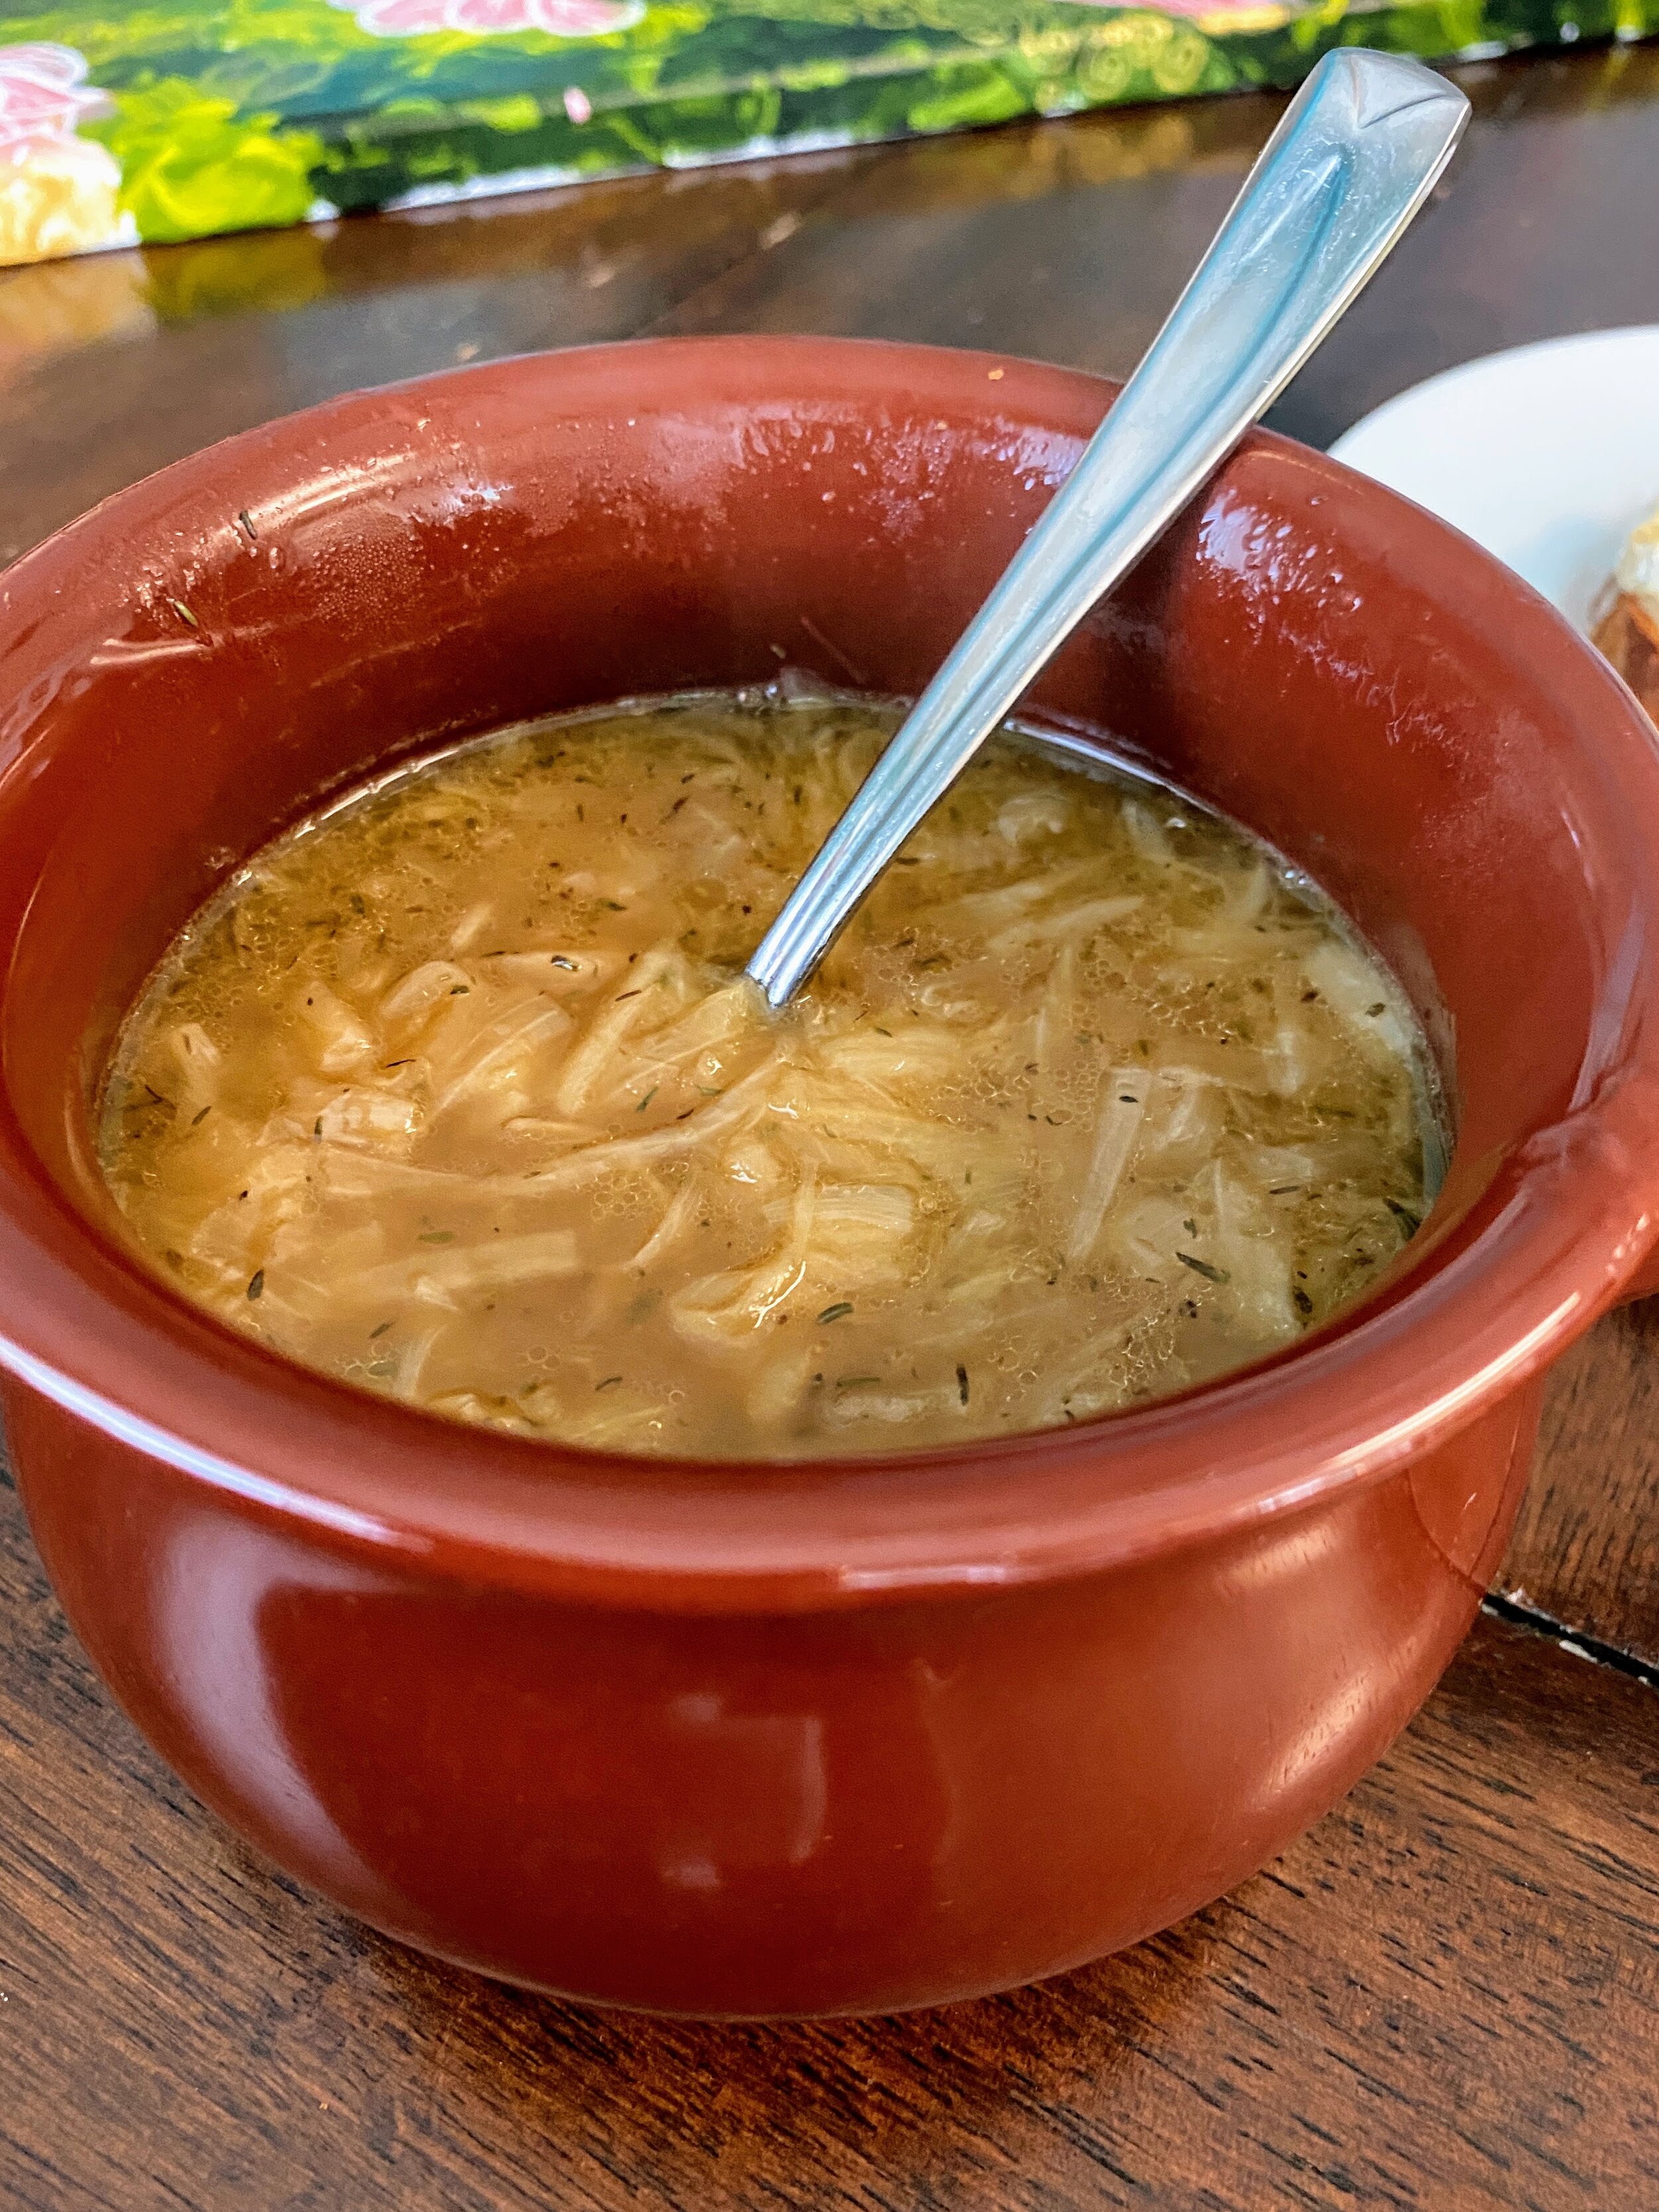
  • When the onions are dark, add the cider, stock, and thyme and bring to a boil. Simmer for 10 minutes. 

    • The next time I do this I will probably change this part up. I think the cider should be added first, cooked off a bit, and THEN add the bone broth. I think the cider waters the whole thing down a little too much in retrospect. Additionally, I ended up with dried thyme instead of full fresh sprigs and I definitely regret that. The mouthfeel of dried thyme isn’t nearly as nice as I wanted it to be.

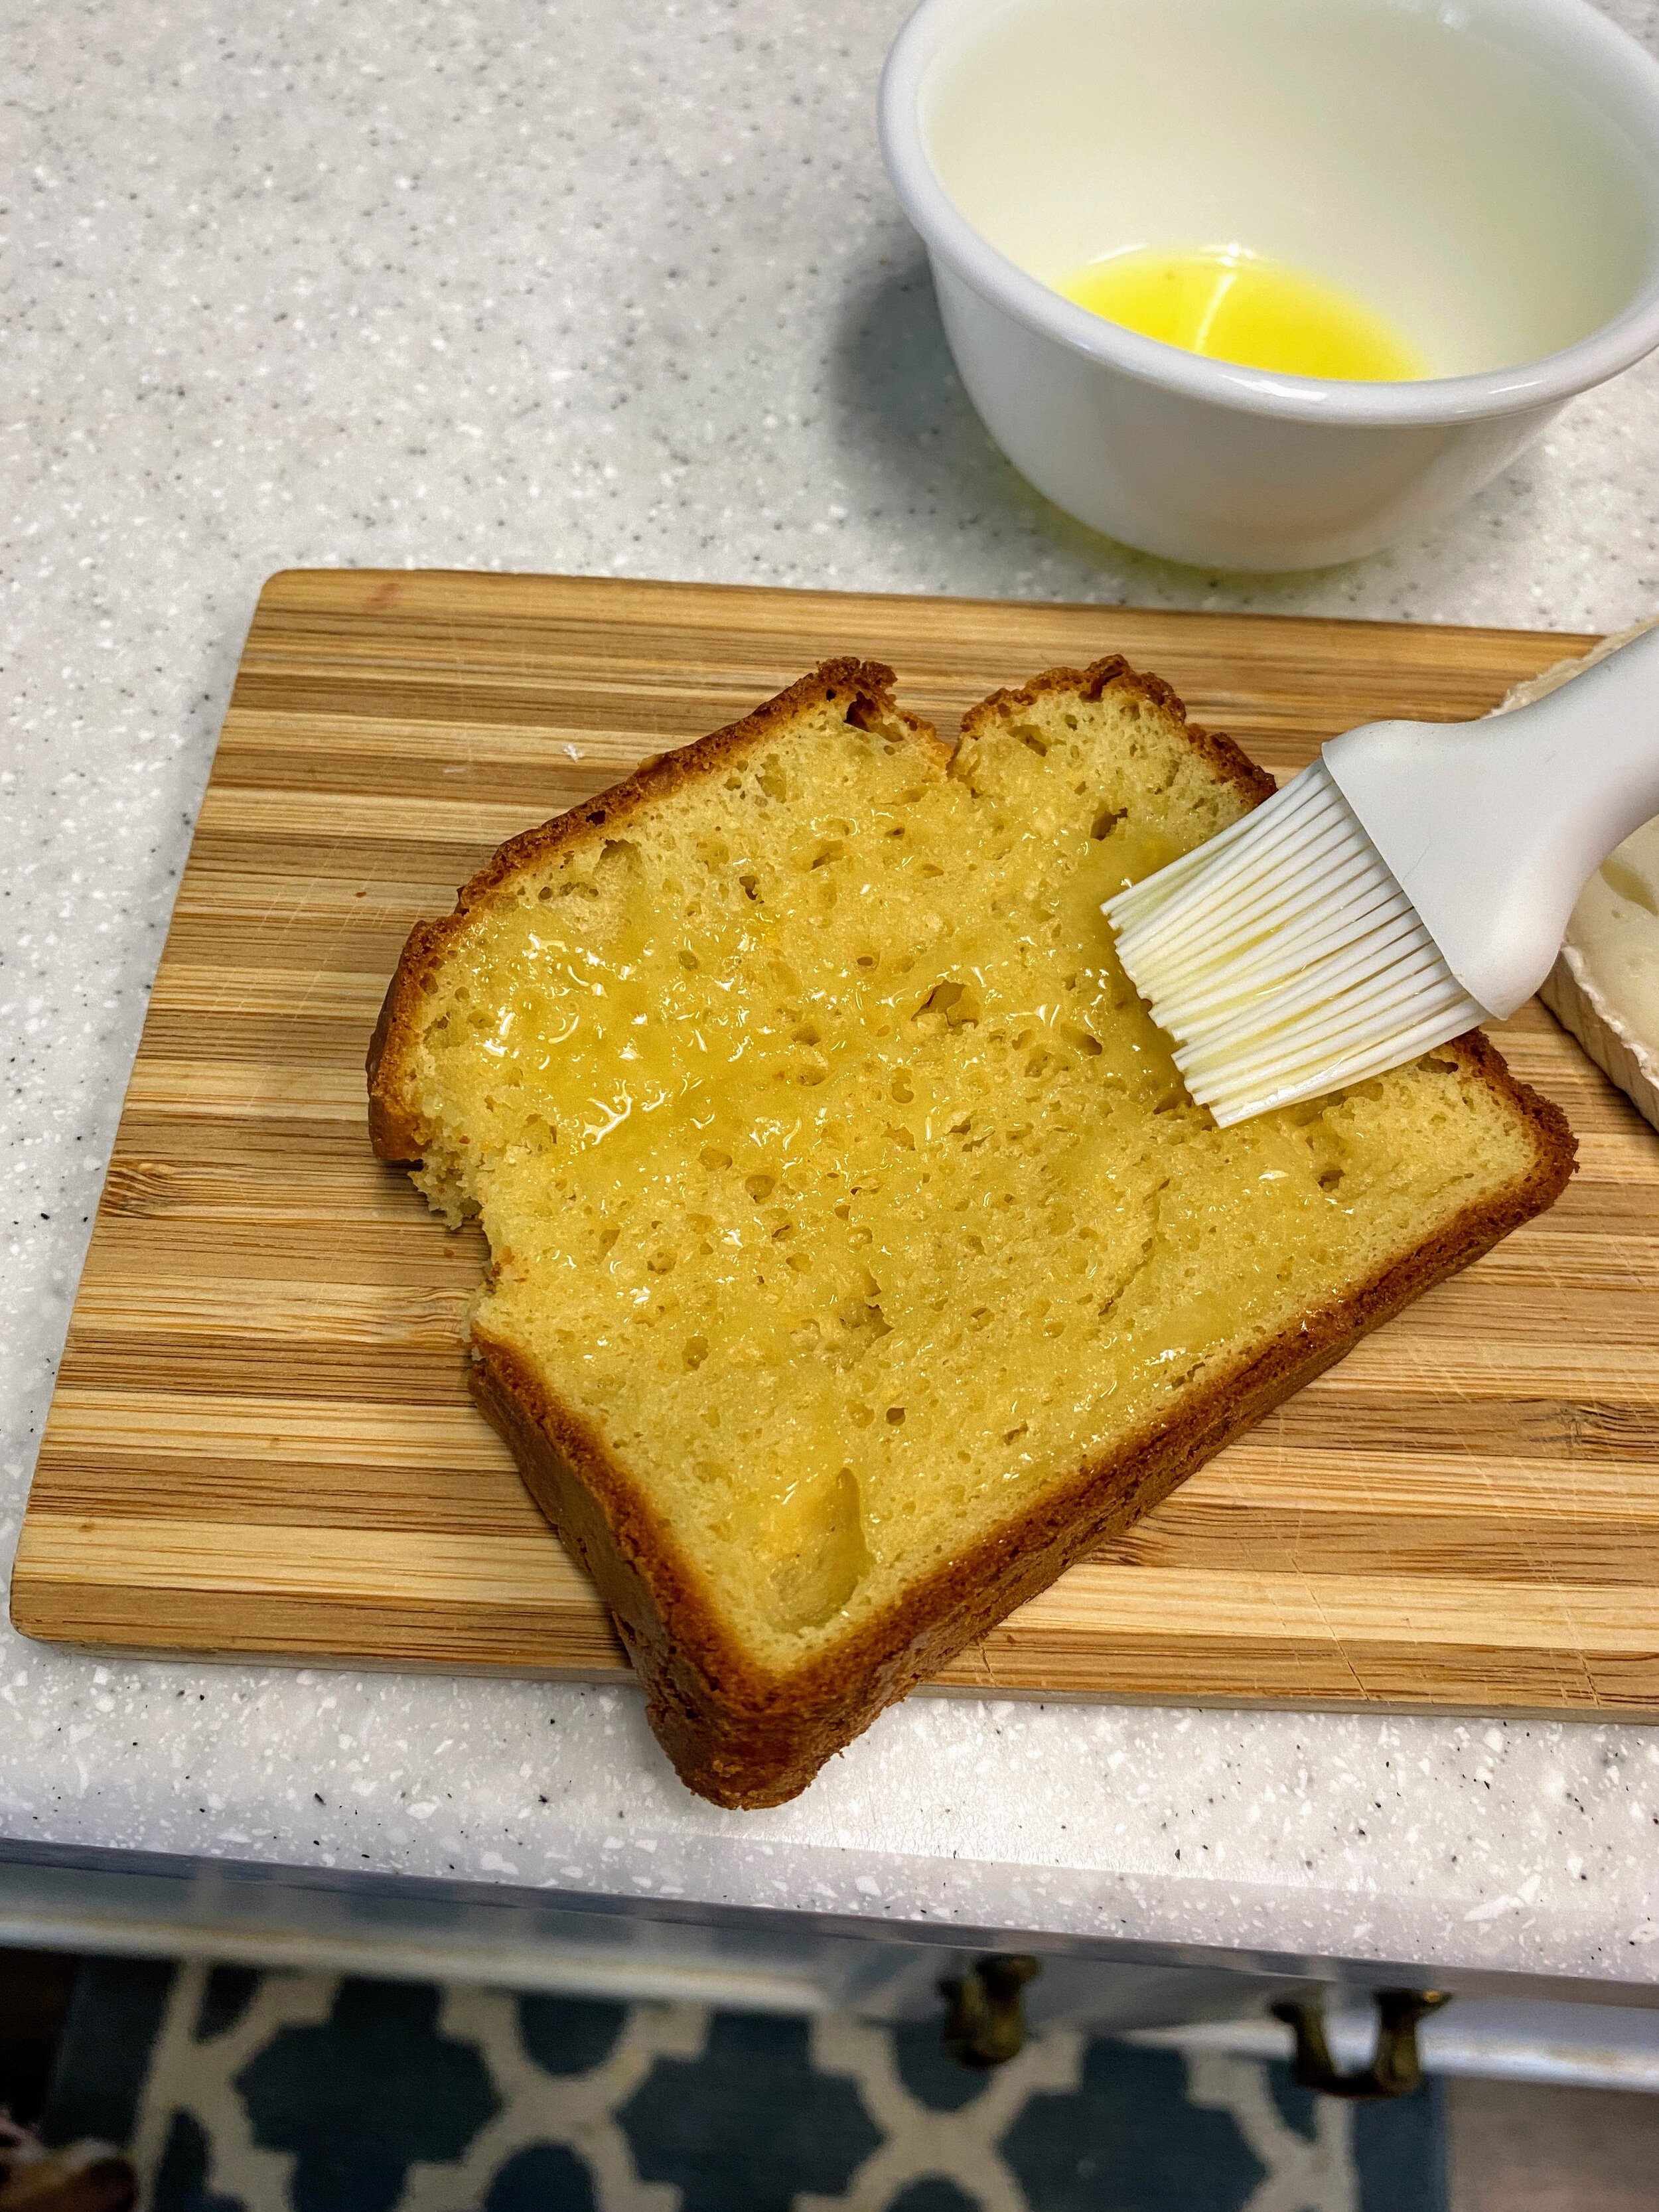
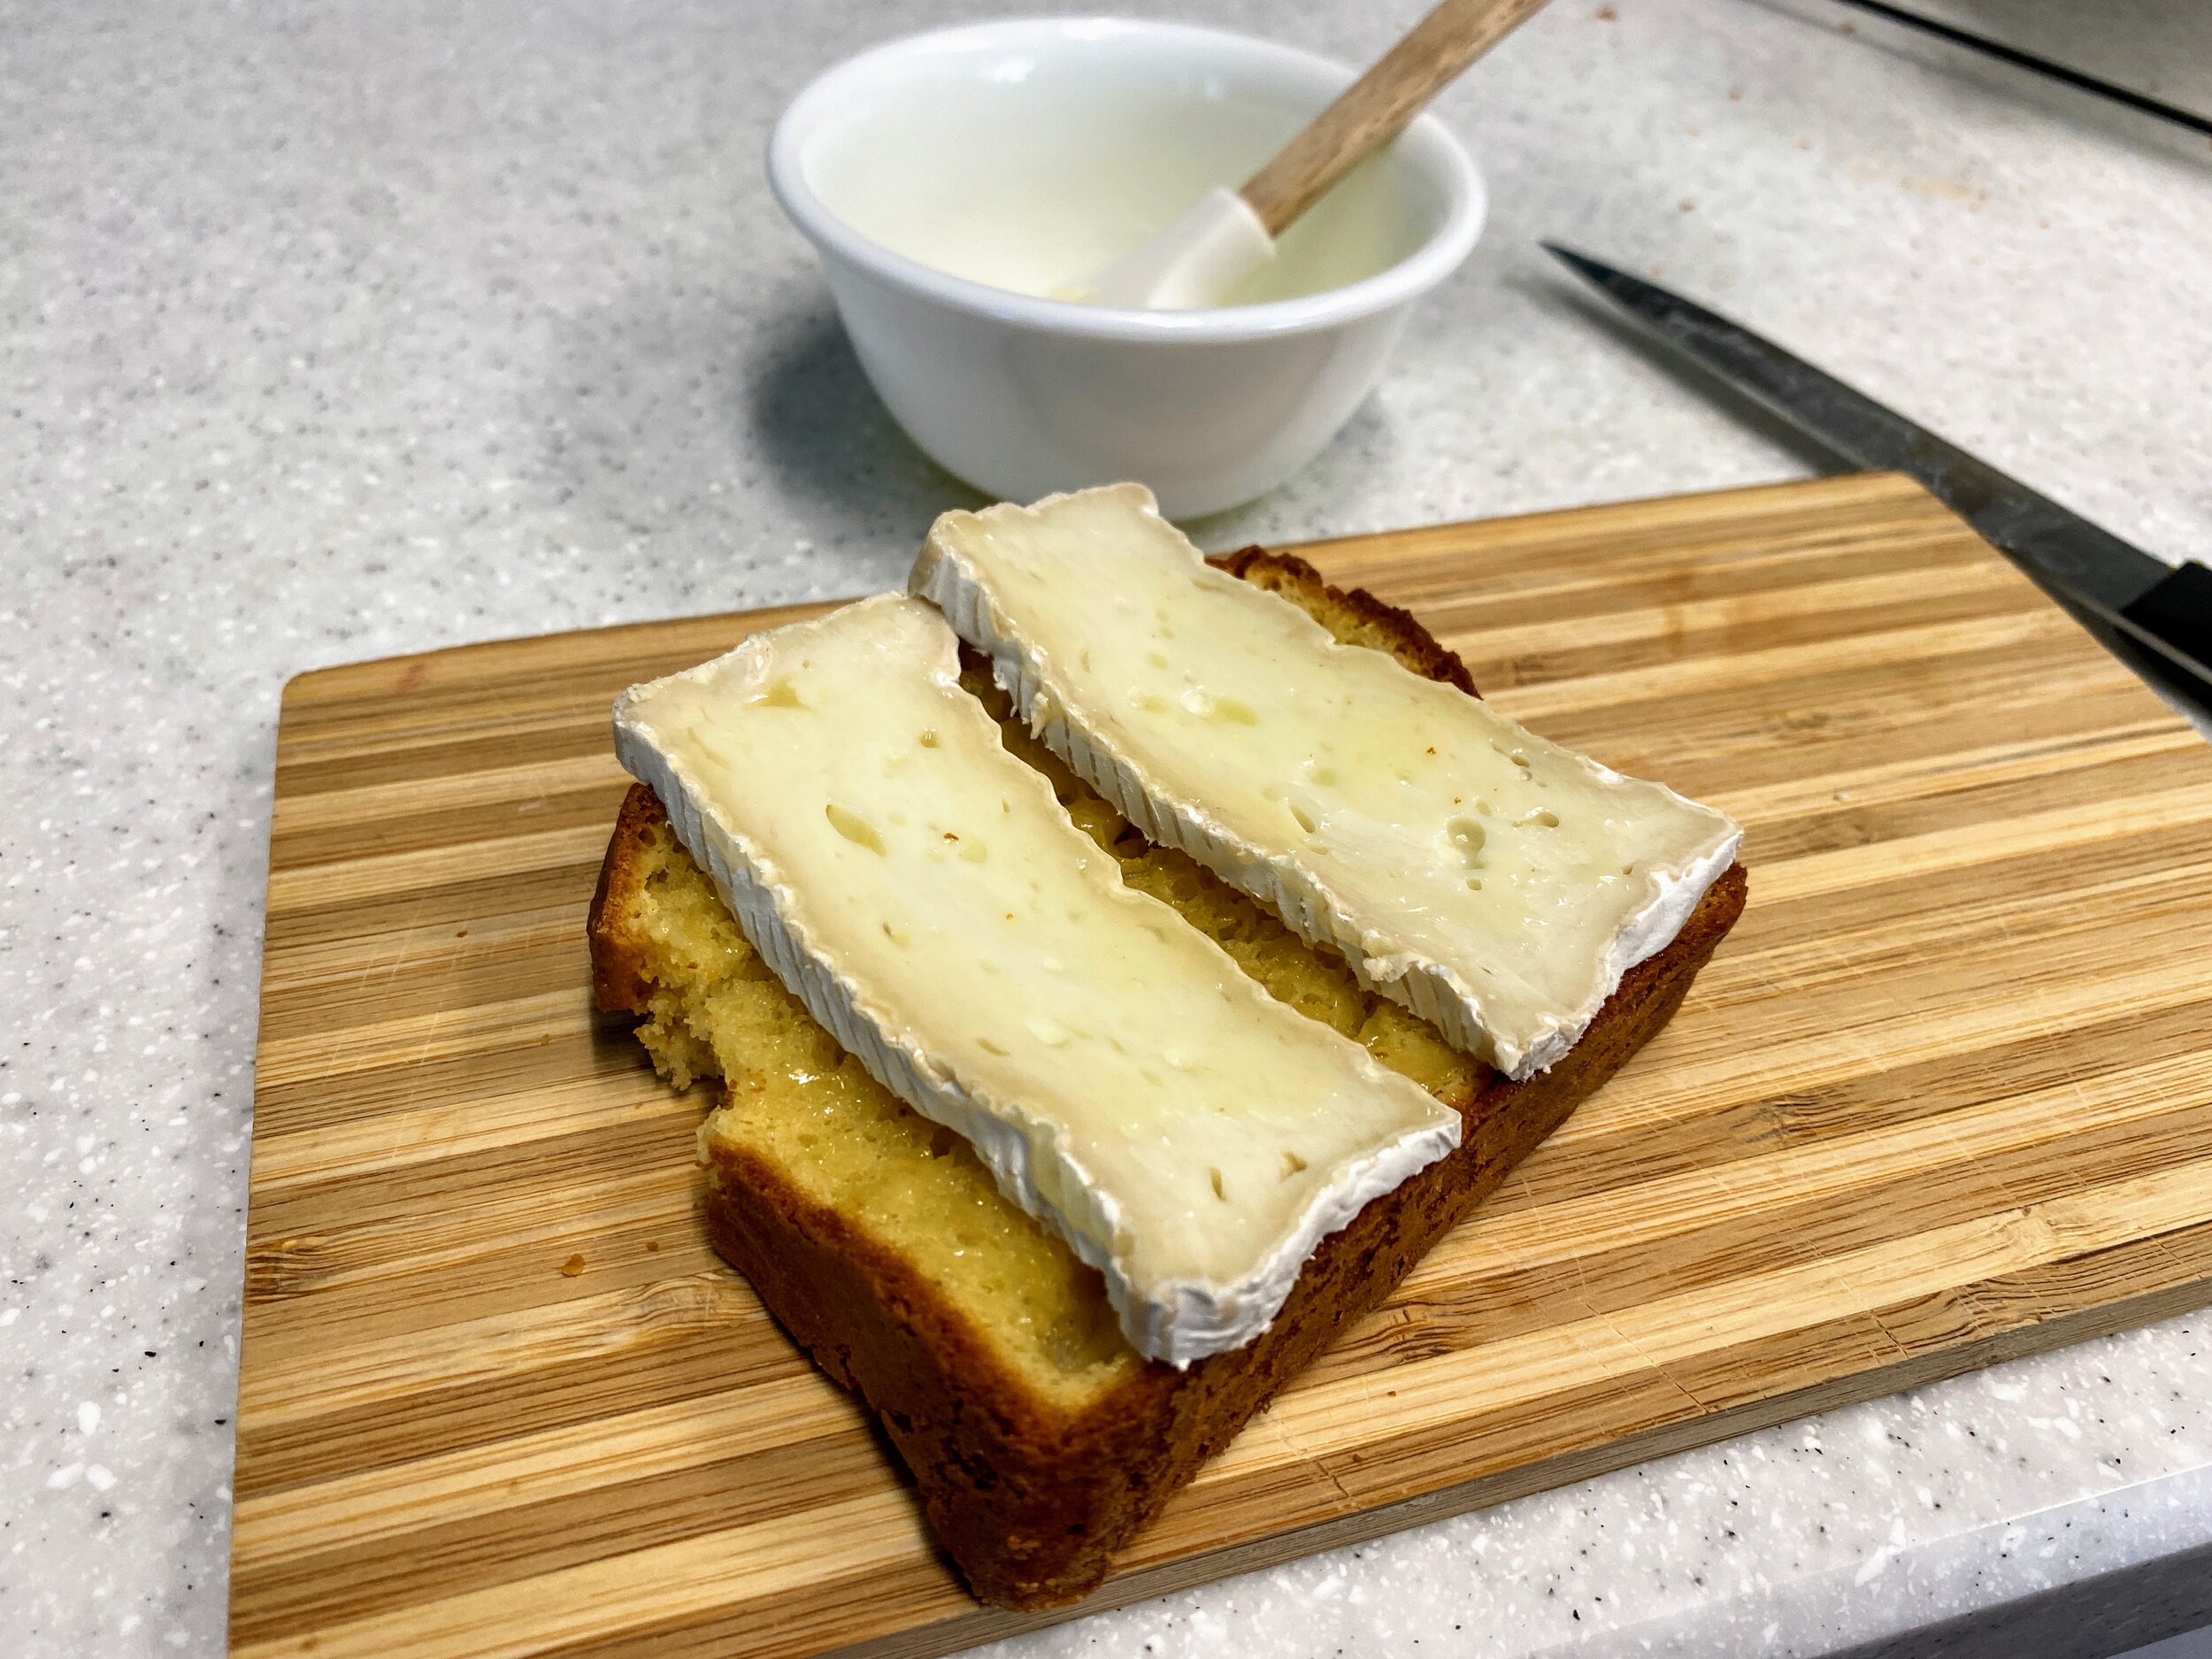
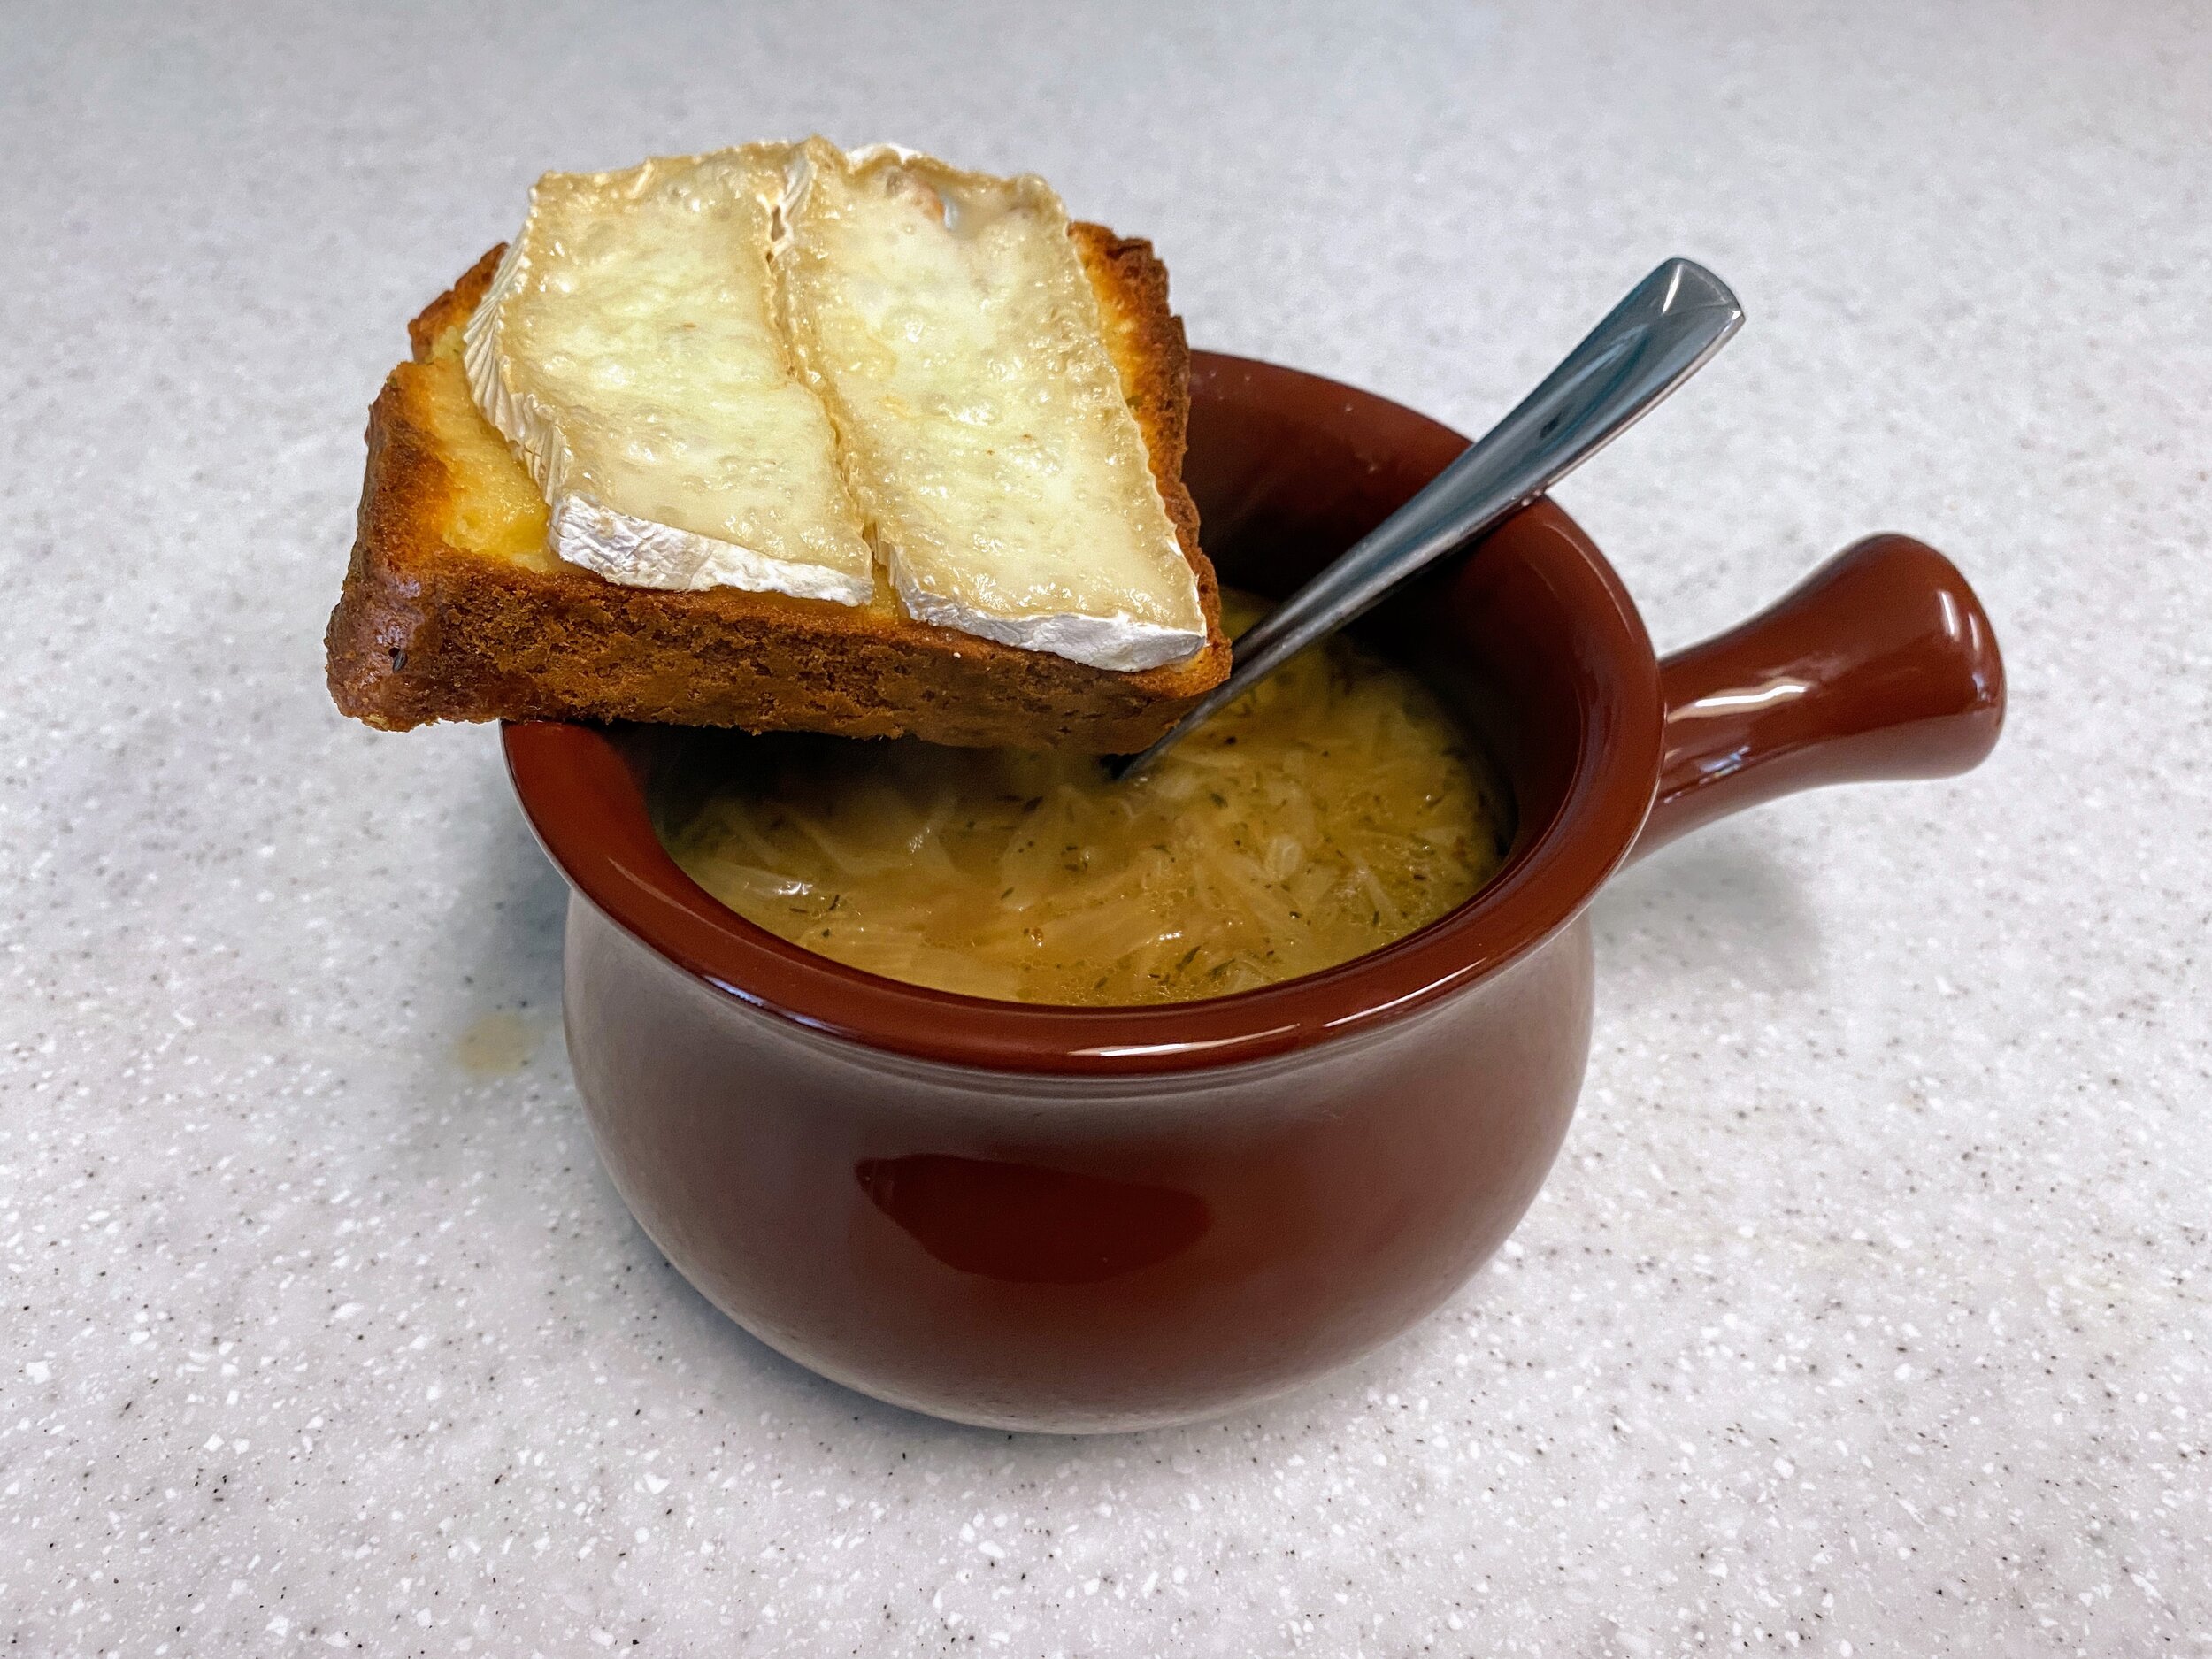
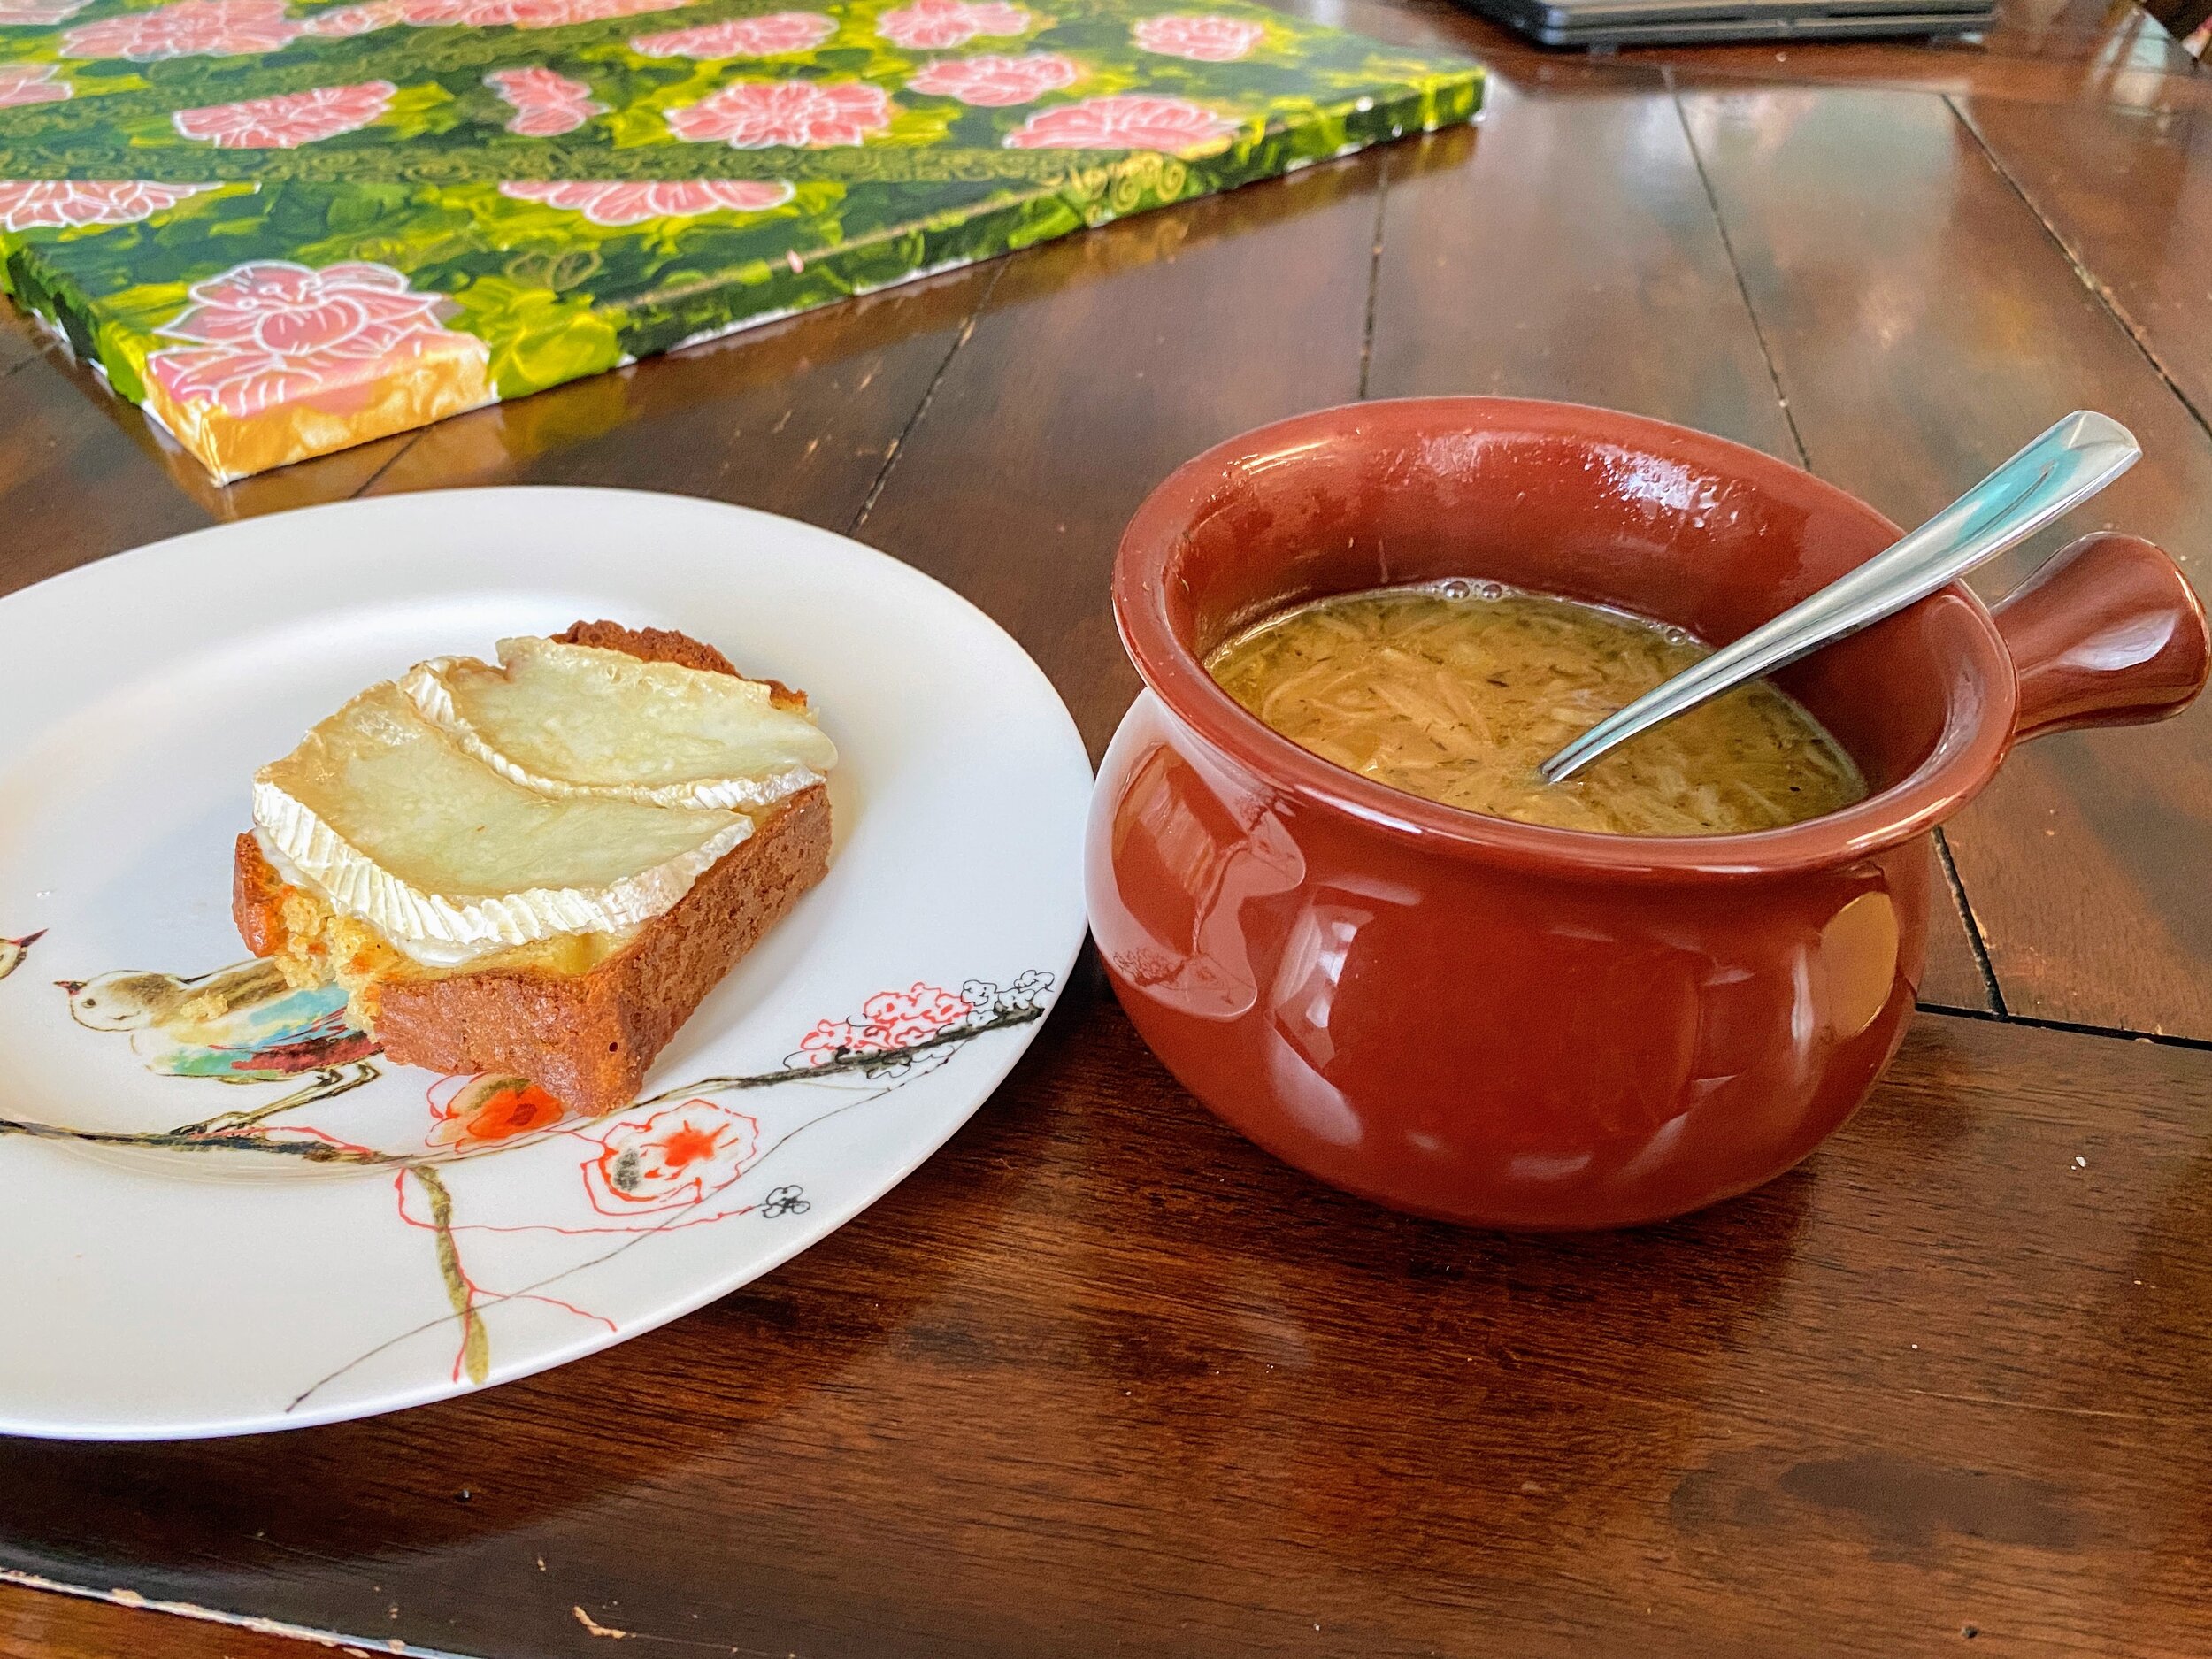
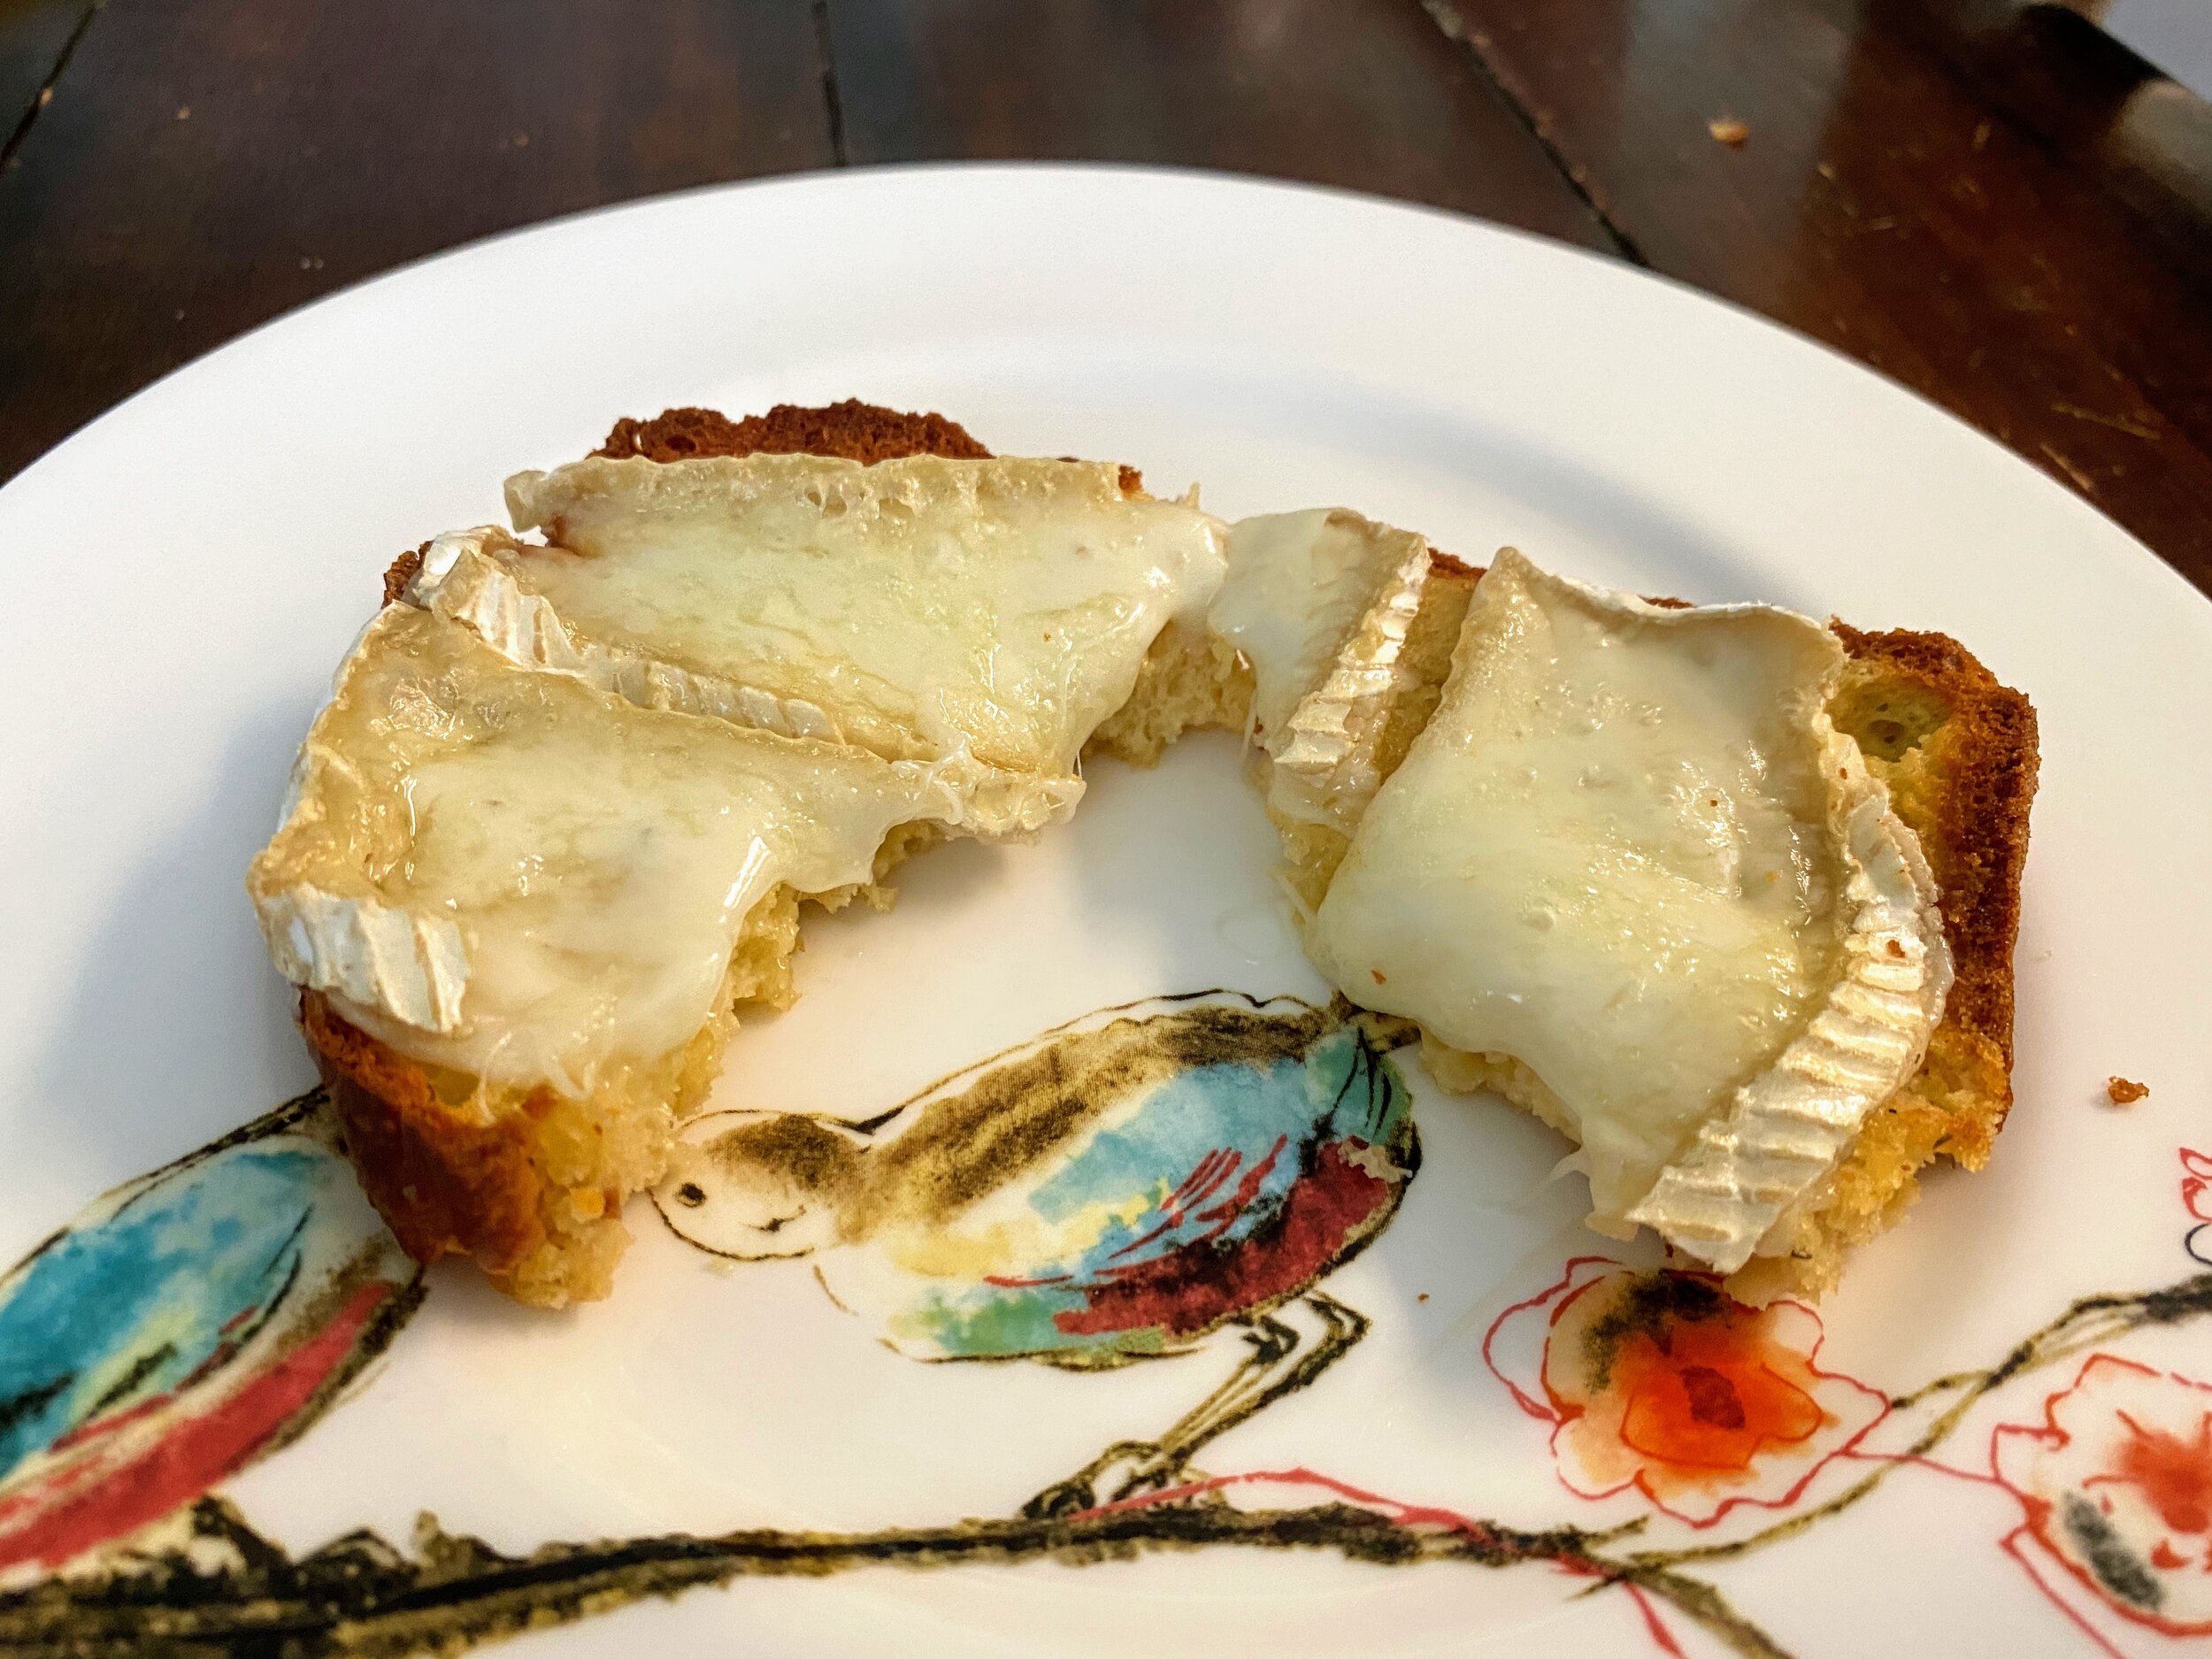
  • While the soup is simmering, take a slice of the homemade bread, brush butter over the bread then pop into the oven under the broiler for a few minutes. Remove and then add a couple slices of Brie, brush a little more butter over the cheese, and put it back under the boiler on low until bubbling.

    • Of course you can pick any cheese you want for this. The bread is great for dipping and the salt in the butter is the only salt that I added to this, so a salty cheese is a great addition. It is 100% up to you!

  • Ladle the soup into a heavy bowl. Place the slice of toast with Brie on top of the soup.

  • Serve immediately and enjoy!

Quilting Diaries: EPP Update

When I set out to start English Paper Piecing, I was looking for a project that was easily transportable and required little focus. I’ve spent a fair bit of time since then feeling poorly or needing a hardcore mental break, so I’ve made more progress on this project than I initially thought I would in the two months I’ve had this as an option. I didn’t realise how quickly all those small pieces would work into something much larger. Honestly, when I was initially researching EPP I had it in my head that you basted all your pieces before you started stitching them together. When you look at all those beautiful social media posts, you see a lot of completed quilts, a fair number of storage solutions, and a lot of basted pieces. I’m sure somewhere in my brain I understood that you could start putting the pieces together before you basted all your pieces, but the thought hid out until I couldn’t find a reasonable solution to store the basted pieces I had completed. I know there are a couple of pictures of basted pieces stitched together, but I didn’t really put many pieces together since I was just trying to determine if I liked the method.

IMG_9103.jpeg
IMG_9110.jpeg

I have spent virtually nothing on this project. Over the years I have collected a variety of papers, threads, and fabrics. Since I found this while looking for a way to use up cabbage scraps, I felt compelled to try to use things I already had. So far, I’ve only purchased a few additional fat quarters and a few packs of needles. I am now beginning to understand why people have a LOT of opinions about the types of threads and needles they use. I’m really glad I chose to make a random, scrappy layout with this particular project, and am so far really pleased with the results. The best part about stitching the hexies together as I go is that I haven’t had to cut out anymore papers! I had no idea how tedious would find this and am thankful that I can rotate out previously used papers.

On Needles

I usually use number 10 sharps for all my hand sewing. They make small stitches much easier. They’re great for slip stitching quilt binding. I love them. Sharps are a good choice for hand quilting too. I found a good quality pack in one of my local craft shops, and it’s been lovely. Buying a good quality needle makes a world of difference when hand sewing. I didn’t really think about needle quality until I started hand stitching more things. So many sewing kits come with free needles, and it always seemed to make more sense to buy those cheap variety packs. So many of those needles have imperfections around the eye of the needle. Those imperfections can catch of your fabric or thread and make for a much less pleasant experience. That’s how I decided on good quality sharps. It’s made hand stitching so relaxing for me.

Since I already had needles I loved, I figured they would be just fine. As I worked through this project is that I was finding my typical needles to be fairly fiddly. These needles are fairly short, so thread basting wasn’t super quick. I was also bending the needles if I got too close the papers, and the repeated running over the paper seemed to almost chip parts of my needles. I honestly went through two of my needles before I decided to look at other needles. I was pushing towards frustration with the project rather than enjoying it, and it was coming down to the tools I was using.

A lot of EPPers use long milliners or straw needles in a size eight or nine (In this needle category, the smaller the number the larger the needle). I purchased a variety pack of milliners needles on Amazon so I could try out a couple different sizes. Oh. My. Gosh. The size nine changed how I felt about this project completely! I haven’t bent any of my needles, they’re still absolutely lovely, and they aren’t fiddly at all. I have since found some packs of just the size nine needles at one of the local quilt shops and now won’t have to buy any additional needles for a while since the variety pack only came with three or four of the size nine. I can’t emphasize how important it is to use the tools that help you best enjoy the project you’re working on.

On Thread

There’s a lot of debate out there about the “best” thread. Depending on which sewing community you’re in, you’ll see a lot of people preferring cotton, or polyester, or blends, or linen. In EPP the most common are cotton and polyester. In shops there are walls of threads in beautiful colours for all sorts of uses. It’s enough to make your head spin. Since I have acquired many spools of thread over the years, I had a fair number of choices. Since the basting threads are never seen, and the seaming threads are virtually invisible, you can get away without matching your threads to your fabrics exactly. Most places suggest neutral colours in a dark, mid, and light shade for all the seams. As long as you’re reasonably consistent with your stitches, you really can’t see them. I’ve experimented with a bunch of the colours, and even using light thread against darker fabrics, my stitches are still pretty invisible.

What I have found though, is that I have some pretty solid opinions on the thread I’m using. I’ve used an all purpose cotton, an all purpose polyester, and an all purpose quilting thread. Depending on which part I’m working on, I have favourites.

  • All Purpose Cotton: This is my favourite for stitching the seams. I feel like these make the most invisible stitches, and when used in conjunction with a thread conditioner makes the fewest tangles. Even with the conditioner, it does seem to the most prone to snapping, but this isn’t an issue if shorter lengths of thread are used. I have found that I can comfortably use approximately three-foot lengths without running into a snapping issue. I dislike basting with this thread because I don’t condition my basting threads, and snapping does become more of an issue.

  • All Purpose Polyester: This is my favourite for basting. Polyester thread is stronger than cotton threads, and incredibly slick in comparison. I don’t have to condition them either. When sewing seams, I have found that they tend to tangle on me most often, even when conditioned.

  • All Purpose Quilting: This type of thread is usually a blend of cotton and polyester fibers. I really enjoyed it when I was hand quilting the Star Gazing quilt earlier this year. I find it to be sort of meh for EPP. It’s basically the middle of the other two thread types I’ve listed here. I did find that it was more prone to snapping than the cotton threads I was using, which I found curious. If I had to choose only one type of thread for this project, I would probably use this type of thread, but I don’t have to, so I won’t. Overall, this thread was disappointing to me.

Where I’m At

I am in love with this project! Now that I have narrowed down my tools, this project is a joy. It’s been a great comfort while I’ve been sick or under the weather recently. I don’t have to think hard about basting hexies together, and everything I need to work on this project fits in my sewing box. I have some surprisingly large panels already started, and I haven’t had to cut out another paper hexagon. I can’t even begin to explain how much this pleases me.

Art Block

I’ve been suffering from an art block for a while. I know that I’ve posted some art on the instagram account but most of it is a little bit on the old side. I keep picking up the tablet to make new digital art, and I end up feeling restless, frustrated, and intimidated. I have a new floral bouquet that I started ages ago, and I inexplicably am unable to bring myself to work on it. Normally, I’d turn to acrylic painting if I can’t do digital and even that felt overwhelming. I’ve been chewing on this for a while, turning over my reluctance to make art in my brain again and again, trying to sort out why I feel uncomfortable creating at this moment. It’s not that I’ve lost my love of creating, not at all. Making things is comforting. That being said, I feel as if I’ve put a lot of undue pressure on myself to make things of a certain “standard.” Now keep in mind - no one else is asking me for perfection. No one else is expecting “better and better” things from me when it comes to art. I make things for me. I do enjoy getting praise for the things I create; it always feels good when someone recognizes the years of practice I’ve put into this skill. So given that no one else is putting pressure on me, why am I doing it to myself? 

I’ve felt like this for a while, as the last two pieces in each medium I’ve made came out absolutely lovely. If you look back at the instagram there is a rose digitally painted to look like it came from a renaissance work, looking like it’s dripping wax and, and it’s so perfect. The last acrylic painting(s) I made, the three canvases with the teal, came out so nicely. I had the square version as my phone background for a while because I liked it so much. So as you might realize, now when I make something new I’ve put a personal expectation that insists that I make this new thing better than the last. This has put a whole extra layer of blank canvas syndrome on top of my already intrusive thoughts of perfection. 

I have to admit, this is also on top of some things happening in my life at this moment that are adding some stress. Cinnamon still has a double eye infection that is making me wildly frustrated. She’s been suffering since late April, and despite having been to the veterinary ophthalmologist, both eyes are still goofy. In addition to her eyes, I found a new lump on her chest. She already has a lipoma on her side that’s benign, but the appearance of new lumps automatically makes my heart jump into my throat. She’s only 10, and I’m so surprised that this year has been so bad for her health-wise. Luckily, she hasn’t seemed particularly phased by most anything; it’s mostly me that’s upset about the whole thing.

Yesterday Miayah and I went to the craft store to find some fabric for a quilting project, and I remembered that I had paint in my purse from the last time we went to the crafting store. I’d found 4 stunning colors that I felt strongly about and then went and forgot about them. As we walked through the store, I got a little idea of what I could make, something simple and less structured than some of the more recent paintings I’ve done. It inspired me to pick up a new canvas. We have a lot of canvas already, and they’re mostly rectangular. My favorite shape is square. I nearly picked up a 36x36 canvas but ended up settling on 20x20. 

Earlier in the day, Miayah had suggested that maybe I pick up a new hobby to break the art block, the logic being that maybe if I didn’t have anything to measure up to it would be easier and feel less stressful. We talked about taking up knitting or crochet specifically. She knows that I’ve always wanted to play with the giant yarn, the big ridiculous fluffy stuff that Miayah doesn’t usually use as it’s fairly cost prohibitive. I pushed back, not because I didn’t want to do it, but because my hands have some issues with small motor movements and I’m uncertain that I’d be able to do it for an extended period of time. Her suggestion was a good one tho - try something different so there’s nothing to measure up to.

D981AFA0-9E77-4D48-A791-44CF56858921.jpeg

Today, I sat down with the colors and turned my brain off. I just started painting, and it turned into something completely different than I’d intended to make. Something more complicated, a new style that I’d never tried, and absolutely out of my comfort zone while still being familiar. I think it turned out really well and gives me permission to make something similar again in the future. I’m glad that I found a way to flex my art muscles and break the cycle of expecting perfection out of myself.

80B3F54A-B529-4817-9C55-20780D759EA8.jpeg

How are you challenging your demands for self perfection? Have you found a tried and true way to keep yourself motivated without stressing out about the quality of your endeavors? Let us know in the comments!

RR and R Check-In

My sewing shambles.

My sewing shambles.

July is halfway over, and circumstances are feeling messy. As many of you know, I’m taking this month to recuperate, regroup, and reset, and right now, it’s been a bit of a mixed bag. While I’m writing this, my office/sewing space is kind of exploded with a project I’m working on. My intention was to have it ready to post this week, but that is not what has happened. I have rediscovered my dislike for installing invisible zippers, and I seem to be having an issue correctly installing pockets with French seams. While this could prove frustrating, it’s honestly just making me laugh. I’m certain that over the next couple of days I will have a moment where I’m uncertain how to cope the neckline facing and stare at my fabrics like they will magically behave without intervention on my part. As these observations make me smile, it is apparent that my choice to basically halt in July is proving to be the best thing I could have done for myself. Now is a good time to check-in with how things are progressing.

Recuperating

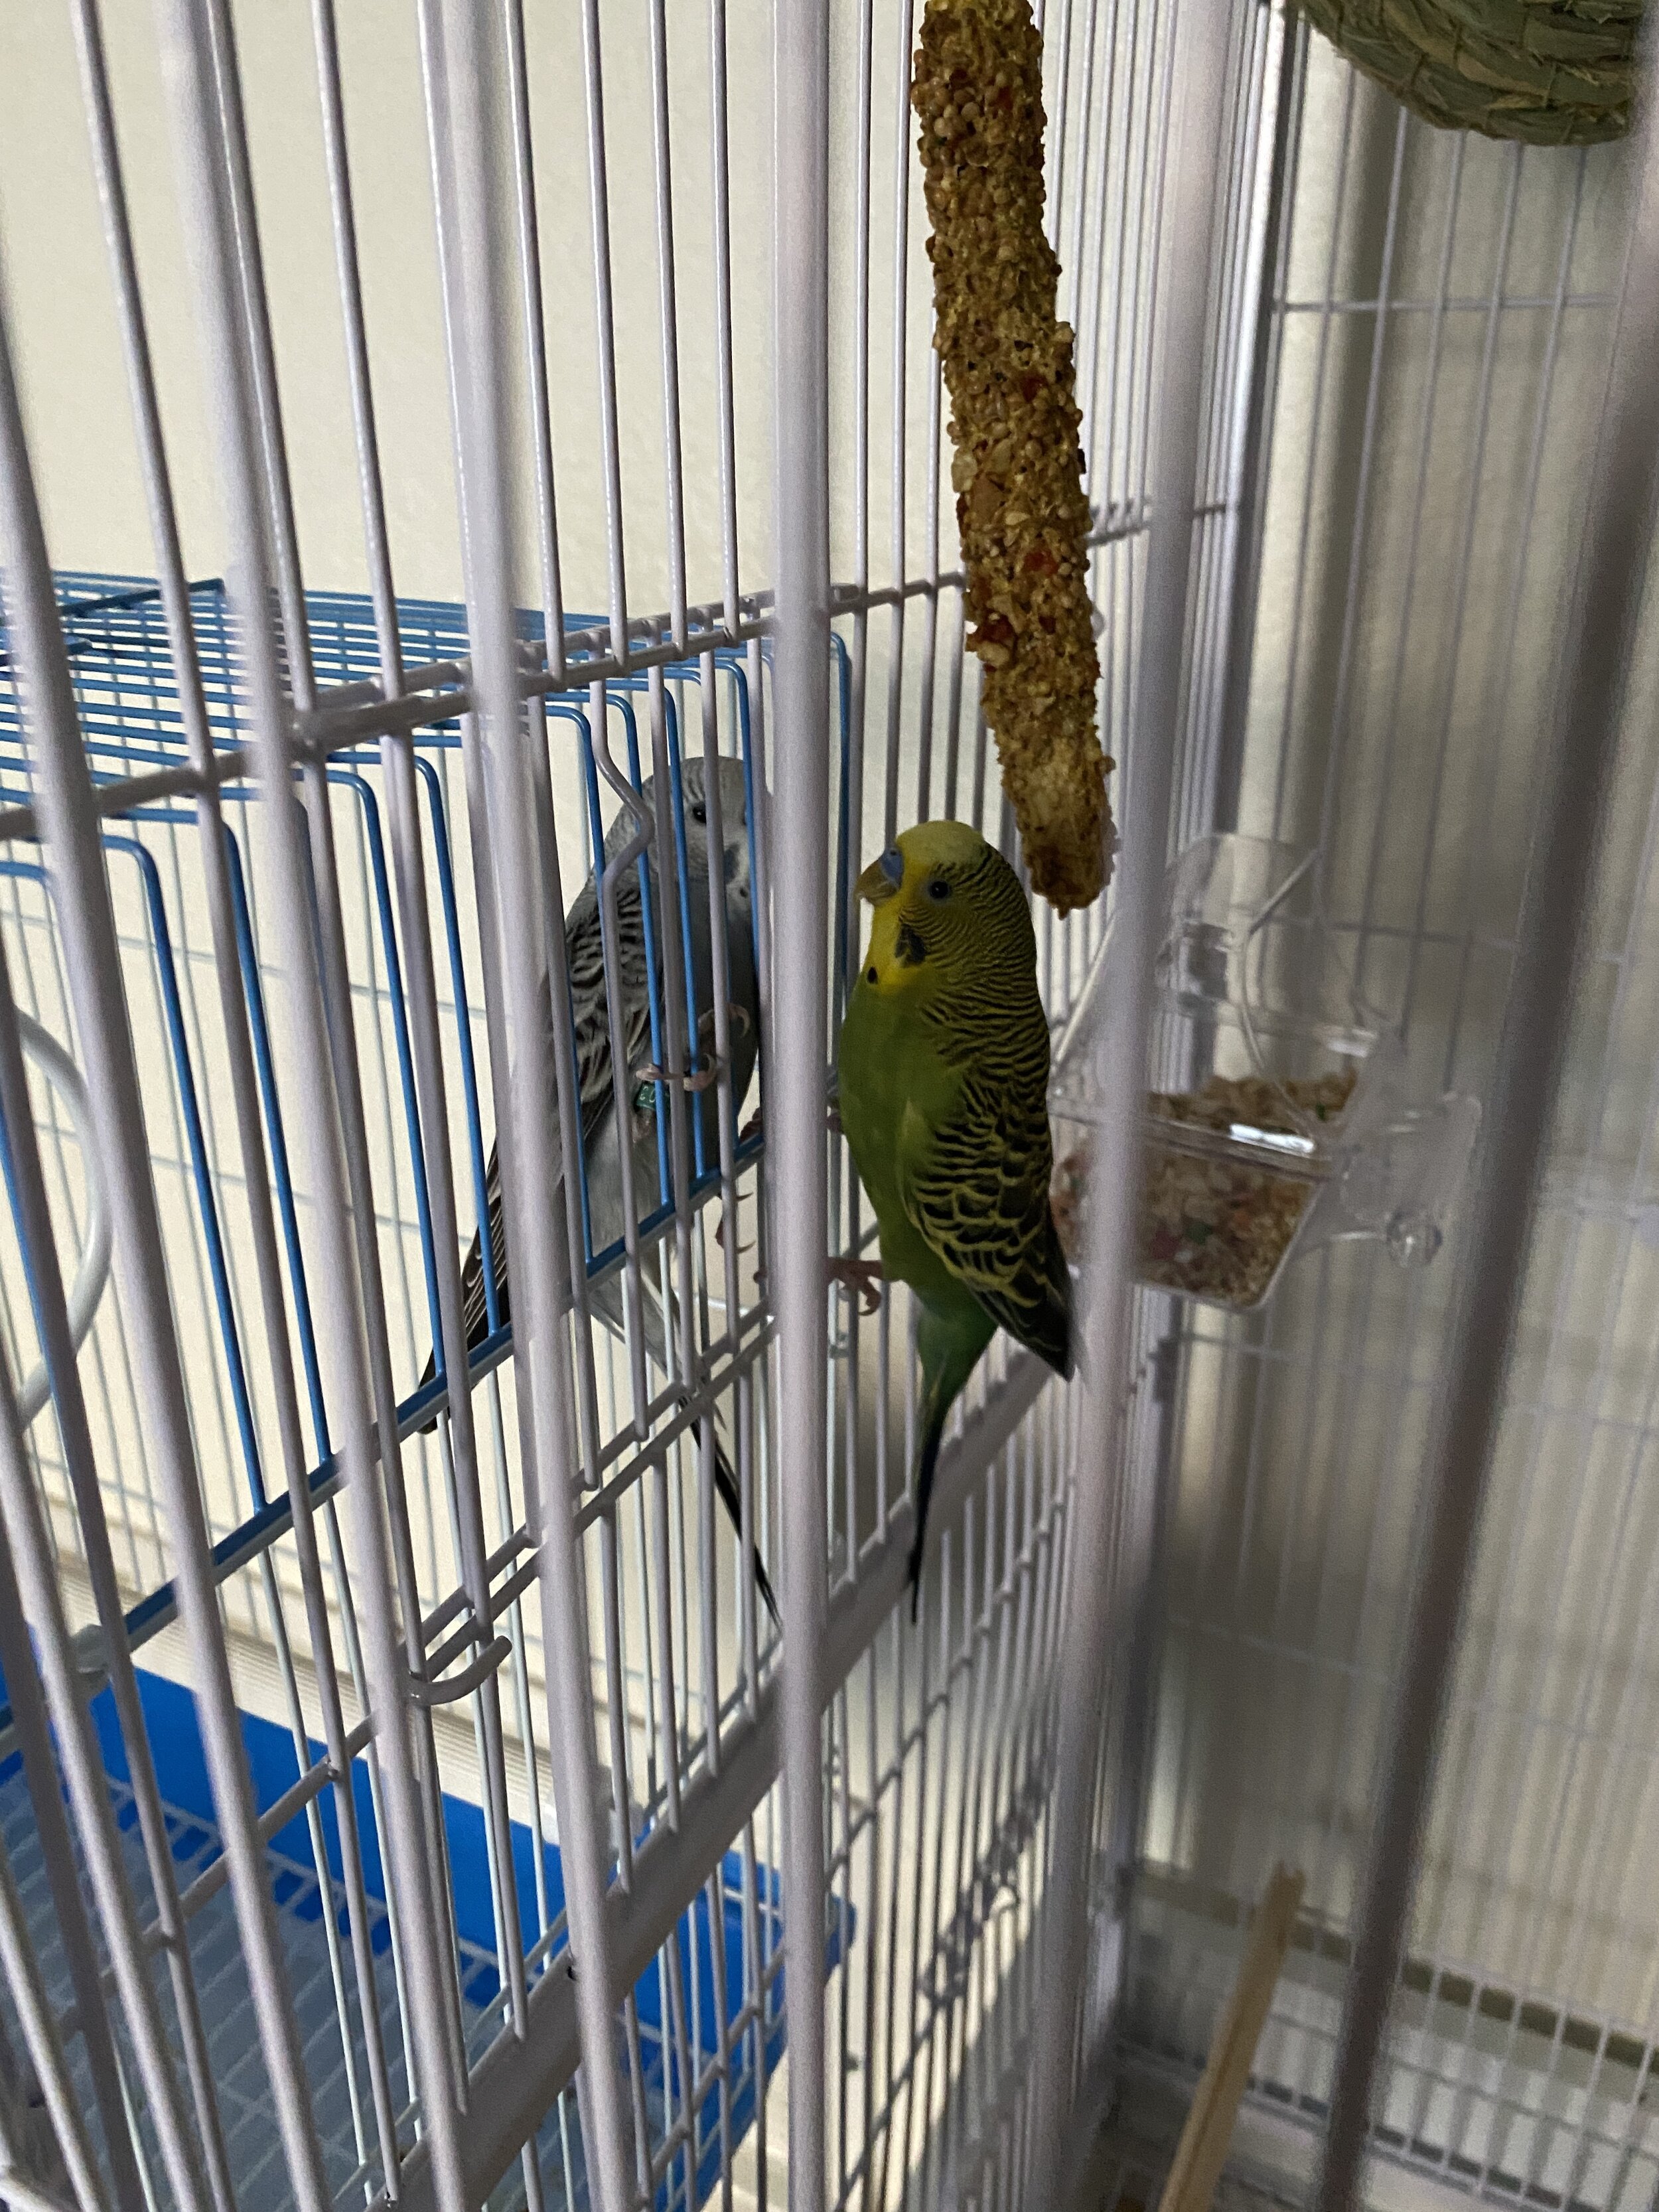
I’m getting my morning tea! This is really nice. The other nice part of it is that I get to listen to our bird babies chirping to themselves. This is helping me stay in a more mindful state, and it helps me remember to just take a pause every hour or so to stretch. I am also remembering to start winding down earlier. To be honest, I’m really, really not good at this. Some nights are still not great, but I appreciate how my days are more mindful and hopefully I will be able to continue this practise.

Regrouping

HA! I am having the worst time with this. While I have started assessing my space and getting some of my things sorted, I am actively avoiding building my task list and ignoring any task list I write. I also keep feeling like I have very little to empty of out of my brain. What I think is happening is that by giving myself permission to slow down, everything is feeling much less frantic. I’ve been spending a fair bit of time slow stitching. None of my slow stitching projects have really gotten any of my attention because they don’t make for easier content. They are much more of a “just for me” type of project. My EPP project is coming along nicely and I’ve been able to revive a needlepoint project I started years ago. These projects have helped me figure out how I want spend my project time going forward. We are going to go to a charity quilting meeting this weekend, and hopefully it will be a group I want to get involved with going forward. Stay tuned for additional updates.

Resetting

This has been a bit of a mixed bag. The thing I have done the most of is involving myself in more social situations. This is has been wonderful, but it’s also made things feel a bit messy. I’m re-learning how to balance this against my workload. The tubing and game nights probably have done more for my mental state than anything else on this list, even if they’re adding a bit to my messy feelings. I feel calmer and happier. Taking this time has been healing for me.

What I’m Noticing

Compassionate self-forgiveness is coming more naturally as I’ve given myself permission to do as much or as little as I can in a given day. Our kitchen is still in a bit of a shamble from this weekend, and we’re probably leaning on take out a bit more than we should, but for right now, I’m just rolling with it. We’ve also gotten to spend some time tubing with our friends. If we had been thinking about it, we would have taken pictures, but that was not at the forefront of our minds. This month is keeping me in the moment, and that’s keeping me sane. My brain feels less cluttered even if our living space isn’t perfectly clean or organised. I’m enjoying my time with our pets and the people in our life. It reminds me of the things that are really important to me, and I’m a more content person. It’s re-framing what accomplished means to me. It feels good.

My latest weekly spread. This has actually worked better than any of the other spreads I’ve used recently. This is from the beginning of my week, and it’s much messier now.

My latest weekly spread. This has actually worked better than any of the other spreads I’ve used recently. This is from the beginning of my week, and it’s much messier now.

Happy 4th!

Happy 4th! Miayah and I had the opportunity to go to downtown Round Rock and watch the parade with family. It was a nice way to spend time with people that we don’t get to see very often. We hope your holiday was fun and safe!

Drink of the Month: Pomegranate Margarita

Hello friends! This month’s cocktail is a classic Becky margarita. This is my go-to trusted drink recipe that’ll mess you up good and tastes delicious while doing it. I will warn you - this is a VERY strong drink and should be sipped with caution. If you’re not a fan of tasting your alcohol in the drink feel free to up the amount of pomegranate syrup and/or add agave. I don’t generally add salt to the rim of my glass for this, however if you like it, the salt would absolutely elevate this cocktail and balance out the sour lime juice.

Ingredients:

  • 2 oz reposado tequila

  • 1 oz orange liqueur

  • 1 oz lime juice

  • Smidge of pomegranate syrup

  • Shaker

  • Ice

Instructions:

  • Start off by filling a shaker with ice 

    • When thinking about the size of the shaker, consider how many drinks you’re making.  A shaker on the smaller size would be just fine if you follow the above instructions for one drink. Once you’re serving multiple people a large shaker is really important as there is a lot of liquid in this recipe.

  • Add in 2oz of reposado tequila

    • I definitely recommend reposado for a more complex taste in your margarita. This can be made with silver which would make it go down a little smoother, but I’m one of those people that likes the taste of alcohol in my drinks. I do not recommend wasting a good anejo in this drink. It overpowers the orange liqueur and really - anejo is best when sipped.

  • Add in 1oz of orange liqueur

    • My favorite orange liqueur is La Grand Mar-Salle Triple Orange. It’s so good that it can be sipped by itself! It’s a very sweet flavored brandy that really makes a reposado pop in a margarita.

  • Add in 1oz of lime juice

    • This is an absolutely subjective amount. I typically end up adding more than an ounce of lime juice, but you do you, my friend. I like lime juice and tequila together by themselves which should say how much I love the sourness. The fancier the lime juice the less you’ll need. Do keep in mind that some of the cheaper lime juices out there can have a bitter aftertaste.

  • Add a smidge of pomegranate syrup

    • For me, since I enjoy the taste of alcohol and sour, I don’t need a lot of pomegranate flavor to be happy. I have several friends who like their margarita much sweeter so you could add up to a full ounce of syrup and still not be in the too sweet territory. This also can be substituted with other syrups - simple syrup, agave syrup, orange syrup - the choices are endless!

  • Shake well for 30 seconds

    • The drink will end up frothy once shaken for 30 seconds or so. If you would like your cocktail watered down a bit more, feel free to continue shaking so that chips of ice will end up in the final drink.

  • Pour over ice and enjoy!

Recuperating, Regrouping, and Resetting

We are about halfway through 2021, and that just feels wild to me. The so far, 2021 has been just as messy and full as 2020, and sometimes it feels like 2021 has been worse than 2020. I feel like I’ve been flailing and stumbling through this year, and June felt more disorganised and disjointed than any other part of this year for me. After I finished the Star Gazing quilt, I’ve really felt a bit of project burn out. It’s not because it was a particularly hard quilt, and I don’t think that it was the thing that burned me out. I have several projects floating about in various states of complete, and I’ve not made the progress on them that I’d like. While I usually have multiple projects going on at the same time, I like to actually finish them, and this year I don’t feel like I have really finished much of anything. I’m taking the month of July to recuperate, regroup, and reset so that I can make the projects I want to make.

Recuperating

Bedtime should have already happened.

Bedtime should have already happened.

I’m building out my July bullet journal right now. The last several months I haven’t been using my bullet journal in the same way that I was in previous months. Sure, I’m still using the weekly planning pages, but I’ve not set monthly goals or intentions. It’s made me feel less focused and less intentional about how I spend my time. I try to build myself some sort of structure in my life, no matter how loose it is simply because I know that I can give myself the best existence by giving myself some pretty loose structure. I have discovered that I really enjoy having a quiet hour before I start my actual workday, which is not something I ever had to think about intentionally. I found that by June I was leaving this behind, and that’s not been great for me. This was ultimately a symptom of me not paying attention to what I need to feel content and accomplished in a day.

Here’s how I’m working to recuperate this month:

  • Taking the time to have a morning cup of tea: This should have been my first clue that I was no longer being kind to myself in the morning. I find that not giving myself those 10 minutes to make a cup of tea that I can enjoy while I start my day was really setting me up for feeling frantic and rushed during the day. This makes everything feel big and overwhelming for me, which ultimately leads to me wanting to hide in my bedroom because I just can’t contemplate what’s happening.

  • Taking time to stretch or do some yoga: This is a small, gentle way to be kind to myself. Like many of you, I sit in front of a computer during my working hours. The first half of this year has found me moving from sitting in front of my computer to sitting in a chair when I wasn’t doing something for work. I’m not doing things around the house as often, and I’m not taking the time stretch my legs at the very least. I feel better when I move around more. It makes sleeping and eating easier, and it helps my mental health.

  • Start winding down earlier: I have trouble sleeping. There are things that I know help me wind down to sleep, and I’m not doing them. I’m not shooting for 8 hours of sleep every night – I legitimately don’t feel good when I sleep that long – but I want to have uninterrupted sleep. That means limiting liquids and certain type of light before bed.

Regrouping

He’s staring at me pretty judgmentally, and it mirrors my feeling overwhelmed with life.

He’s staring at me pretty judgmentally, and it mirrors my feeling overwhelmed with life.

I have so many ideas for things I want to do floating around in my brain constantly. I could line up projects for years. That said, I only have finite resources. I need to have space for working, projects, socializing, house cleaning, etc. As things are opening up and people are getting vaccinated, we are able to spend our time with people who are important to us, and that is something that I get to factor into my time again. This is wonderful, and exciting, and something that is very much needed. That means I need to take a look at how I’m structuring my time and seeing what projects I want to accomplish. I’m choosing to take July to really regroup so that I know what I have, what I want to do, and how I can accomplish those things.

Here’s how I’m regrouping this month:

  • Assessing my workspace: My workspace houses both my work and my crafting space. We don’t have space for a dedicated crafting area, so my space is multi-functional. I need to see what needs to be put away, filed, cleaned out, etc. I have filing that I haven’t addressed in a couple of months.

  • Work on a task list: I have things that are halfway organised all over my space right now. Some things are “filed,” which is just a way of me being able to put it out of sight, even if it’s not in the place I’ll need it later. It’s creating an illusion of complete that’s ultimately creating a sense of foreboding every time I turn my back.

  • Build a brain dump list: This is something I stopped doing because it no longer felt useful, but since everything feels so scattered it’s something I’m starting again. The idea is just to sit down and write out everything floating around in your brain. They can be thoughts, feelings, projects, tasks, recipe ideas, you get the picture, anything that is taking up residence in your brain. This helps me acknowledge my thoughts in a meaningful way. It helps me choose how to focus my time because having everything in front of me helps me see there is something that is creating a pain point that needs addressing, and it helps to clear my mind.

Resetting

I struggle with resetting a lot. I know that this can mean a lot of different things to people. What resetting means for me is that I have a clean-ish slate. Since I work from home, there is a lot of grey space between my work and home life. This broadly doesn’t bother me because I don’t tend to need to decompress after work, and I can shift in and out of work mode pretty easily. What I do struggle with is taking the time to make sure that I feel like I have “closed the door” on work or a project or what have you so that I can start my day, or evening, feel like I have the permission to do so.

Here’s what I mean:

How my desk looks this morning. I’m already feeling a bit all over the place.

How my desk looks this morning. I’m already feeling a bit all over the place.

  • Clearing my desk: It doesn’t matter if it’s work or a project. I need to clean off my workspace when I’m done for the day or night so that I can enter a clean space the next morning. When I leave piles of paper on my desk without putting it away, I feel like I haven’t stopped working, and it makes me feel like I can’t work on a creative project. If I leave a creative projects spread out all over my desk when I go to bed, I don’t feel like I can start work the next morning.

  • Using time blocks: This is a bit more than just setting a timer as I often like to do. This means that I’m dedicating certain days or hours of those days to certain tasks. It also means that I’m creating a loose boundary. This means that I can focus on one area of my life without worrying about when I’m going to do something else because I have time set aside for that. For example, I can choose the time 1pm-2pm every day to set aside for chores. This means that even if I wake up and realise that I need do laundry, I can safely put it to the back of my mind and start work because I know I have the space to address it later that afternoon.

  • Choosing to engage with others in social situations: I am an extrovert. I find social situations and large groups of people incredibly relaxing. We have several social things planned for July. I find that I am more ready to tackle my workload and more energized when we engage in social activities. We have some game nights planned as well as a tubing trip so far. Hopefully, we will continue to add to this list.

That’s how I’m planning to spend my July. What sorts of things are you doing to recuperate, regroup, and reset?

Quilting Diaries: Star Gazing

The fabrics chosen for this quilt. They are all pre-washed and pressed - ready to start the process.

The fabrics chosen for this quilt. They are all pre-washed and pressed - ready to start the process.

If you follow our Instagram account, you may have seen a photo of a quilting project recently. I’ve finally finished it, and now I get to share the process with you! I’ve been super excited about quilting since I completed my first project last year. I’ve started an EPP project, and I’m still enjoying that. I want to keep building my quilting skills, and I honestly find the process (mostly) relaxing. My first quilting project was really simple – it consisted of sewing strips of fabric together, cutting those groups to size, and then putting them back together. Everything is on the straight of grain, no bias seams, no strange shapes. It’s a super foundational quilting skill. I wanted to make another quilt that would still be a fairly beginner level, but would help me build my quilting skills. After some Internet searching, I came across the Star Gazing quilt pattern by Soft Day Quilts. It’s a low-cost pattern available for instant download from the Soft Day Quilts Etsy store.

Star Gazing is a very straightforward pattern completely composed of half-square triangle (HST) blocks. The HST is another foundational quilting skill. It’s a bit more advanced because seams are sewn on the bias, and stitching accuracy is very important. If your stitches aren’t accurate, the points don’t line up. In this pattern, the HST blocks are large, so the quilt top itself comes together really quickly. The outlined fabric requirements are accurate, and don’t make for much waste. The pattern is really easy to follow, and I would absolutely recommend this pattern to anyone who wants a good beginner quilt pattern.

The “Magic Half Square Triangle” Method

The pattern creator suggests using the “magic half square triangle” method, and she outlines it in the pattern. I’d never made HSTs before, so I decided to try this method. A HST is basically a square comprised of two right triangles. It’s a pretty block on its own, and is used to build a lot of other designs. There are so many methods out there for building the block, but the reason so many people like this method is because you get 8 HSTs out of a single large block. The basics are that you cut two large squares of fabric, lay them right sides together, and draw diagonal lines from corner to corner. Using a quarter inch seam allowance, you stitch a seam to left and right of each line. After that, you make four cuts: one on each of diagonal lines, one running from the top center to the bottom center, and one running from the left center to the right center. You press the seams open, and you have 8 HSTs. If you want more detailed information, complete with diagrams, feel free to check out this article.

I’m not entirely sure that this was the best method for me to use the first time I made HSTs. I chose this pattern because the HSTs used to build the quilt measure 8” square. That makes the quilt come together quickly, but in order to get an 8” square using this method, the initial cuts made 17.75” squares. My cutting mat is only 24” x 18”. I had a difficult time measuring these squares. It was just as difficult to cut them apart, and frankly, bias seams stretch. I ended up having to trim every single block I made. That took a lot of time, and frankly was frustrating. I’m pretty sure that this had less to do with the method and more to do with the fact that my cutting mat is smaller and I had difficulty making accurate cuts in the beginning.

Construction Process

The hardest part of this quilt was building the HSTs. Since this was my first time making HSTs, it ended up being a time consuming process. Once all the HSTs were completed, the building of the quilt top was straightforward and was completed quickly. I really loved the end result. Of note: The original pattern calls for an accent colour. I chose not to do that.

Once the quilt top was completed, I spent some time deciding how I wanted to baste the quilt sandwich. The quilt top, batting, and backing when stacked together and ready for quilting is commonly called the “quilt sandwich,” and basting in quilting refers to any method one uses to hold the layers of the quilt sandwich together. There are a couple of basting methods common to quilting:

  • Pinning: The layers of the quilt sandwich are held together with pins, typically safety pins. There are some specialty quilting safety pins that have a bend in them to make it easier to push through the three layers.

  • Spray: There are washable, spray adhesives that can be used to hold all three layers together.

  • Stitching: A long, temporary stitch is run through the fabrics to hold all three layers together.

In my first quilt, I didn’t want to bother with basting anything. I wanted to get through the process, and the piece was small. It proved problematic later, so this time I wanted to baste the quilt well. I chose to stitch my layers into place because I didn’t feel like buying safety pins and I don’t like using spray adhesive unless I absolutely have to. It’s sticky and messy. Besides, I have a lot of leftover threads from old projects, and I’m pretty sure I’ve had the pink thread that I used for about 10 years now.

While I was looking at various videos about quilt construction and basting, I stumbled across the idea of quilting with a small cross stitch while watching a video about basting by the Fat Quarter Shop and Jen Kingwell. I am still fascinated by the idea of hand quilting, but I’m intimidated. The method Jen Kingwill shows in the video was interesting to me because it felt accessible. The Star Gazing quilt is a fairly small quilt, so I decided to try this method. We found a pretty golden yellow quilting thread and thought it would look like small pricks of starlight all over the quilt. I’m quite pleased with it over all. It did take longer than I thought it would, but was much less time consuming than more traditional forms of hand quilting. Once that was done, I was able to complete the binding – still my favourite part! I’m really pleased with this quilt over all. It’s just the right size for curling up with a good book or mobile game.

What I learned:

I liked the “magic half square triangle” method. It’s pretty efficient. Next time I want to use this method, I’ll make sure that I can easily cut out the large squares on my cutting mat. I also did end up purchasing square quilt rulers with a coupon at our local craft store. These were really nice because they have the 45-degree line marked on them. It made the trimming MUCH less terrible, and showed me what bits of my stitching needed some additional work. Since bias seams stretch, I did notice that not all my diagonals were perfectly straight. Again, I think that had a lot to do with the size of the initial squares. I’m pretty sure I would prefer to make more squares than less. Sure, it’s more seaming, but I think I could have been able to be more accurate. These small inaccuracies made it so that I had a difficult time aligning points, but hey, it’s meant to be used. I’m embracing the mistakes because life is too short to sweat the small things. I’ve learned a lot, and I’ll get to apply that to the next project.

Basting is incredibly important! While it’s a time sink – it took me several hours to work out a basting method that worked for me. It made the quilting process much easier. I had confidence that my layers wouldn’t move around, even when I put the quilt in a hoop for quilting. I think that maybe next time I will knot the ends of my basting threads, even though its not necessary. Some of the tails got in the way while I was quilting. I did end up having to snip a lot of threads, so I don’t have long lengths of thread that I can reuse.

Hand quilting is absolutely accessible to me! I’m very excited about this. If you’ve read my other posts, you’ll know that I am intimidated by hand quilting. It’s so beautiful and just felt like something I couldn’t do. While this wasn’t traditional hand quilting, the needle technique is the same, and I feel more confident in trying more hand quilting in the future.

My biggest take away from this project is that I’m not sweating the small stuff. This quilt is FAR from perfect. I’ve continued to research various construction and technique tips and tricks while this quilt has been in my project queue. There are legitimate mistakes in this quilt. I could have spent hours, days, or weeks trying to correct them, but that would be counterproductive. This isn’t a project meant for display. The intent was to create an afghan sized quilt that could be used regularly. I achieved that goal. I’m not looking for perfection, and I’m pleased with the quilt I produced.

IMG_9042.jpeg

Greyson & Mateo

If you’ve been following our Instagram account, you’ll notice that we have added two new family members to our lives: Earl Greyson and Yerba Mateo. They’re both named (cleverly if I say so) after teas and are little sweethearts.

Greyson was found in the middle of the road all by himself. Someone has been very kind and has already finger trained him. He’s used to being handled by humans, doesn’t startle easily at all, and is very eager to land on peoples’ heads and shoulders and arms and things. We don’t know where he came from! When he was found, the person that found him went around to all the houses and businesses in the immediate area and asked if he belonged there. No one claimed him, so we decided that he would come home with us. He was perfectly agreeable when placed in a box and was quite personable.


64521246905__A5972F4D-EE05-4399-9EC7-33FC97A6D35B.JPG

Before he came to the house we obviously needed to obtain a cage and things to entertain him. I left work for lunch and met Miayah at Petsmart. We walked up and down the bird aisle, looking for something that would fit him and possibly a friend in the future. My father has owned birds my whole life, and I remembered that he always gave them lots of room. I also read a bit online about parakeet care, and many websites recommended large horizontal measurements for cages as they tend to fly horizontally, rather than vertically. We picked out a giant $200 cage and grabbed toys, food, treats, and vitamin supplements. We brought the whole rig home and assembled it together so it would be ready when Greyson got to the house. I had to go back to work since lunch was over, so Miayah was in charge of picking him up in his little box.

We had debated getting him a companion the day after we picked him up, but ultimately decided to wait a bit to see how he was doing by himself. We weren’t sure if he was going to be violent to other birds or if he’d love them. We didn’t know his personality yet but we’d quickly find out.


Greyson seemed lonely pretty quickly once we put him in the cage. He was restless and responded very strongly when we played parakeet chirps from YouTube. Miayah and I got worried because he seemed more and more distressed the longer he was alone - not quite to plucking out feathers but enough to be ruffled and fidgety. We ended up buying him a mirror for temporary companionship while he got settled into his new home. When I tell you he was obsessed….. He was absolutely in love with his reflection. He latched onto it so hard. The only way we could get him out of the cage is if we took the mirror with us. He was protective and would make cute burbling noises to it all day. 


Based on his behavior with the mirror we decided that a companion would be a good decision. About a week after Greyson came home, we went to the same Petsmart where we picked up the cage and scoped out the birds. There were three little babies, all blue. We picked one out, asked an associate to help us, and quickly found out that they didn’t have any pet boxes! We couldn’t take any of them because there was nothing to put them in. We looked at each other and ultimately decided that a bird is a bird is a bird at that point. We didn’t know personalities, we didn’t know how they’d get along yet, so it wouldn’t matter whether we got a bird from this Petsmart or another. We left and stopped at another Petsmart.

64584502645__C331F574-9AFA-4646-A728-94394F56609A.JPG

At the second Petsmart there were three parakeet babies, one bright blue that appeared to be female, one medium blue that appeared to be male, and a blue-grey one that also appeared to be male. We are fairly certain that Greyson is a male bird based on the bright blue on his nose so we felt strongly about getting another male. The last thing that we wanted to deal with was eggs and nesting and possible babies. We are NOT prepared to be parents, so a male parakeet was going to be our best bet. Miayah liked the grey one the best, and I thought the medium blue bird had an attitude, so the little grey baby came home with us. While there I bought a bird bath as well.


IMG_7651.JPG

We’d ordered a little cage from Amazon as a temporary home for a new bird. The internet advises a slow introduction if the birds weren’t purchased at the same time and again, we didn’t know what Greyson’s living conditions were before he came home with us. It was important that we keep them separated but close enough that they could become acquainted. We placed the little grey baby in the small cage and snuggled it up close to the larger cage that would eventually become his home. Greyson ignored the new bird at first, but we quickly figured out why -- he still had his mirror! He’d already bonded with mirror-bird, so why bother with the new one?

We took the mirror out and almost immediately, Greyson realized that someone was answering his chirps. He booked it to the side of the cage where the grey baby was and they started chirping to each other through the bars. At this point, we were really delighted because there was no angry squawking and no crazy reaction, just quiet burbling. At this point, we sat down and talked about names and decided to stick with the tea theme - Yerba Mateo was picked as the best name! 


We’d gotten Mateo on a Thursday night. We decided to give the distanced socialization a couple days to see how they’d get along long term. We realized that they genuinely liked each other when we separated them. The big cage is on wheels so if we’re not in the front room of the house where they normally stay, we’ll wheel the cage around so they can continue to hang out with us. The first time I took the little cage to the den, they both went bonkers. It was an urgent, panicked, back and forth that sounded like,  “Where are you? Where are you?” They quieted when I brought the cages back together. We knew at that point that they were good to go.

Sunday night we took them out of their respective cages and let them fly around together. They made circles around the room and settled on Miayah’s boyfriend’s arm. They gave each other little bird smooches, and then flew around again to settle on the back of one of the chairs. Mateo seemed a bit more clumsy (this is an understatement) and wanted to follow Greyson around the whole time. Wherever Greyson flew, Mateo would be close behind. Greyson eventually flew back to the big cage and climbed in. Mateo went in too! 

IMG_7706.JPG

Now at this point, Greyson is now realizing that someone else is in his space, and Mateo doesn’t understand how personal space works. He’s squishing himself against Greyson at every moment possible. Greyson squawked for a while, and they chased each other around the cage, Mateo knocking against Greyson over and over. We took them back out of the cage and let them fly around again for a bit and they ultimately went back into the big cage together. They settled. They like each other! It’s a happy ending to a crazy ordeal. They slept in the big cage together last night and they seemed 100% fine this morning. I’m so glad that they can be friends. 

All that’s left now is socializing Mateo. He is NOT finger trained and absolutely terrified of hands. Do you have any suggestions on how to finger train a parakeet? This is new territory for us and we’d love ideas. 


Have you ever had a parakeet? Leave us some tips in the comments!

Things that are Making Me Happy~!

Hello all!

64437693688__38ACA542-C44F-4C9B-A616-7B54C852E37F.JPG

Today we are going to go through all the things making me happy at this moment. I am in a good mood and I’d like to share that with y’all. This week has been a nice one and I’m going to keep that feeling going.


  • Number One: Hanging out with friends

    • A few weekends ago we got to see like 7 people all in the same weekend. It was INCREDIBLE! I used to think that I was a reclusive person, someone that didn’t enjoy socializing at all, but now? Omg I love hanging out with people. I’ve missed them all so much! It was worse since Cinnamon was recovering, and we didn’t want anyone coming over while she needed to stay quiet. Lately, things are getting back to that normal feeling, and I want to make every excuse to see everyone. We’re planning on doing game nights with friends and family, and I’m sure if you’ve read previous posts you’ll remember that we’ve got outings planned.

  • Payday

    • I don’t know a single person that doesn’t like payday. It’s the best day of the month. I don’t make a lot, and I’m mostly paycheck to paycheck so that sweet rush when I check my bank account and see it full makes me completely thrilled.

  • Seeing the kids

    • We got to take my niece for the day recently, and it was great. In 2019 I made a promise to my niece that she’d get to hang out with Miayah and myself at least once a month every month, but that went to the wayside with covid. We hadn’t really gotten to hang out at all for nearly an entire year. She’s the cutest thing, and she’s getting so big!!! We played dress up. We did makeup. We watched The Mitchells versus the Machines which was surprisingly good. We went out to an arcade and ate pizza and played games. It was such a gratifying experience, and a lovely way to get back into the habit of hanging with her.

  • Going out to eat

    • Take out has its perks, but we’ve been going out lately, and it’s a whole different experience that I forgot about. There are good pieces and bad; for example, a bad part is that it takes a lot more time to go to a restaurant than to order in. Miayah mentioned it in her post earlier this week - when you order food you don’t have to travel, you can keep doing whatever you’re doing while you wait for the food to show up. The good pieces though are wonderful: you get out of the house; you get into a new environment; there are different sights and smells and sounds; and the food is SO much better when it’s steaming hot right out of the kitchen. We had Chicago-style sandwiches recently, and I can’t imagine that they would have been nearly as good if they’d taken an extra 30 minutes to get to our house after they were ordered.

  • Cute clothing that fits right

    • So this is actually a bit of a mixed bag. I’d written this down in a list as a good thing and it IS a good thing, however, I’m not having as much luck with well fitting clothing as I’d like. I found the best pair of pants that I’ve had in a very long time which I am greatly enjoying. I ordered $250 worth of dresses, and not a single one fit. I was very disappointed, but luckily the website I ordered from gave me a full refund when I sent them back. It’s not quite the result I was hoping for. Maybe I’ll go shopping again this weekend, but in an actual store this time. I’ve gotten very reliant on purchasing things online this last year, but I’m remembering now that the products I purchase make me much happier if I see them before whipping out the credit card.

  • Coffee creamer

    • I know this one seems odd…. Many moons ago I took creamer out of my diet. I have a lot of trouble with dairy, and a lot of shelf stable creamers use coconut, which I’m terribly allergic to. I’d stopped looking at the back of bottles because I’d inevitably be disappointed. Miayah and I took a little day trip recently and stopped at Buccee’s, and she happened to pick up a bottle of refrigerated creamer. She called me over and was like - I think you can drink this! I looked it over and it turns out it’s non-dairy, refrigerated, and doesn’t contain coconut!!!! I’m so delighted. The first flavor I got was peppermint mocha, and I’m absolutely in love. It’s such a fun variation to my morning coffee that I haven’t gotten to indulge in in nearly a decade.

  • Permission from professionals to look for different options

    • My job has been driving me nuts lately and I know all jobs do, but I’ve been feeling really trapped. This last year I had a lot of difficulties with insurance and it made me scared to move to a new job and have to start all over with a new insurance plan. I’d have to transition into a new company where there’s a possible lapse in benefits. I have medication that is extraordinarily expensive without insurance, so I feel like I have no options in changing jobs and that’s weirdly overwhelming and I feel so trapped. I went to my psychiatrist recently and expressed my concerns. He immediately said, “Don’t worry about that at all, don’t even consider it. You are free to change jobs and get into something that makes you happier, and we’ll figure out the medication with no problems.” It was so FREEING. He’s always been such a supportive guy, and it’s a relief to know that I have my medical professional at my back.

  • Rereading 1Q84

    • I’m finally reading again! My attention span has gotten shorter and shorter this last year. Everything felt too hard to pay attention to; reading was one of the first long form things that went away. Movies left next - I could only do episodes of a show, short form articles (not even these sometimes!), and TikToks. This month tho - I’m reading! I’ve chosen one of my favorite books to re-read: 1Q84 by Haruki Murakami. Murakami is definitely one of my top authors, despite his sometimes problematic language. The sense of melancholy he evokes is really great.

  • Yerba Mateo and Earl Greyson

    • Lastly: the new birb babies! If you’ve seen our Instagram recently we’ve posted photos of our two newest feathered loves. They’re starting to get along and it’s making us very happy. There’s always a concern when you introduce a new pet into the family that they all won’t get along but so far so good!


IMG_7554.JPG

With all these lovely things in my life it’s no wonder that I’ve been in a great mood lately. 

What’s putting you in a good mood? What makes life even sweeter today?